Note
Access to this page requires authorization. You can try signing in or changing directories.
Access to this page requires authorization. You can try changing directories.
Applies to:  Workforce tenants External tenants (learn more)
In this quickstart, you’ll use a sample application to learn how to add authentication to a desktop application. The sample application enables users to sign in and sign out and uses the Microsoft Authentication Library (MSAL) to handle authentication.
Before you begin, use the Choose a tenant type selector at the top of this page to select tenant type. Microsoft Entra ID provides two tenant configurations, workforce and external. A workforce tenant configuration is for your employees, internal apps, and other organizational resources. An external tenant is for your customer-facing apps.
Prerequisites
- An Azure account with an active subscription. If you don't already have one, Create an account for free.
- This Azure account must have permissions to manage applications. Any of the following Microsoft Entra roles include the required permissions:
- Application Administrator
- Application Developer
- A workforce tenant. You can use your Default Directory or set up a new tenant.
- Register a new app in the Microsoft Entra admin center, configured for Accounts in this organizational directory only. Refer to Register an application for more details. Record the following values from the application Overview page for later use:
- Application (client) ID
- Directory (tenant) ID
- Add the following redirect URIs using the Mobile and desktop applications platform configuration. Refer to How to add a redirect URI in your application for more details.
- Redirect URI:
http://localhost
- Redirect URI:
- Node.js
- Visual Studio Code or another code editor
Download the sample project
Note
The Electron sample provided in this tutorial is specifically designed to work with MSAL-node. MSAL-browser is not supported in Electron applications. Ensure you to complete the following steps to set up your project correctly.
To clone the sample, open a command prompt and navigate to where you wish to create the project, and enter the following command:
git clone https://github.com/Azure-Samples/ms-identity-javascript-nodejs-desktop.gitDownload the .zip file. Extract it to a file path where the length of the name is fewer than 260 characters.
Configure the project
In your code editor, open the ms-identity-javascript-nodejs-desktop-main/App/authConfig.js file. Replace the value as follows:
| Variable | Description | Example(s) |
|---|---|---|
Enter_the_Cloud_Instance_Id_Here |
The Azure cloud instance in which your application is registered | https://login.microsoftonline.com/ (include the trailing forward-slash) |
Enter_the_Tenant_Info_Here |
Tenant ID or Primary domain | contoso.microsoft.com or aaaabbbb-0000-cccc-1111-dddd2222eeee |
Enter_the_Application_Id_Here |
Client ID of the application you registered | 00001111-aaaa-2222-bbbb-3333cccc4444 |
Enter_the_Graph_Endpoint_Here |
The Microsoft Graph API cloud instance that your app will call | https://graph.microsoft.com/ (include the trailing forward-slash) |
Your file should look similar to below:
const AAD_ENDPOINT_HOST = "https://login.microsoftonline.com/"; // include the trailing slash

const msalConfig = {
    auth: {
        clientId: "00001111-aaaa-2222-bbbb-3333cccc4444",
        authority: `${AAD_ENDPOINT_HOST}/aaaabbbb-0000-cccc-1111-dddd2222eeee`,
    },
    system: {
        loggerOptions: {
            loggerCallback(loglevel, message, containsPii) {
                 console.log(message);
             },
             piiLoggingEnabled: false,
             logLevel: LogLevel.Verbose,
        }
    }
}

const GRAPH_ENDPOINT_HOST = "https://graph.microsoft.com/"; // include the trailing slash

const protectedResources = {
     graphMe: {
         endpoint: `${GRAPH_ENDPOINT_HOST}v1.0/me`,
         scopes: ["User.Read"],
     }
};

module.exports = {
     msalConfig: msalConfig,
     protectedResources: protectedResources,
 };
Run the application
You'll need to install the dependencies of this sample once:
cd ms-identity-javascript-nodejs-desktop-main
npm install
Then, run the application via command prompt or console:
npm startSelect Sign in to start the sign-in process.
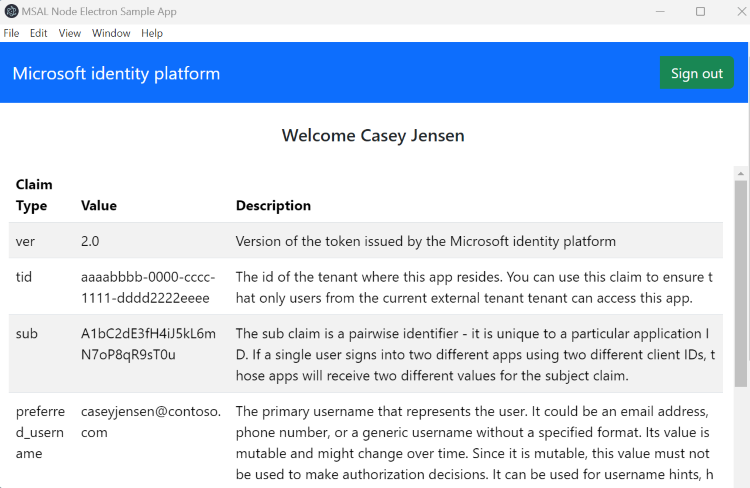
The first time you sign in, you're prompted to provide your consent to allow the application to sign you in and access your profile. After you're signed in successfully, you'll be redirected back to the application.
Next step
To learn more about Electron desktop app development with MSAL Node, see the tutorial:
Prerequisites
- An Azure account with an active subscription. If you don't already have one, Create an account for free.
- This Azure account must have permissions to manage applications. Any of the following Microsoft Entra roles include the required permissions:
- Application Administrator
- Application Developer
- Cloud Application Administrator
- An external tenant. To create one, choose from the following methods:
- (Recommended) Use the Microsoft Entra External ID extension to set up an external tenant directly in Visual Studio Code
- Create a new external tenant in the Microsoft Entra admin center
- A user flow. For more information, refer to create self-service sign-up user flows for apps in external tenants. This user flow can be used for multiple applications.
- Register a new app in the Microsoft Entra admin center, configured for Accounts in this organizational directory only. Refer to Register an application for more details. Record the following values from the application Overview page for later use:
- Application (client) ID
- Directory (tenant) ID
- Add your application to the user flow
- Add the following redirect URIs using the Mobile and desktop applications platform configuration. Refer to How to add a redirect URI in your application for more details.
- Redirect URI:
http://localhost
- Redirect URI:
- Node.js
- Visual Studio Code or another code editor*
Download the sample project
Note
The Electron sample provided in this tutorial is specifically designed to work with MSAL-node. MSAL-browser is not supported in Electron applications. Ensure you complete the following steps to set up your project correctly.
To get the desktop app sample code, download the .zip file or clone the sample web application from GitHub by running the following command:
git clone https://github.com/Azure-Samples/ms-identity-ciam-javascript-tutorial.git
If you choose to download the .zip file, extract the sample app file to a folder where the total length of the path is 260 or fewer characters.
Install project dependencies
Open a console window, and change to the directory that contains the Electron sample app:
cd 1-Authentication\3-sign-in-electron\AppRun the following commands to install app dependencies:
npm install && npm update
Configure the sample web app
In your code editor, open
App\authConfig.jsfile.Find the placeholder:
Enter_the_Application_Id_Hereand replace it with the Application (client) ID of the app you registered earlier.Enter_the_Tenant_Subdomain_Hereand replace it with the Directory (tenant) subdomain. For example, if your tenant primary domain iscontoso.onmicrosoft.com, usecontoso. If you don't have your tenant name, learn how to read your tenant details.
Run and test the sample web app
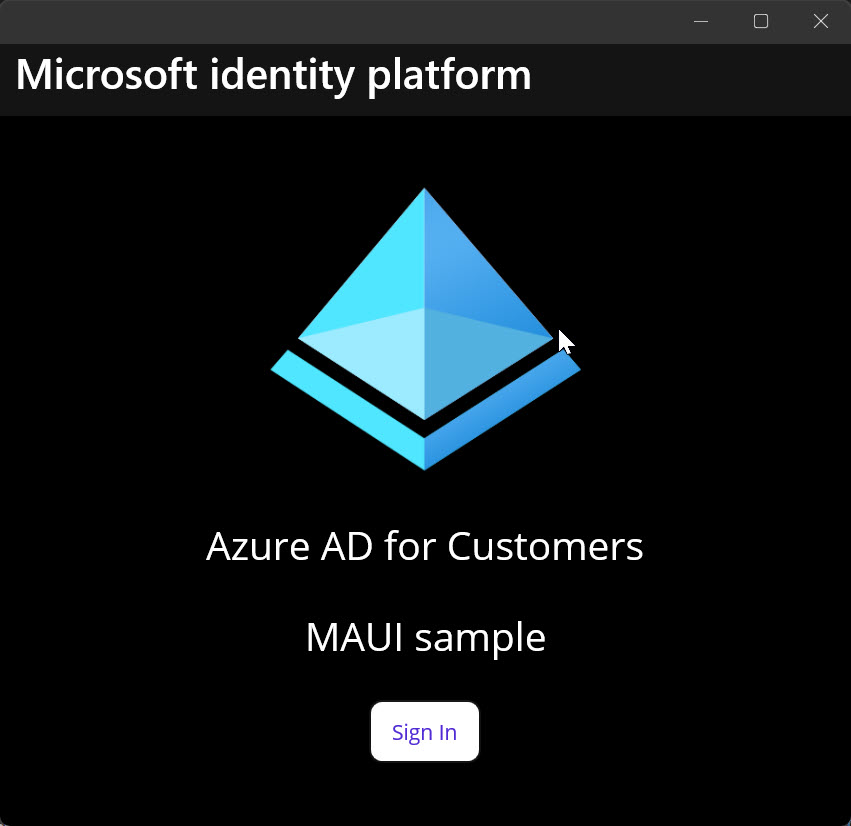
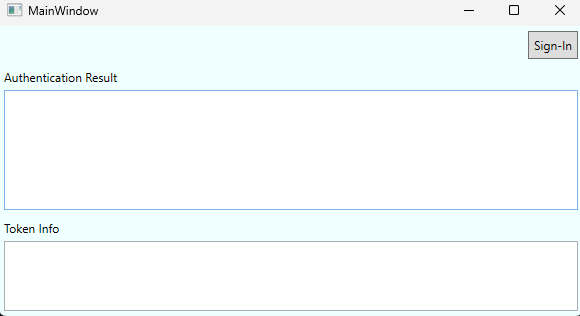
You can now test the sample Electron desktop app. After you run the app, the desktop app window appears automatically:
In your terminal, run the following command:
npm start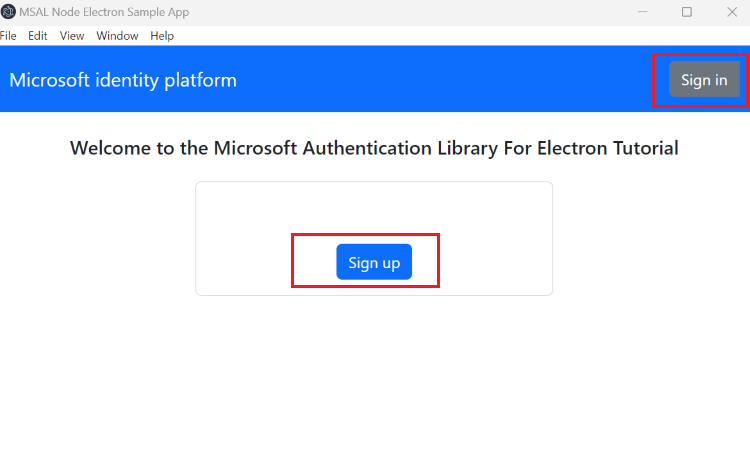
On the desktop window that appears, select the Sign In or Sign up button. A browser window opens, and you're prompted to sign in.
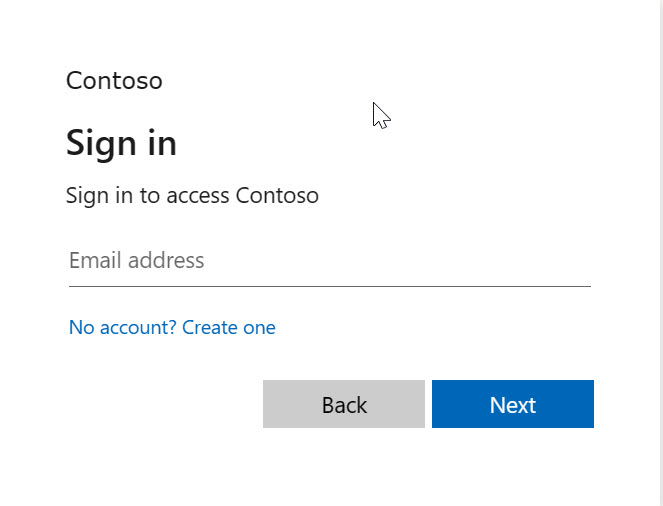
On the browser sign-in page, type your Email address, select Next, type your Password, then select Sign in. If you don't have an account, select No account? Create one link, which starts the sign-up flow.
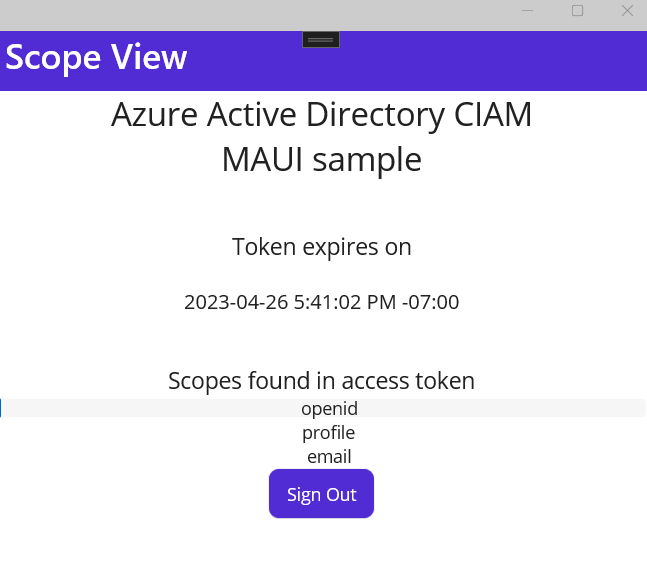
If you choose the sign-up option, after filling in your email, one-time passcode, new password and more account details, you complete the whole sign-up flow. You see a page similar to the following screenshot. You see a similar page if you choose the sign-in option. The page displays token ID claims.