Scenario - Using directory extensions with group provisioning to Active Directory
Scenario: You have hundreds of groups in Microsoft Entra ID. You want to provision some of these groups but not all back to Active Directory. You would like a quick filter that can be applied to groups without having to make a more complicated scoping filter.

You can use the environment you create in this scenario for testing or for getting more familiar with cloud sync.
Assumptions
- This scenario assumes that you already have a working environment that is synchronizing users to Microsoft Entra ID.
- We have 4 users that are synchronized. Britta Simon, Lola Jacobson, Anna Ringdahl, and John Smith.
- Three organizational Units have been created in Active Directory - Sales, Marketing, and Groups
- The Britta Simon and Anna Ringdahl user accounts reside in the Sales OU.
- The Lola Jacobson and John Smith user accounts reside in the Marketing OU.
- The Groups OU is where our groups from Microsoft Entra ID are provisioned.
Create two groups in Microsoft Entra ID
To begin, create two groups in Microsoft Entra ID. One group is Sales and the Other is Marketing.
To create two groups, follow these steps.
- Sign in to the Microsoft Entra admin center as at least a Hybrid Administrator.
- Browse to Identity > Groups > All groups.
- At the top, click New group.
- Make sure the Group type is set to security.
- For the Group Name enter Sales
- For Membership type keep it at assigned.
- Click Create.
- Repeat this process using Marketing as the Group Name.
Add users to the newly created groups
- Sign in to the Microsoft Entra admin center as at least a Hybrid Administrator.
- Browse to Identity > Groups > All groups.
- At the top, in the search box, enter Sales.
- Click on the new Sales group.
- On the left, click Members
- At the top, click Add members.
- At the top, in the search box, enter Britta Simon.
- Put a check next to Britta Simon and Anna Ringdahl and click Select
- It should successfully add her to the group.
- On the far left, click All groups and repeat this process using the Marketing group and adding Lola Jacobson and John Smith to that group.
Note
When adding users to the Marketing group, make note of the group ID on the overview page. This ID is used later to add our newly created property to the group.
Get your tenant ID
- Sign in to the Microsoft Entra admin center as at least a Hybrid Administrator.
- Browse to Identity > Overview.
- Note your tenant ID and copy it down for use later.
Create the CloudSyncCustomExtensionApp and service principal
Important
Directory extension for Microsoft Entra Cloud Sync is only supported for applications with the identifier URI “api://<tenantId>/CloudSyncCustomExtensionsApp” and the Tenant Schema Extension App created by Microsoft Entra Connect.
- On an on-premises machine, open PowerShell with Administrative privileges
- To set the execution policy, run (press [A] Yes to all when prompted):
Set-ExecutionPolicy -ExecutionPolicy RemoteSigned -Scope CurrentUser
- To install the v1 module of the SDK in PowerShell Core or Windows PowerShell, run the following command. Press [Y] Yes when prompted.
Install-Module Microsoft.Graph -Scope CurrentUser
- Connect to your tenant (Be sure to accept on-behalf of when signing in)
Connect-MgGraph -Scopes "Application.ReadWrite.All", "Group.ReadWrite.All", "User.ReadWrite.All"
- Check to see if the CloudSyncCustomExtensionApp exists.
Get-MgApplication -Filter "identifierUris/any(uri:uri eq 'api://<tenantId>/CloudSyncCustomExtensionsApp')"
- If it exists, note the appId and skip to step 8. Otherwise, create the app.
- Create the CloudSyncCustomExtensionApp. Replace <tenant ID> with your tenant ID. Copy the ID and App ID that appears after creation.
New-MgApplication -DisplayName "CloudSyncCustomExtensionsApp" -IdentifierUris "api://<tenant ID>/CloudSyncCustomExtensionsApp"
- If the app exists, check to see if it has a security principal. Replace <application id> with your appId. If you just created the app
Get-MgServicePrincipal -Filter "AppId eq '<application id>'"
If you just created the app, create a new security principal. Replace <application id> with your appId. If you just created the app
New-MgServicePrincipal -AppId '<appId>'
Create our extension and cloud sync configuration
- Now we create our custom attribute and assign it to the CloudSyncCustomExtensionApp. Replace <id> with your ID. Use the object ID of the application.
New-MgApplicationExtensionProperty -Id <id> -Name “SynchGroup” -DataType “Boolean” -TargetObjects “Group”
You may be prompted again to enter the ID.

This cmdlet creates an attribute that looks like extension_<guid>_SynchGroup. You need this to associate it with a group, however the graph PowerShell cmdlet doesn't return this.
Sign in to the Microsoft Entra admin center as at least a Hybrid Administrator.
Browse to Identity > Hybrid Management > Microsoft Entra Connect > Cloud sync.
Select New configuration.
Select Microsoft Entra ID to AD sync.

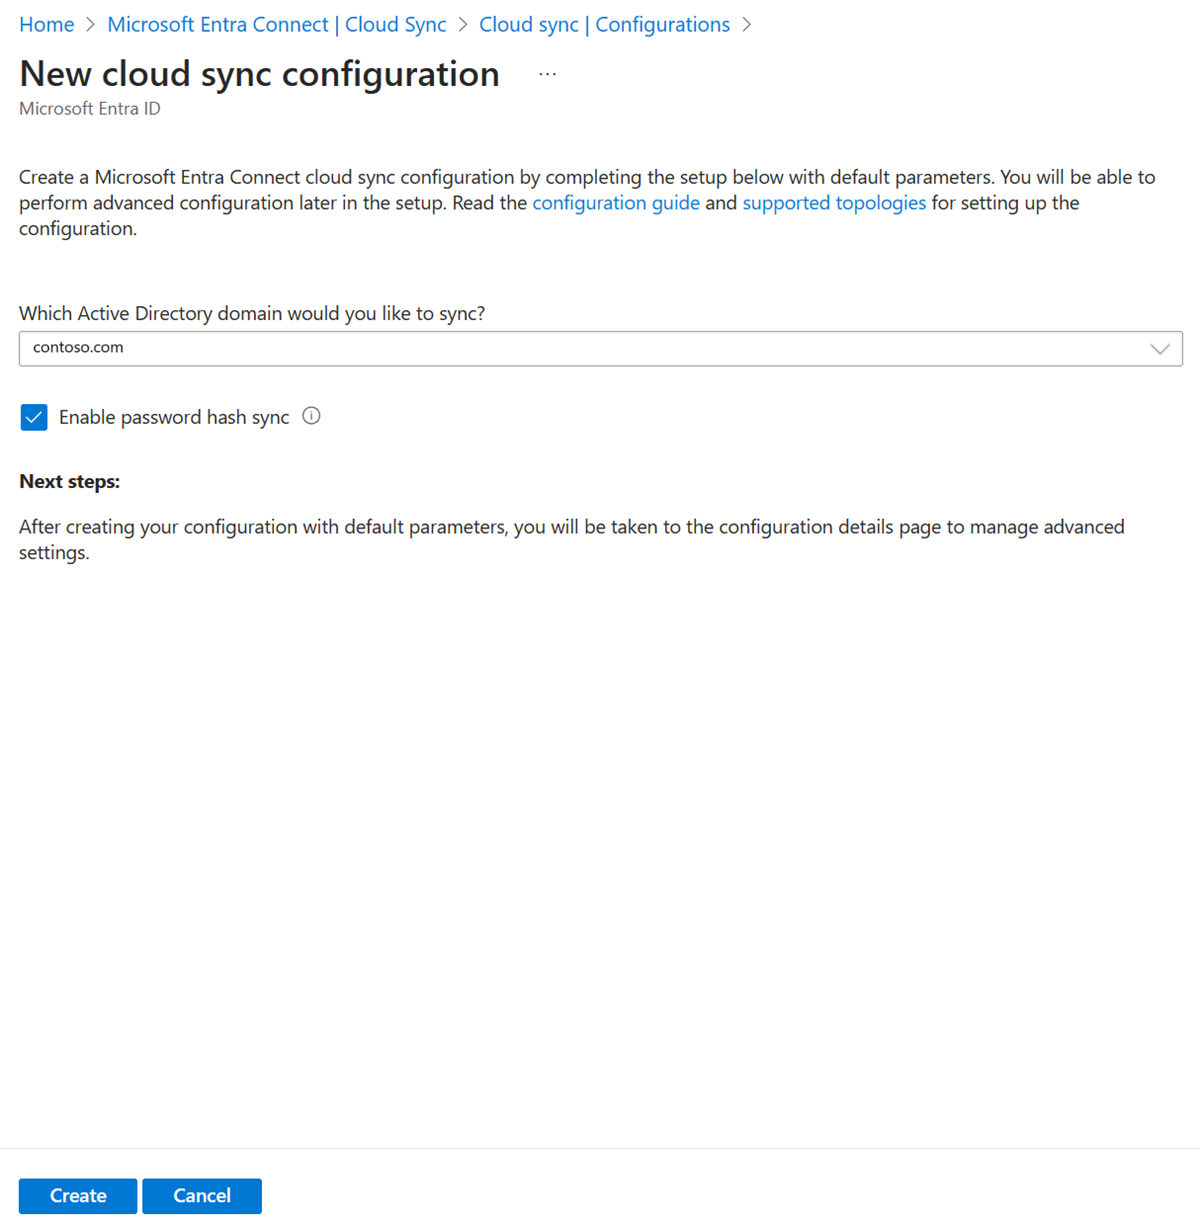
On the configuration screen, select your domain and whether to enable password hash sync. Click Create.
The Get started screen opens. From here, you can continue configuring cloud sync
On the left, click Scoping filters select Group scope - All groups
Click Edit attribute mapping and change the Target Contaniner to OU=Groups,DC=contoso,DC=com. Click Save.
Click Add Attribute scoping filter
Under Target Attribute select the newly created attribute that looks like extension_<guid>_SynchGroup. Also, write this down because we need to use this in order to add this attribute to one of our groups.

Under Operator select PRESENT
Click Save. And click Save.
Leave the configuration disabled and come back to it.


Add new extension property to one of our groups
For this portion, we're going to be adding our newly created property to one of our existing groups, Marketing. To do this, we use Microsoft Graph Explorer. You need to make sure that you have consented to Group.ReadWrite.All. You can do this by selecting Modify permissions.
Navigate to https://developer.microsoft.com/graph/graph-explorer
Sign-in using your tenant administrator account. This may need to be a global admin account. A global admin account was used in creating this scenario. A hybrid administrator account may be sufficient.
At the top, change the GET to PATCH
In the address box enter: https://graph.microsoft.com/v1.0/groups/<group id>
In the Request body enter:
{
 extension_<guid>_SynchGroup: true
}
Click Run query

If done correctly, you see [].
Now at the top, change PATCH to GET and look at the properties of the marketing group.
Click Run query. You should see the newly created attribute.


Test our configuration
Note
When using on-demand provisioning, members aren't automatically provisioned. You need to select which members you wish to test on and there's a 5 member limit.
- Sign in to the Microsoft Entra admin center as at least a Hybrid Administrator.
- Browse to Identity > Hybrid management > Microsoft Entra Connect > Cloud sync.


Under Configuration, select your configuration.
On the left, select Provision on demand.
Enter Marketing in the Selected group box
From the Selected users section, select some users to test. Select Lola Jacobson and John Smith.
Click Provision. It should successfully provision.

Now try with the Sales group and add Britta Simon and Anna Ringdahl. This shouldn't provision.

In Active Directory, you should see the newly created Marketing group.


Next steps
Feedback
Coming soon: Throughout 2024 we will be phasing out GitHub Issues as the feedback mechanism for content and replacing it with a new feedback system. For more information see: https://aka.ms/ContentUserFeedback.
Submit and view feedback for