Note
Access to this page requires authorization. You can try signing in or changing directories.
Access to this page requires authorization. You can try changing directories.
This tutorial describes how to use change data capture (CDC) in Copy job to efficiently replicate data changes from Google BigQuery to a destination. This ensures your destination data stays up to date automatically.
Prerequisites
Before you begin, ensure you have the following:
Google BigQuery requirements:
- A Google Cloud Platform (GCP) account with a BigQuery project.
- To enable change history: The
bigquery.tables.updatepermission on the tables where you want to enable change history. - To access change history data: The
bigquery.tables.getDatapermission on the tables. This permission is included in the following predefined IAM roles:roles/bigquery.dataViewerroles/bigquery.dataEditorroles/bigquery.dataOwnerroles/bigquery.admin
- If tables have row-level access policies, you need the
bigquery.rowAccessPolicies.overrideTimeTravelRestrictionspermission (included in theroles/bigquery.adminrole) to access historical data. - Tables must have change history enabled (
enable_change_history = TRUE). - Change history is limited to the table's time travel period (configurable between 2 and 7 days, with 7 days as the default).
For more information about BigQuery permissions and change history, see BigQuery IAM roles and permissions and Work with change history.
Fabric requirements:
- A Fabric workspace with the necessary permissions to create a Copy job.
- A destination data store supported by Copy job for CDC replication.
Tip
Assign BigQuery IAM roles at the appropriate resource level (project, dataset, or table) following the principle of least privilege.
Enable change data capture in Google BigQuery
Google BigQuery uses change history to enable change data capture. When you enable change history on a table, BigQuery tracks all changes (INSERT, UPDATE, and DELETE operations) that you can query using the CHANGES function. Follow these steps to enable change history on your BigQuery tables:
Sign in to the Google Cloud Console.
Navigate to BigQuery in the Google Cloud Console.
Enable change history on a table using one of the following methods:
Using SQL (DDL):
For a new table, create it with change history enabled:
CREATE TABLE `project_id.dataset_id.table_name` (
  column1 STRING,
  column2 INT64,
  column3 TIMESTAMP
)
OPTIONS (
  enable_change_history = TRUE
);
For an existing table, alter it to enable change history:
ALTER TABLE `project_id.dataset_id.table_name`
SET OPTIONS (
  enable_change_history = TRUE
);
Replace
project_id,dataset_id, andtable_namewith your actual project, dataset, and table names.Example:
ALTER TABLE `my-project.sales.customers`
SET OPTIONS (
  enable_change_history = TRUE
);
Using the BigQuery Console:
- In the BigQuery Console, navigate to your dataset and select the table.
- Select Schema > Edit schema.
- Select Advanced options.
- Check the box for Enable change history.
- Select Save.
Verify that change history is enabled. Run the following query:
SELECT
table_catalog,
table_schema,
table_name,
is_change_history_enabled
FROM
`project_id.dataset_id.INFORMATION_SCHEMA.TABLES`
WHERE
table_name = 'table_name'
AND is_change_history_enabled = 'YES';
Replace
project_id,dataset_id, andtable_namewith your values. The query should return if change history is enabled for your table.(Optional) Test the change history by querying changes:
SELECT *
FROM CHANGES(
  TABLE `project_id.dataset_id.table_name`,
  TIMESTAMP_SUB(CURRENT_TIMESTAMP(), INTERVAL 1 HOUR),
  CURRENT_TIMESTAMP()
);
This query retrieves all changes made to the table in the past hour.
Note
- BigQuery change history tracks INSERT, UPDATE, and DELETE operations using the
CHANGEStable-valued function. - Change history is limited to the table's time travel period (default 7 days). You can't query changes within the last 10 minutes due to transactional consistency requirements.
- Enabling change history might incur additional storage costs for metadata.
- You need the
bigquery.tables.updatepermission to enable change history on tables. - The
_CHANGE_TYPEcolumn in theCHANGESfunction output indicates the type of change:INSERT,UPDATE, orDELETE.
For more information about BigQuery change history, see the official Google Cloud Documentation - Work with change history.
Create a Copy job with Google BigQuery CDC
Note
- The following steps are very similar to what you have done in Use Copy job to ingest data from Azure SQL DB via CDC to another Azure SQL DB
Complete the following steps to create a new Copy job to ingest data from Google BigQuery via CDC to a destination:
Select + New Item, choose the Copy job icon, name your Copy job, and select Create.

Choose the data store to copy data from. In this example, choose Google BigQuery.
Enter your connection details and credentials to connect to Google BigQuery. You need to provide your Google Cloud project ID and authentication credentials.
You should have clear visibility of which source tables have CDC enabled. Select the tables with CDC enabled to copy.
Tables with CDC enabled:

Tables without CDC enabled:

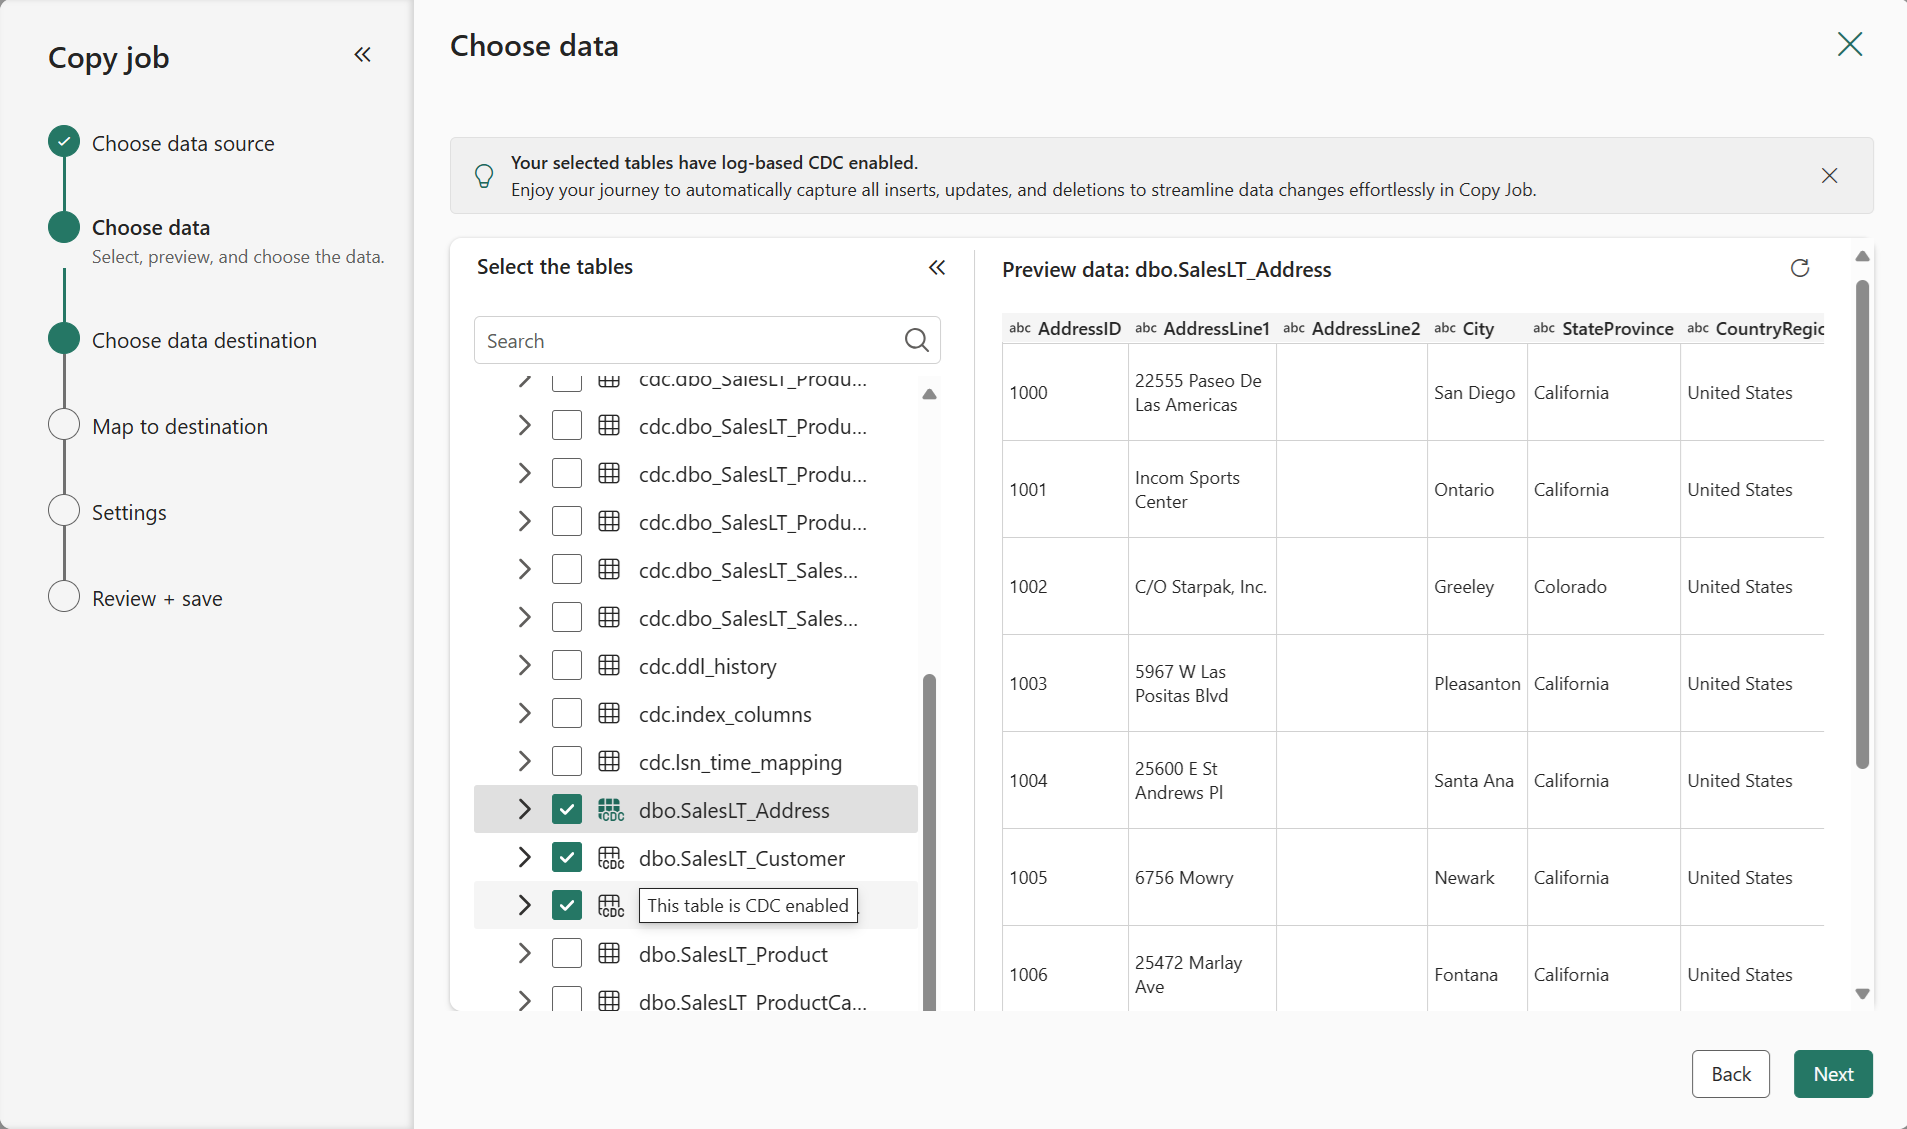
Select your destination store. Choose a destination that supports CDC operations for optimal CDC replication.

Note
Based on the supported connectors, Google BigQuery as a CDC source can replicate to destinations that support incremental copy. Review the supported connectors for CDC to choose an appropriate destination.
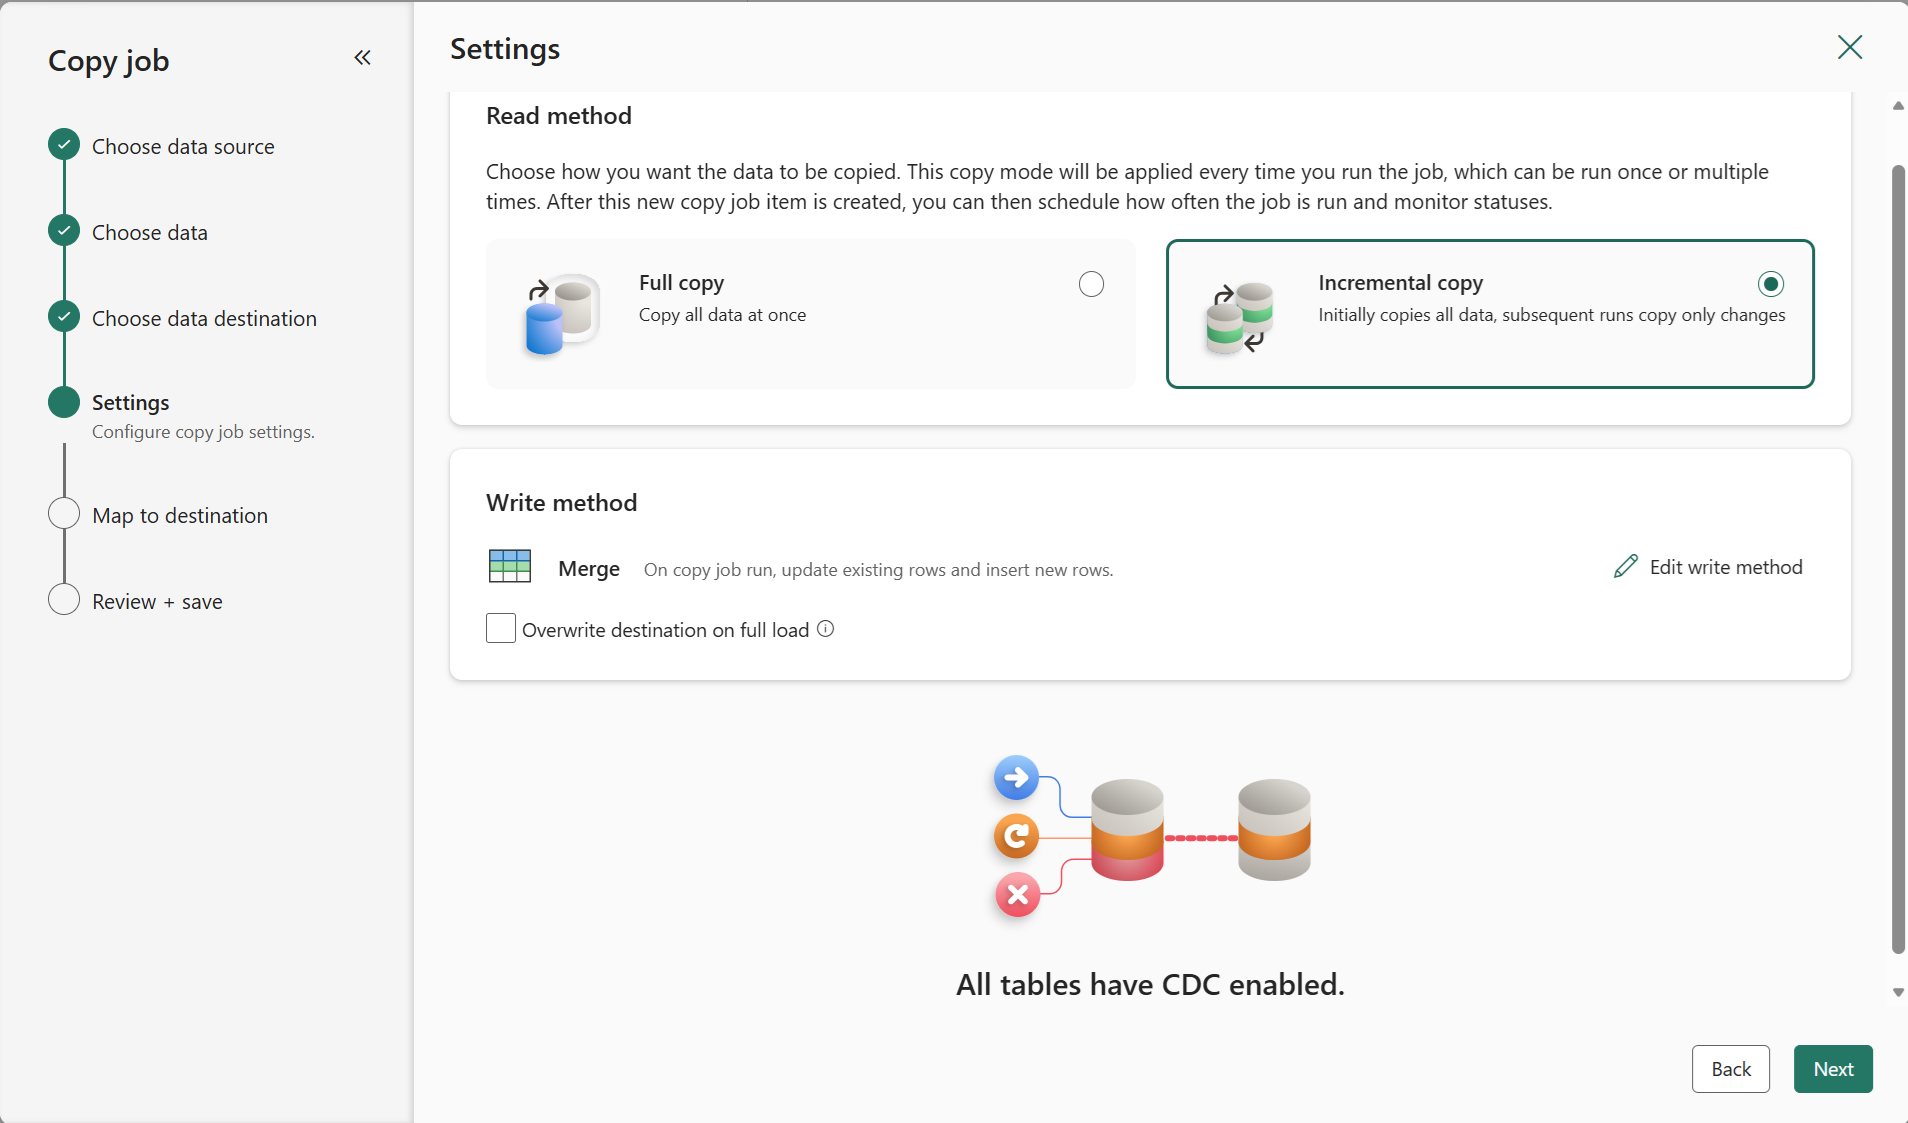
Select Incremental copy and you'll see no Incremental column for each table is required to be input to track changes. The default Update method should be set to Merge, and the required key columns will match the primary key defined in the source store by default.
Note
Copy job initially performs a full load and subsequently carries out incremental copies in subsequent runs via CDC.
Review the job summary, set the run option to on schedule, and select Save + Run.
Note
Ensure that your BigQuery change history retention period is longer than the interval between scheduled runs; otherwise, the changed data might be lost if not processed within the retention period.
Your copy job starts immediately. The first run copies an initial full snapshot.
Update your source tables in BigQuery by inserting, updating, or deleting rows.
Run the Copy job again to capture and replicate all changes, including inserted, updated, and deleted rows, to the destination.