Note
Access to this page requires authorization. You can try signing in or changing directories.
Access to this page requires authorization. You can try changing directories.
Before you begin the data science end-to-end tutorial series, learn about prerequisites, how to add notebooks (.ipynb) to your workspace, and how to attach a lakehouse to those notebooks.
Prerequisites
Get a Microsoft Fabric subscription. Or, sign up for a free Microsoft Fabric trial.
Sign in to Microsoft Fabric.
Switch to Fabric by using the experience switcher on the lower-left side of your home page.

- If you don't have a Microsoft Fabric lakehouse, create one by following the steps in Create a lakehouse in Microsoft Fabric.
Create a notebook
Each tutorial in the Get Started end-to-end series is available as a Jupyter notebook file in GitHub. Many additional tutorials are also available as samples in the Data Science workload. Use one of the following methods to access the tutorials:
Create a new notebook, then copy and paste the code from the tutorial.
Upload the notebook (.ipynb) from GitHub to your workspace:
Download your notebook(s). Make sure to download the files by using the "Raw" file link in GitHub.
For the Get started notebooks, download the notebook(.ipynb) files from the parent folder: data-science-tutorial. The Get Started tutorial series uses the following notebooks:
For the Tutorials notebooks, download the notebooks(.ipynb) files from the parent folder ai-samples.
In the Fabric web app, go to your workspace.
In the workspace command bar, select Upload, then choose the downloaded notebook (.ipynb) file.
When the upload completes, the notebooks are available in your workspace for use.
If the uploaded notebook includes output, select the Edit menu, then select Clear all outputs.

Tip
Don't see an option to upload a notebook (.ipynb) in your workspace?
- Use Create a new notebook, then copy and paste the code from the tutorial.
- Or, use the Open the sample notebook option in the Data Science workload (when available).
- If your organization has Git integration enabled, you can also bring notebooks from a connected repo.
Open the sample notebook (when available) in the Data Science workload:
From the left pane, select Workloads.
Select Data Science.
From the Explore a sample card, select Select.
Select the corresponding sample:
- From the default End-to-end workflows (Python) tab, if the sample is for a Python tutorial.
- From the End-to-end workflows (R) tab, if the sample is for an R tutorial.
- From the Quick tutorials tab, if the sample is for a quick tutorial.

Attach a lakehouse to the notebooks
To demonstrate Fabric lakehouse features, many of the tutorials require attaching a default lakehouse to the notebooks. The following steps show how to add a lakehouse to a notebook in a Fabric-enabled workspace.
Note
Before executing each notebook, you need to perform these steps on that notebook.
Open the notebook in the workspace.
Select Add lakehouse in the left pane.
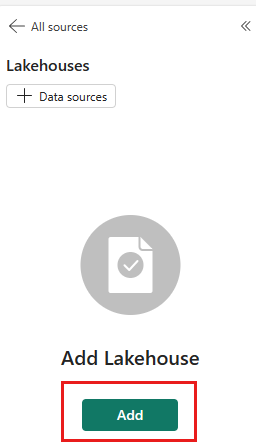
Create a new lakehouse or use an existing lakehouse.
- To create a new lakehouse, select New. Give the lakehouse a name and select Create.
- To use an existing lakehouse, select Existing lakehouse to open the Data hub dialog box. Select the lakehouse you want to use and then select Add.
Once a lakehouse is added, it's visible in the lakehouse pane and you can view tables and files stored in the lakehouse.
