Set up more users on your HoloLens 2
Often organizations have many devices and lots of different people who use those devices. When people are looking to use a HoloLens 2 device, they often want to get straight to their app. If you have to do more setup, it can be hard to get started quickly. In this article, we cover the best ways to reduce setup time, best practices, and cover variations in logging into a device.
Note
In all these scenarios we’re talking about scenarios in which a second user can use the device, so all these scenarios use Microsoft Entra identities.
Best practices
The following are the average lengths for each scenario.
| Scenario start to app launch | Average time in minutes | Best practices |
|---|---|---|
| User exists on device, sign in existing account | Under a minute | - Use a device already used - Use labels - Fast logins |
| New user on device | Short | - Quick add user - Set up flows |
| Device needs to go through first-time setup or the Out of Box Experience (OOBE) | Moderate | - Fast first set up - Pre set up person - Use policies - Set up flows |
Use an already used device to get to your app fastest
The key take away from this chart, is if you can use a device you have already used before then you can sign in and use the app in less than a minute. If you have to go through setup, then it takes a few minutes. We highly suggest you physically label your devices.
Have a designated setup person
Have someone at your location who sets up your devices. By setting up devices in advance, you can ensure that when the HoloLens reaches the end user that the device is configured with any policies and apps they need. It also helps shorten the amount of time it takes for them to set up.
Pre setup Autopilot
If your devices are set up to go through Autopilot, then take those devices through Autopilot. It happens regardless, but by doing it now you save your end-user several minutes of time. Autopilot can apply helpful settings to speed up the new user process, and deploy your apps to the device.
- If you have an Ethernet to USB-C adapter, you can plug in your devices the moment OOBE starts to begin autopilot without having to wear the devices.
- You can also create a USB-C flash drive with a provisioning package that contains your Wi-Fi info. Plug it in when OOBE starts, and confirm applying the provisioning package. Wi-fi is detected and you can start Autopilot.
- If you don't have those options available, then manually proceed through OOBE until Autopilot starts.
Provision the device in advance
You can use a provisioning package to apply both helpful settings to speed up the new user process, and deploy your apps to the device. Take a look at use policies to speed up your setup to see which policies speed up device set up for the first user, and for each new user.
If you complete OOBE and set yourself up as a user, then when your end users pick up the device they have a scenario of adding themselves as a new user.
Physically label your devices
Place a label either on the rear outer cover, or the outer arms closer to the front so they don’t go into the rear outer cover. See about HoloLens 2 to see the names of hardware parts.
By having a labeled device users can quickly pick up a device, they've used before. It can also help recognize other things such as a device that's known not to be working, or which ones were used recently and still need charging.
Fastest to log in to an existing account
When you're signing back into a device, there are several methods you can use. We cover the fastest three.
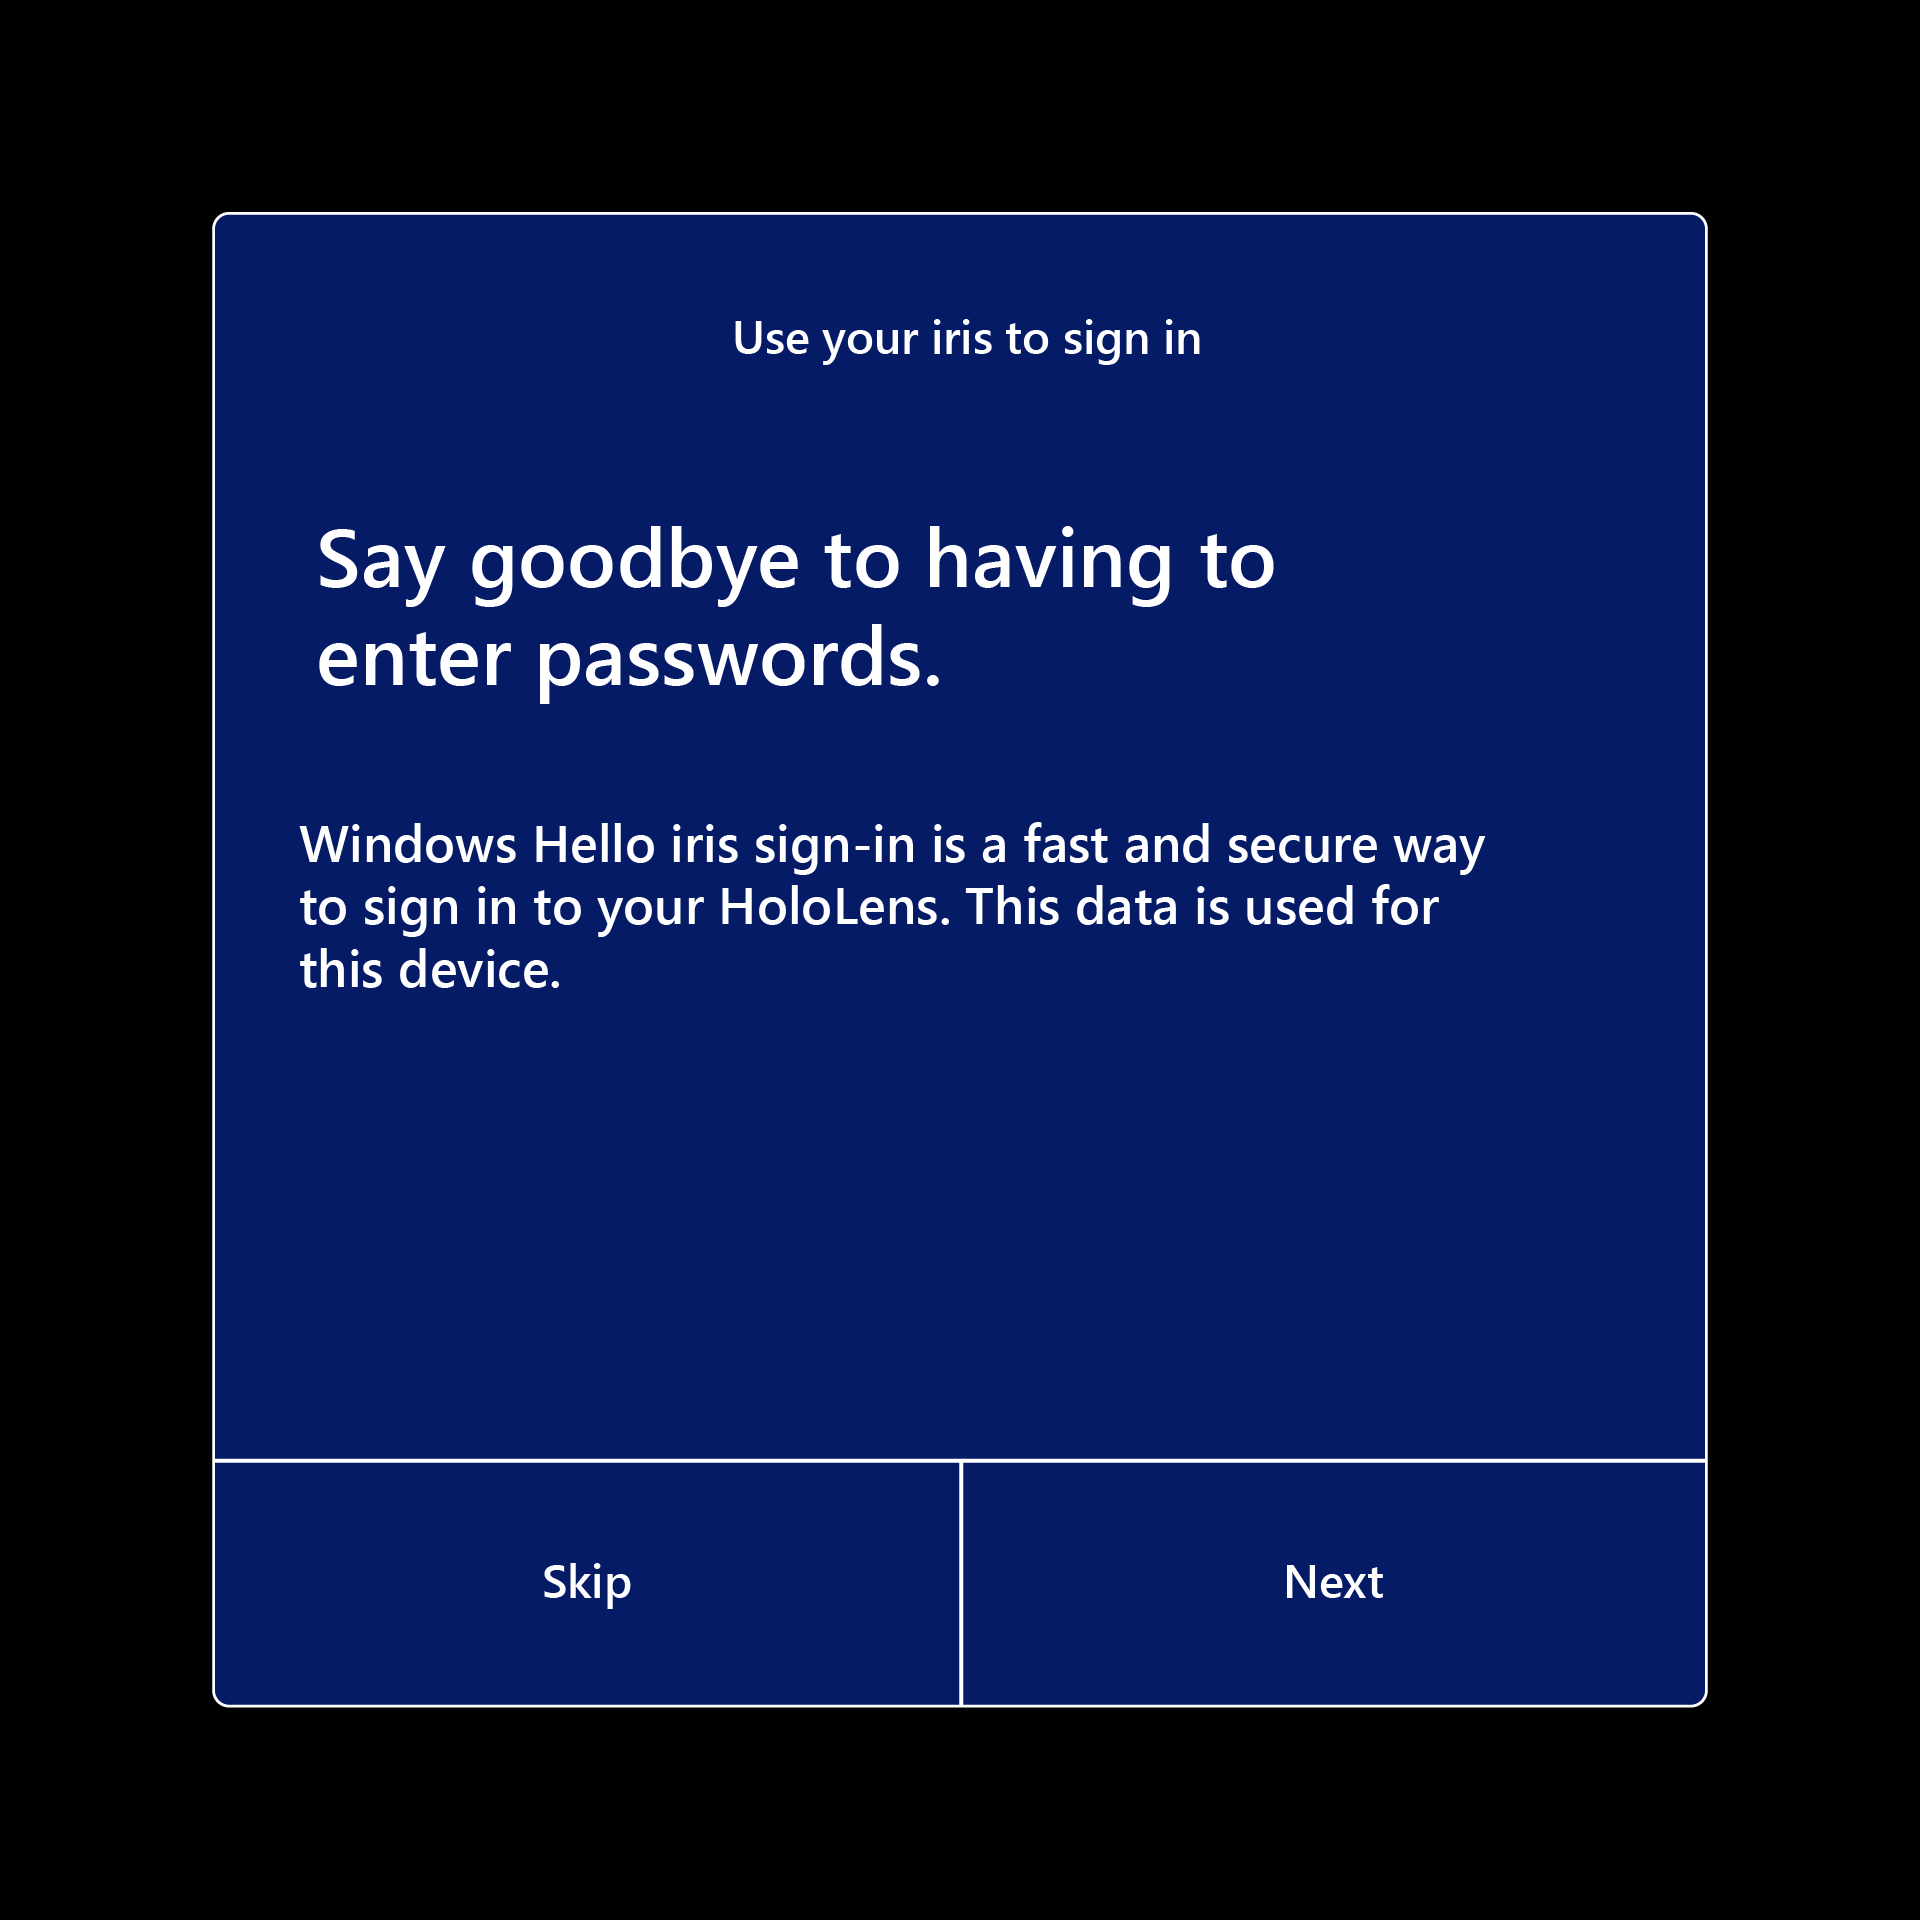
- Iris : Once Iris is set up, either during OOBE or in Settings, a user can sign back in with Iris. This login method takes no input on behalf of the user and they’re instantly signed in when recognized.
- PIN : A PIN has a minimum requirement of six numbers, which is faster than typing in a lengthy password with multiple requirements.
- FIDO2 Security key : A security key allows someone to login with a PIN (for the key) and a touch, which is fast. Also, when setting up a new user on a device using a FIDO2 security key does not require them to using their phone for Multi-factor authentication.
Fastest ways to set up account on new device
When you're getting your account on a new device for the first time you don't want to be typing out your full username and password using the holographic keyboard. Depending on the scenario you're in, there are two faster ways.
Adding your user to an existing device
Use a FIDO2 Security key. Why? By using a FIDO2 security key you don't have to type in your user name and password, or even use multi factor authentication. You can add your user to the device quickly in this way.
Setting up a device for the first time
When in the EULA after confirming it's a work device, don't start typing your username. Instead select sign in from another device. This practice lets you go to aka.ms/devicelogin on another device, type in the 9 character code, and proceed to sign in. If you have already logged into your account on that device, then you're able to select your account. If you haven't, then you're able to use a keyboard you're more familiar with.
Use policies to speed up your setup
First experience policies
If you want to speed up both Out of Box Experience (OOBE) set up or for each new user on devices, then you want to set first experience policy.
If you're using Windows Configuration Designer to create provisioning packages, you can use the wizard to Provision HoloLens devices -> Provision HoloLens 2 devices and ensure you properly configure everything in the Set-up device page to help streamline OOBE.
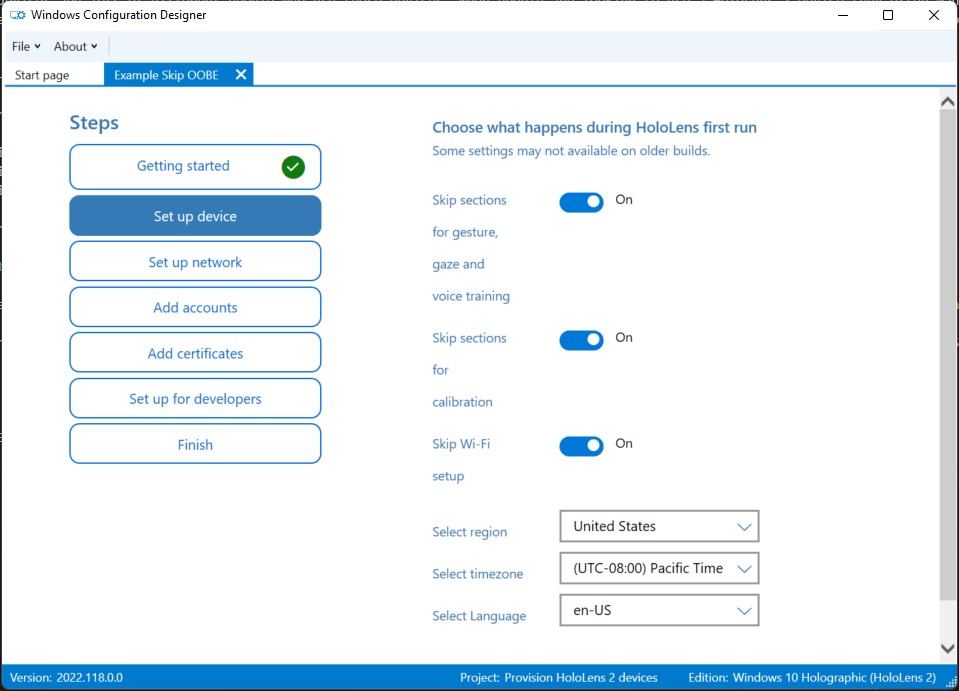
FirstExperience (Windows Configuration Designer reference)
More policies
There are many other policies that affect the setup experience, by configuring them as well you reduce the number of screens in the setup experience. When setting up more users, you’ll also see screens for speech and location. By configuring the setting for the device, no extra users see those confirmations.
Note
For Speech, the consent screen is not be shown if the feature is disabled. If it is left as default (user choice) or set to on, the user is still presented with the consent screen.
| What's skipped | Details | Screenshot of screen skipped |
|---|---|---|
| Telemetry | The page asking users to help improve HoloLens, by reporting extra data, which helps us fix bugs. Using Policies/System/AllowTelemetry |
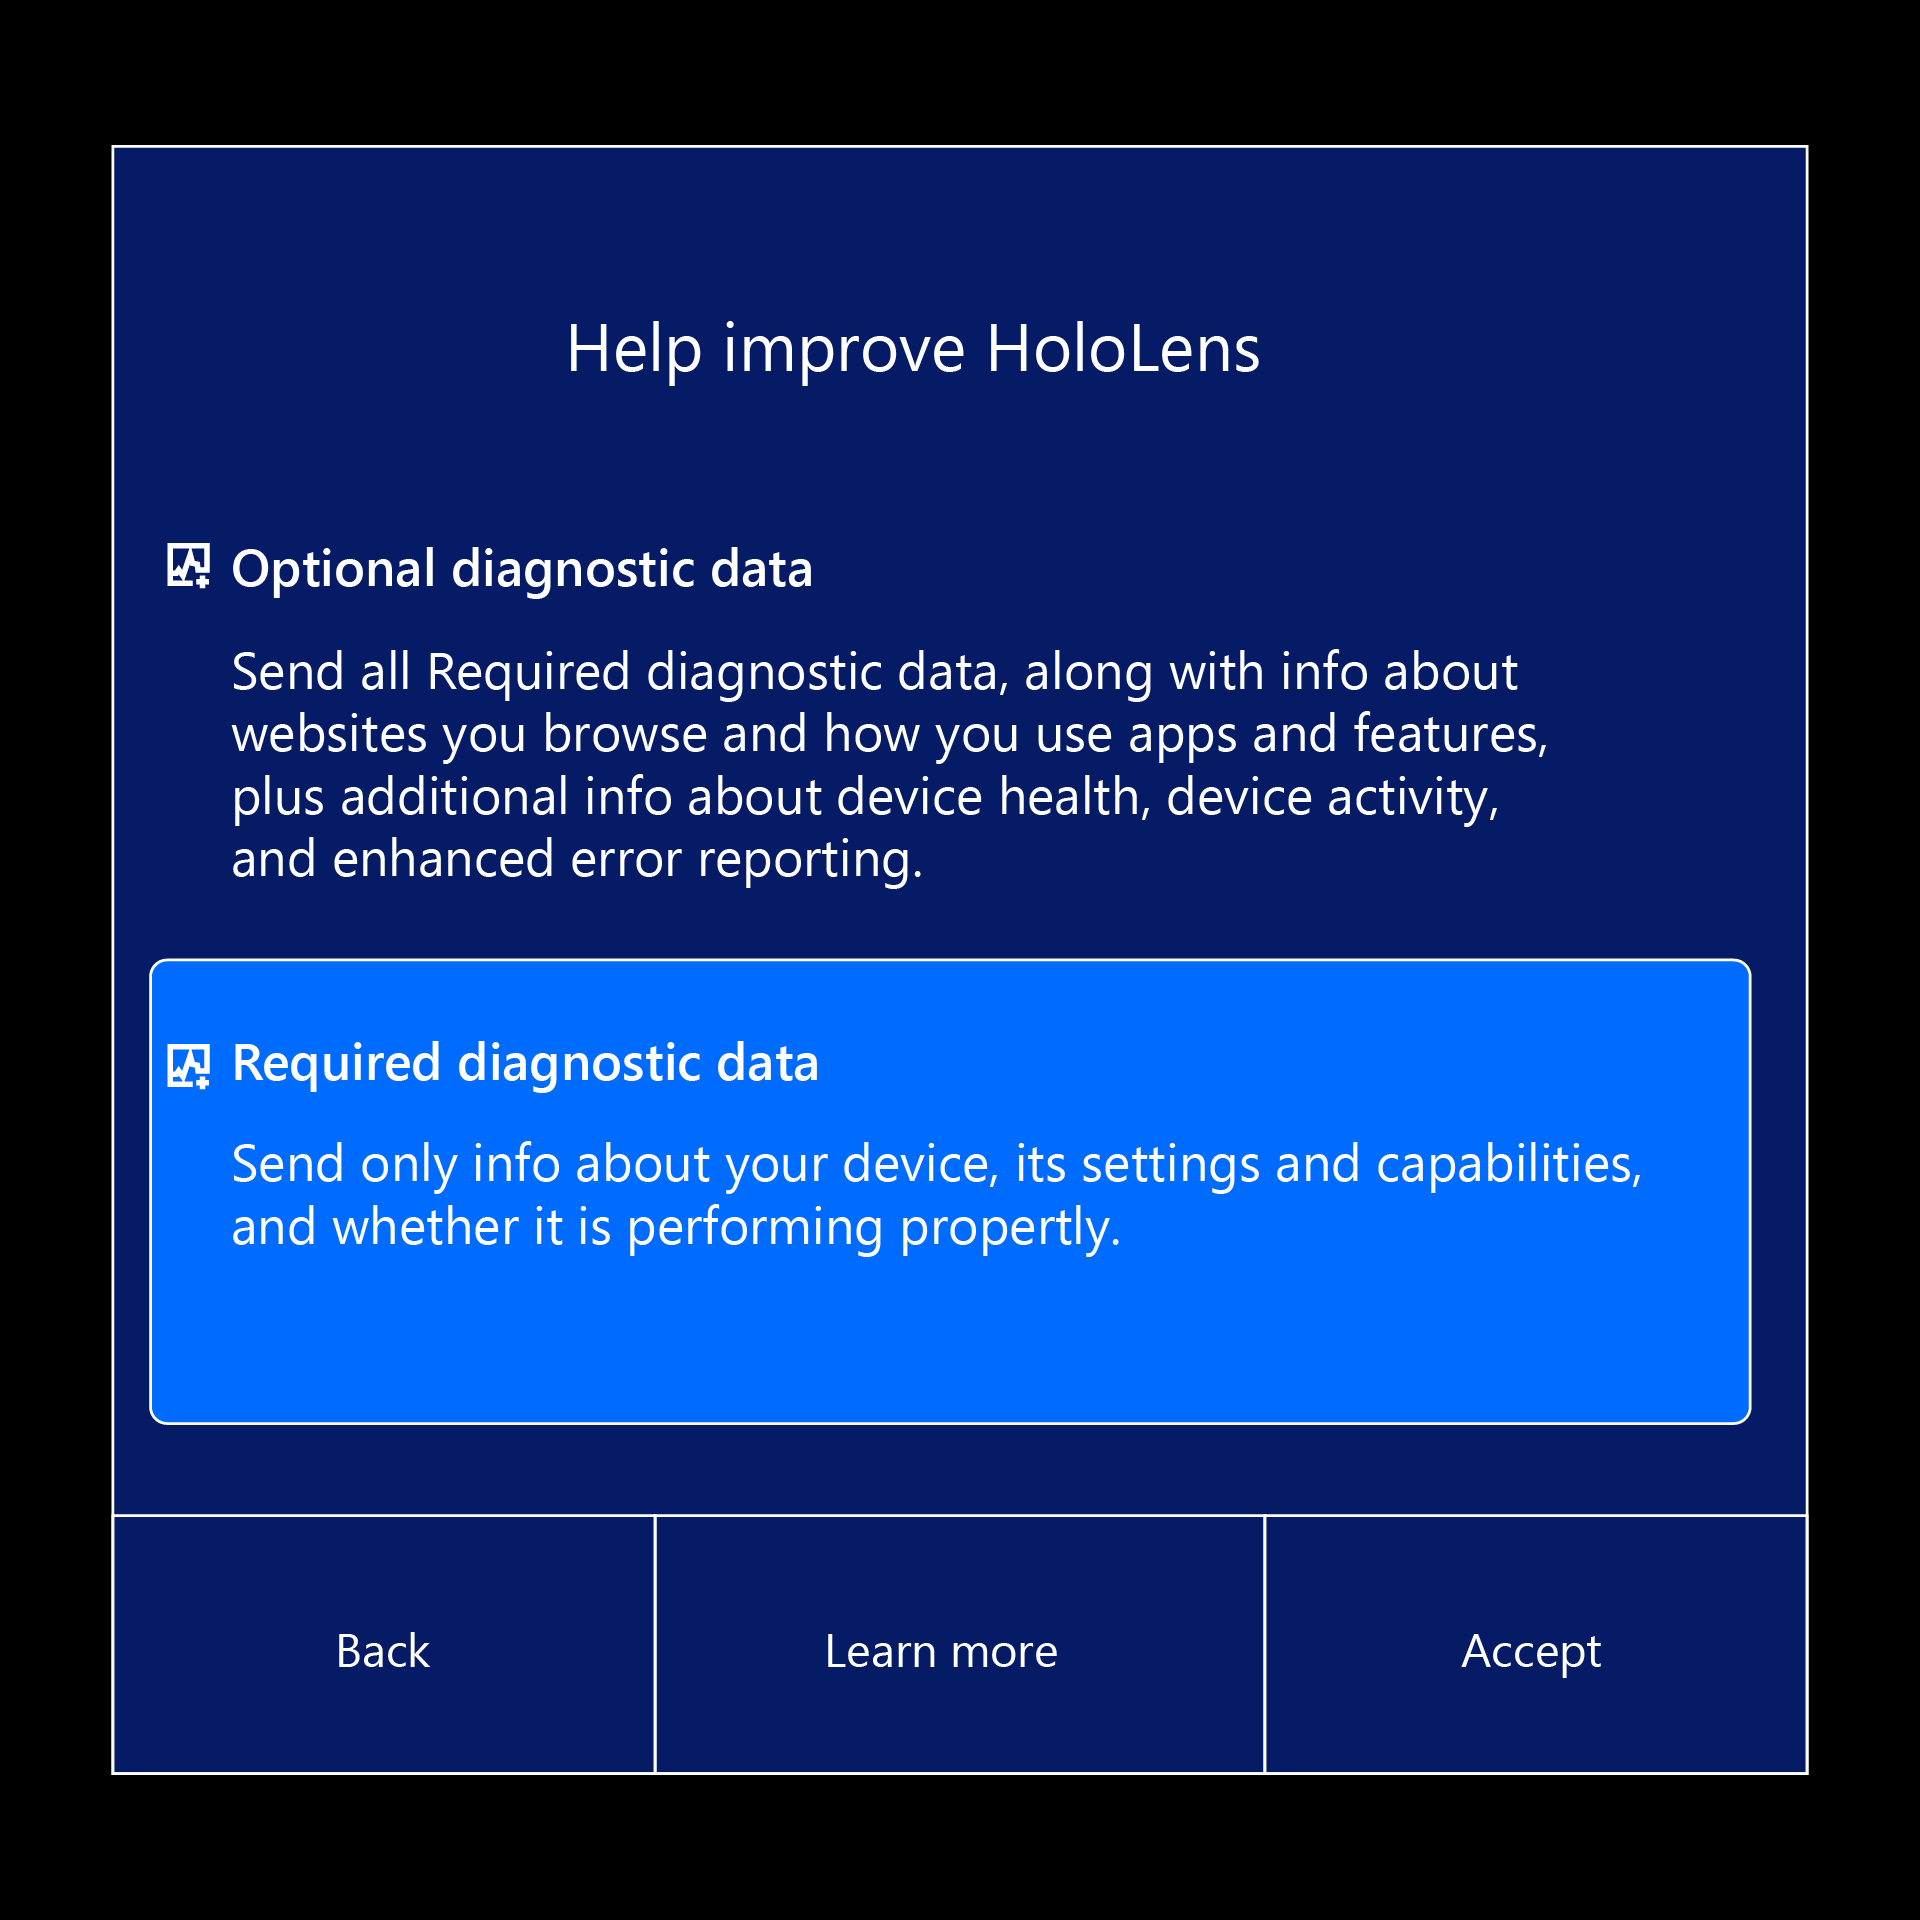 |
| Speech | The page that asks the user if they'd like to use voice commands on the device. Using Policies/Privacy/AllowInputPersonalization |
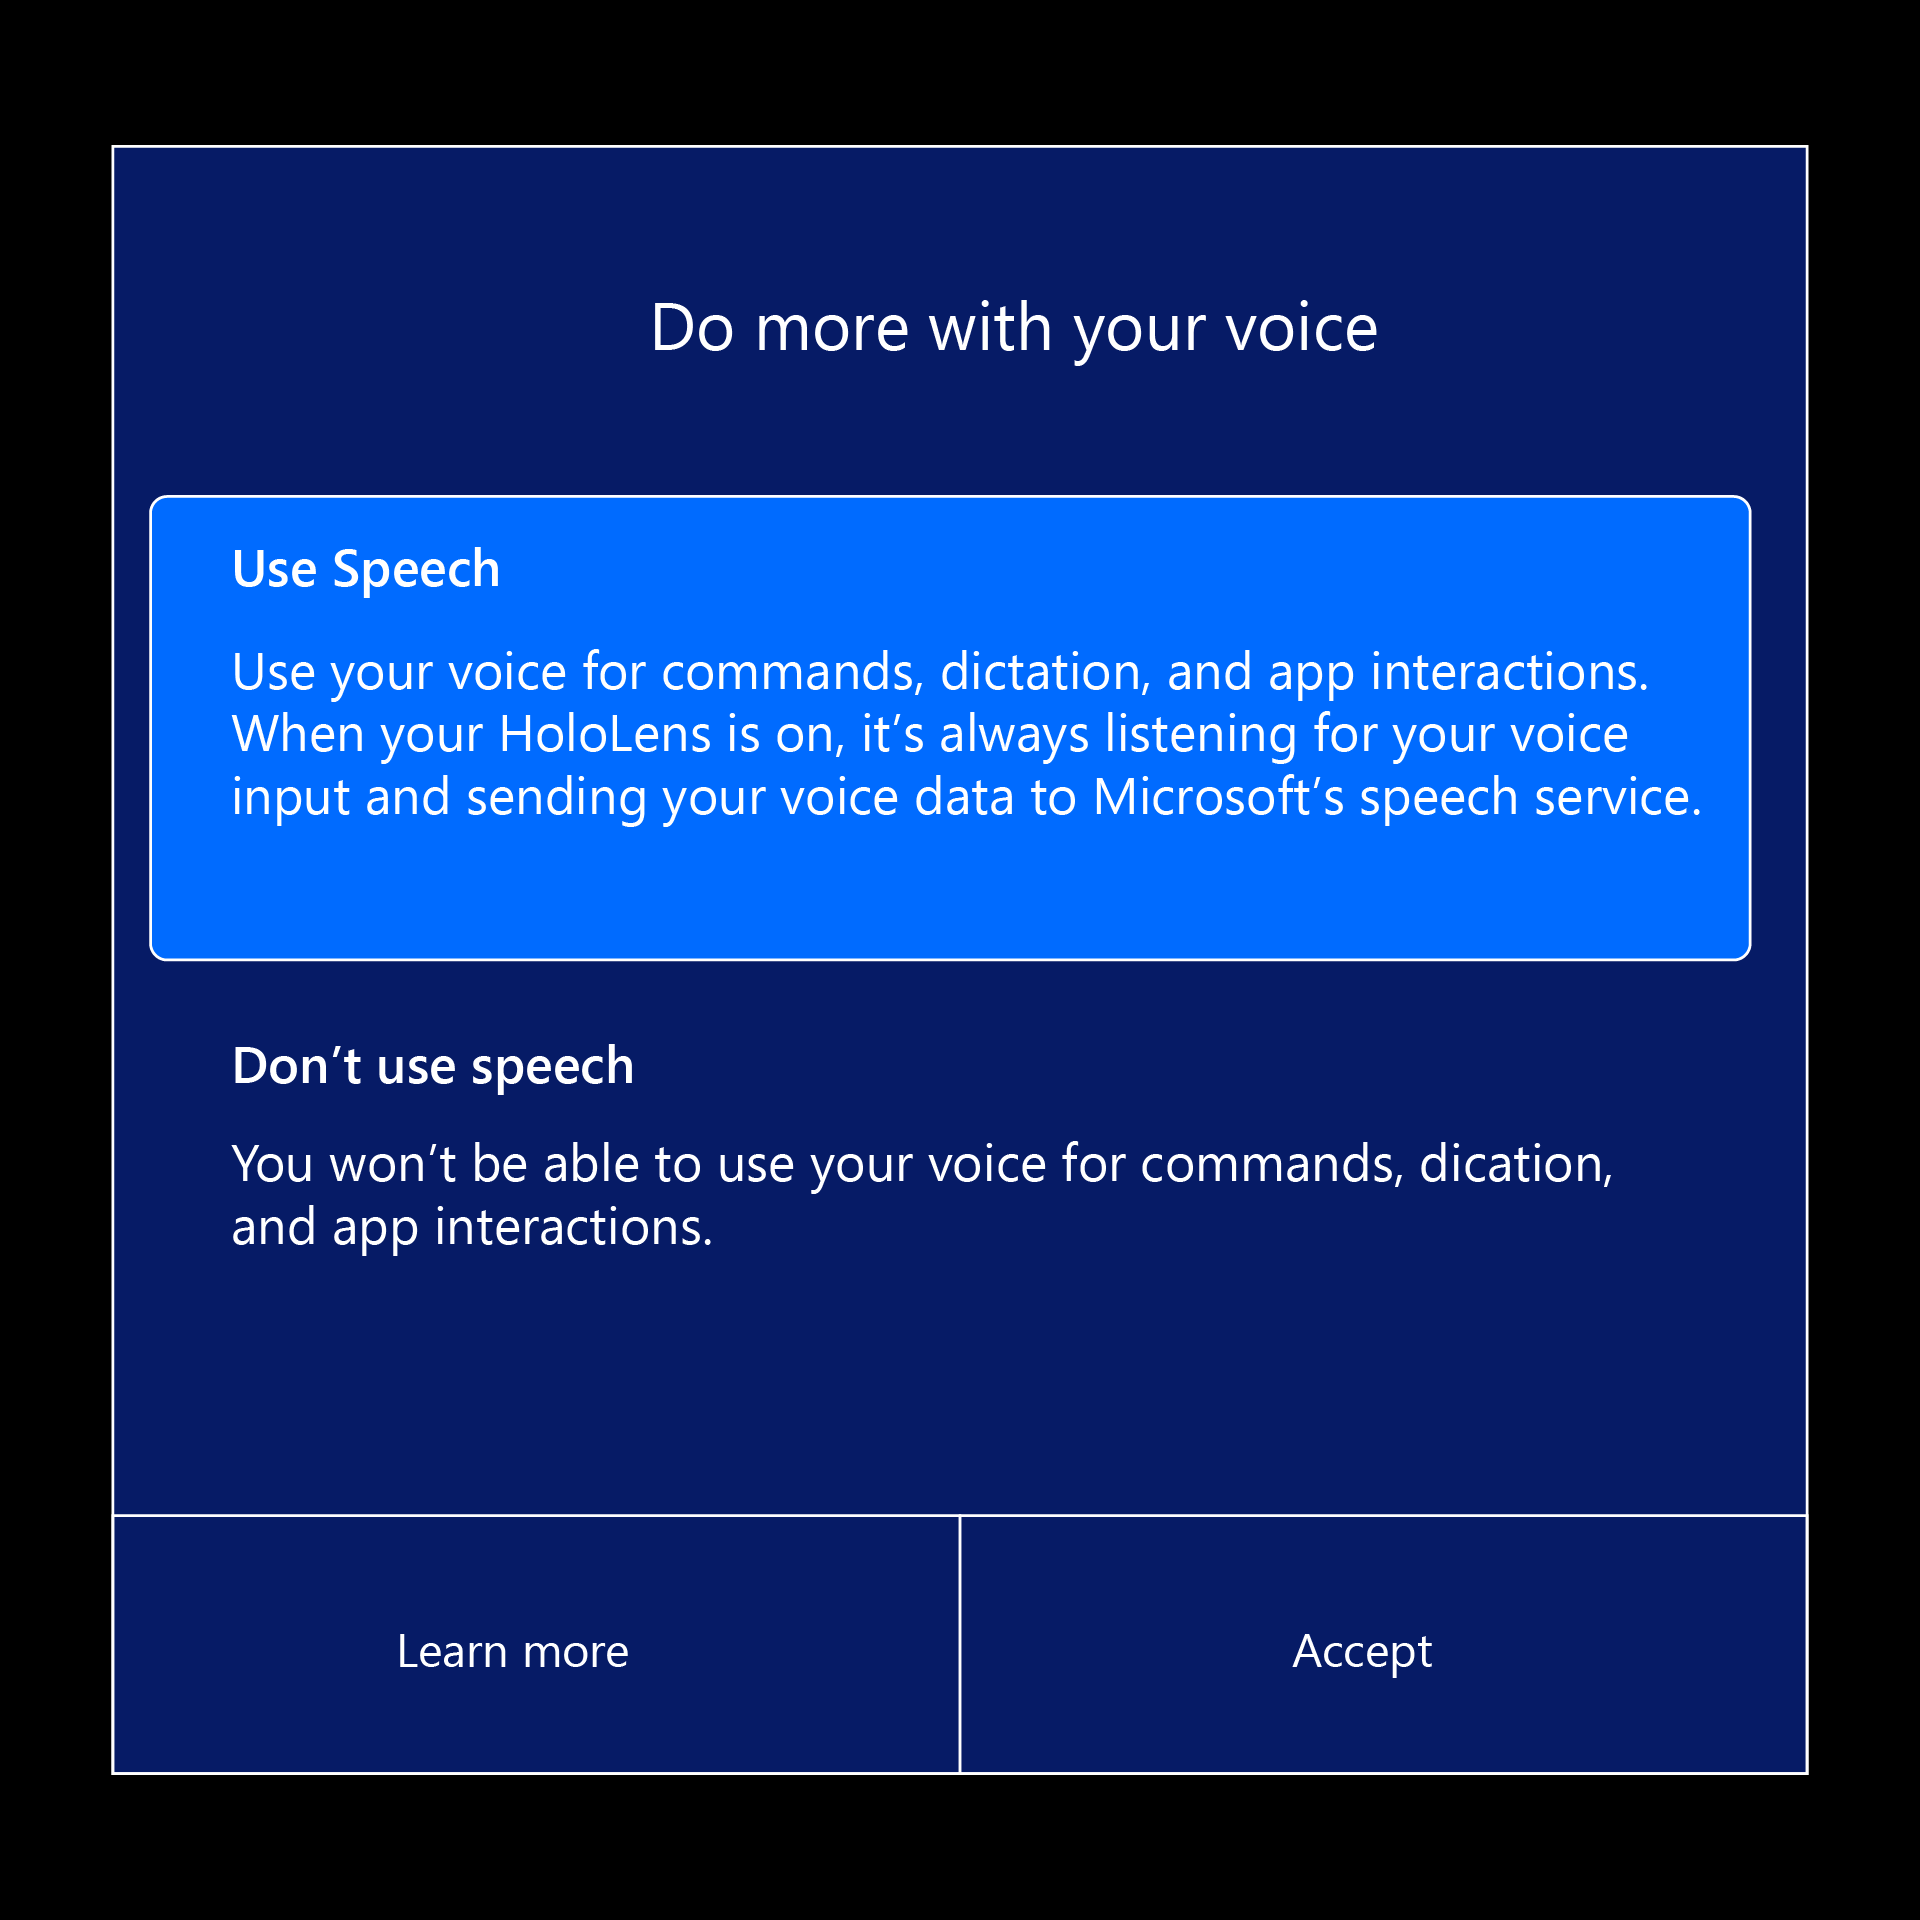 |
| Location | The page that asks the user to enable their location to improve in app experiences. Using Policies/System/AllowLocation |
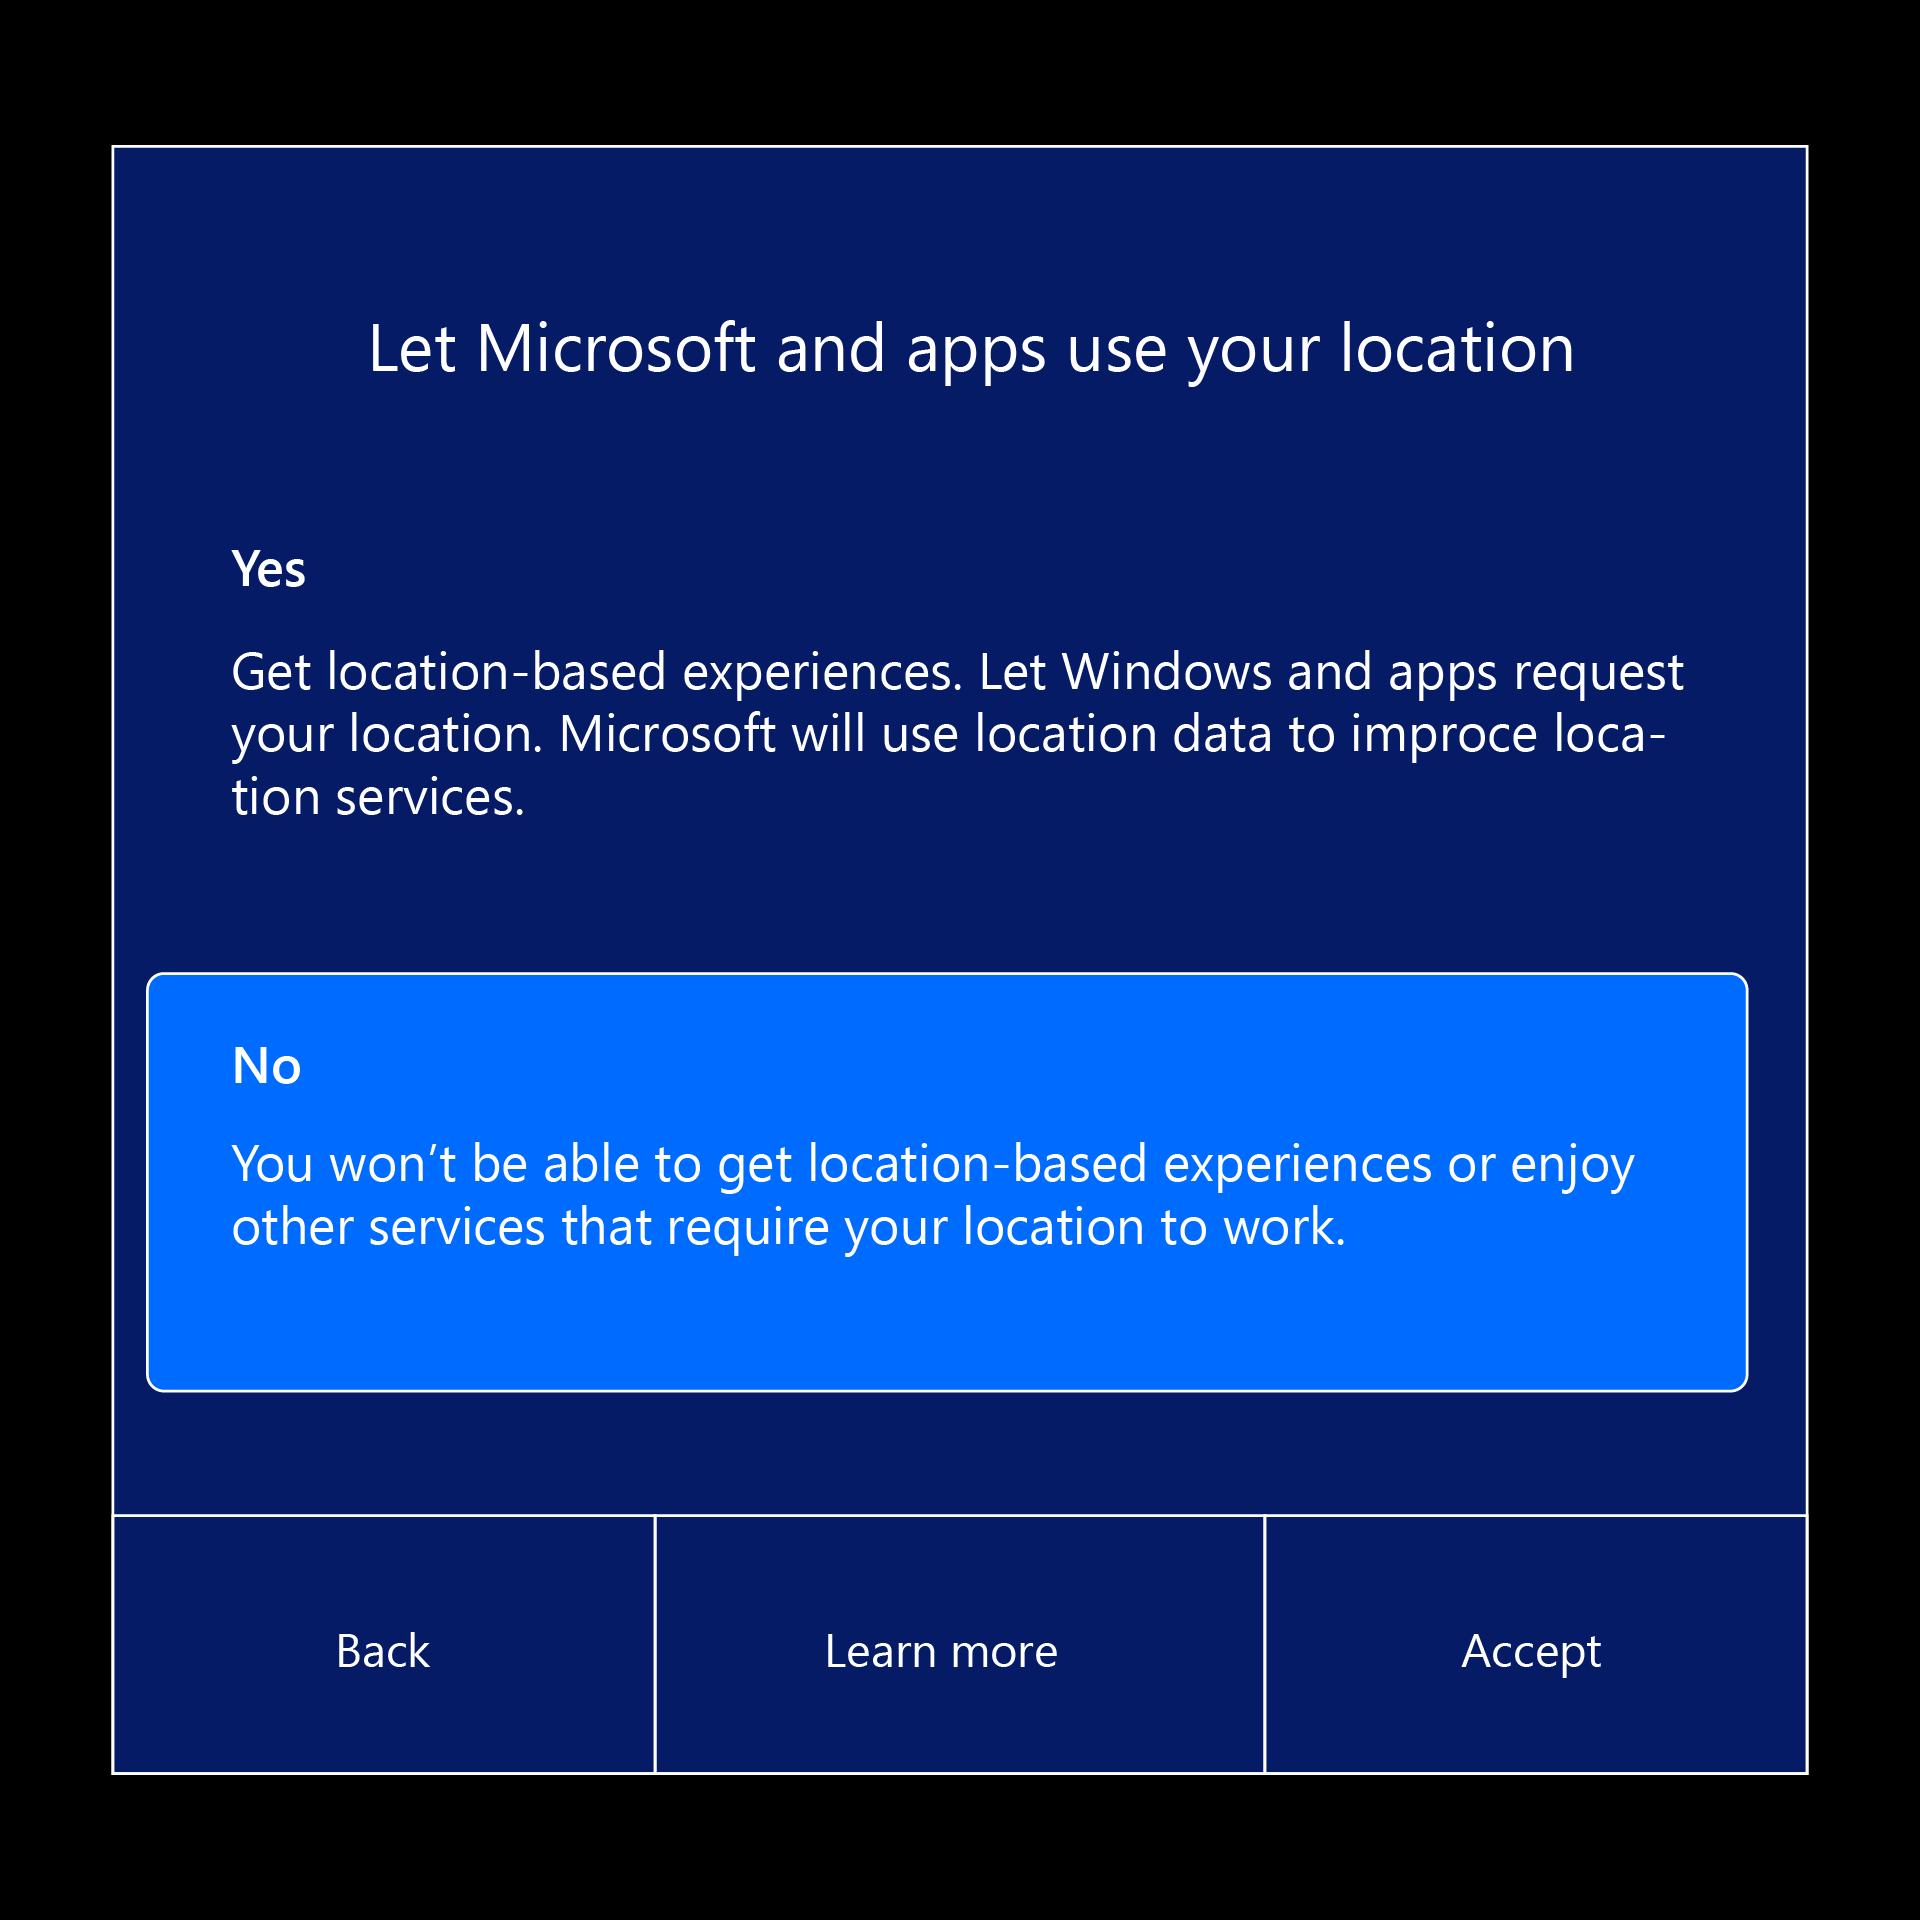 |
| Iris | The page asking a user to enroll in Iris authentication and the process of enrolling. Using Passportforwork CSP ./Device/Vendor/MSFT/PassportForWork/Biometrics/UseBiometrics |
 |
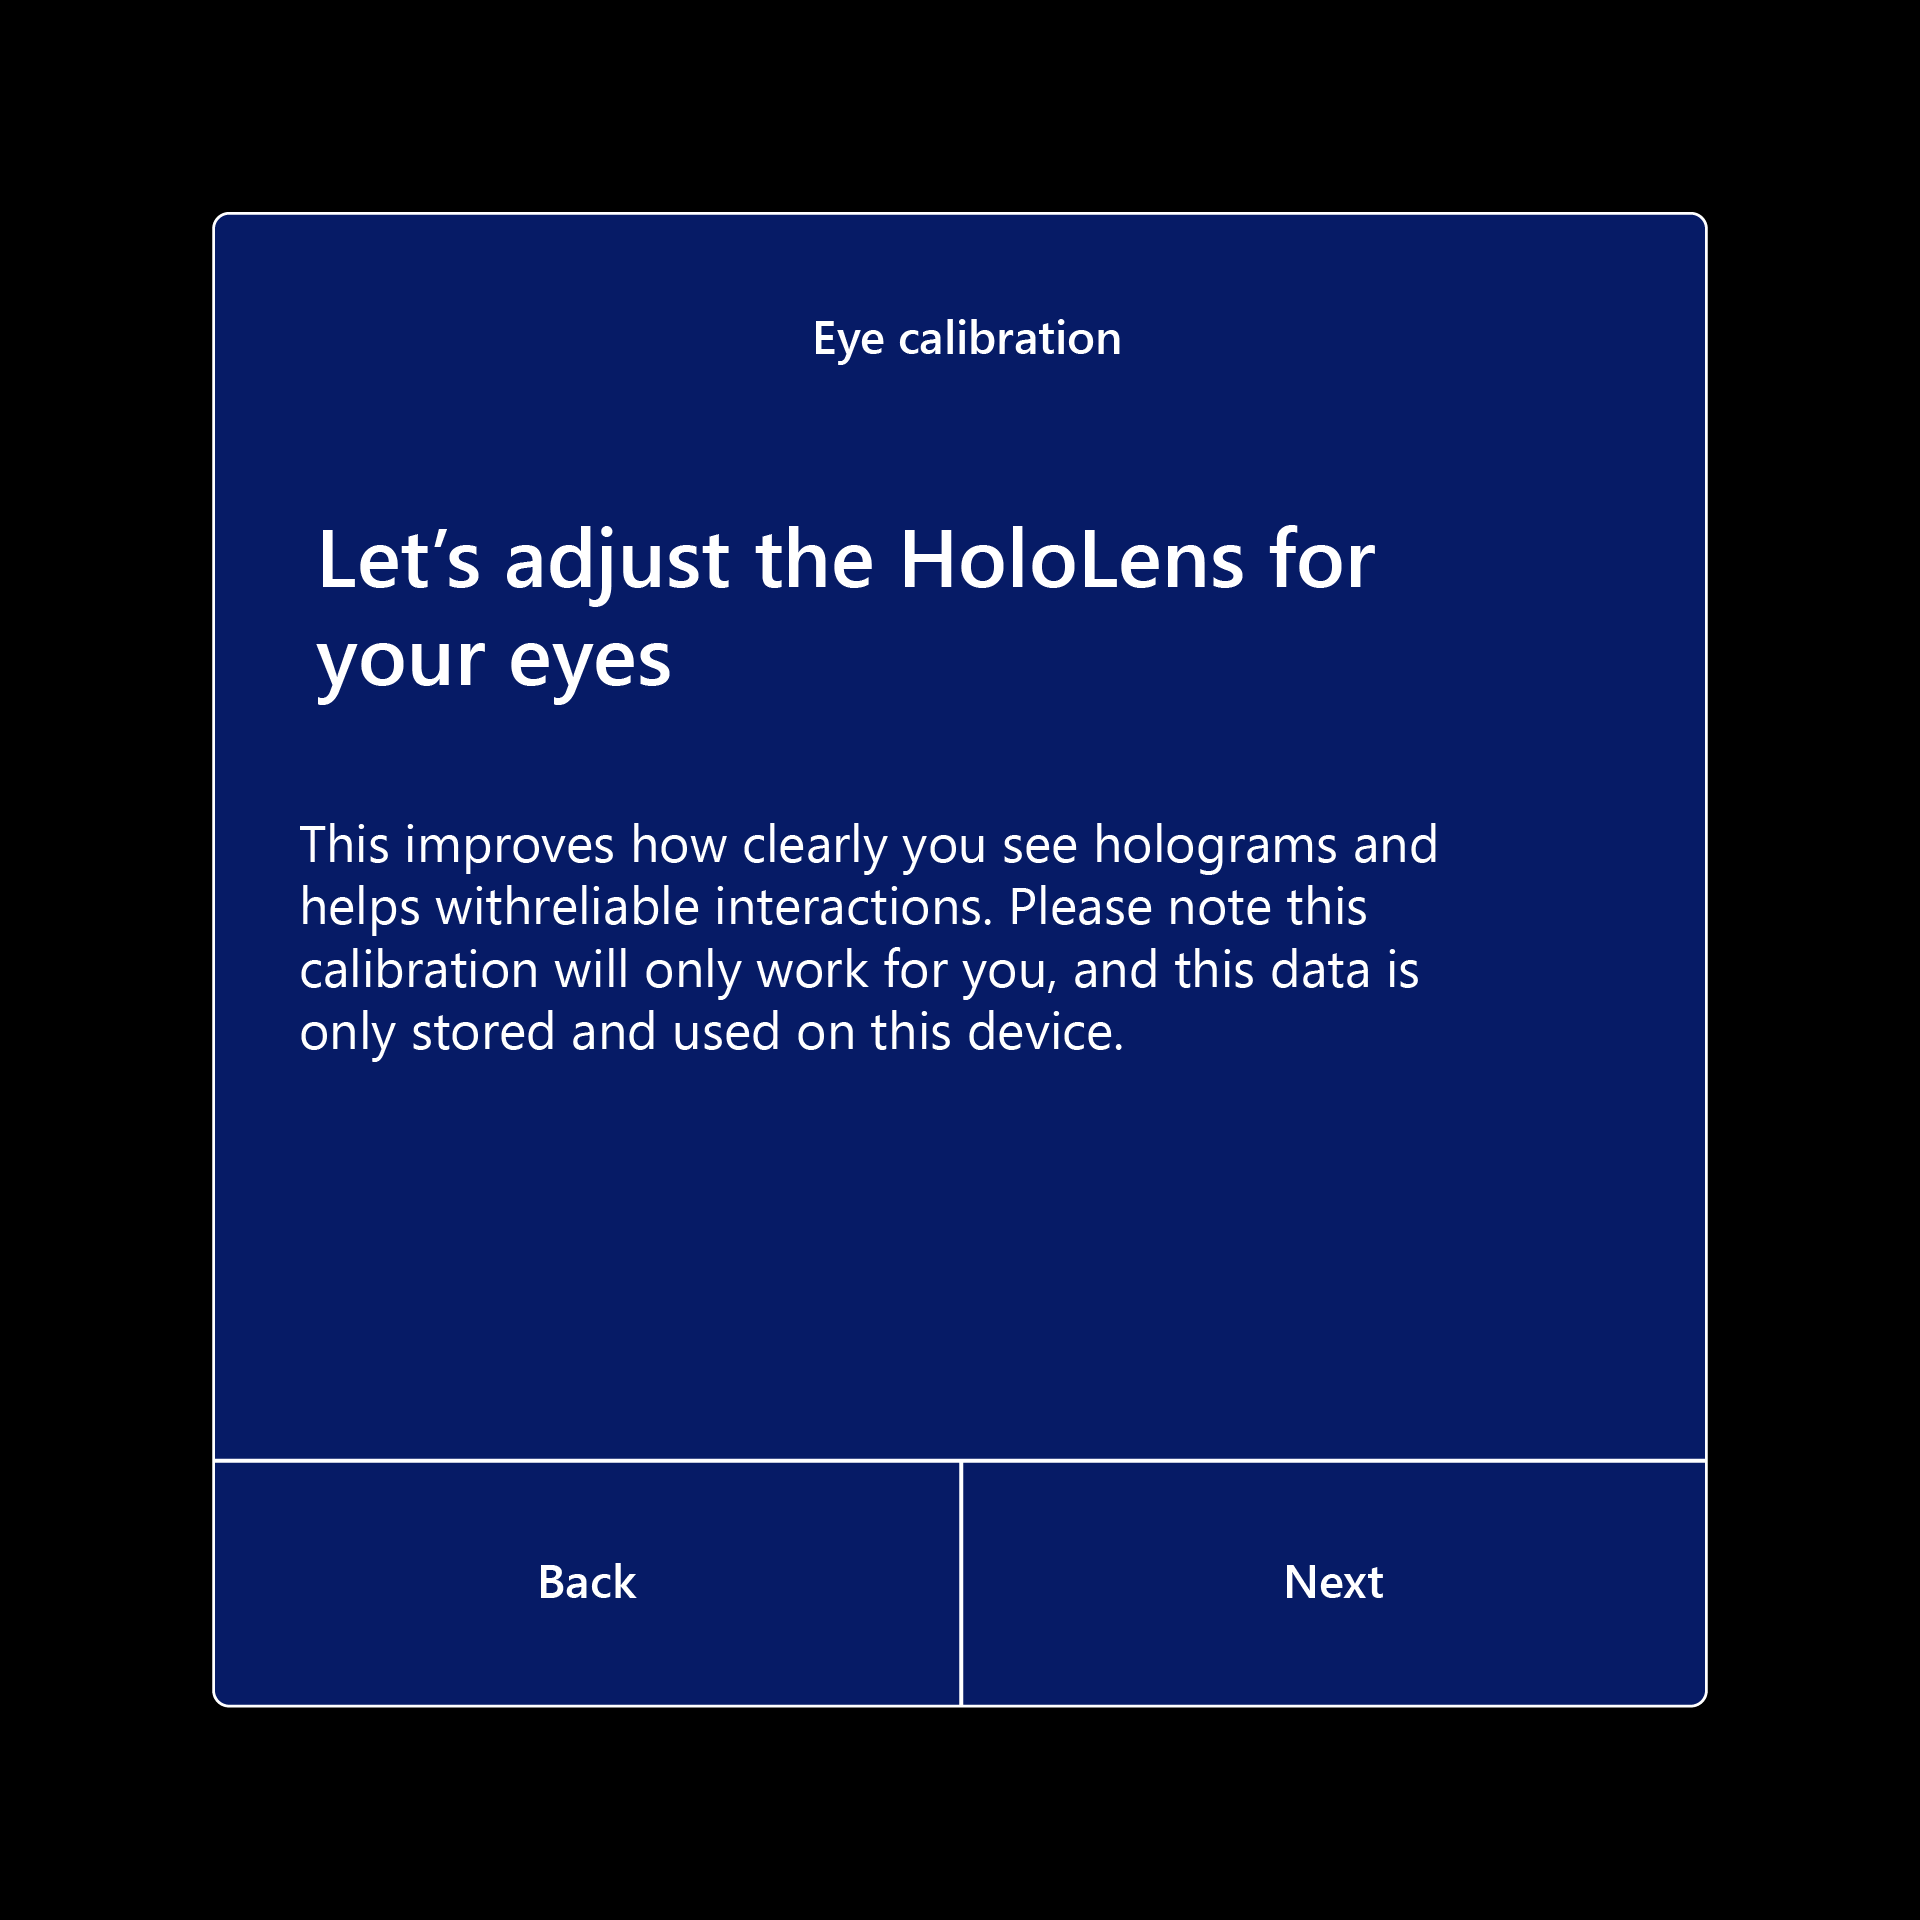
| Skip Calibration | The calibration run during OOBE, which can later be run via the Settings app, or when an app that uses eye tracking prompts the user to calibrate. Using: SkipCalibrationDuringSetup This policy requires Windows Holographic, version 22H2 or newer. |
 |
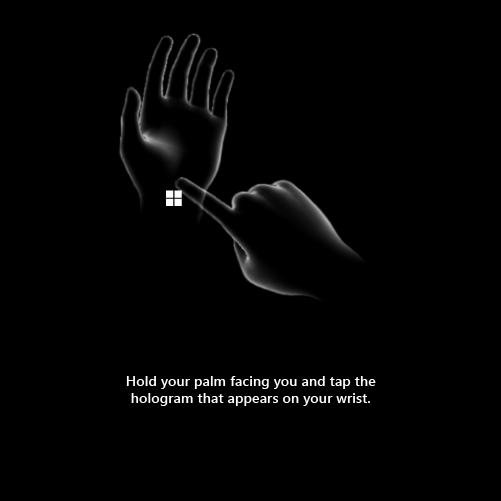
| Skip Training | How to open and close the Start menu, which can later be learned via the Tips app. Using: SkipTrainingDuringSetup This policy requires Windows Holographic, version 22H2 or newer. |
 |
Set up conditions
In general, there are a few scenarios when you pick up a device. In those scenarios, there can also be some variations that can speed up (or slow down) your setup. The general states you can find a device in when picking it up to use it are:
- You have signed into this device already
- You haven’t signed into this device yet
- No one has set up this device yet
The modifiers that can increase or decrease the time to set up are typically:
- You use a provisioning package to apply settings all at once, instead of manually during setup
- Your device already has helpful setup policies, due to someone else applying them via provisioning or from going through Autopilot set up
- Your device needs to go through autopilot, which takes some time
- Your device was connected to the Internet and went through autopilot already, saving time
- Your device's battery is low, which may pause Autopilot if it occurs
Set up flows
Let us walk through different scenarios in which your device needs to be set up. This list excludes signing back into a device that already has your account on it:
Instructions: Select the link matching what you see, your selection determines the tabs you see in the next section.
When you first boot on the device what do you see?
This space intentionally left blank
If you scrolled down and are reading this, please select a choice from above.
This space also intentionally left blank
Continue on to the next instructions if your device had a user list. Select a choice from before if you scrolled down and are reading this.
- You may be asked to set up multi-factor authentication if it hasn’t already been set up on this account.
- Calibration will start. Run through the calibration process following the gems with your eyes.
- Your device will prompt you to set up Iris sign in. Go ahead and register following the dots with your eyes.
- You'll be asked to set up a PIN for your sign in. This is for this device only.
- You'll be shown prompts for voice, location, and telemetry. (Please enable telemetry as it helps us identify and fix issues.) 1
- You'll be shown how to open the start menu. Hold your palm facing you and tap your wrist. Do it again and finish the training. 1
1 - These screens can be skipped if these settings were previously configured by policy.
Setup is now complete. Congrats!
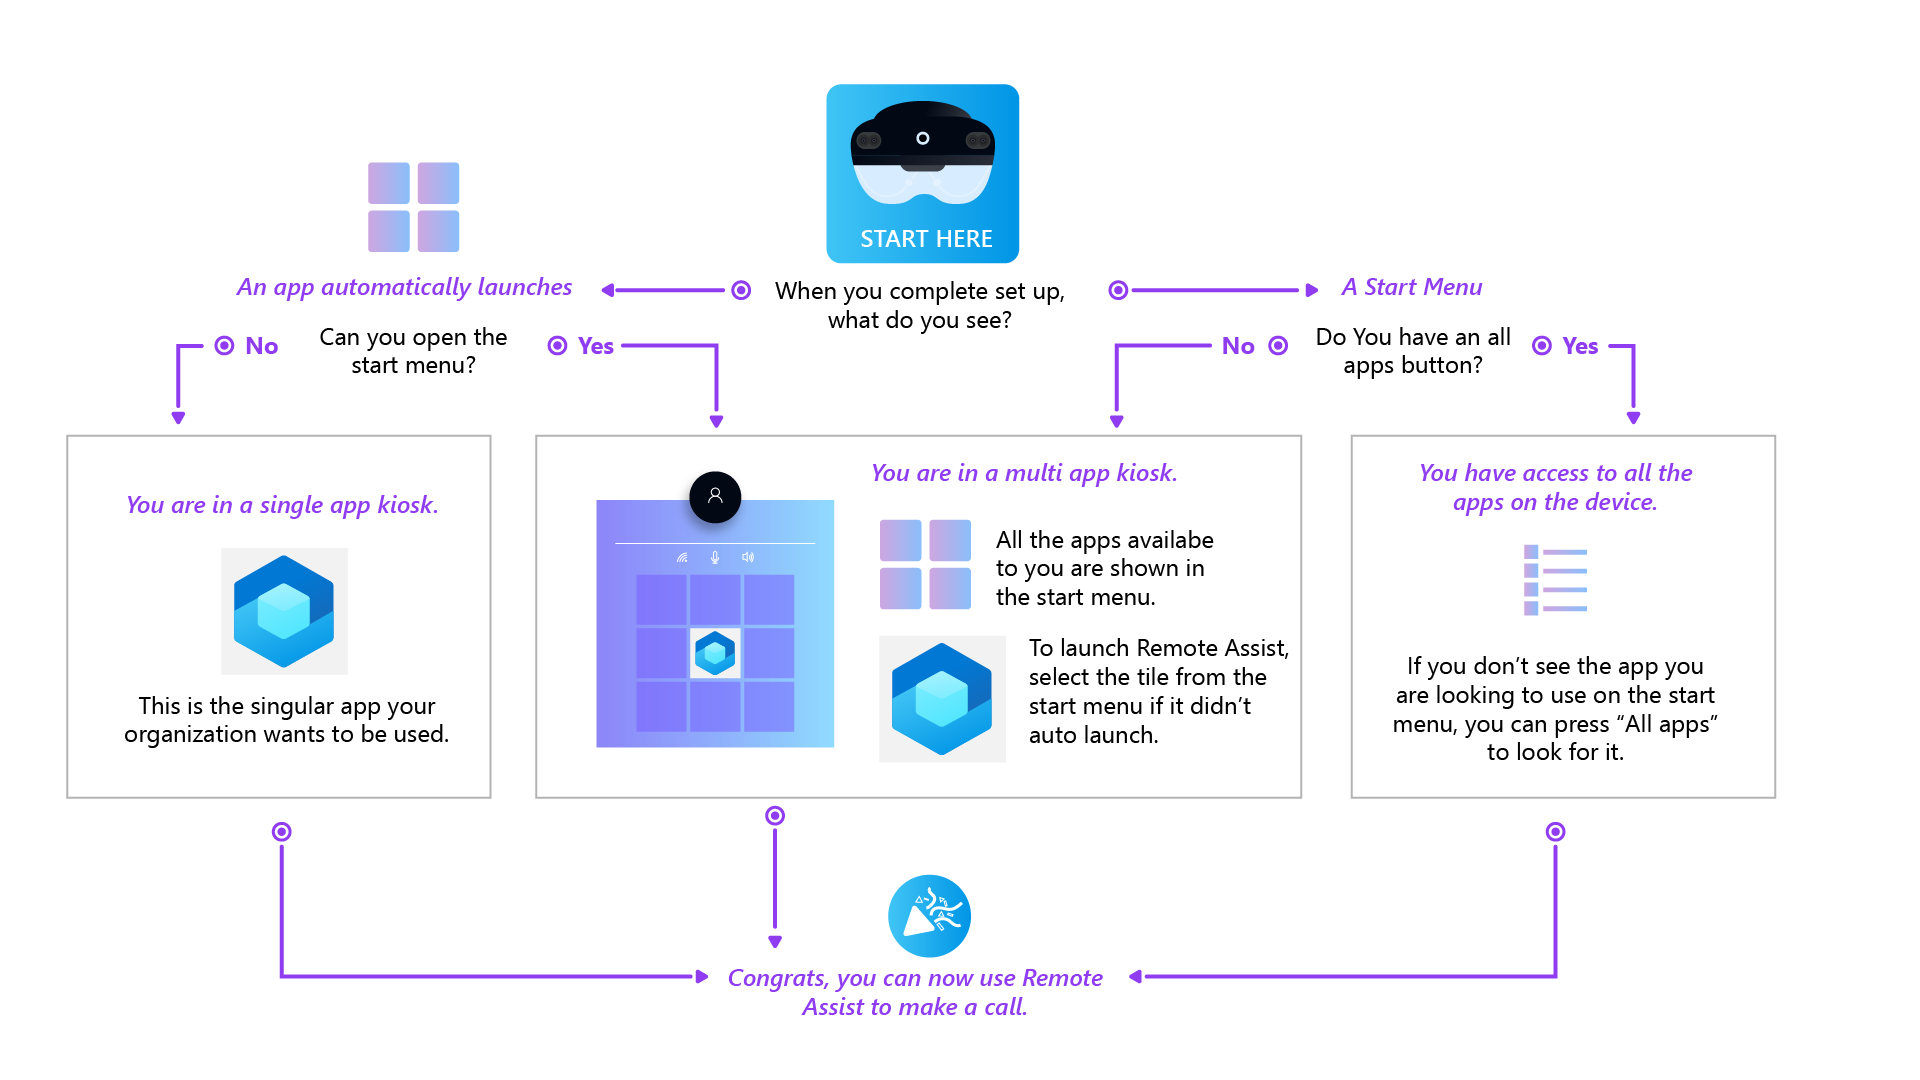
After OOBE - Paths to your app
We’re still a few steps away from being able to make that Remote Assist call. Using the following flow chart we can determine the environment you're in and how to use Remote Assist.
Note
After device set up the Microsoft Store app checks for updates for Remote Assist and other in-box apps approx every 24 hours.
Feedback
Coming soon: Throughout 2024 we will be phasing out GitHub Issues as the feedback mechanism for content and replacing it with a new feedback system. For more information see: https://aka.ms/ContentUserFeedback.
Submit and view feedback for