Note
Access to this page requires authorization. You can try signing in or changing directories.
Access to this page requires authorization. You can try changing directories.
Overview
The System for Cross-domain Identity Management (SCIM) specification is designed to make managing user identities in cloud-based applications and services like LinkedIn Learning easier. By utilizing SCIM, you can automate user provisioning and de-provisioning and keep user attributes and group memberships up to date with your internal systems.
LinkedIn Learning currently supports SCIM integrations with the following Identity Providers:
Capabilities Supported
- Create user profiles and assign licenses in LinkedIn Learning
- Remove user licenses in LinkedIn Learning when they do not require access anymore
- Keep user attributes synchronized between your Identity Provider and LinkedIn Learning
- Provision groups and group memberships in LinkedIn Learning
Features and Functionality
Below are the list of SCIM features LinkedIn supports as of February 2023.
| Functionality | Supported? |
|---|---|
| Automatically add users and assign standard attributes | Yes |
| Assign licenses | Yes |
| Revoke licenses | Yes |
| Assign permissions | No |
| Automatically update user attributes | Yes |
| Change or revoke permissions | No |
| Delete users | No |
| Add users to groups | Yes |
| Remove users from groups | Yes |
| Assign/remove users from groups based on attribute value(s) and/or pre-set conditions | No |
| Access rules based on attribute value(s) and/or pre-set conditions | No |
| SCIM + SSO Login Enabled | Yes |
| Large scale group sync (10k >) | Yes |
Prerequisites
Before implementing SCIM for LinkedIn Learning, you must already have the following prerequisites:
- A supported Identity Provider (Azure AD or Okta)
- Admin access to your Identity Provider
- LinkedIn Learning admin access
- Accurate user data in LinkedIn Learning. See the appendix for instructions on cleaning up your user data if necessary for existing Learning accounts.
- Single Sign-on enabled in LinkedIn Learning (preferred)
Configure LinkedIn Learning to Support SCIM Provisioning
LinkedIn Learning currently supports SCIM integrations with Azure AD and Okta. Please follow the detailed instructions for your relevant Identity Provider to configure automatic provisioning for your organization:
If you are interested in utilizing a SCIM integration outside of the supported Identity Providers, please let your LinkedIn Customer Success Manager know so we can gauge interest for future enhancements and partnerships.
Note
It's important to be cautious when making any changes to the Azure AD / Okta / One Login groups or dynamic groups in scope after completing the integration. To avoid any sync issues, make sure to stop the provisioning tool before proceeding. Turn it back on once you're ready to sync again. If you have any doubts or questions, don't hesitate to consult with a Technical Consultant.
Generate SCIM Token
LinkedIn Learning utilizes a bearer token for SCIM authentication, which can be generated in the interface by a Full Admin.
- SCIM base URL =
https://api.linkedin.com/scim
To generate a SCIM token in LinkedIn Learning:
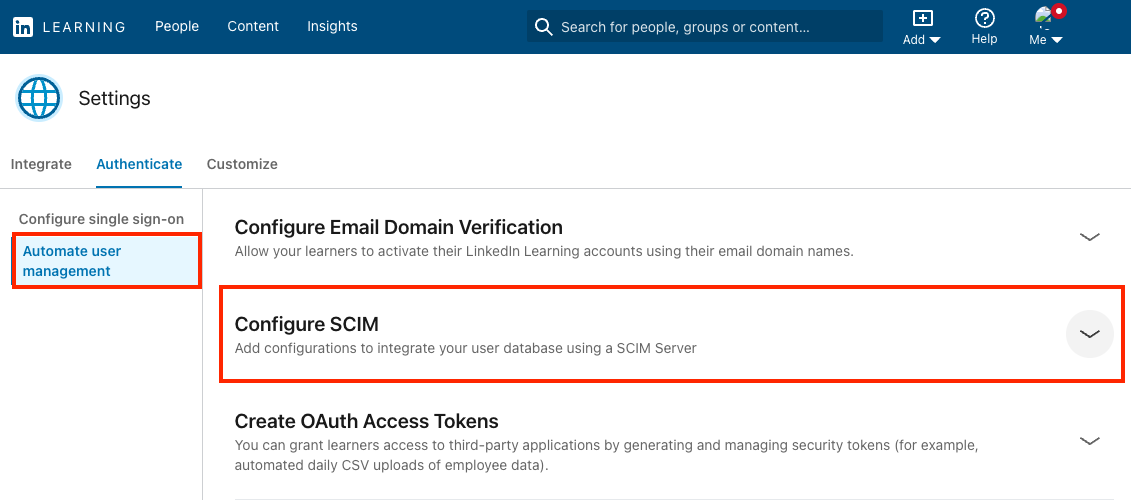
Log into LinkedIn Learning as an admin and navigate to Me > Authentication.

Click on Automate user management and expand the Configure SCIM section.
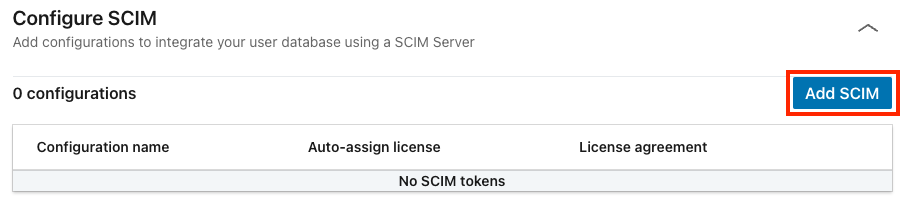
In the Configure SCIM section, Select Add SCIM.
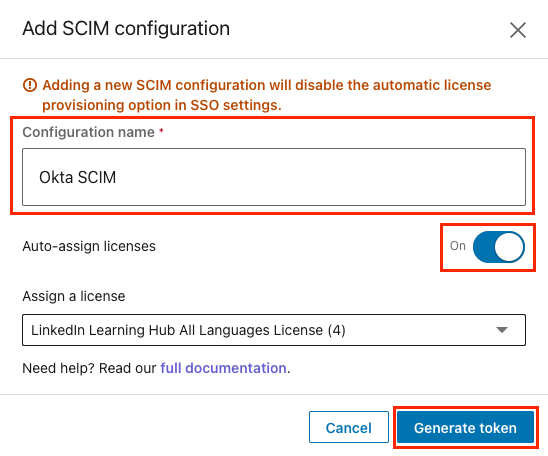
Enter a name for the configuration and set Auto-assign licenses to On. Then, click Generate token.
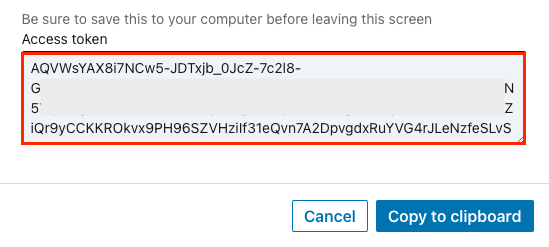
Copy the Access token for use in the next section.
Appendix
User List Clean Up
If you are implementing user provisioning for an existing LinkedIn Learning account, it is very important to ensure your existing user list in LinkedIn Learning is accurate and has the correct Primary Email Address and Unique User Identifier values for every user. To clean up your existing user list:
Log into LinkedIn Learning as an admin and navigate to the People tab.
Filter the user list to only show Active and Invited users.
Click Manage users via CSV > Download filtered users via CSV.
Under User attributes, add Unique user id.
Click Download CSV.
In the downloaded CSV file, correct the unique_user_id value for any user record that is incorrect. This value will need to match exactly the unique user identifier that is used for both Provisioning and Single Sign-on. This value is case sensitive.
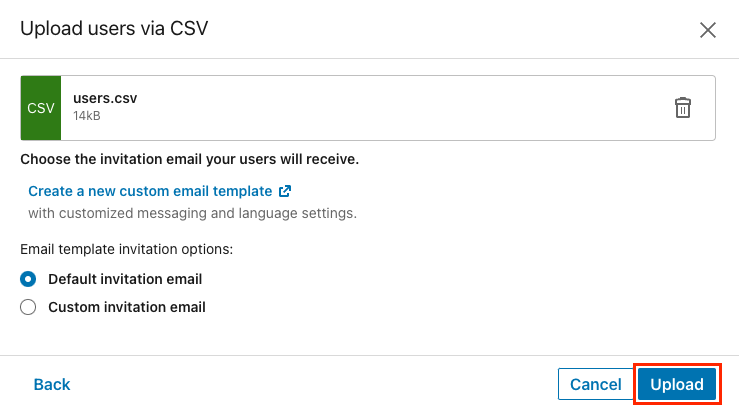
Once you have ensured the unique_user_id values are correct, return to the People tab and click Manage users via CSV> Upload Custom Attributes CSV.
Select your updated CSV file and click Upload. Invitation emails are only sent if you included the license status column in the CSV. If you followed the above instructions, no email notifications will be sent and the option can be ignored.
Note
The same steps can be followed to make changes to the Primary Email Address values, but these two identifiers cannot be changed in the same upload. If both values need to be corrected, first make adjustments to the unique_user_id column, upload the file, then make changes to the primary_email_address column and upload the file a second time.
If you have questions about ensuring your user list data is accurate, please reach out to your LinkedIn Learning Customer Success Manager for assistance. It is very difficult to correct profiles once duplicates are created, so it's best to extra careful and get it right the first time.
Additional resources
- Azure AD SSO Tutorial
- Configure Automated User Management - Azure AD
- Okta SSO Tutorial
- Configure SCIM Automated User Management - Okta
LinkedIn’s Privacy and Data Security Policy
https://www.linkedin.com/legal/privacy-policy
LinkedIn Security Contacts
If you have any security questions or you would like to report a security issue, write to us at security@linkedin.com.