Build your first app with SPFx
SharePoint Framework (SPFx) is a development model to build client-side solutions for Microsoft Teams and SharePoint. Your SPFx Teams app is hosted on Microsoft 365. It provides full support for developing and hosting your client-side SPFx solution. You can integrate your SharePoint Framework solution with:
- SharePoint data and extend Microsoft Teams.
- Your business APIs secured with Microsoft Entra ID.
For this tutorial, start Microsoft Teams app development with SPFx by building your first app with a tab capability.

Note
Teams Toolkit offers only the tab capability in a Teams app built with SharePoint Framework. The bot and message extension capabilities aren't available.
Prerequisites
Here's a list of tools you need for building and deploying your apps.
| Install | For using... | |
|---|---|---|
| Required | ||
| Visual Studio Code | JavaScript or TypeScript, build environments. Use latest version. | |
| Teams Toolkit | A Microsoft Visual Studio Code extension that creates a project scaffolding for your app. Use Teams Toolkit v5. | |
| Node.js | Back-end JavaScript runtime environment. For more information, see Node.js version compatibility table for project type. | |
| Microsoft Edge (recommended) or Google Chrome | A browser with developer tools. | |
| Optional | ||
| Microsoft Graph Explorer | Microsoft Graph Explorer, a browser-based tool that lets you run a query from Microsoft Graph data. | |
| Developer Portal for Teams | Web-based portal to configure, manage, and publish your Teams app including to your organization or the Microsoft Teams Store. |
Tip
If you work with Microsoft Graph data, you should learn about and bookmark the Microsoft Graph Explorer. This browser-based tool allows you to query Microsoft Graph outside of an app.
Prepare development environment
After you install the required tools, set up the development environment.
Install Teams Toolkit
Microsoft Teams Toolkit helps simplify the development process with tools to provision and deploy cloud resources for your app and publish to the Teams Store.
You can use Teams Toolkit with Visual Studio Code or a command-line interface called TeamsFx CLI.
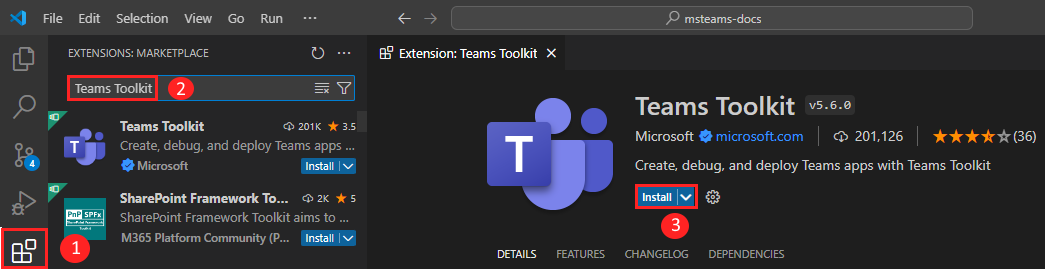
Open Visual Studio Code and select Extensions (Ctrl+Shift+X or View > Extensions).
In the search box, enter Teams Toolkit.
Select Install.
The Teams Toolkit
 icon appears in the Visual Studio Code Activity Bar.
You can also install Teams Toolkit from the Visual Studio Code Marketplace.
Set up your Teams development tenant
A tenant is a space or a container for your organization in Teams, where you chat, share files, and run meetings. This space is also where you upload and test your app. Let's verify if you're ready to develop with the tenant.
Check for upload an app option
After creating your custom app, you must upload your app to Teams with the Upload a custom app option. Sign in to your Microsoft 365 account to check if this option is enabled.
The following steps help you verify if you can upload apps in Teams:
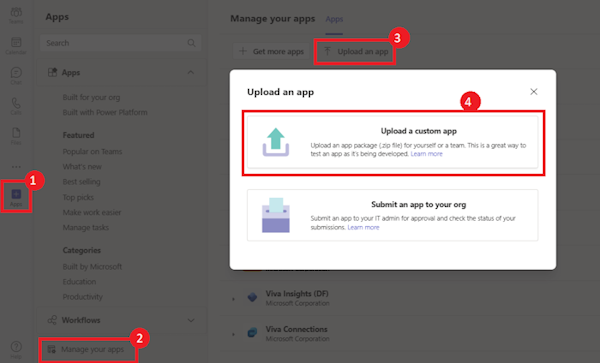
In the Teams client, select the Apps icon.
Select Manage your apps.
Select Upload an app.
Look for the option to Upload a custom app. If the option is visible, you can upload custom apps.
Note
If you don't find the option to upload a custom app, contact your Teams administrator.
Create a free Teams developer tenant (optional)
If you don't have a Teams developer account, join the Microsoft 365 developer program.
Go to the Microsoft 365 developer program.
Select Join Now and follow the onscreen instructions.
In the welcome screen, select Set up E5 subscription.
Set up your administrator account. After you finish, the following screen appears:
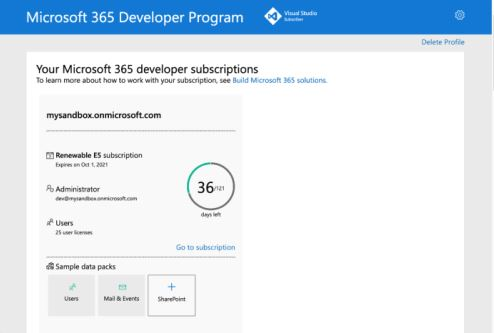
Sign in to Teams using the administrator account you just set up. Verify that you have the Upload a custom app option in Teams.
SharePoint Collection Site Administrator account
Ensure that you have an Administrator account for a SharePoint Site Collection. You need this account at deployment for hosting. If you're using a Microsoft 365 developer program tenant, you can use the administrator account you created at the time.
Now you’ve got all tools and set up your account. Next, let's set up your development environment and start building!
Create project workspace for your tab app
This tutorial walks you through the steps to create, build, and deploy a Teams app using SharePoint Framework SPFx. This app will have a tab capability.
In this tutorial, you learn:
Important
Before you start creating the project workspace, ensure that you're not signed into any Microsoft 365 or Azure account.
Create your project
If the prerequisites are in place, let's begin!
Open Visual Studio code.
Select the Teams Toolkit
 icon in the Visual Studio Code Activity Bar.
Select Create a new app.
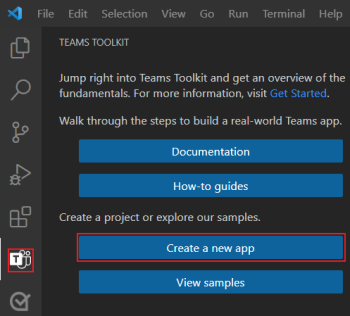
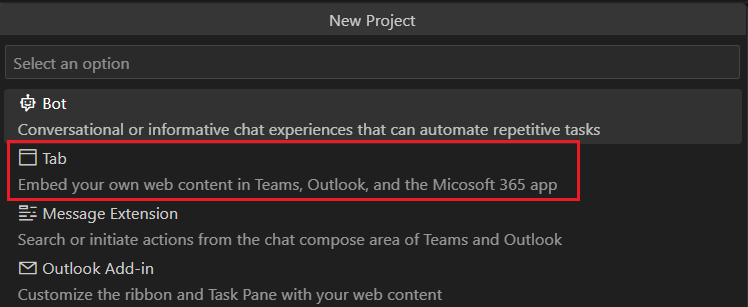
Select Tab.
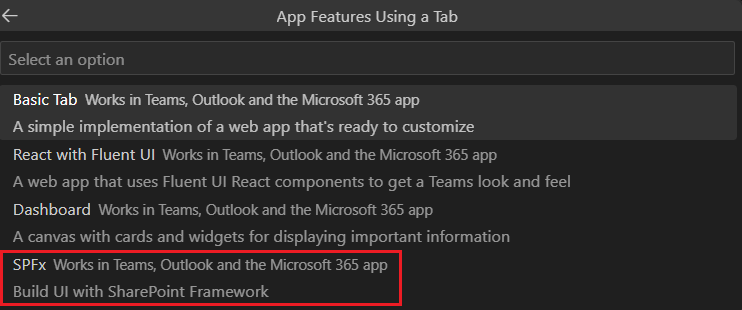
Select SPFx.
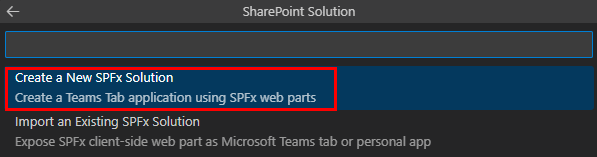
Select Create a New SPFx Solution.
Select an option for scaffolding.

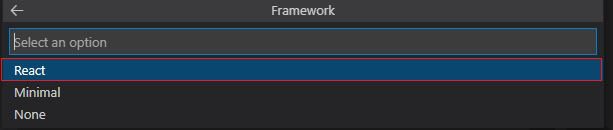
Select React in the Framework section.
Select Enter to accept the default Web Part Name.

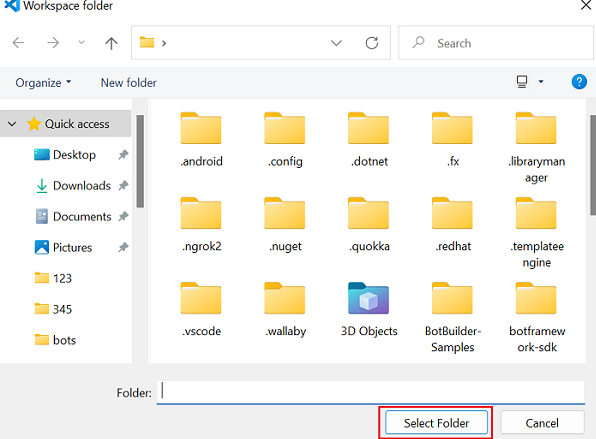
Select your Workspace folder by choosing your required folder.
Enter a suitable Application name for your app. Press Enter.

After your app is created, the Teams Toolkit displays the following message:
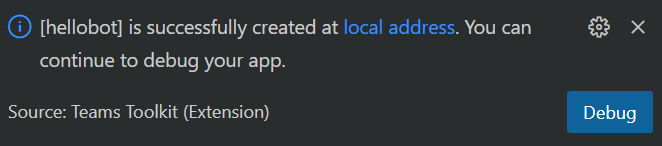
Select Local debug to preview your project.
Teams Toolkit invokes Yeoman CLI to scaffold your Teams app, and install the required dependencies in the process.
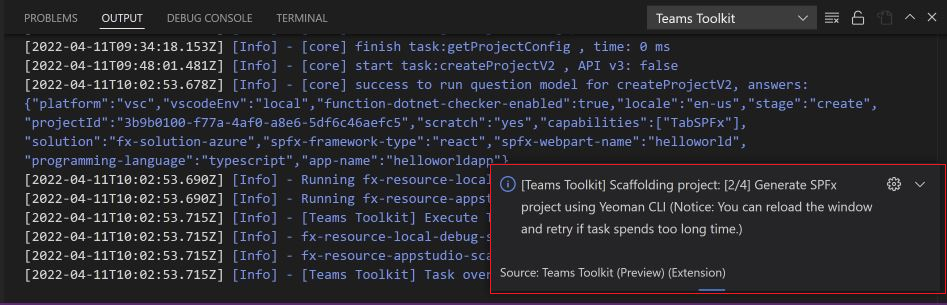
The scaffolding takes a couple of minutes.


A quick recap of creating a Teams app.
Take a tour of the source code
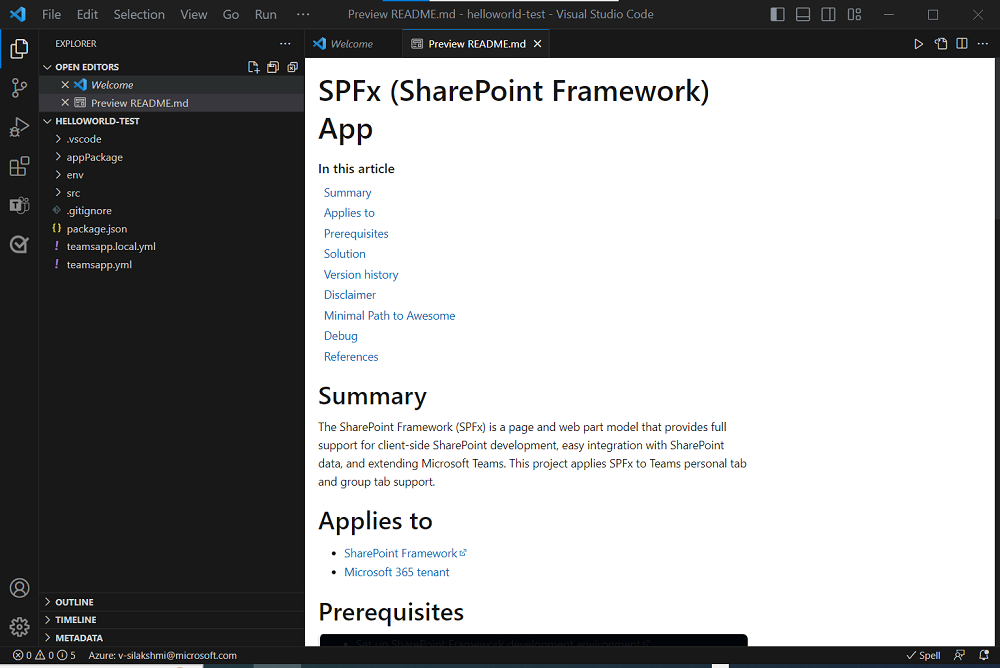
After project creation, you have the components to build a basic personal app. You can view the project directories and files in the Explorer area of Visual Studio Code.
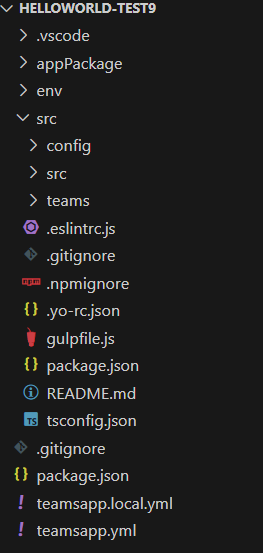
The Toolkit creates scaffolding for you in the project directory for the tab capability.
Among other items in this directory, the Teams Toolkit contains:
- appPackage: contains the app icons,
color.pngandoutline.png. manifest.local.json: contains the app manifest for local debug.manifest.json: contains the app manifest for publishing to Developer Portal for Teams..vscode/Settings.json: the settings you chose when creating the project.
As you selected an SPFx Web part project, the following files are relevant to your UI:
SPFx/src/webparts/{webpart}: contains your SPFx web part..vscode/launch.json: describes the debugging configurations available in the debug palette.
Build your tab app
After you set up your project workspace with Teams Toolkit, build your tab project. You need to sign in to your Microsoft 365 account.
In this page, you learn to build and run your first app.
Sign in to your Microsoft 365 account
Use your Microsoft 365 account to sign in to Teams. If you're using a Microsoft 365 developer program tenant, the admin account you set up while registering is your Microsoft 365 account.
Open Visual Studio Code.
Select the Teams Toolkit
icon in the sidebar.Select Sign in to M365.

Your default web browser opens to let you sign in to the account.
Sign in to your Microsoft 365 account using your credentials.
Close the browser when prompted, and return to Visual Studio Code.
Return to Teams Toolkit within Visual Studio Code.
The ACCOUNTS section of the sidebar shows your Microsoft 365 account name.
Now you're ready to build the app and run it locally!
Build and run your app locally in Visual Studio Code
To build and run your app locally:
Select the Run and Debug
 icon from the Visual Studio Code sidebar.
Select one of the following options to run and debug the app.
Teams workbench (Edge)
Teams workbench (Chrome)

Select the play button or select the F5 key to start debugging.
Note
When you run the app for the first time, all dependencies are downloaded, and the app is built. A browser window automatically opens and loads the SharePoint Workbench when the build is complete. This process can take a few minutes to complete.
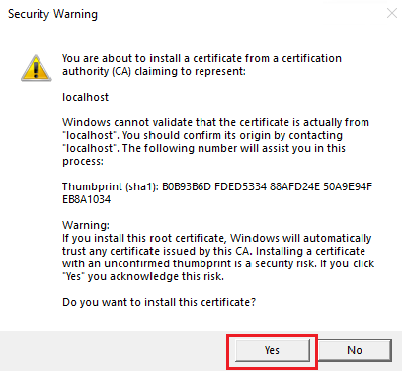
The Toolkit may prompt you to install a local certificate, if needed. This certificate allows Teams to load your application from
https://localhost.Select Yes when the following dialog appears:
Teams web client opens in a browser window.
Select Add.
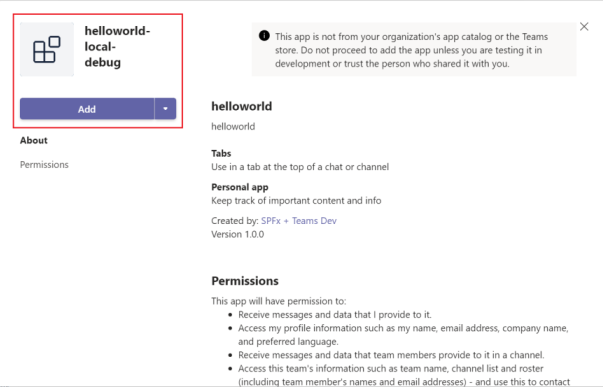
Select Open to open the app in personal scope.
Alternatively, you can either search and select the required scope or select a channel or chat from the list, and move through the dialog to select Go.

Select the web app version, if you're asked to switch to Teams desktop. You can see the HTML, CSS, and JavaScript code in a standard web development environment.
Select Load debug scripts, if you're prompted to load debug scripts before your custom app is uploaded in Teams.
Congratulations, your first app is running on Teams!
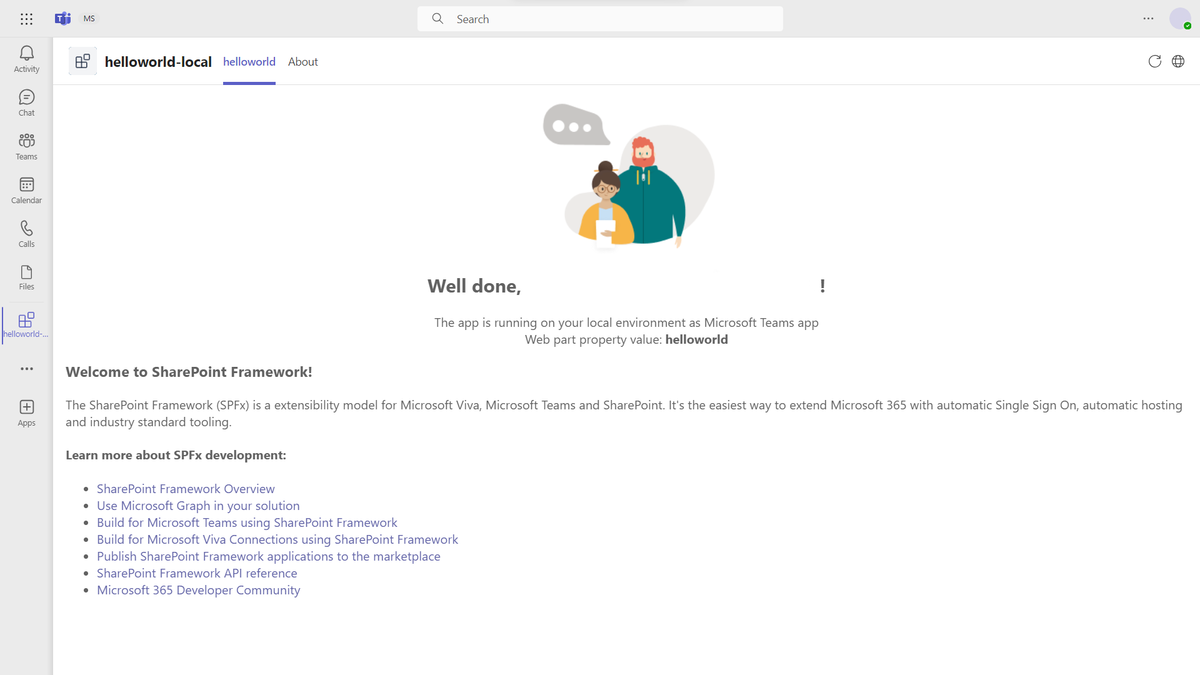
Your app should now be running. You can debug the app as any other SPFx web part (such as setting breakpoints).

Tip
Try placing breakpoints in the render method of SPFx/src/webparts/{webpart}/{webpart}.ts and reloading the browser window. Visual Studio Code will stop on breakpoints in your code.
Learn what happens when you use Local Workbench for debugging your app.
Local workbench is the default option to run and debug an app in Visual Studio Code. For this tutorial, it's recommended that you choose to debug your app with the Teams workbench, however, you can choose the Local workbench to explore web part layouts.
Note
This interface is intended only for exploring how a web part may appear in a mobile or a tablet. You would need to write the code for including them in your app, and then deploy it to view them.
To explore web part layouts using local workbench:
Select Local workbench, and then select F5 to run and debug the app.
The SharePoint Web Part Workbench opens in the browser to let you add, edit, and remove web parts.
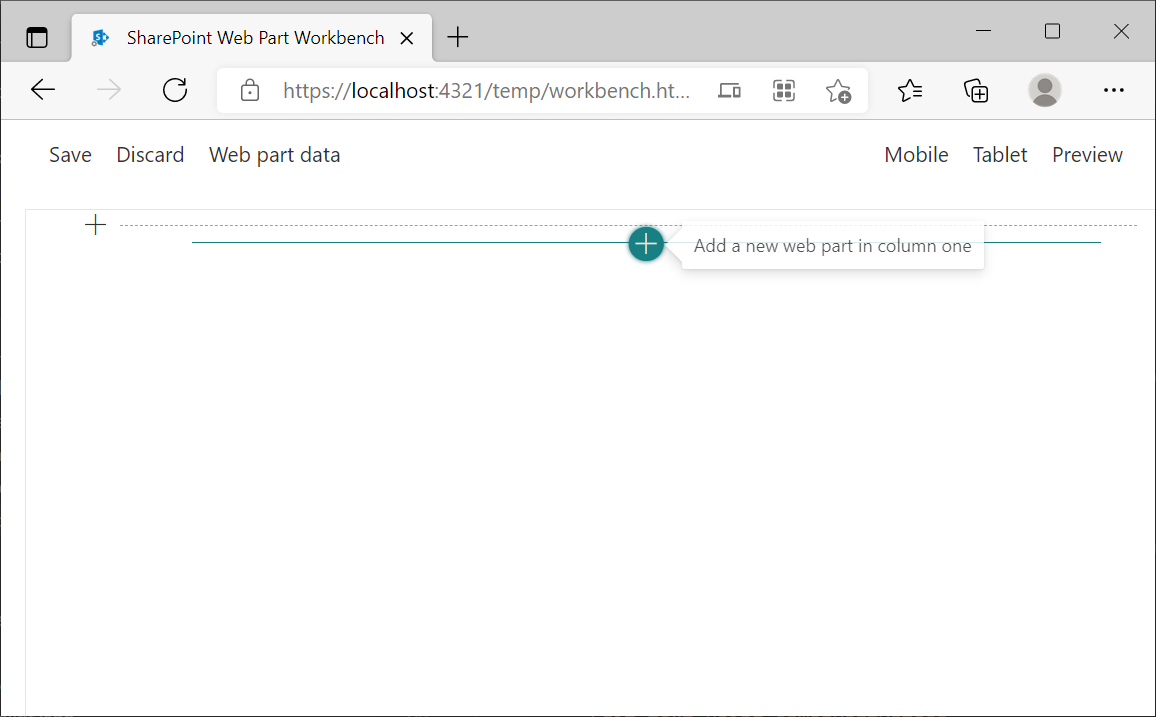
Select Add Web Part in column one + icon to add your web part.
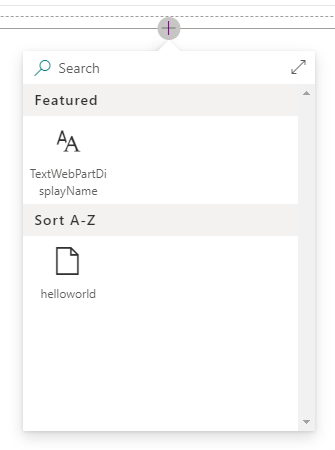
Select your web part from the menu.
Select Add a new section + icon to choose column layout for your web parts.
Use this interface to try out different layouts for web parts:
- View Web Part Data for your layout.
- Try changing between different layouts, text, color, and more.
- Use the Preview button to view the web parts.
- View the web part layout in different Mobile or Tablet devices.
- Save or discard any changes in the layout to continue trying possible layouts.
Close the browser window to stop local workbench debugging when you're ready.
Deploy your first Teams app
You've learned to create, build, and run Teams app with Tab capability. The final step is to deploy your app.
Let's deploy the first app with Tab capability on SharePoint using Teams Toolkit.
In this page, you learn to:
Deploy your app to SharePoint
Ensure a SharePoint App Catalog exists in your deployment. If it doesn't exist, create one. It may take up to 15 minutes for the app catalog to be created.
Open Visual Studio Code.
Select the Teams Toolkit from the sidebar by selecting the Teams icon.
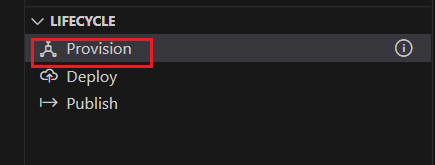
Select Provision under LIFECYCLE.
The Toolkit updates the progress in the bottom-right corner. After a few seconds, you can see the following notice:

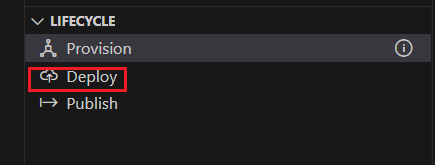
After provisioning is complete, select Deploy under LIFECYCLE.
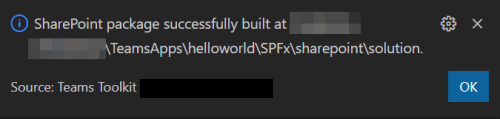
The app package is built, and uploaded to the SharePoint site. The Teams Toolkit displays a message with the local path where the app package is saved.
After the package is built, Teams Toolkit displays a message with the url of the SharePoint site where your app package has been uploaded.

You can either publish to Teams or select the SharePoint site.
- Publish to Teams (#publish-to-teams)
- Select the link of the SharePoint site (#select-the-link-of-the-sharepoint-site)
Publish to Teams
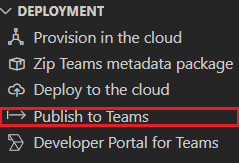
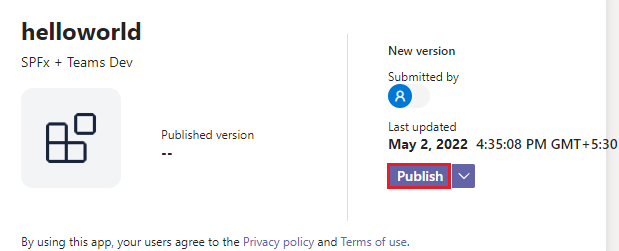
Select Publish to Teams.
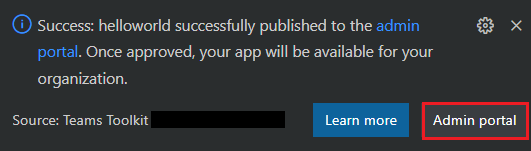
Select Admin portal.
Select Manage Apps and search your app in the search section to select your app.

Select Publish to publish your app in Teams.
Open the Teams application (or sign in at
https://teams.microsoft.com).Select the triple-dot on the sidebar, then select All apps.
The app displays in the Apps built for your org category. You can add the app from there.
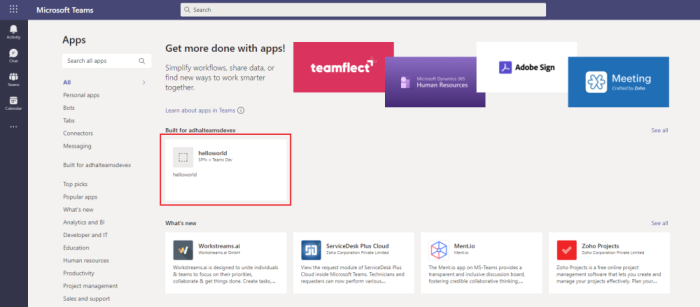
Select your app, and then select Add.
Select Open to open the app in personal scope.
Alternatively, you can either search and select the required scope or select a channel or chat from the list, and move through the dialog to select Go.
Congratulations! Your app is now added to Teams.


Select the link of the SharePoint site
Select the link of the SharePoint site.
The SharePoint site opens to the Apps home page. Follow the procedure to distribute the app on SharePoint.
Distribute the app package on SharePoint
You can find the app package uploaded at the SharePoint site. To distribute the app and sync it to Teams:
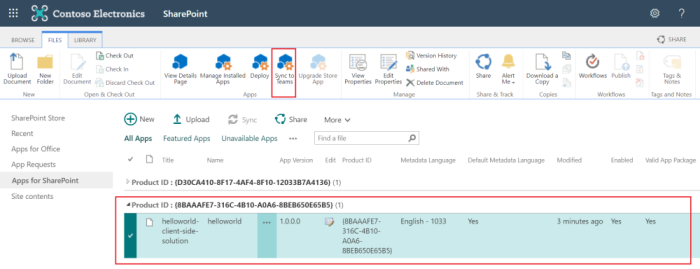
Select Distribute apps for SharePoint.
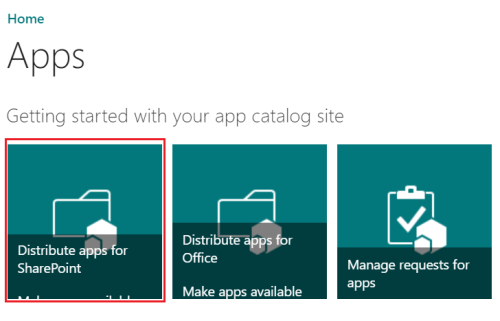
The Apps for SharePoint home page opens. Your app is listed in this page.
Select the FILES tab.
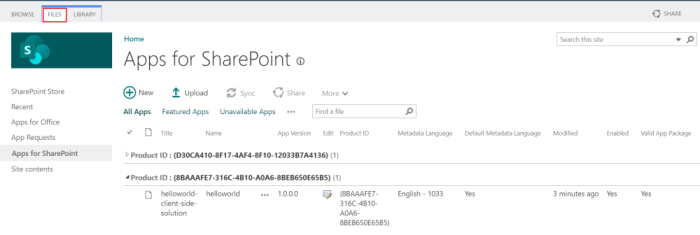
Select the package you deployed, then select Sync to Teams.
Note
The Sync to Teams process can take a few minutes. You will see a message in the browser indicating that the app has been successfully synchronized to Teams.
Open the Teams application (or sign in at
https://teams.microsoft.com).Select the triple-dot on the sidebar, then select All apps.
The app will be placed in the Apps built for your org category. You can add the app from there.
Select your app, and then select Add.
Select Open to open the app in personal scope.
Alternatively, you can either search and select the required scope or select a channel or chat from the list, and move through the dialog to select Go.
Congratulations! Your app is now added to Teams.


Have an issue with this section? If so, please give us some feedback so we can improve this section.
Platform Docs feedback
Platform Docs is an open source project. Select a link to provide feedback: