Edit Microsoft Entra manifest
Microsoft Teams Toolkit now manages Microsoft Entra application with the app manifest file as the source of truth during your Microsoft Teams application development lifecycle.
Customize Microsoft Entra manifest template
You can customize Microsoft Entra manifest template to update Microsoft Entra application.
Open
aad.template.jsonin your project.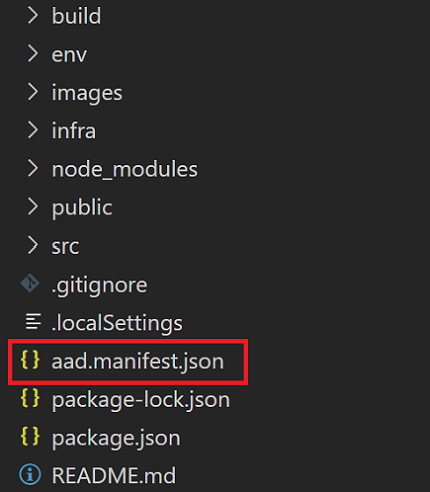
Update the template directly or reference values from another file. Following are the customization scenarios:
Add an application permission
If the Teams application requires more permissions to call an API with additional permissions, you need to update
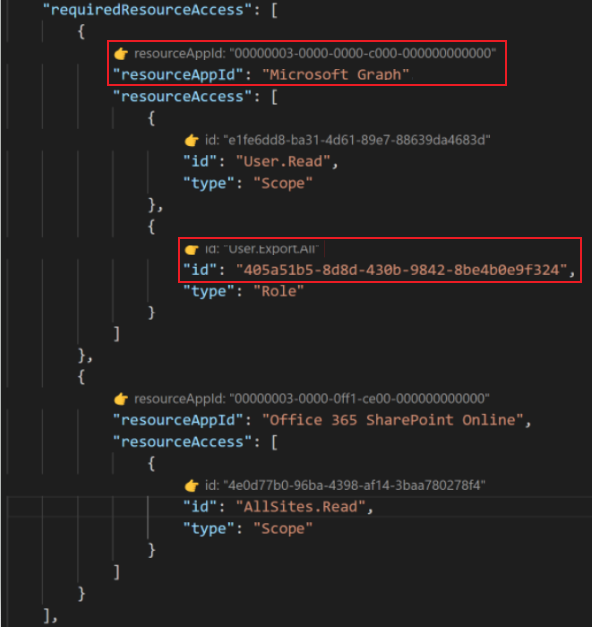
requiredResourceAccessproperty in the Microsoft Entra manifest template. You can see the following example for this property:"requiredResourceAccess": [ { "resourceAppId": "Microsoft Graph", "resourceAccess": [ { "id": "User.Read", // For Microsoft Graph API, you can also use uuid for permission id "type": "Scope" // Scope is for delegated permission }, { "id": "User.Export.All", "type": "Role" // Role is for application permission } ] }, { "resourceAppId": "Office 365 SharePoint Online", "resourceAccess": [ { "id": "AllSites.Read", "type": "Scope" } ] } ]The following list provides different property IDs and their usage:
The
resourceAppIdproperty is used for different APIs. ForMicrosoft GraphandOffice 365 SharePoint Online, enter the name directly instead of UUID, and for other APIs use UUID.The
resourceAccess.idproperty is used for different permissions. ForMicrosoft GraphandOffice 365 SharePoint Online, enter the permission name directly instead of UUID, and for other APIs use UUID.The
resourceAccess.typeproperty is used for delegated permission or application permission.Scopemeans delegated permission andRolemeans application permission.
Preauthorize a client application
You can use
preAuthorizedApplicationsproperty to authorize a client application to indicate that the API trusts the application. Users don't consent when the client calls exposed API. You can see the following example for this property:"preAuthorizedApplications": [ { "appId": "1fec8e78-bce4-4aaf-ab1b-5451cc387264", "permissionIds": [ "${{AAD_APP_ACCESS_AS_USER_PERMISSION_ID}}" ] } ... ]preAuthorizedApplications.appIdproperty is used for the application you want to authorize. If you don't know the application ID and know only the application name, use the following steps to search application ID:Go to Azure portal and open Application Registrations.
Select All applications and search for the application name.
Select the application name and get the application ID from the overview page.
Update redirect URL for authentication response
Redirect URLs are used while returning authentication responses such as tokens after successful authentication. You can customize redirect URLs using property
replyUrlsWithType. For example, to addhttps://www.examples.com/auth-end.htmlas redirect URL, you can add it as the following example:"replyUrlsWithType": [ ... { "url": "https://www.examples.com/auth-end.html", "type": "Spa" } ]Update Microsoft Entra application changes for local or remote environment.
Select
PreviewCodeLens inaad.template.json.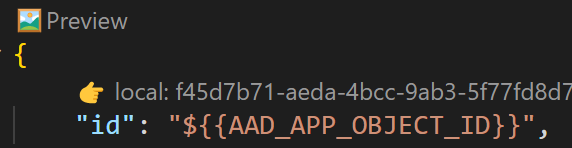
Select local or dev environment.

Select
Deploy Azure AD ManifestCodeLens inaad.local.jsonoraad.dev.json.
The changes for Microsoft Entra application used in local or dev environment are deployed.
Additionally, you can open the command palette and select Teams: Update Microsoft Entra App to update Microsoft Entra app.


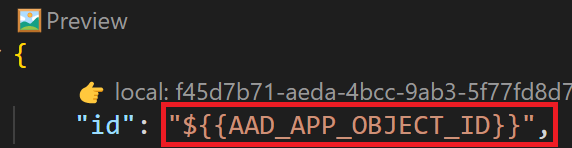
Microsoft Entra manifest template placeholders
The Microsoft Entra manifest file contains placeholder arguments with {{...}} statements, it's replaced during build for different environments. You can reference to environment variables with the placeholder arguments.
Reference environment variable in Microsoft Entra manifest template
You don't need to enter permanent values in Microsoft Entra manifest template and Microsoft Entra manifest template file supports reference environment variable values. You can use the syntax ${{YOUR_ENV_VARIABLE_NAME}} in the tool as parameter values to resolve the environment variable values.
Edit and preview Microsoft Entra manifest with CodeLens
Microsoft Entra manifest template file has CodeLens to review and edit the code.
Microsoft Entra manifest template file
There's a preview CodeLens at the beginning of the Microsoft Entra manifest template file. Select the CodeLens to generate a Microsoft Entra manifest based as per your environment.
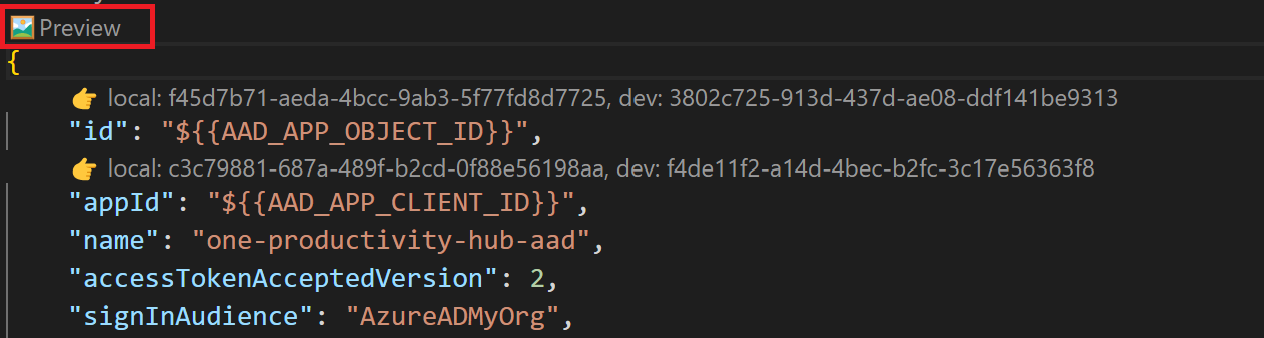
Placeholder argument CodeLens
Placeholder argument CodeLens helps you to see the values for local debug and develop your environment. If you hover the mouse on the placeholder argument, it shows tooltip box for the values of all the environments.
Required resource access CodeLens
Microsoft Entra manifest template in Teams Toolkit also supports user readable strings for Microsoft Graph and Office 365 SharePoint Online permissions. The official Microsoft Entra manifest schema, which is the resourceAppId and resourceAccess in requiredResourceAccess property supports only the UUID. If you enter UUID, the CodeLens shows user readable strings, otherwise it shows the UUID.
Preauthorized applications CodeLens
CodeLens shows the application name for the preauthorized application ID for the preAuthorizedApplications property.
View Microsoft Entra application on the Azure portal
Copy the Microsoft Entra application client ID from
.env.xxx() file in theAAD_APP_CLIENT_IDproperty.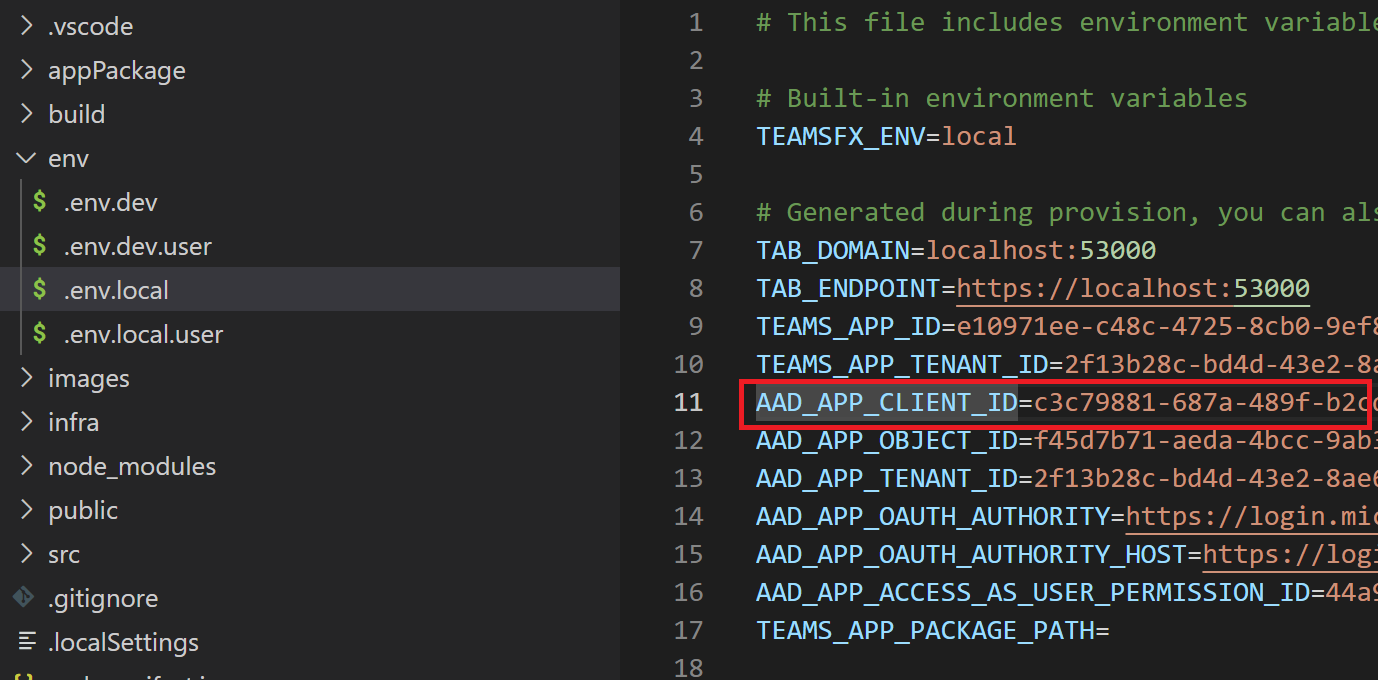
Note
xxx in the client ID indicates the environment name where you have deployed the Microsoft Entra application.
Go to Azure portal and sign in to Microsoft 365 account.
Note
Ensure that login credentials of Teams application and M365 account are the same.
Open App Registrations page and search the Microsoft Entra application using client ID that you copied before.
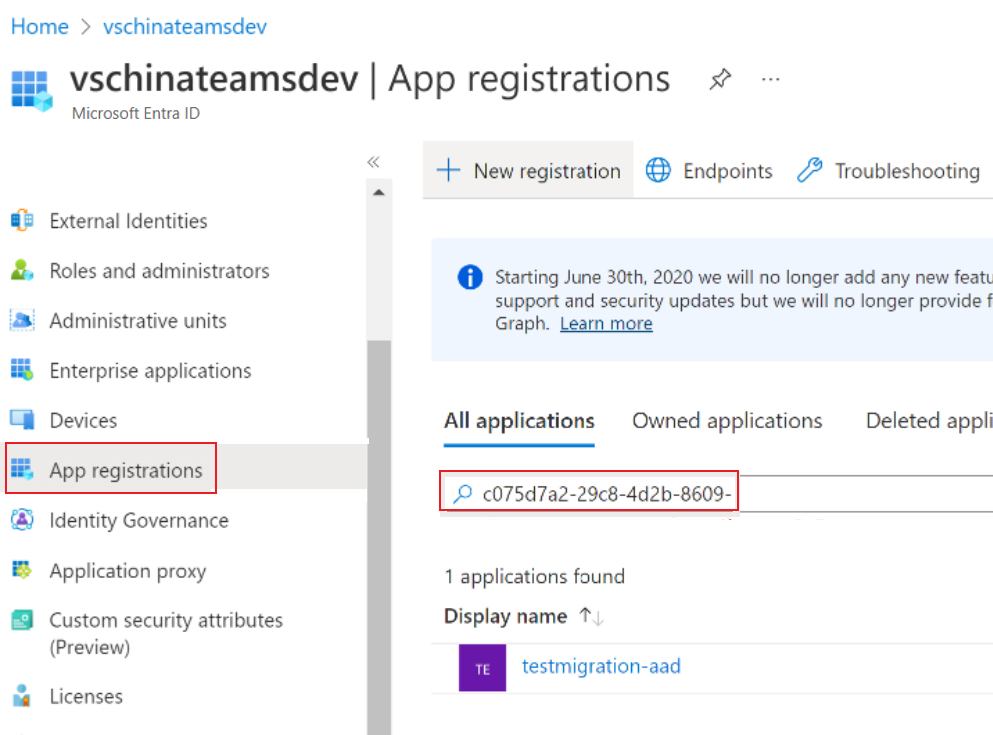
Select Microsoft Entra application from search result to view the detailed information.
In Microsoft Entra app information page, select the Manifest menu to view manifest of this application. The schema of the manifest is same as the one in
aad.template.jsonfile. For more information about manifest, see Microsoft Entra app manifest.
You can select Other Menu to view or configure Microsoft Entra application through its portal.

Use an existing Microsoft Entra application
You can use the existing Microsoft Entra application for the Teams project. For more information, see use an existing Microsoft Entra application for your Teams application.
Microsoft Entra application in Teams application development lifecycle
You need to interact with Microsoft Entra application during various stages of your Teams application development lifecycle.
To create Project
You can create a project with Teams Toolkit that comes with single sign-on (SSO) support by default such as
SSO-enabled tab. For more information on how to create a new app, see create new Teams application using Teams Toolkit. A Microsoft Entra manifest file is automatically created for you inaad.template.json. Teams Toolkit creates or updates the Microsoft Entra application during local development or while you move the application to the cloud.To add SSO to your bot or tab
After you create a Teams application without built-in SSO, Teams Toolkit progressively helps you to add SSO for the project. As a result, a Microsoft Entra manifest file is automatically created for you in
aad.template.json.Teams Toolkit creates or updates the Microsoft Entra application during next local development session or while you move the application to the cloud.
To build locally
Teams Toolkit performs the following functions during local development:
Read the
.env.localfile to find an existing Microsoft Entra application. If a Microsoft Entra application already exists, Teams Toolkit reuses the existing Microsoft Entra application. Otherwise, you need to create a new application using theaad.template.jsonfile.Initially ignores some properties in the manifest file that requires more context, such as
replyUrlsproperty that requires a local development endpoint during the creation of a new Microsoft Entra application with the manifest file.After the local dev environment starts successfully, the Microsoft Entra application's
identifierUris,replyUrls, and other properties that aren't available during creation stage are updated accordingly.The changes you've done to your Microsoft Entra application are loaded during next local development session. You can see Microsoft Entra application changes applied manually.
To provision for cloud resources
You need to provision cloud resources and deploy your application while moving your application to the cloud. At stages, such as local debug, Teams Toolkit:
Reads the
.env.{env}file to find an existing Microsoft Entra application. If a Microsoft Entra application already exists, Teams Toolkit reuses the existing Microsoft Entra application. Otherwise, you need to create a new application using theaad.template.jsonfile.Ignores some properties in the manifest file initially that requires more context such as
replyUrlsproperty. This property requires frontend or bot endpoint during the creation of a new Microsoft Entra application with the manifest file.Completes other resources provision, then Microsoft Entra application's
identifierUris, andreplyUrlsare updated according to the correct endpoints.
To build application
The cloud command deploys your application to the provisioned resources. It doesn't include deploying Microsoft Entra application changes you've made.
Teams Toolkit updates the Microsoft Entra application according to the Microsoft Entra manifest template file.
Limitations
Teams Toolkit extension doesn't support all the properties listed in Microsoft Entra manifest schema.
The following table lists the properties that aren't supported in Teams Toolkit extension:
Not supported properties Reason passwordCredentialsNot allowed in manifest createdDateTimeRead-only and can't change logoUrlRead-only and can't change publisherDomainRead-only and can't change oauth2RequirePostResponseDoesn't exist in Graph API oauth2AllowUrlPathMatchingDoesn't exist in Graph API samlMetadataUrlDoesn't exist in Graph API orgRestrictionsDoesn't exist in Graph API certificationDoesn't exist in Graph API The
requiredResourceAccessproperty is used for user readable resource application name or permission name strings only forMicrosoft GraphandOffice 365 SharePoint OnlineAPIs. You need to use UUID for other APIs. Perform the following steps to retrieve IDs from Azure portal:- Register a new Microsoft Entra application on Azure portal.
- Select
API permissionsfrom the Microsoft Entra application page. - Select
add a permissionto add the permission you need. - Select
Manifestfrom therequiredResourceAccessproperty, where you can find the IDs of API, and the permissions.
See also
Platform Docs