Create a Dynamics 365 Business Central offer
This article describes how to create a Dynamics 365 Business Central offer. This offer type is an enterprise resource planning (ERP) service that supports a wide range of business processes, including finance, operations, supply chain, CRM, project management, and electronic commerce. All offers for Dynamics 365 go through our certification process.
Before you start, create a commercial marketplace account in Partner Center and ensure it is enrolled in the commercial marketplace program.
Before you begin
Before you can publish a Dynamics 365 Business Central offer, you must have a commercial marketplace account in Partner Center and ensure your account is enrolled in the commercial marketplace program. See Create a commercial marketplace account in Partner Center and Verify your account information when you enroll in a new Partner Center program.
Review Plan a Dynamics 365 offer. It explains the technical requirements for this offer and lists the information and assets you’ll need when you create it.
Create a new offer
Sign in to Partner Center.
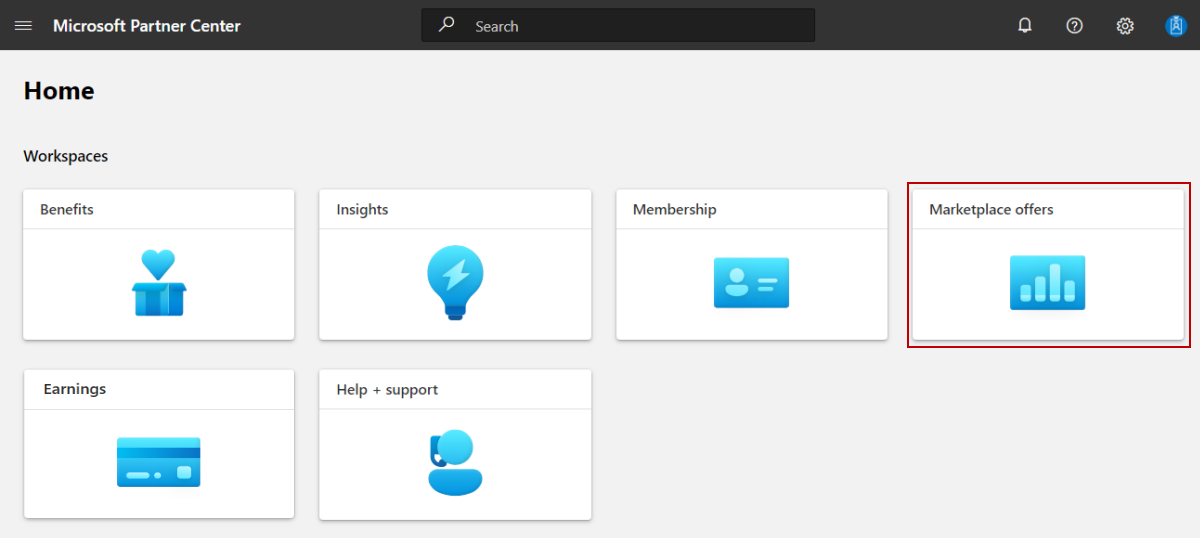
On the Home page, select the Marketplace offers tile.
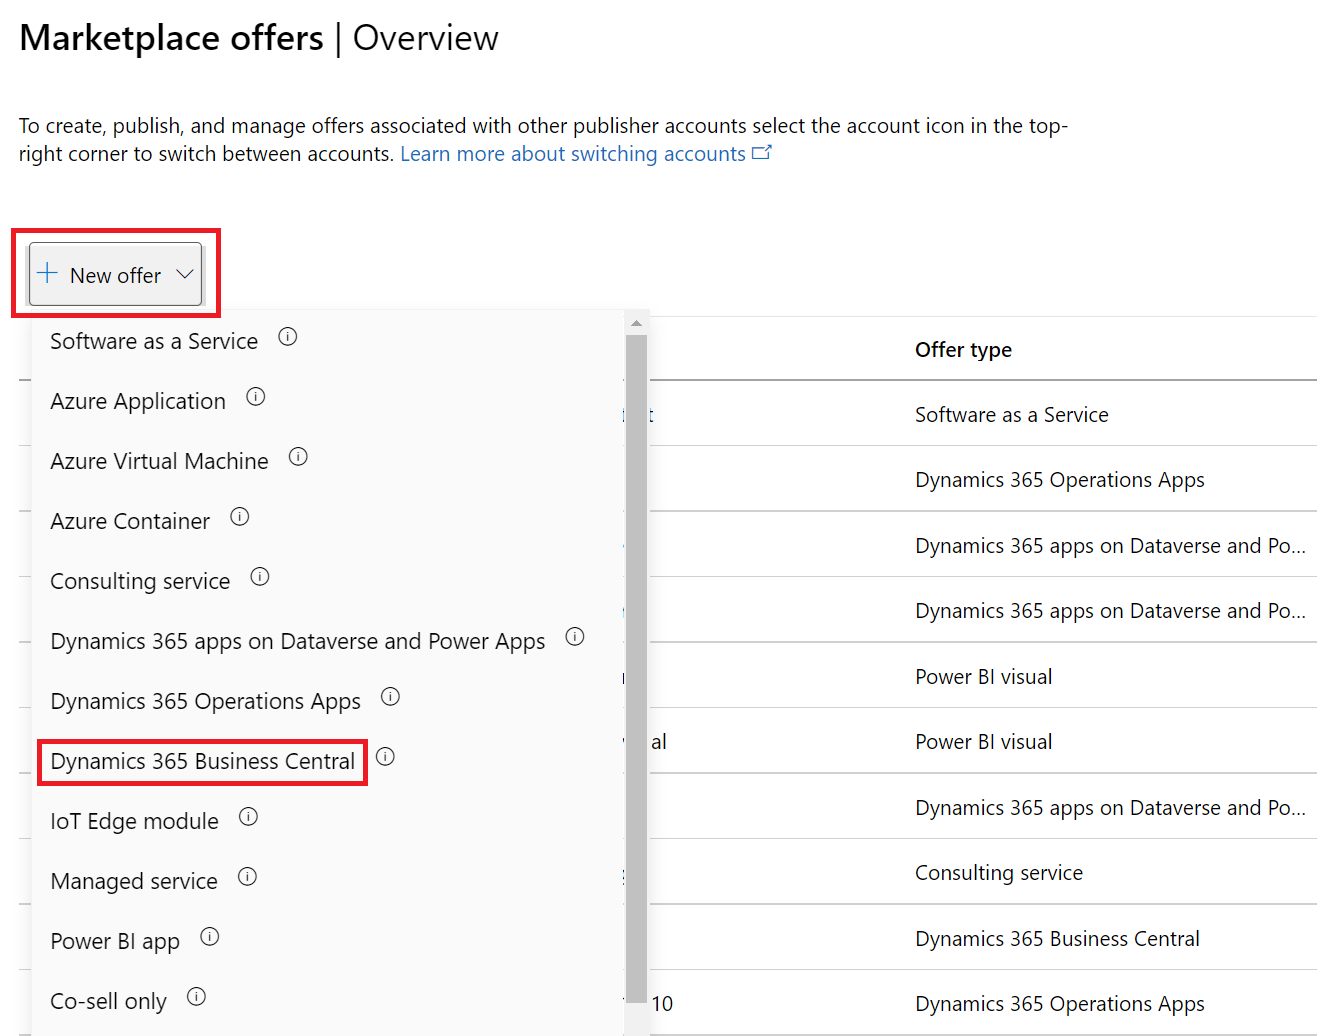
On the Marketplace offers page, select + New offer > Dynamics 365 Business Central.


Important
After an offer is published, any edits you make to it in Partner Center appear on Microsoft AppSource only after you republish the offer. Be sure to always republish an offer after changing it.
New offer
In the dialog box that appears, enter an Offer ID. This is a unique identifier for each offer in your account.
- This ID is visible to customers in the web address for the offer and in Azure Resource Manager templates, if applicable.
- Use only lowercase letters and numbers. The ID can include hyphens and underscores, but no spaces. The combined sum of the Offer ID and Publisher ID is limited to 40 characters. For example, if your Publisher ID is
testpublisheridand you enter test-offer-1, the offer web address will behttps://appsource.microsoft.com/product/dynamics-365/testpublisherid.test-offer-1. In this case, the segment, “testpublisherid.test-offer-1”is 28 characters long, which is within the 40-character limit. - The Offer ID can't be changed after you select Create.
Enter an Offer alias. This is the name used for the offer in Partner Center.
- This name isn't used on AppSource. It is different from the offer name and other values shown to customers.
- This name can't be changed after you select Create.
Associate the new offer with a publisher. A publisher represents an account for your organization. You might have a need to create the offer under a particular publisher. If you don’t, you can simply accept the publisher account you’re signed in to.
Note
The selected publisher must be enrolled in the Commercial Marketplace program and can't be modified after the offer is created.
Select Create to generate the offer. Partner Center opens the Offer setup page.
Alias
Enter a descriptive name that we'll use to refer to this offer solely within Partner Center. The offer alias (pre-populated with what you entered when you created the offer) won't be used in the marketplace and is different than the offer name shown to customers. If you want to update the offer name later, see the Offer listing page.
Setup details
Select the Package type that applies to your offer: (Biz Central).
An Add-on app extends the experience and the existing functionality of Dynamics 365 Business Central. This is the only package type that supports creation of transactable offers i.e., offer with priced plans in Partner Center. For details, see Add-on apps.
A Connect app can be used in the scenario where there must be established a point-to-point connection between Dynamics 365 Business Central and a third-party solution or service. For details, see Connect Apps.
If your selected package type is an add-on, you can select an option from would you like to sell your offer through Microsoft. Offers sold through Microsoft are called transactable offers, which means that Microsoft facilitates the exchange of money for a software license on the publisher's behalf. For more information on these options, see Commercial Marketplace transact capabilities and Listing options.
- Select Yes to sell through Microsoft and have Microsoft host transactions and manage licenses on your behalf. If you choose this option, it can't be changed post publish. For more information, see ISV app license management.
- Select No, if you prefer to only list your offer through the marketplace and process transactions or manage licenses independently. If you choose this option, continue to how you want potential customers to interact with this listing offer.
Note
You can convert a published listing-only offer to sell through the commercial marketplace offer if your circumstances change, but you can't convert a published transactable offer to a listing-only offer. Instead, you must create a new listing-only offer and stop distribution of the published transactable offer.
If your selected package type is a connect app or an add-on which you prefer to manage transactions and licenses independently, you can select how you want potential customers to interact with this listing offer.
- Get it now (free) – List your offer to customers for free.
- Free trial (listing) – List your offer to customers with a link to a 30-day free trial. Offer listing free trials are created, managed, and configured by your service and do not have subscriptions managed by Microsoft.
- Contact me – Let customers share their contact information with you to purchase your offer. Customer contact information can be found in the Referrals workspace in Partner Center. You can also connect your customer relationship management (CRM) system to manage leads there.
Test drive
Note
Please notice: Test Drive has already been deprecated. As an alternative to Test Drives, we encourage you to consider transitioning to Free Trials, which provides the opportunity for customers to fully engage with your product using their personalized settings and configurations, meeting their specific requirements. We recommend that you remove Test Drives from your offers and clean up your test drive environments.
A test drive is a great way to showcase your offer to potential customers by giving them the option to "try before you buy", resulting in increased conversion and the generation of highly qualified leads. To learn more, see What is test drive?.
To enable a test drive for a fixed period of time, select the Enable a test drive check box. To remove test drive from your offer, clear this check box.
Tip
A test drive is different from a free trial. You can offer either a test drive, free trial, or both. They both provide customers with your solution for a fixed period-of-time. But, a test drive also includes a hands-on, self-guided tour of your product’s key features and benefits being demonstrated in a real-world implementation scenario.
Customer leads
When a customer expresses interest or deploys your product, you’ll receive a lead in the Referrals workspace in Partner Center.
You can also connect the product to your customer relationship management (CRM) system to handle leads there.
Note
Connecting to a CRM system is optional.
To configure the lead management in Partner Center:
Under Customer leads, select the Connect link.
In the Connection details dialog box, select a lead destination.
Complete the fields that appear. For detailed steps, see the following articles:
- Configure your offer to send leads to the Azure table
- Configure your offer to send leads to Dynamics 365 Customer Engagement (formerly Dynamics CRM Online)
- Configure your offer to send leads to the HTTPS endpoint
- Configure your offer to send leads to Marketo
- Configure your offer to send leads to Salesforce
To validate the configuration you provided, select the Validate link.
Select Connect.
For more information, see Customer leads from your commercial marketplace offer.
Select Save draft before continuing to the next tab in the left-nav menu, Properties.
Related content
Feedback
Coming soon: Throughout 2024 we will be phasing out GitHub Issues as the feedback mechanism for content and replacing it with a new feedback system. For more information see: https://aka.ms/ContentUserFeedback.
Submit and view feedback for