Note
Access to this page requires authorization. You can try signing in or changing directories.
Access to this page requires authorization. You can try changing directories.
In a canvas app, add and configure a Display form control to show all fields in a record. You can also add and configure an Edit form control to edit any field in a record, add a record, and save your changes back to a data source.
Prerequisites
Learn how to add and configure a control in Power Apps.
Download this Excel file, which contains sample data for this tutorial.
Upload the Excel file to a cloud-storage account, such as OneDrive for Business.
Create or open an app for phones, add a connection to the FlooringEstimates table in the Excel file.
You can add a form to a tablet app, but it won't match this article because the form will have three columns by default.
If you open an existing app, add a screen to it.
Add a form, and show data
On a blank screen, add a Drop down control, and name it ChooseProduct.
Note
If you're not sure how to add a control, rename it, or set a property, see Add and configure controls.
On the Properties tab of the right-hand pane, set Items to
FlooringEstimatesand Value toName.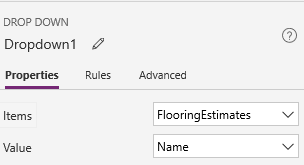
The list shows names of flooring products from the data source.
Add an Edit form control, move it below ChooseProduct, and then resize the form to cover most of the screen.
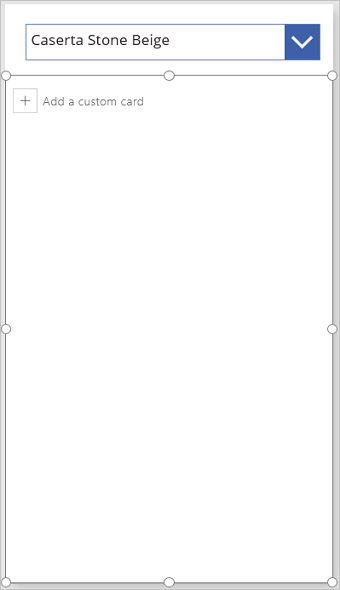
Note
This topic describes the Edit form control, but similar principles apply to the Display form control.
Set the form's DataSource property to FlooringEstimates and its Item property to this formula:
ChooseProduct.SelectedThis formula specifies that, after you finish configuring the form, it will show the record that the user selects in ChooseProduct.
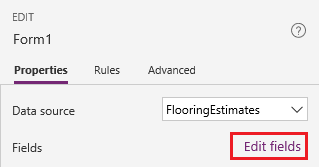
On the Properties tab of the right-hand pane, select Edit fields.
In the Fields pane, select Add field, select the check box for each field, and then select Add.

Select the ellipsis (...) next to Add field, select Collapse all, and then drag Name to the top of the list.
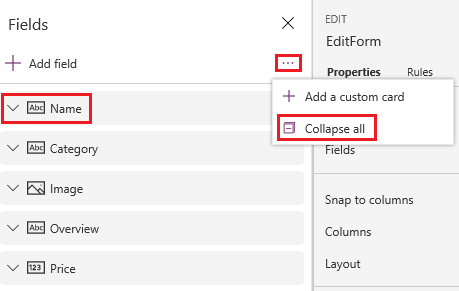
The Edit form control reflects your change.
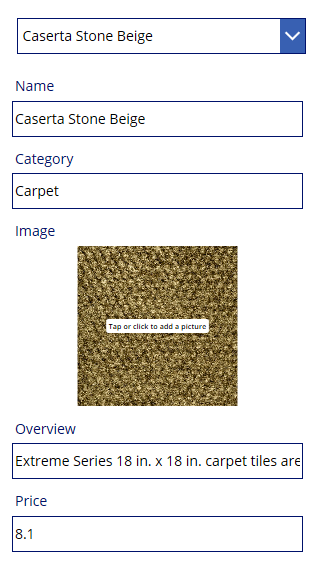
Set the card type for a field
In the Fields pane, expand the Price field by selecting its down arrow.
Open the Control type list, and then select Edit slider.
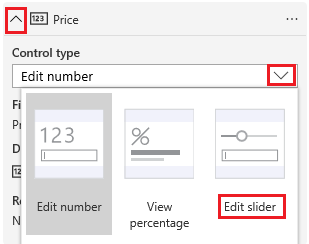
In the form, the Price field shows a Slider control instead of a Text input control.
(optional) Follow the same process to change the control for the Overview field to an Edit multi-line text control.
(Edit form only) Save changes
Rename the form EditForm.
Add a Button control, and set its OnSelect property to this formula:
SubmitForm(EditForm)Press F5 to open Preview, change the name of a product, and then select the button that you created.
The SubmitForm function saves your changes to the data source.
(optional) Close Preview by pressing Esc (or by selecting the close icon in the upper-right corner).