Note
Access to this page requires authorization. You can try signing in or changing directories.
Access to this page requires authorization. You can try changing directories.
Important
Starting in October 2023, the classic app, form, and view designers are deprecated and all model-driven apps, forms, and views will only open in the modern designers. By default, the Switch to classic command to revert back to the classic designer from the modern designer will no longer be available. More information: Classic app, form, and view designers are deprecated
We recommend that you transition to use the modern designers to create and edit your model-driven apps and components.
In this article, you build a straightforward model-driven app that you can use to create, update, and delete account records as well as view data in one of the standard charts for the account table.

Create your model-driven app
Note
If you plan to share and distribute the app you create, see this article: Create a model-driven app by using the app designer
Sign in to Power Apps. If you don't already have a Power Apps account, you can get started free.
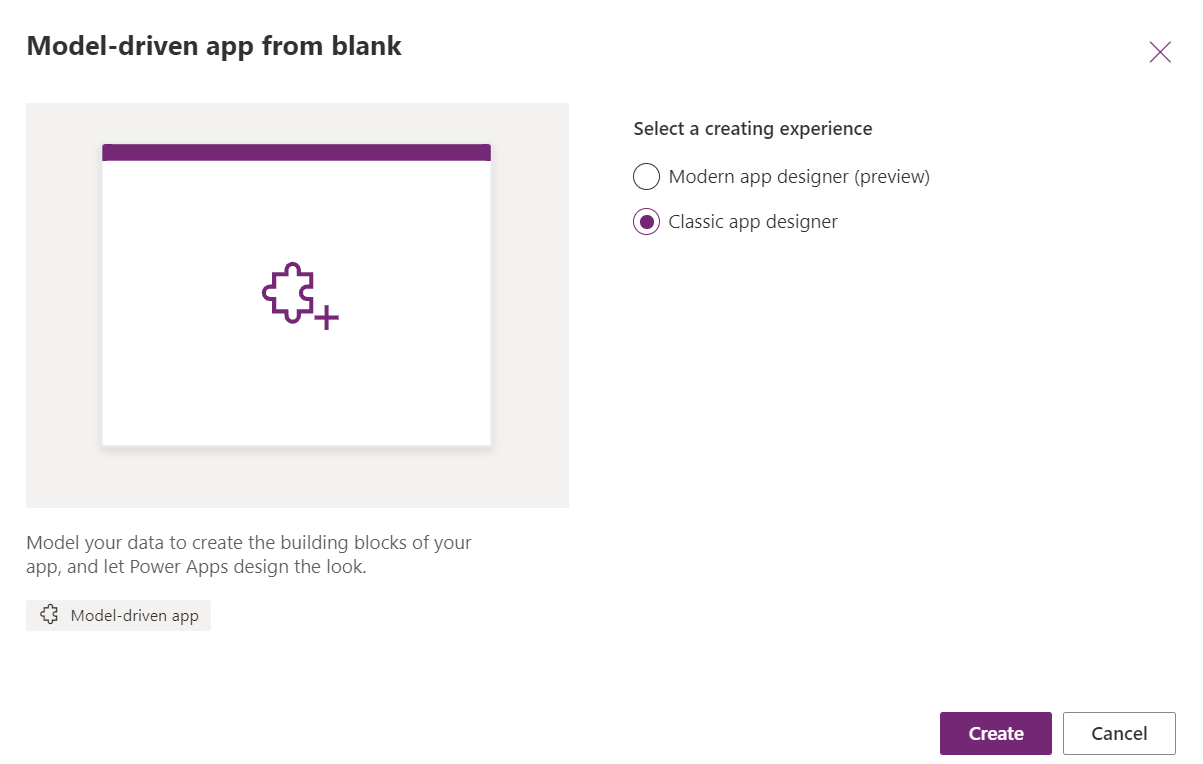
On the Home page, select Blank app, under Blank app based on Dataverse select Create. Select the classic app designer option and then Create.
On the Create a New App page, enter the following details, and then select Done:
Name: Enter a name for the app, such as Account tracking.
Unique Name: By default, the unique name uses the name you specify in the Name box without spaces and preceded by the publisher prefix and an underscore (_). For example, crecf_Accounttracking.
Description: Type a short description of what the app is or does, such as This is my first app.

Select the Open the Site Map Designer edit button (pencil icon) to open the sitemap designer.

Notice that when you create a new app, you must first create the site map for it.
On the sitemap designer, select New Subarea.
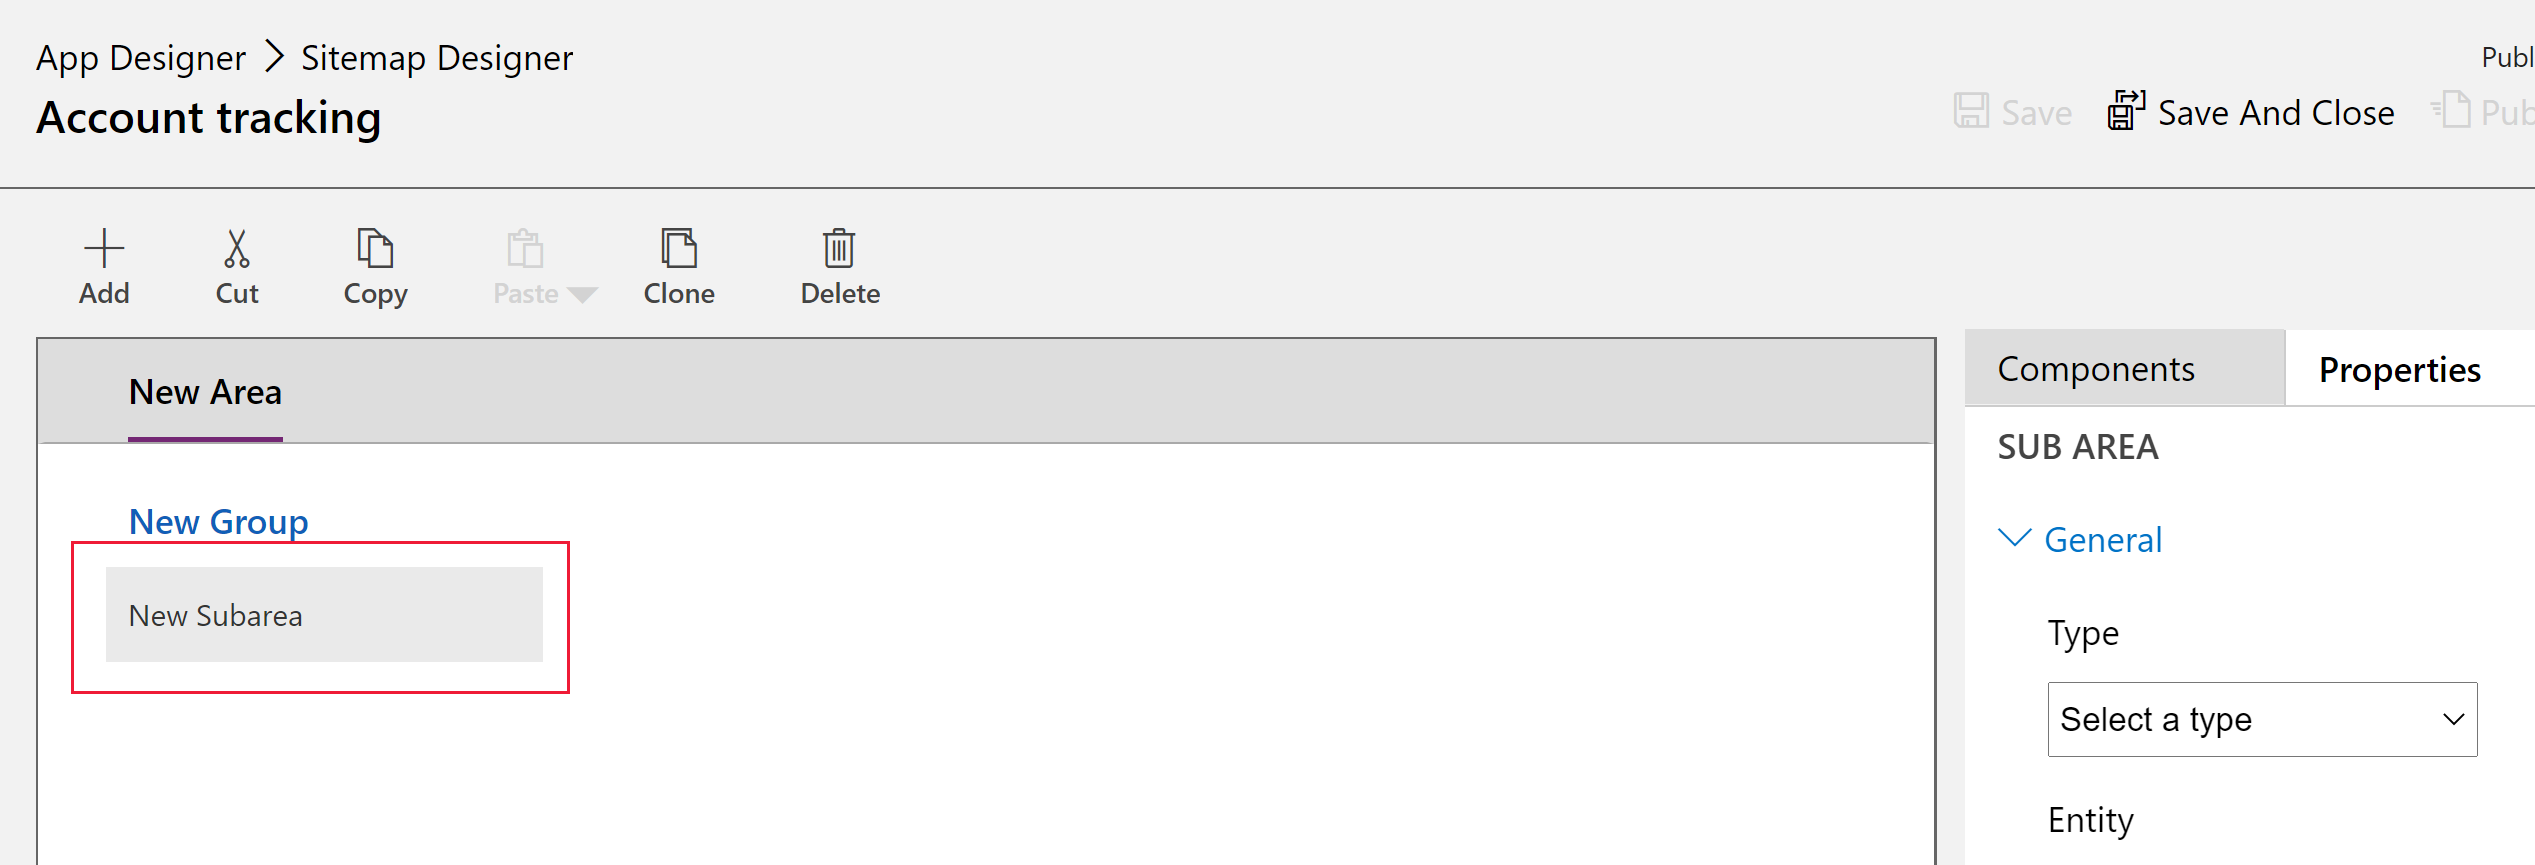
In the right pane, select the Properties tab, and then select the following properties.
Type: Entity
Entity: Account

When you leave the Title property blank, the app uses the table name in the app's left navigation pane. For this app, Accounts will be displayed in the app at runtime.
Select Save And Close to close the sitemap designer.
By default, all the account table's forms, views, charts, and dashboards are enabled for the app. From the app designer Components tab on the right pane, you can clear a component so it isn't available in the app at runtime. You can also create new components, such as a custom form. For this app, leave all components enabled.
On the app designer toolbar, select Save.
After your app is saved, on the app designer toolbar, select Publish to make it available to run and share.
Play your app
On the app designer toolbar, select Play.
To create a record, select + New.
To view a chart, on the app command bar select Show Chart.
To change the view, select the My Active Accounts view, and then select the view you want.
To learn more about how to use your app, see Basic navigation in a model-driven app.
Note
Don't see any of the data in your app like in the above screenshot? This is probably because your environment database doesn't have Deploy sample apps and data provisioned. More information: Create an environment with a database
Next steps
In this article, you built a simple model-driven app.
To identify the URL of your model-driven app see Run a model-driven app in a browser
To see how your app looks when you run it, see Run a model-driven app on a mobile device.
To learn how to share your app, see Share a model-driven app.
To get started and learn more about building model-driven apps, see Understand model-driven app components
Tip
Ready to convert your ideas into an app? Start here: Planning a Power Apps project.
For detailed information about model-driven apps and how to build it, start here: Understand model-driven app components.