Create flows in Microsoft Teams
There are multiple ways in which you can create flows within Microsoft Teams.
- Power Automate flow templates: The Microsoft Teams store has templates directly integrated, making it easy for you to get flow templates to get started quickly.
- Team overflow messages: You can create flows from the overflow menu of Teams message.
- Workflows app: You can use the Workflows app to create flows from a template or from scratch.
You can manage all flows you create from any of these entry points directly within Power Automate or from within the Workflows app in Teams.
Prerequisites
To use the Workflows app, you need an account with access to Microsoft Teams.
Create a cloud flow from the Microsoft Teams store
Follow these steps to create a flow from the Microsoft Teams store.
Sign in to Microsoft Teams.
On the left pane in Teams, select Apps.
At the bottom of the left pane, select Workflows.
You see a list of templates that are relevant to Microsoft Teams.
Select any of the templates to build your flow.
When you select a template, a new dialog opens. Name the flow, and then sign into the apps and services the flow uses (if you aren't already signed into them).
After all the connections are setup, select Next.
Provide the parameters that the flow requires, and then select Add workflow to create the flow.
A confirmation page that states that your flow was created successfully appears.
To complete flow creation, select Done.
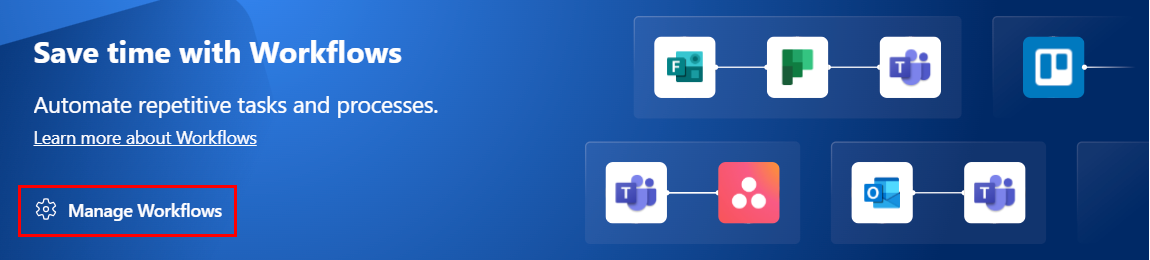
You can manage your flows from the Workflows app in Teams or in Power Automate. To open the Workflows app in Teams to manage your flows, select Manage workflows in the Save time with Workflows section.
Create a flow from the message menu in Microsoft Teams
You can create manually triggered flows from the overflow menu of a Microsoft Teams message.
Follow these steps to create a manually triggered flow from the Microsoft Teams store.
Sign in to Microsoft Teams.
On any message in Teams, select the ellipses (...) in the menu.
Select More actions > Create new action.
You see list of templates that use the For a selected message manual trigger.
Select any template to set up the connections you need.
Select Next to setup the parameters that the template needs.
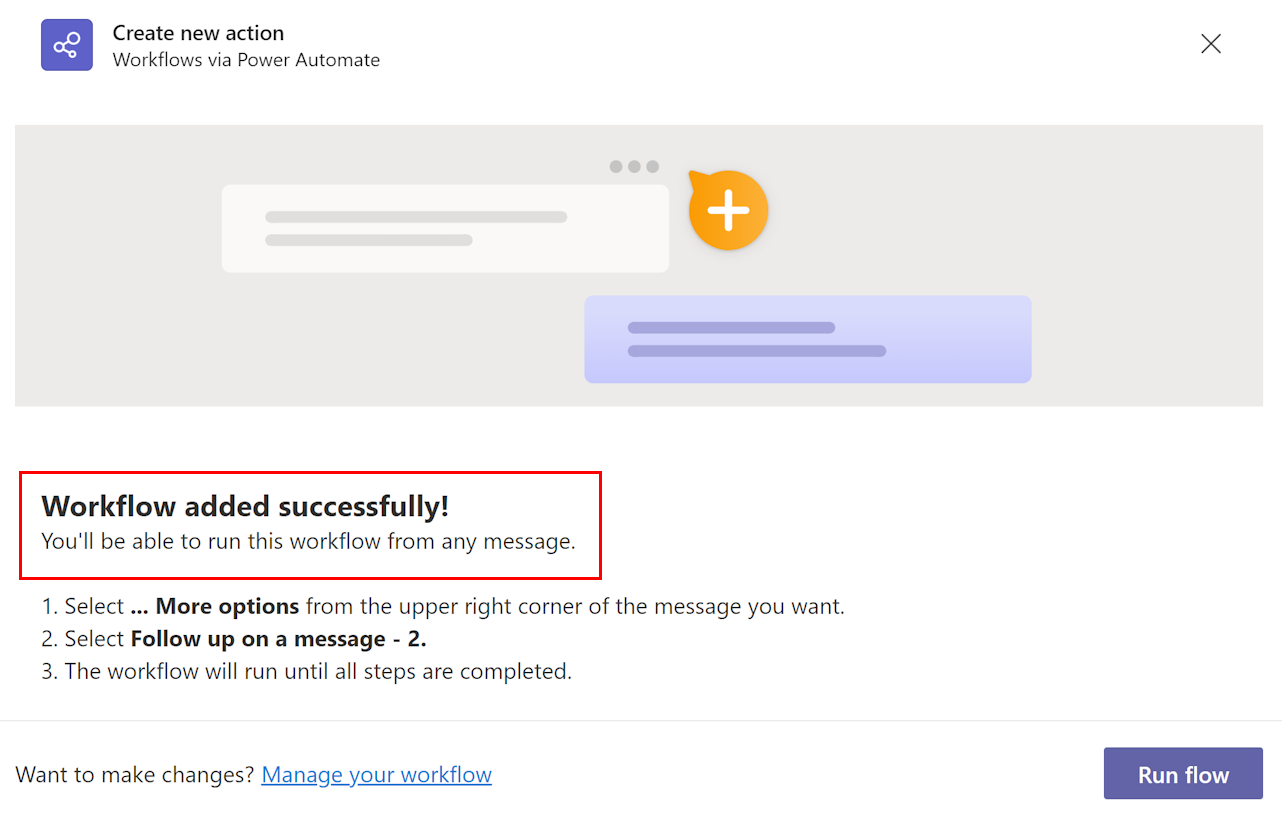
A confirmation page appears once your flow is created successfully.
Create a cloud flow from a template in the Workflows app
By default, the Workflows app shows you templates that have been created for Microsoft Teams. You can switch filters on the top right to view all Power Automate templates.
Follow these steps to create a cloud flow from a Microsoft Teams template.
Sign in to Microsoft Teams.
You can also use the Microsoft Teams app.
On the left panel, select Apps.
Search for workflows.
In the Search results for "workflows" panel, select Open next to Workflows.
Select the Create tab, and then select the template on which you'd like to base your flow.
If the template that you selected is optimized for Microsoft Teams, a dialog that lets you rename the flow and authenticate with the apps necessary for the flow displays.
Note
You must login to all connectors so that your flow can run successfully. A green check indicates that you've authenticated.
Set up the connections as needed.
Select Continue to get a list of parameters that are necessary for the flow to run successfully. Provide the parameters that are needed.
You're all set! You'll get a confirmation that your flow was successfully created. After you create your flow, you can find it on the Home tab.
Important
When you create flows from within the Workflows app in Microsoft Teams, they're always created in your organization's default environment. You can also access these flows from Power Automate.
Create a cloud flow from scratch
If you want full control over the flow that you create, select Create a flow from the top right side of the screen, instead of using a template.

This opens the full Power Automate designer experience within Microsoft Teams where you can create a fully customized flow.

Known issues
- All flows that you create from within the Workflows app are located in your organization's default environment.
- The Workflows app must be enabled in the Microsoft Teams admin center in order for this functionality to work.
Related information
- Manage your flows in Microsoft Teams
- Microsoft Teams connector documentation
- Training: Build your first workflow with Power Automate and Dataverse for Teams (module)
- Training: Get started with Microsoft Dataverse for Teams (module)
- Training: Create apps, copilots, flows, and more with Microsoft Dataverse and Teams (learning path)