Note
Access to this page requires authorization. You can try signing in or changing directories.
Access to this page requires authorization. You can try changing directories.
Summary
| Item | Description |
|---|---|
| Release State | General Availability |
| Products | Excel Power BI (Semantic models) Power BI (Dataflows) Fabric (Dataflow Gen2) Power Apps (Dataflows) Dynamics 365 Customer Insights |
| Authentication Types Supported | Web.Contents: Anonymous Windows Basic Web API Organizational Account Service Principal Web.BrowserContents: Anonymous Windows Basic Web API Web.Page: Anonymous Windows (current user's credentials only) Web API |
| Function Reference Documentation | Web.Contents Web.BrowserContents Web.Page |
Note
The service principal authentication type isn't supported when using an on-premises data gateway or a virtual network (VNet) data gateway.
Note
POST requests can only be made anonymously when using Web.Contents.
Note
Some capabilities might be present in one product but not others due to deployment schedules and host-specific capabilities.
Prerequisites
- Web.Page requires Internet Explorer 10.
- Web.BrowserContents requires Microsoft Edge's WebView2 runtime.
Capabilities supported
- Connecting to a URL
- Advanced
- Using a combination of text constants and parameters to construct the URL
- Specifying a command time out
- Defining HTTP request header parameters (Web.Contents only)
Load Web data using Power Query Desktop
To load data from a web site with Power Query Desktop:
Select Get Data > Web in Power BI or From Web in the Data ribbon in Excel. For more information, go to Where to get data.
Choose the Basic button and enter a URL address in the text box. For example, enter
https://en.wikipedia.org/wiki/List_of_states_and_territories_of_the_United_States. Then select OK.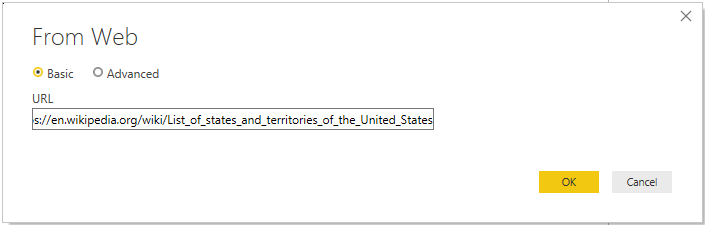
If the URL address you enter is invalid, a
 warning icon appears next to the URL textbox.
If you need to construct a more advanced URL before you connect to the website, go to Load Web data using an advanced URL.
If you're connecting to this web site for the first time, select the authentication method to use for this web site. In this example, select Anonymous. Then select the level to you want to apply these settings to—in this case, https://en.wikipedia.org/. Then select Connect.
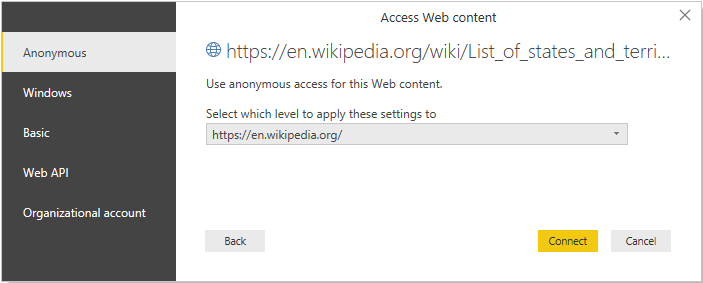
The available authentication methods for this connector are:
Anonymous: Select this authentication method if the web page doesn't require any credentials.
Windows: Select this authentication method if the web page requires your Windows credentials.
Basic: Select this authentication method if the web page requires a basic user name and password.
Web API: Select this method if the web resource that you're connecting to uses an API Key for authentication purposes.
Organizational account: Select this authentication method if the web page requires organizational account credentials.
The level you select for the authentication method determines what part of a URL has the authentication method applied to it. If you select the top-level web address, the authentication method you select here is used for that URL address or any subaddress within that address. However, you might not want to set the top URL address to a specific authentication method because different subaddresses could require different authentication methods. For example, if you were accessing two separate folders of a single SharePoint site and wanted to use different Microsoft Accounts to access each one.
Once you set the authentication method for a specific web site address, you don't need to select the authentication method for that URL address or any subaddress again. For example, if you select the
https://en.wikipedia.org/address in this dialog, any web page that begins with this address doesn't require that you select the authentication method again.Note
If you need to change the authentication method later, go to Changing the authentication method.
From the Navigator dialog, you can select a table, then either transform the data in the Power Query editor by selecting Transform Data, or load the data by selecting Load.
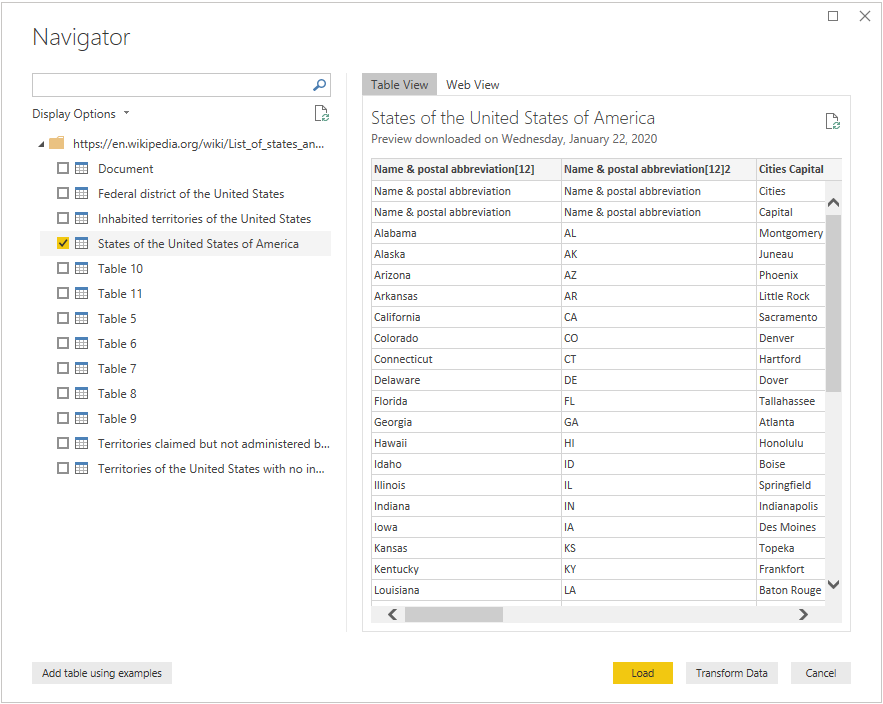
The right side of the Navigator dialog displays the contents of the table you select to transform or load. If you're uncertain which table contains the data you're interested in, you can select the Web View tab. The web view lets you see the entire contents of the web page, and highlights each of the tables that are detected on that site. You can select the check box above the highlighted table to obtain the data from that table.
On the lower left side of the Navigator dialog, you can also select the Add table using examples button. This selection presents an interactive window where you can preview the content of the web page and enter sample values of the data you want to extract. For more information on using this feature, go to Get webpage data by providing examples.


Load Web data using Power Query Online
To load data from a web site with Power Query Online:
From the Get Data page, select either Web page or Web API. For more information, go to Where to get data.
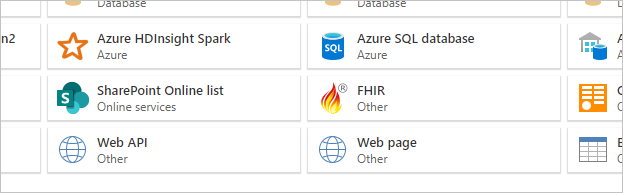
In most cases, you want to select the Web page connector. For security reasons, you need to use an on-premises data gateway with this connector. The Web Page connector requires a gateway because HTML pages are retrieved using a browser control, which involves potential security concerns. This concern isn't an issue with Web API connector, as it doesn't use a browser control.
In some cases, you might want to use a URL that points at either an API or a file stored on the web. In those scenarios, the Web API connector (or file-specific connector) allows you to move forward without using an on-premises data gateway.
Also note that if your URL points to a file, you should use the specific file connector instead of the Web page connector.
Enter a URL address in the text box. For this example, enter
https://en.wikipedia.org/wiki/List_of_states_and_territories_of_the_United_States.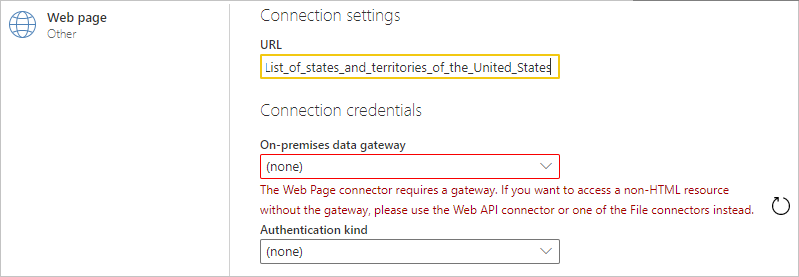
Select the name of your on-premises data gateway.
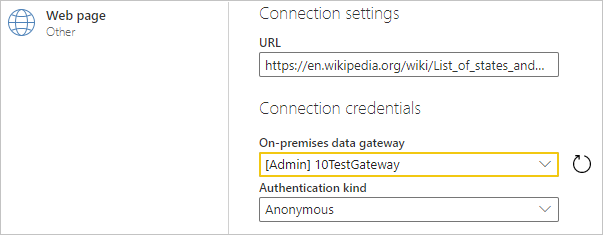
Select the authentication method you use to connect to the web page.
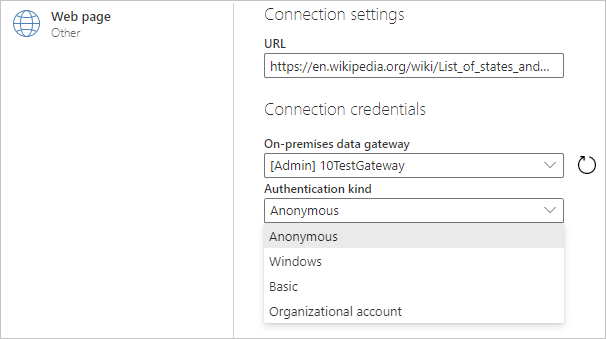
The available authentication methods for this connector are:
Anonymous: Select this authentication method if the web page doesn't require any credentials.
Windows: Select this authentication method if the web page requires your Windows credentials.
Basic: Select this authentication method if the web page requires a basic user name and password.
Organizational account: Select this authentication method if the web page requires organizational account credentials.
Service principal: Select this authentication method if the web page requires a tenant ID, service principal client ID, and service principal key.
Once you choose the authentication method and fill in the necessary credentials, select Next.
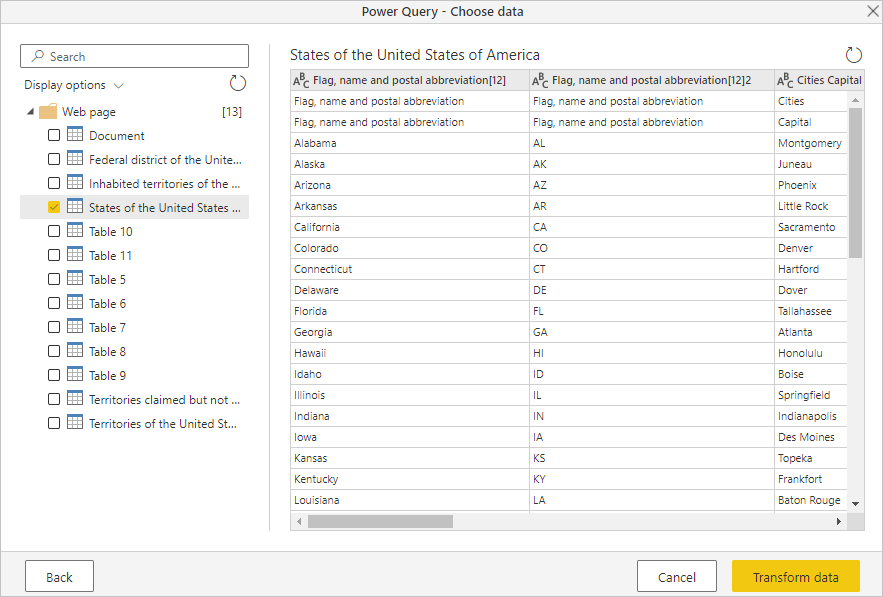
From the Navigator dialog, you can select a table, then transform the data in the Power Query editor by selecting Transform Data.

Load Web data using an advanced URL
When you select Get Data > From Web in Power Query Desktop, in most instances you enter URLs in the Basic setting. However, in some cases you might want to assemble a URL from its separate parts, set a time out for the connection, or provide individualized URL header data. In this case, select the Advanced option in the From Web dialog box.

Use the URL parts section of the dialog to assemble the URL you want to use to get data. The first part of the URL in the URL parts section most likely would consist of the scheme, authority, and path of the URI (for example, http://contoso.com/products/). The second text box could include any queries or fragments that you would use to filter the information provided to the web site. If you need to add more than one part, select Add part to add another URL fragment text box. As you enter each part of the URL, the complete URL used when you select OK is displayed in the URL preview box.
Depending on how long the POST request takes to process data, you might need to prolong the time the request continues to stay connected to the web site. The default time out for both POST and GET is 100 seconds. If this time out is too short, you can use the optional Command timeout in minutes to extend the number of minutes you stay connected.
You can also add specific request headers to the POST you send to the web site using the optional HTTP request header parameters dropdown list box. The following table describes the request headers you can select.
| Request Header | Description |
|---|---|
| Accept | Specifies the response media types that are acceptable. |
| Accept-Charset | Indicates which character sets are acceptable in the textual response content. |
| Accept-Encoding | Indicates what response content encodings are acceptable in the response. |
| Accept-Language | Indicates the set of natural languages that are preferred in the response. |
| Cache-Control | Indicates the caching policies, specified by directives, in client requests and server responses. |
| Content-Type | Indicates the media type of the content. |
| If-Modified-Since | Conditionally determines if the web content changed since the date specified in this field. If the content didn't change, the server responds with only the headers that have a 304 status code. If the content did change, the server returns the requested resource along with a status code of 200. |
| Prefer | Indicates that particular server behaviors are preferred by the client, but aren't required for successful completion of the request. |
| Range | Specifies one or more subranges of the selected representation data. |
| Referer | Specifies a URI reference for the resource from which the target URI was obtained. |
Import files from the web
Normally when you import a local on-premises file in Power Query Desktop, you use the specific file-type connector to import that file, for example, the JSON connector to import a JSON file or the CSV connector to import a CSV file. However, if you use Power Query Desktop and the file you want to import is located on the web, you must use the Web connector to import that file. As in the local case, you're then presented with the table that the connector loads by default, which you can then either Load or Transform.
The following file types are supported by the Web connector:
For example, you could use the following steps to import a JSON file on the https://contoso.com/products web site:
From the Get Data dialog box, select the Web connector.
Choose the Basic button and enter the address in the URL box, for example:
http://contoso.com/products/Example_JSON.json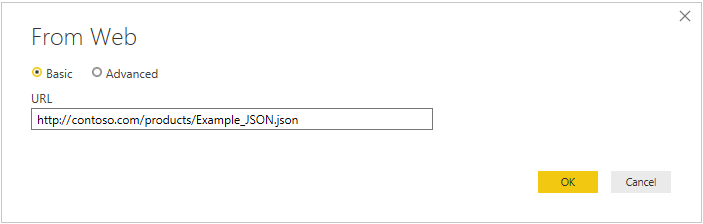
Select OK.
If you're visiting this URL for the first time, select Anonymous as the authentication type, and then select Connect.
The Power Query editor now opens with the data imported from the JSON file. If not already on, select the View tab in the Power Query editor, then select Formula Bar to turn on the formula bar in the editor.
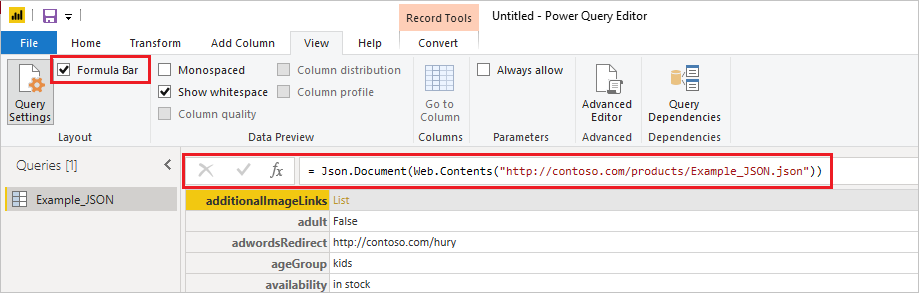
As demonstrated here, the Web connector returns the web contents from the URL you supplied, and then automatically wraps the web contents in the appropriate document type specified by the URL (
Json.Documentin this example).

