Note
Access to this page requires authorization. You can try signing in or changing directories.
Access to this page requires authorization. You can try changing directories.
You can upload files to your Power Query project when using Power Query Online.
The following connectors currently support the upload a file feature.
Note
Only files with the following extensions are supported for upload: .csv, .json, .pdf, .prn, .tsv, .txt, .xl, .xls, .xlsb, .xlsm, .xlsw, .xlsx, .xml.
Upload a file experience
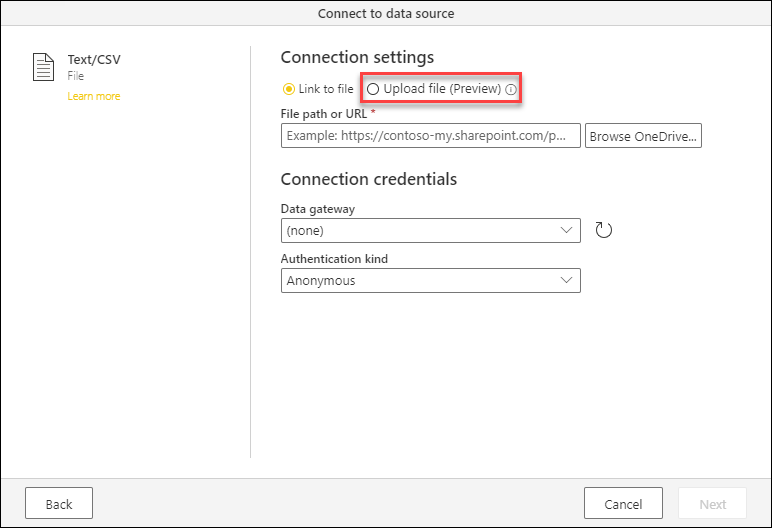
When you select a connector that offers the Upload file experience, a radio button appears on the top of the Connection settings that enables this feature.
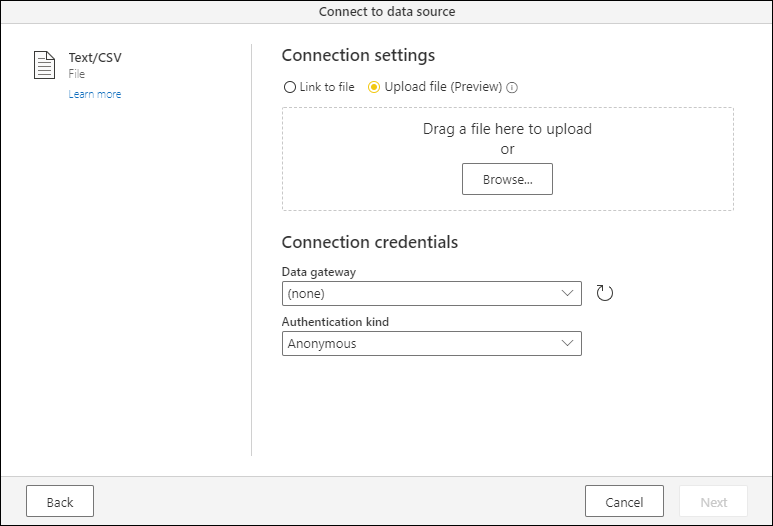
When you select Upload file, the option underneath opens a simple dialog to let you either drag a file or browse in your local file system to upload a file.
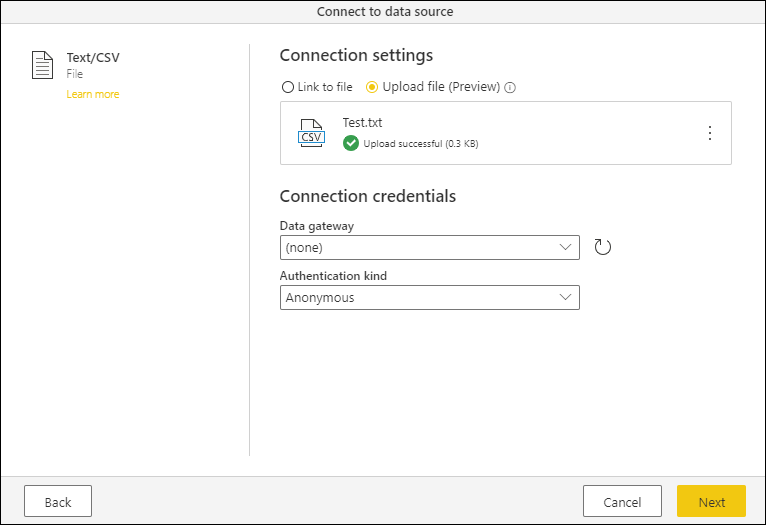
After you select your file, a progress bar shows you how the upload process is going. Once the upload process is finished, a green check mark displays underneath your file name, with the message Upload successful and the file size right next to it.
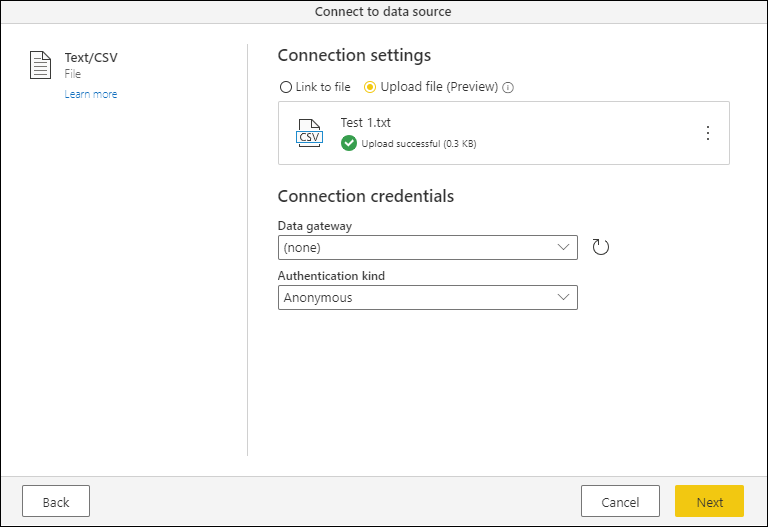
Note
The files uploaded through this feature are stored in your personal Microsoft OneDrive for work or school account.
Before you select the next button, you need to change the authentication kind from Anonymous to Organizational account and go through the authentication process. Start this process by selecting Sign in.
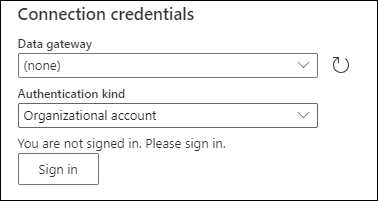
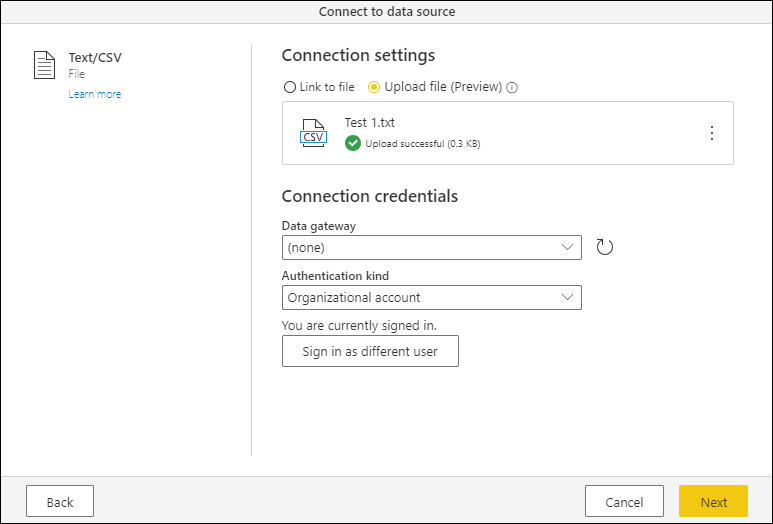
After you go through the authentication process, a You are currently signed in message underneath the Authentication Kind selection lets you know that you successfully signed in. After you signed in, select Next. The file is then stored in your personal Microsoft OneDrive for work or school account, and a new query is created from the file that you uploaded.
Drag and drop experience in the query editor
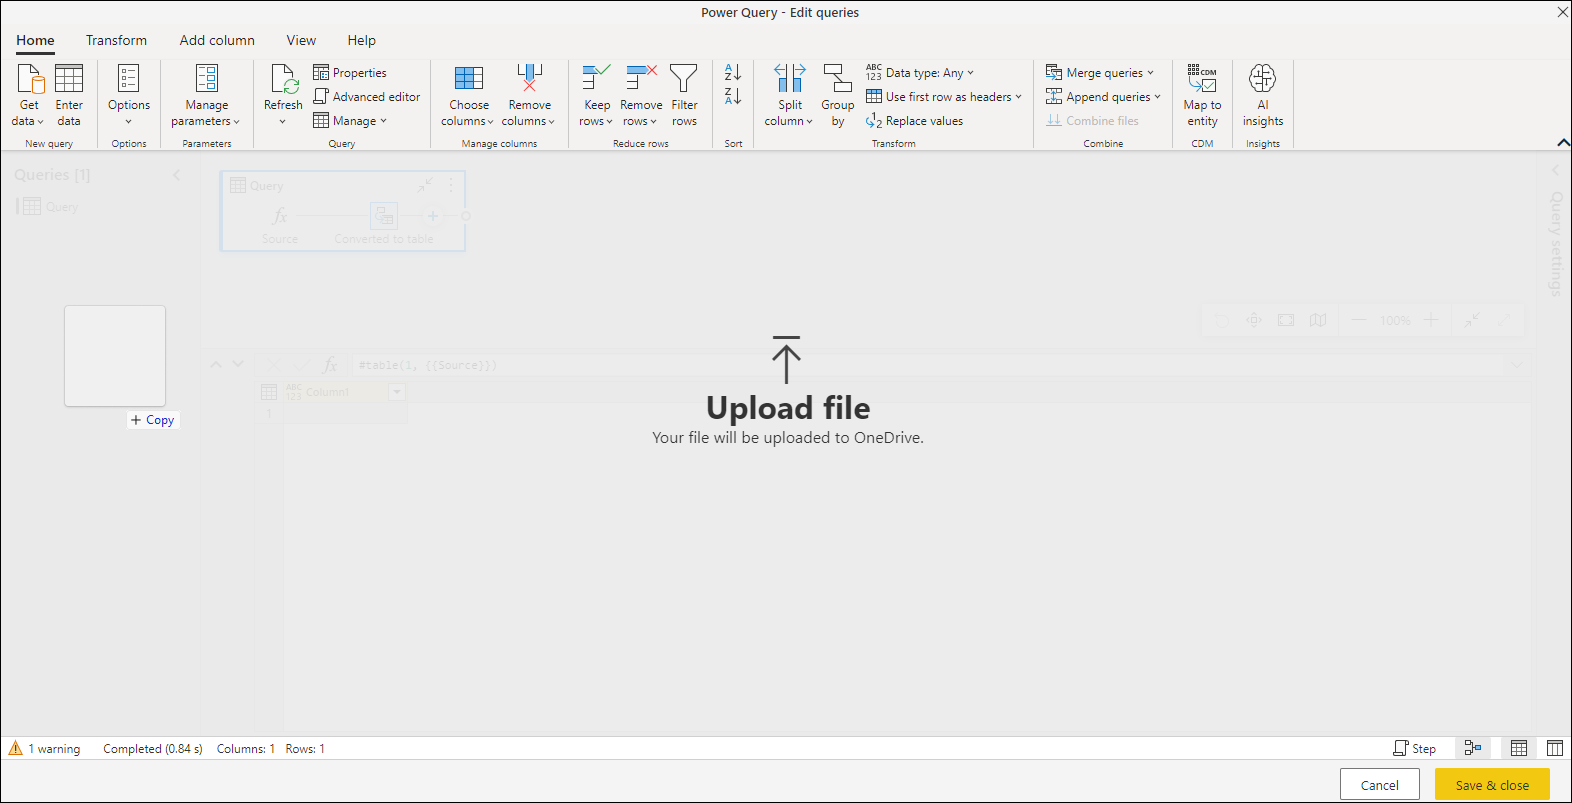
When using the Power Query editor, you can drop a file on either the diagram view or the queries pane to upload a file.
When you drop the file on either of the previously mentioned sections, a dialog with the appropriate connector settings page is shown, based on the file extension of the file being uploaded.
