Note
Access to this page requires authorization. You can try signing in or changing directories.
Access to this page requires authorization. You can try changing directories.
Add, move, or delete tabs on a form using the form designer.
Add tabs to a form
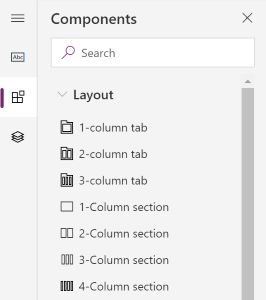
To add tabs to a form, use the Components pane.

Note
Tabs can only be added on main forms. More information: Form types
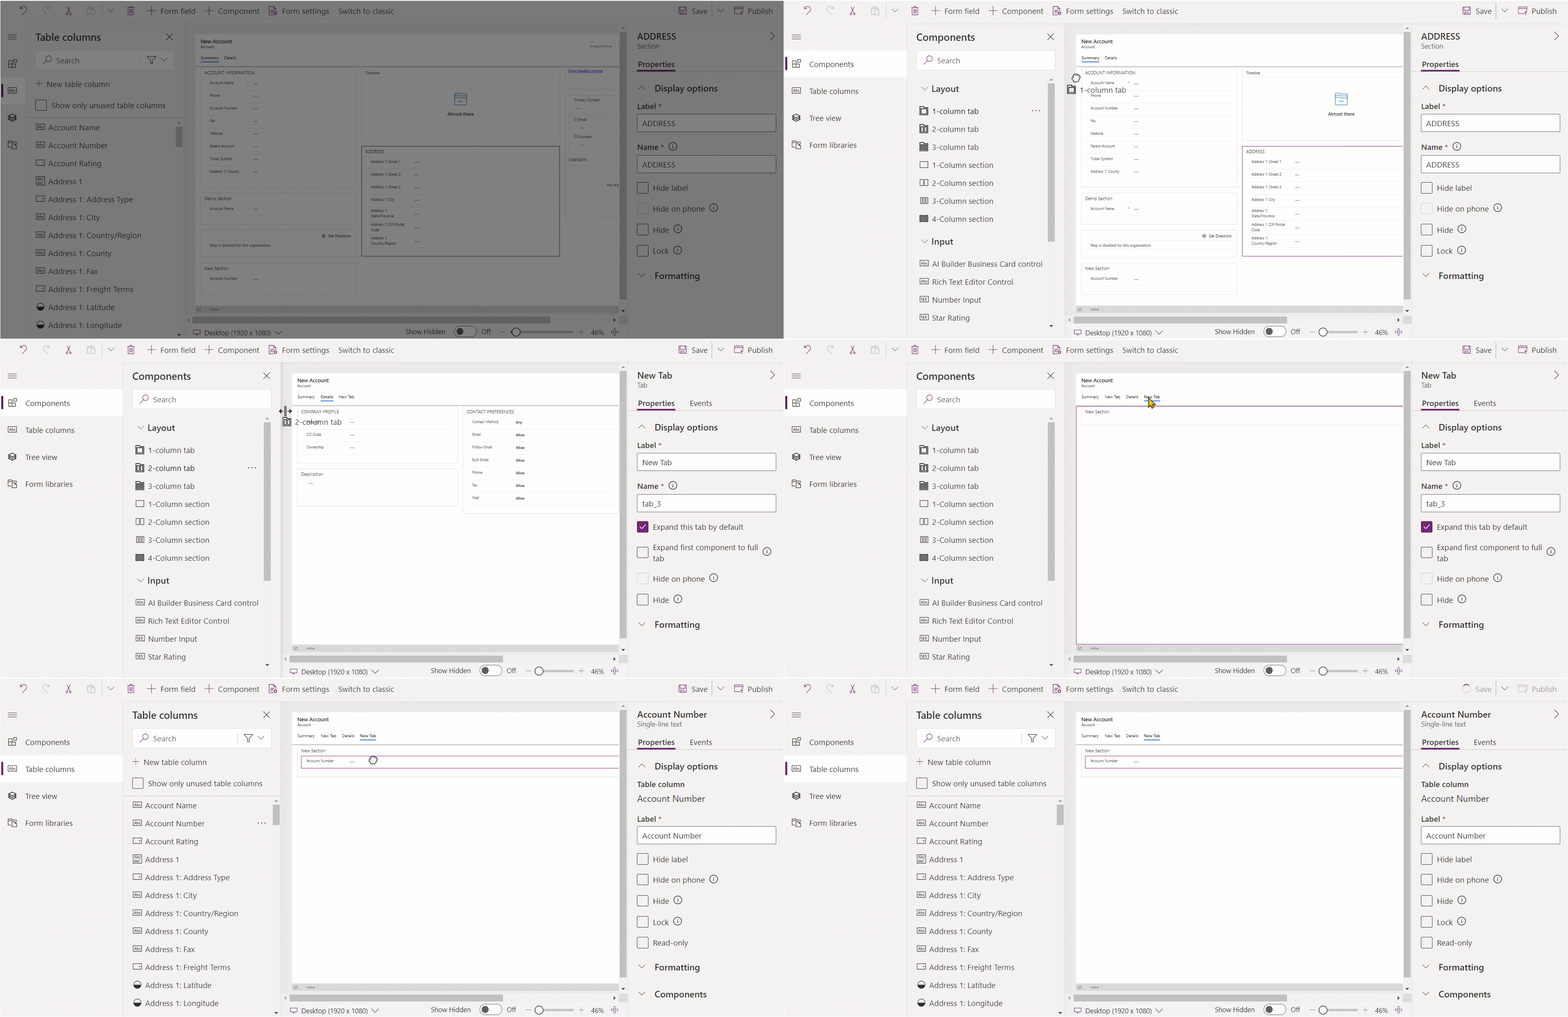
Add tabs to a form using drag and drop
- Open the form designer to create or edit a form. More information: Create a form or Edit a form
- On the command bar, select Add component, or in the left pane, select Components.
- In the Components pane, select a tab component and drag and drop it onto the form preview. As you drag the tab on the form preview, you will see drop targets where you can add the tab.
Note the following behavior:
- Tabs can be dropped before or after any existing tabs by hovering over the tab headers.
- Tabs can also be dropped before or after the current tab by hovering over the left or right edge of the current tab.
- Repeat step 3 above if you want to add more tabs.
- On the command bar, select Save to save the form, or select Publish if you want to save and make your changes visible to users.

Add tabs to a form using selection
- Open the form designer to create or edit a form. More information: Create a form or Edit a form
- In the form preview, select another existing tab or the form. Note the following behavior:
- When you select an existing tab, the new tab will be added after the existing tab.
- When you select the form, the new tab will be added as the last tab on the form.
- On the command bar, select Add component, or in the left pane, select Components.
- In the Components pane, select a tab component to add it to the form. Alternatively, select ... next to the tab component you want, and then select Add to form.
- Repeat steps 2-4 above if you want to add more tabs.
- On the command bar, select Save to save the form, or select Publish if you want to save and make your changes visible to users.

Configure tabs on a form
These are the properties available to configure a tab when you create or edit a form using the form designer.
| Area | Name | Description |
|---|---|---|
| Display options | Tab label | The localizable label for the tab visible to users. This property is required. |
| Display options | Name | The unique name for the tab that is used when referencing it in scripts. The name can contain only alphanumeric characters and underscores. This property is required. |
| Display options | Expand this tab by default | The tab state can toggle between expanded or collapsed using form scripts or by people selecting the label. Choose the default state for the tab. |
| Display options | Hide tab | When selected, tab is hidden by default and can be shown using code. |
| Display options | Hide on phone | The tab can be hidden to render a condensed version of this form on phone screens. |
| Formatting | Layout | Tabs may have up to three columns. Use these options to set the number of tabs and what percentage of the total width they should fill. |
Move tabs on a form
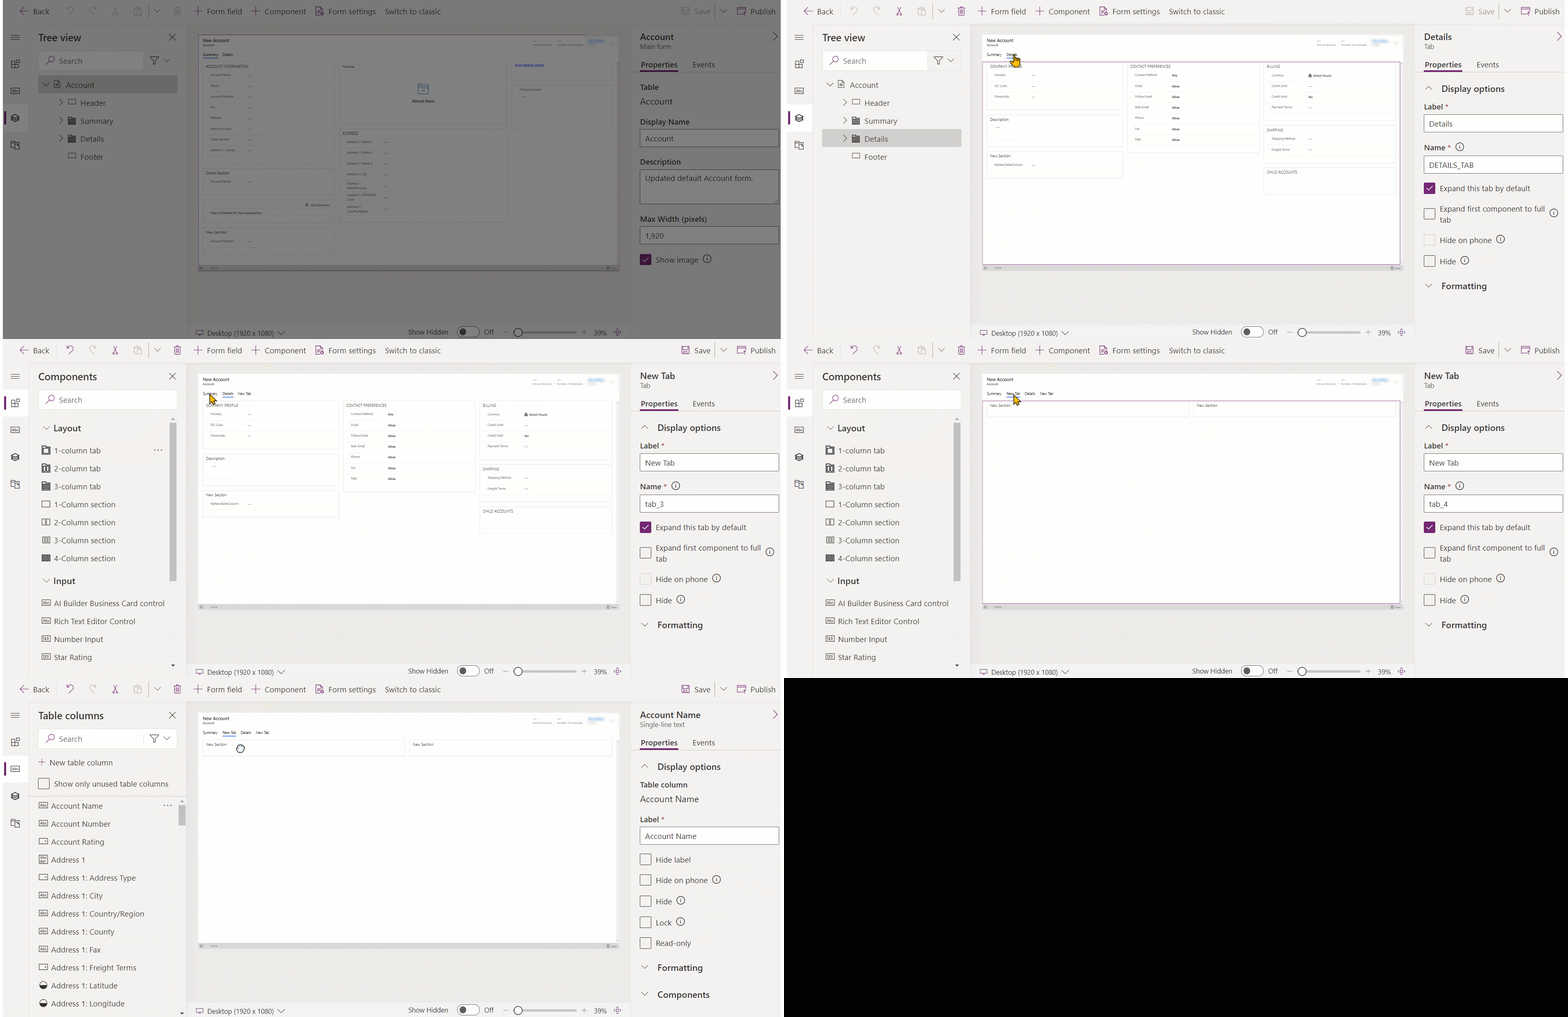
You can move a tab on a form using drag and drop or cut and paste actions.
Move tabs on a form using drag and drop
- Open the form designer to create or edit a form. More information: Create a form or Edit a form
- In the form preview, select the tab header of the tab that you want to move and drag and drop it. As you drag the tab on the form preview, you will see drop targets where you can move the tab. Note the following behavior:
- Tabs can be dropped before or after any existing tabs by hovering over the tab headers.
- Tabs can also be dropped before or after the current tab by hovering over the left or right edge of the current tab.
- Repeat step 2 if you want to move more tabs.
- On the command bar, select Save to save the form, or select Publish if you want to save and make your changes visible to users.
Move tabs on a form using cut and paste
- Open the form designer to create or edit a form. More information: Create a form or Edit a form
- In the form preview, select the tab that you want to move.
- On the command bar, select Cut.
- In the form preview, select another existing tab or the form.
- On the command bar, select Paste or select the chevron, and then select Paste before. Note the following behavior:
- When you select Paste, the tab moved is pasted after the existing tab.
- When you select Paste before, the tab moved is pasted before the existing tab.
- When you select the form, the tab moved is added as the last tab on the form. The Paste before action is not applicable and therefore not available in this case.
- Repeat steps 2-5 above if you want to move more tabs.
- On the command bar, select Save to save the form, or select Publish if you want to save and make your changes visible to users.
Delete tabs on a form
Open the form designer to create or edit a form. More information: Create a form or Edit a form
In the form preview, select the tab that you want to delete from the form.
On the command bar, select Delete.
Repeat steps 2-3 above if you want to delete more tabs.
On the command bar, select Save to save the form, or select Publish if you want to save and make your changes visible to users.
Note
- Tabs can only be deleted on main forms. More information: Form types
- If you delete a tab by mistake, on the command bar, select Undo to revert the form to its previous state.
- You can't delete a tab that contains sections with required or locked columns.
- You can't delete a tab that has locked sections.
- A form must have at least one tab. You can't delete the last remaining tab on the form.
See also
Overview of the model-driven form designer
Create, edit, or configure forms using the form designer
Add, configure, move, or delete columns on a form
Add, configure, move, or delete components on a form
Add, configure, move, or delete sections on a form
Configure header properties in the form designer
Add and configure a subgrid component on a form
Add and configure a quick view component on a form
Configure a lookup component on a form
Using the tree view in the form designer
Create and edit columns