Manage your Azure Percept voice assistant application
Important
Retirement of Azure Percept DK:
Update 22 February 2023: A firmware update for the Percept DK Vision and Audio accessory components (also known as Vision and Audio SOM) is now available here, and will enable the accessory components to continue functioning beyond the retirement date.
The Azure Percept public preview will be evolving to support new edge device platforms and developer experiences. As part of this evolution the Azure Percept DK and Audio Accessory and associated supporting Azure services for the Percept DK will be retired March 30th, 2023.
Effective March 30th, 2023, the Azure Percept DK and Audio Accessory will no longer be supported by any Azure services including Azure Percept Studio, OS updates, containers updates, view web stream, and Custom Vision integration. Microsoft will no longer provide customer success support and any associated supporting services. For more information, please visit the Retirement Notice Blog Post.
This article describes how to configure the keyword and commands of your voice assistant application within Azure Percept Studio. For guidance on configuring your keyword within IoT Hub instead of the portal, see this how-to article.
If you have not yet created a voice assistant application, see Build a no-code voice assistant with Azure Percept Studio and Azure Percept Audio.
Keyword configuration
A keyword is a word or short phrase used to activate a voice assistant. For example, "Hey Cortana" is the keyword for the Cortana assistant. Voice activation allows your users to start interacting with your product hands-free by speaking the keyword. As your product continuously listens for the keyword, all audio is processed locally on the device until a detection occurs to ensure user data stays as private as possible.
Configuration within the voice assistant demo window
Select change next to Custom Keyword on the demo page.
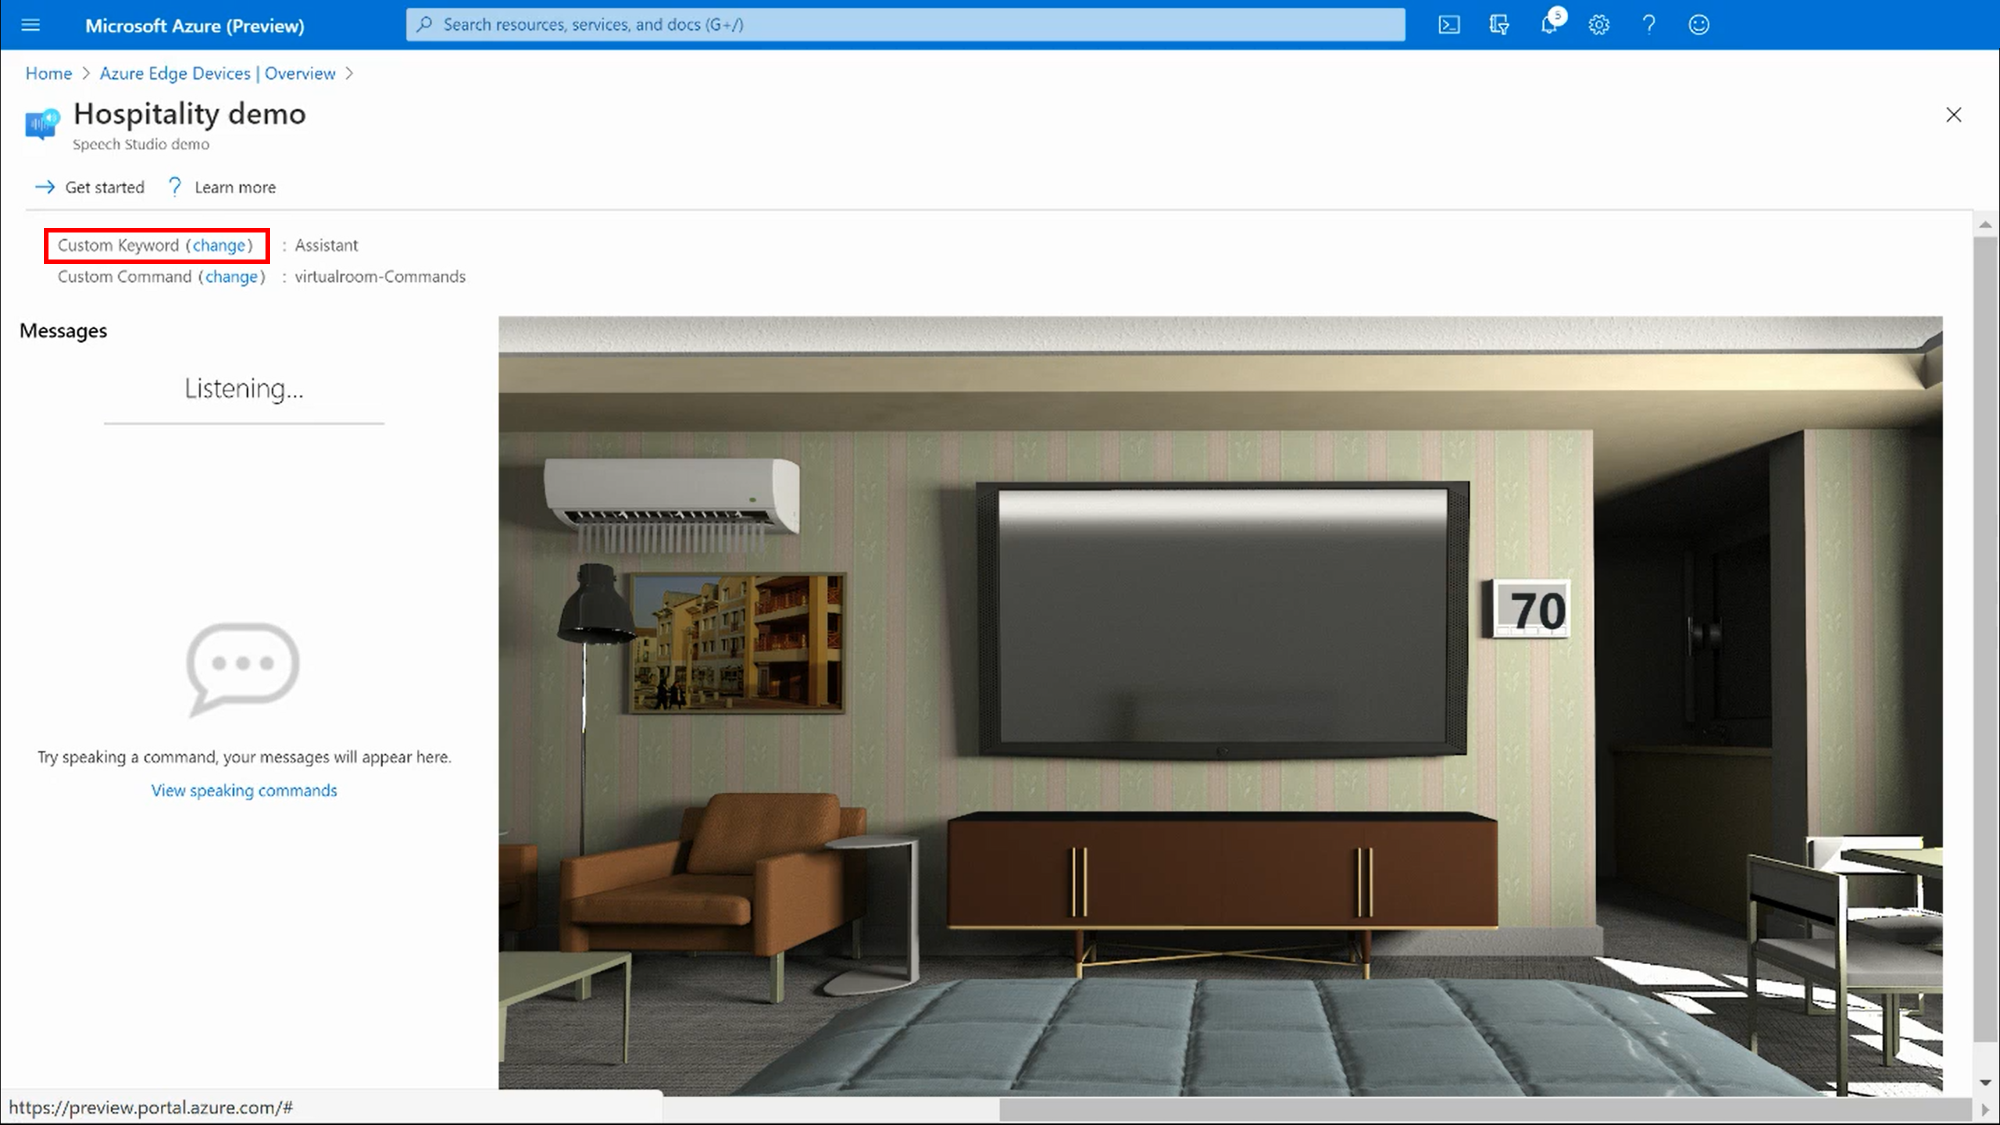
If you do not have the demo page open, navigate to the device page (see below) and select Test your voice assistant under Actions to access the demo.
Select one of the available keywords and select Save to apply changes.
The three LED lights on the Azure Percept Audio device will change to bright blue (no flashing) when configuration is complete and your voice assistant is ready to use.
Configuration within the device page
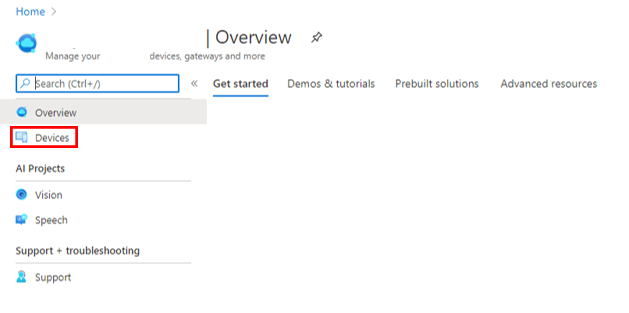
On the overview page of the Azure Percept Studio, select on Devices on the left menu pane.
Select the device to which your voice assistant application was deployed.
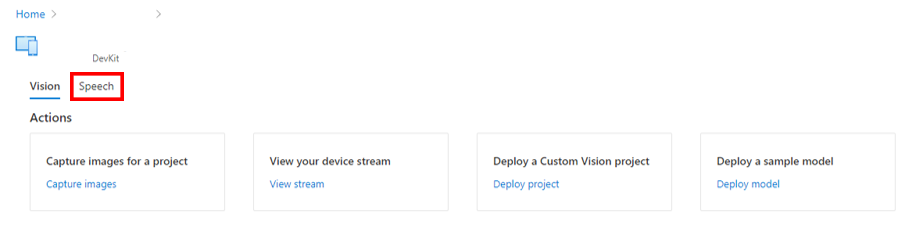
Open the Speech tab.
Select Change next to Keyword.
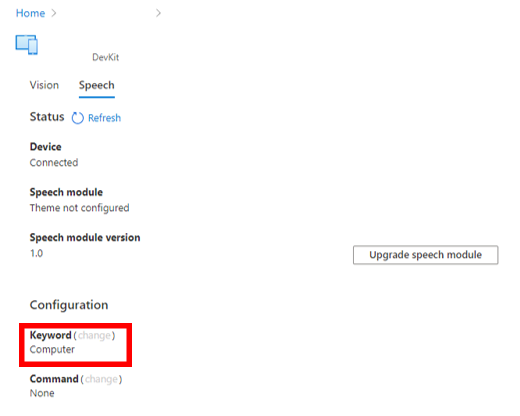
Select one of the available keywords and select Save to apply changes.
The three LED lights on the Azure Percept Audio device will change to bright blue (no flashing) when configuration is complete and your voice assistant is ready to use.
Create a custom keyword
With Speech Studio, you can create a custom keyword for your voice assistant. It takes up to 30 minutes to train a basic custom keyword model.
Follow the Speech Studio documentation for guidance on creating a custom keyword. Once configured, your new keyword will be available in the Project Santa Cruz portal for use with your voice assistant application.
Commands configuration
Custom commands make it easy to build rich voice commanding apps optimized for voice-first interaction experiences. Custom commands are best suited for task completion or command-and-control scenarios.
Configuration within the voice assistant demo window
Select Change next to Custom Command on the demo page. If you do not have the demo page open, navigate to the device page (see below) and select Test your voice assistant under Actions to access the demo.
Select one of the available custom commands and select Save to apply changes.
Configuration within the device page
On the overview page of the Azure Percept Studio, select on Devices on the left menu pane.
Select the device to which your voice assistant application was deployed.
Open the Speech tab.
Select Change next to Command.
Select one of the available custom commands and select Save to apply changes.
Create custom commands
With Speech Studio, you can create custom commands for your voice assistant to execute.
Follow the Speech Studio documentation for guidance on creating custom commands. Once configured, your new commands will be available in Azure Percept Studio for use with your voice assistant application.
Next steps
After building a voice assistant application, try developing a no-code vision solution with your Azure Percept DK.