Manage SQL Server Big Data Clusters with Azure Data Studio notebooks
Applies to: ![]() SQL Server 2019 (15.x)
SQL Server 2019 (15.x)
Important
The Microsoft SQL Server 2019 Big Data Clusters add-on will be retired. Support for SQL Server 2019 Big Data Clusters will end on February 28, 2025. All existing users of SQL Server 2019 with Software Assurance will be fully supported on the platform and the software will continue to be maintained through SQL Server cumulative updates until that time. For more information, see the announcement blog post and Big data options on the Microsoft SQL Server platform.
SQL Server 2019 (15.x) provides an extension for Azure Data Studio that includes notebooks. A notebook provides documentation and code that you can use in Azure Data Studio to manage SQL Server 2019 Big Data Clusters.
Originally implemented as an open-source project, notebooks have been incorporated into Azure Data Studio. You can use markdown for text in the text cells and one of the available kernels to write code in the code cells.
You can use notebooks to deploy big data clusters for SQL Server 2019 (15.x).
In addition to notebooks, you can view a collection of notebooks, which is called a Jupyter Book. A Jupyter Book provides a table of contents to help you navigate a collection of notebooks so you can easily find the notebook you need, whether you want to troubleshoot SQL Server or view cluster status.
Prerequisites
You need these prerequisites to open a notebook:
- The latest version of Azure Data Studio
- The SQL Server 2019 (15.x) extension, installed in Azure Data Studio
In addition to those prerequisites, to deploy SQL Server 2019 Big Data Clusters, you also need:
Access troubleshooting notebooks
There are three ways to access troubleshooting notebooks.
Command Palette
Select View > Command Palette.
Enter Jupyter Books: SQL Server 2019 Guide.
The Jupyter Books viewlet with the Jupyter Book that contains the troubleshooting notebooks related to SQL Server Big Data Clusters will open.
SQL Master Dashboard
After you install Azure Data Studio Insiders, connect to a SQL Server Big Data Clusters instance.
After you're connected to the instance, right-click your server name under CONNECTIONS and select Manage.
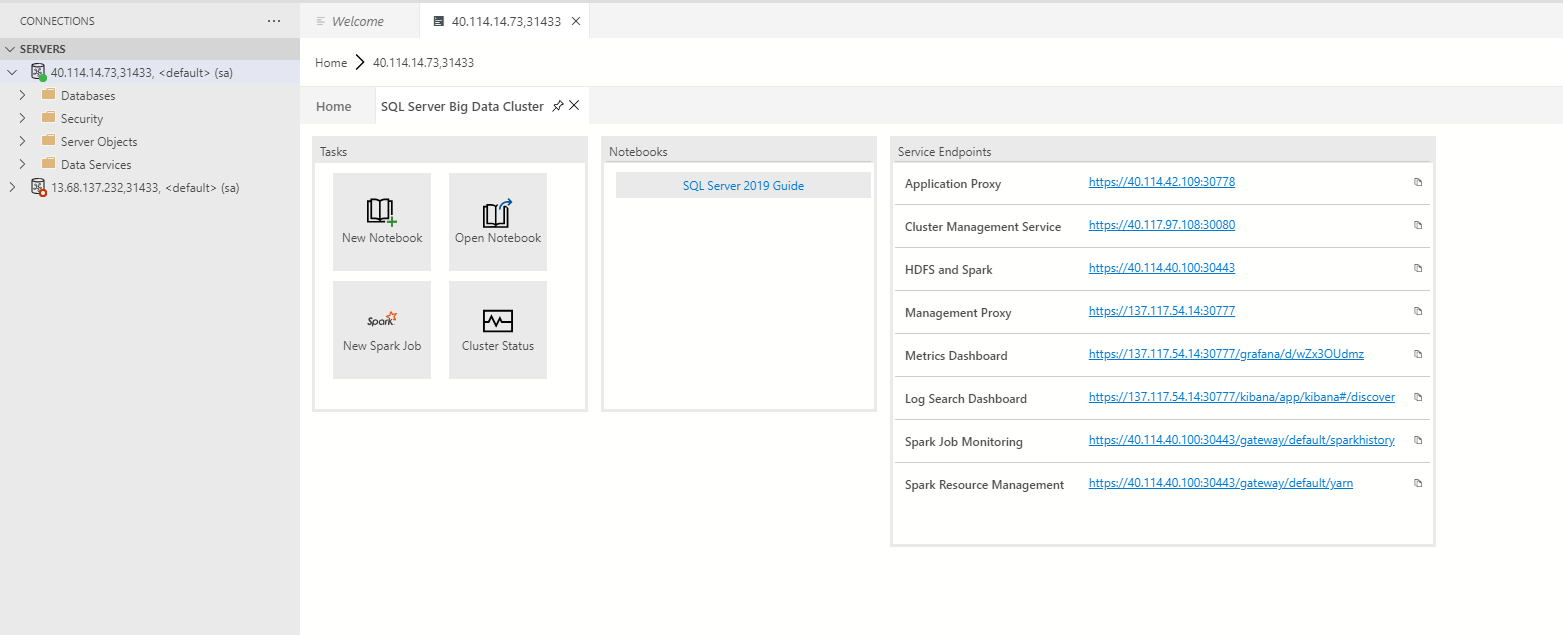
In the dashboard, select SQL Server Big Data Cluster. Select SQL Server 2019 guide to open the Jupyter Book that contains the notebooks you need.
Select the notebook for the task that you need to complete.
Controller Dashboard
In the Connections view, expand SQL Server Big Data Clusters.
Add controller endpoint details.
After you're connected to the controller, right-click the endpoint and select Manage.
After the dashboard loads, select troubleshoot to open the Jupyter Book troubleshooting guides.
Use troubleshooting notebooks
Find the troubleshooting guide that you need in the Jupyter Book table of contents.
The notebooks are optimized, so you just need to select Run Cells. This action will run each cell in the notebook individually until the notebook is complete.
If an error is found, the Jupyter Book will suggest a notebook that you can run to fix the error. Follow the recommended steps, and then run the notebook again.
Change the big data cluster
To change the SQL Server big data cluster for a notebook:
Click the Attach to menu from the notebook toolbar.

Click a server from the Attach to menu.

Next steps
For more information about notebooks in Azure Data Studio, see How to use notebooks with SQL Server.
For the location of big data cluster administration notebooks, see Where to find SQL Server Big Data Clusters administration notebooks.