Exercise - Integrate Azure storage
In this module, you'll learn how to save entity data to Azure Table storage and thumbnail images to Azure Blob storage. This feature allows us to store and retrieve Tracked Objects with data like ID, Name, Thumbnail Image, and more across sessions and devices to the cloud.
Understand Azure storage
Azure storage is a Microsoft storage solution on the cloud that can cover many scenarios and requirements. It can scale massively and is easily approachable by developers. All services can be consumed under the umbrella of an Azure storage account. For our use case, we'll use Table storage and Blob storage.
Learn more about Azure storage services.
Azure Table storage
This service allows us to store data in a NoSQL fashion. In our project, we'll use it to store information about the Tracked Object, such as name, description, spatial anchor ID, and more.
In context of the demo application, you'll need two tables; one to store information about the project with information about the state of trained models (more about that in the Integrate Azure Custom Vision exercise later in this module), and a second table to store information about Tracked Objects.
Learn more about Azure Table storage.
Azure Blob Storage
This service allows you to store large binary files. You'll use Azure Blob storage to store photos taken for Tracked Objects as thumbnails.
For the purposes of the demo application, you need one Blob Container in which to store the images.
Learn more about Azure Blob Storage.
Prepare Azure Storage
To use the Azure storage services, you'll need an Azure storage account. To create a storage account, see Create a storage account. To learn more about storage accounts, see Storage account overview.
Once you have a storage account, you can retrieve the connection string from the Azure portal. You can find it in Security + networking > Access keys. You'll need the connection string in the next section of this lesson.
Optional Azure Storage Explorer
While you can view and verify all data changes from the UI inside the application, we recommend installing Azure Storage Explorer. This tool allows you to visualize the data in Azure storage, and it's of great help when debugging and learning.
Tip
For testing from inside the Unity editor, you can use a local emulator:
- On Windows, you can use the Azurite emulator.
- On MacOS or Linux, you can use the Azurite Docker Image for Docker.
Prepare the scene
In the Hierarchy window, locate the DataManager object and select it.
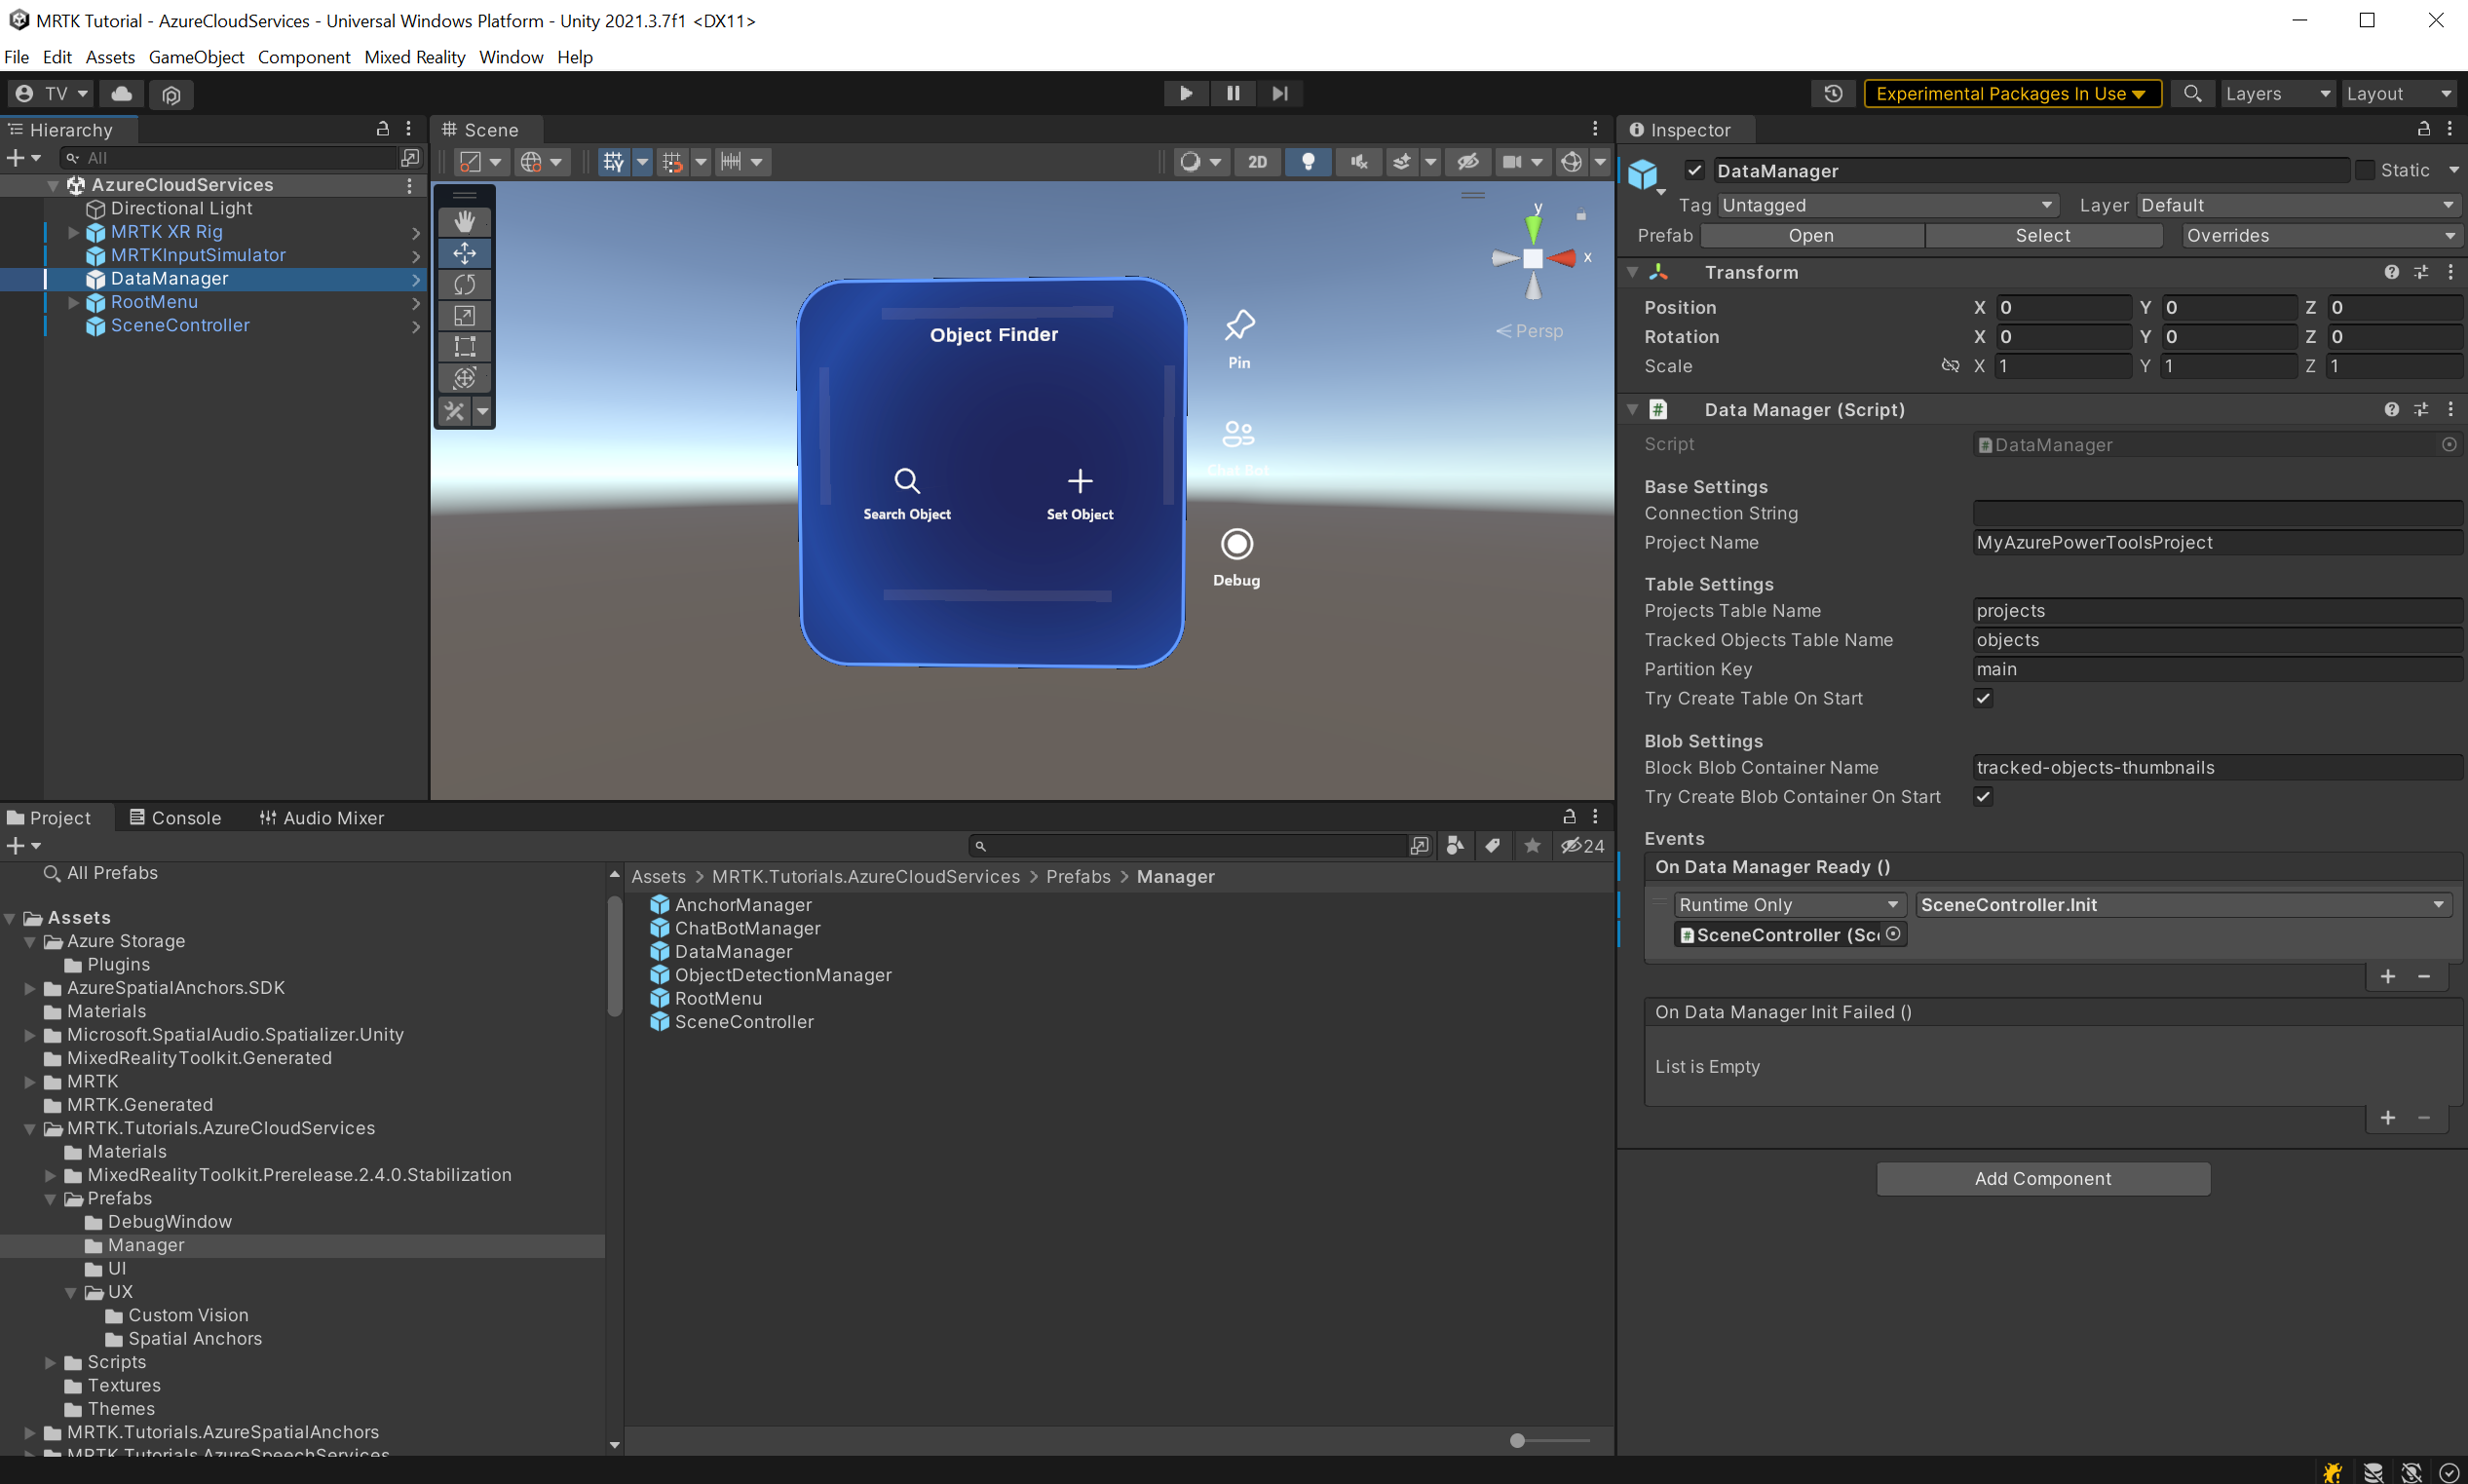
The DataManager (script) component in the Inspector window contains all Azure storage related settings. All the relevant settings are already set; you just need to replace the Connection String field with the one you retrieved from the Azure portal. If you're using a local Azure storage emulator solution, then you can keep the already provided connection string or leave it empty.
The DataManager (script) is responsible for talking to the Table storage and Blob storage, and is consumed by other controller scripts on the UI components.

Write and read data from Azure Table Storage
Note
Building and testing on HoloLens 2 is not mandatory. You can test on the HoloLens 2 Emulator if you don't have a HoloLens device. You can purchase devices at HoloLens.com.
With everything prepared, it's time to create a Tracked Object.
Open the application on your HoloLens, then select the Set Object. The EnterObjectName object will become active in the hierarchy. Select the Search bar and type in the name you wish to give the Tracked Object. After providing a name, select the Set Object button. This creates the Tracked Object on the Azure Table storage. The Object Card will display.
This Object Card is a UI representation of the Tracked Object and will have an important role in this tutorial series.
Now select the Description text box and type in Car, then select the Save button to save the changes. Stop the application and rerun it.
Select Search Object and type the name you entered previously when creating the Tracked Object into the Search bar. You'll see that the Object Card with all data retrieved from the Azure Table storage.
Feel free to close the Object Card, create new Tracked Objects, and edit their data.
Tip
If you've installed the Azure Storage Explorer, you can find your Tracked Object in the Objects table.
Upload and download images from Azure Blob Storage
In this section, you'll use Azure Blob Storage to upload and download images to use as thumbnails for Tracked Objects.
Note
In this tutorial, the application will take photos to upload images to Azure Blob Storage. If you're running this locally from the Unity editor, make sure you have a webcam connected to your computer.
Open the application on your HoloLens, select Set Object, and type Car into the Search bar. On the Object Card, select the Camera button. You'll be instructed to do an AirTap to take a photo. After taking a photo, you'll see a message that informs you about the active upload, and after a while the image should appear where the placeholder was before.
Now, rerun the application and search for the Tracked Object. The previously uploaded image should appear as thumbnail.
Delete images from Azure Blob Storage
In the previous section, you uploaded new images to Azure Blob Storage. In this section, you'll delete an image thumbnail for your Tracked Objects.
Open the application on your HoloLens, select Set Object, and type Car into the Search bar. On the Object Card with the thumbnail image, select the Delete button. The thumbnail image is replaced by the placeholder image.
Now, rerun the application and search for the Tracked Object of the previously deleted thumbnail. You should only see the placeholder image.