Note
Access to this page requires authorization. You can try signing in or changing directories.
Access to this page requires authorization. You can try changing directories.
In this 5-10 minute introduction to the Visual Studio integrated development environment (IDE), we take a tour of some of the windows, menus, and other UI features.
If you haven't installed Visual Studio, go to the Visual Studio downloads page to install it for free.
Start window
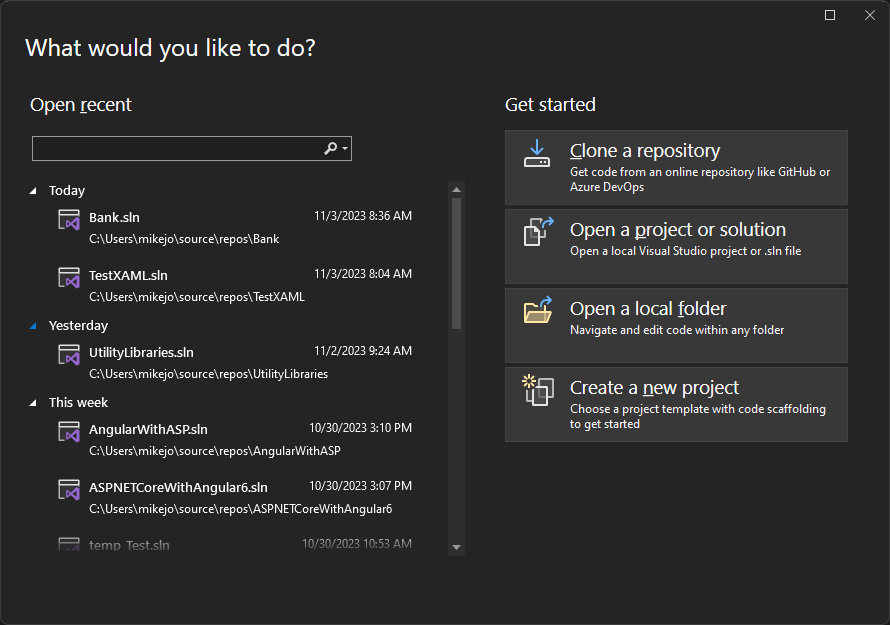
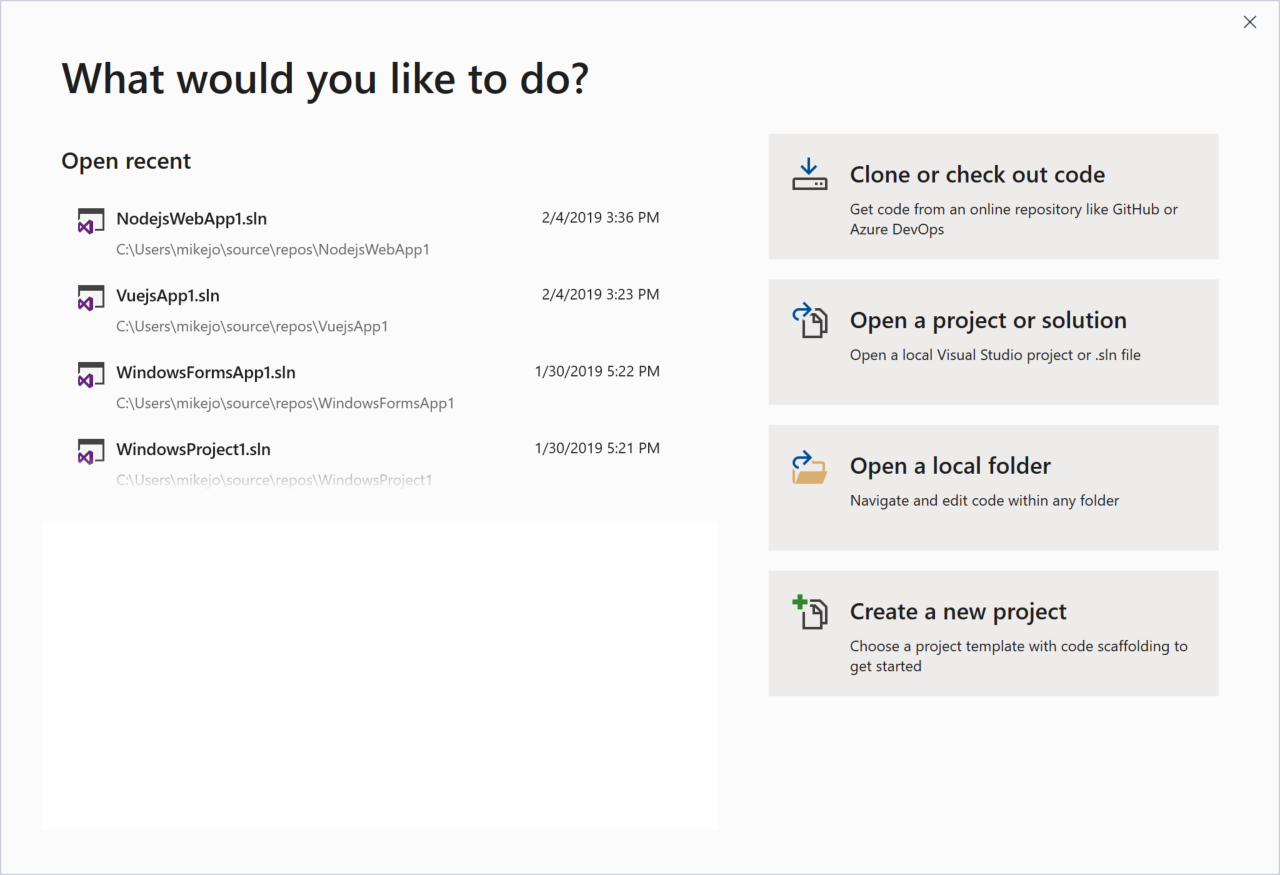
The first thing you see after you launch Visual Studio is the start window. The start window is designed to help you "get to code" faster. It has options to close or check out code, open an existing project or solution, create a new project, or simply open a folder that contains some code files. If the start window isn't open, choose File > Start Window to open it.
If this is the first time you're using Visual Studio, your recent projects list will be empty.
If you work with non-MSBuild based codebases, use the Open a local folder option to open your code in Visual Studio. For more information, see Develop code in Visual Studio without projects or solutions. Otherwise, you can create a new project or clone a project from a source provider such as GitHub or Azure DevOps.
The Continue without code option simply opens the Visual Studio development environment without any specific project or code loaded. You might choose this option to join a Live Share session or attach to a process for debugging. You can also press Esc to close the start window and open the IDE.
Create a project
To continue exploring Visual Studio's features, let's create a new project.
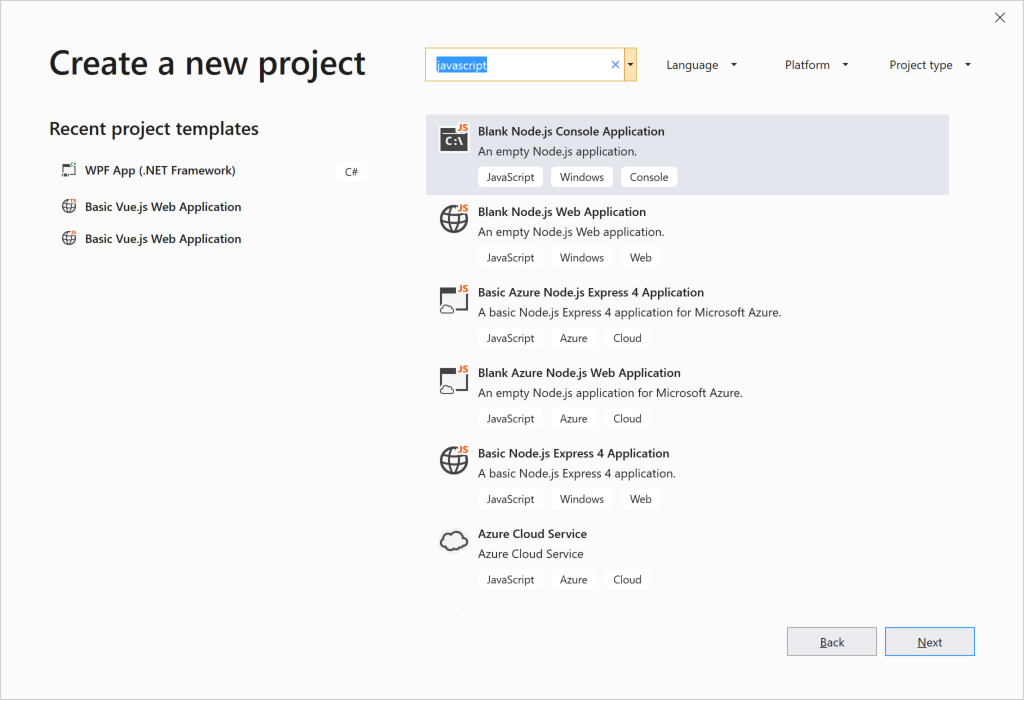
On the start window, select Create a new project, and then in the search box type in javascript or typescript to filter the list of project types to those that contain "javascript" or "typescript" in their name or language type.
Visual Studio provides various kinds of project templates that help you get started coding quickly.
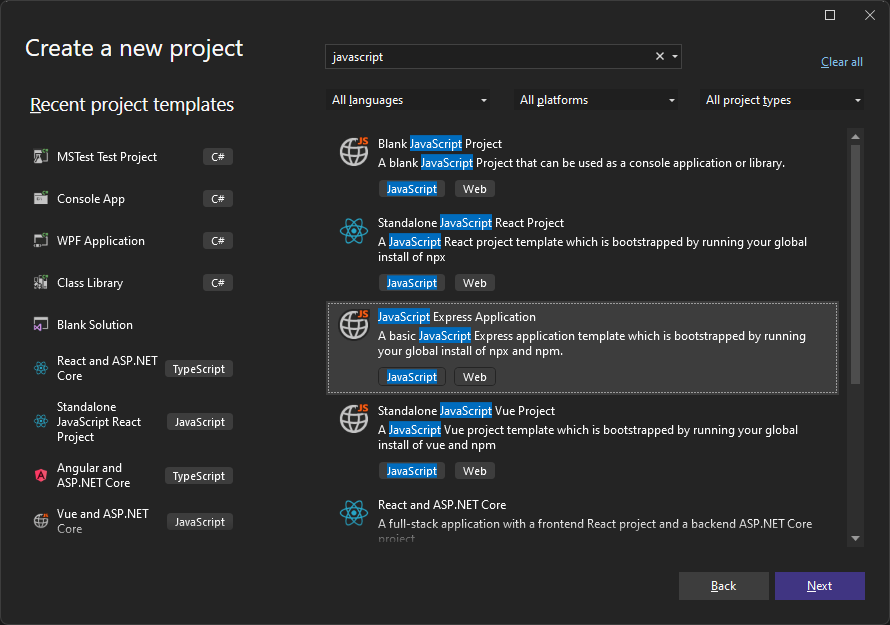
- Choose a JavaScript Express Application project template and click Next.
- Choose a Blank Node.js Web Application project template and click Next.
In the Configure your new project dialog box that appears, accept the default project name and choose Create.
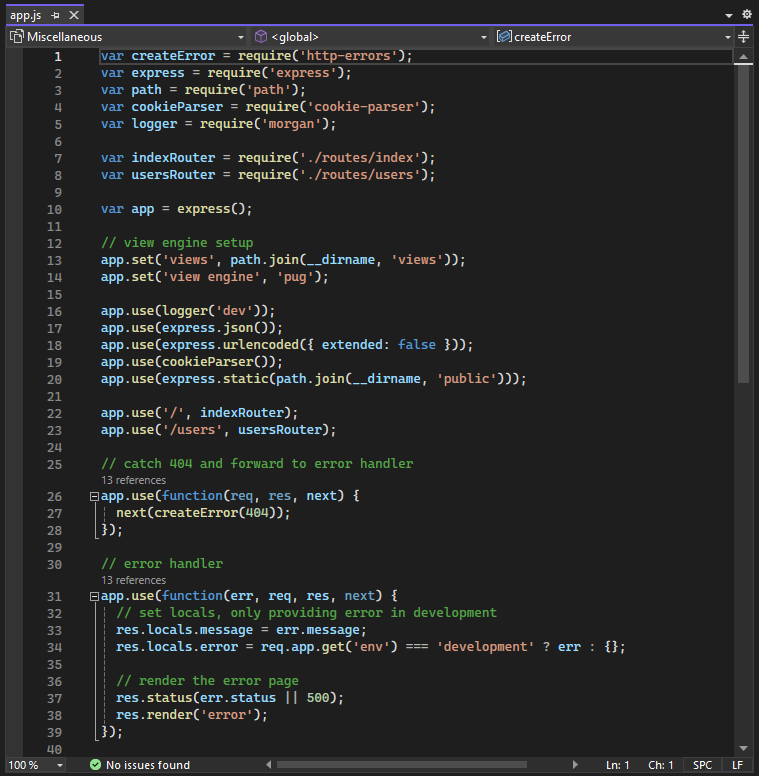
The project is created. In the right pane, select app.js to open the file in the Editor window. The Editor shows the contents of files, and is where you do most of your coding work in Visual Studio.
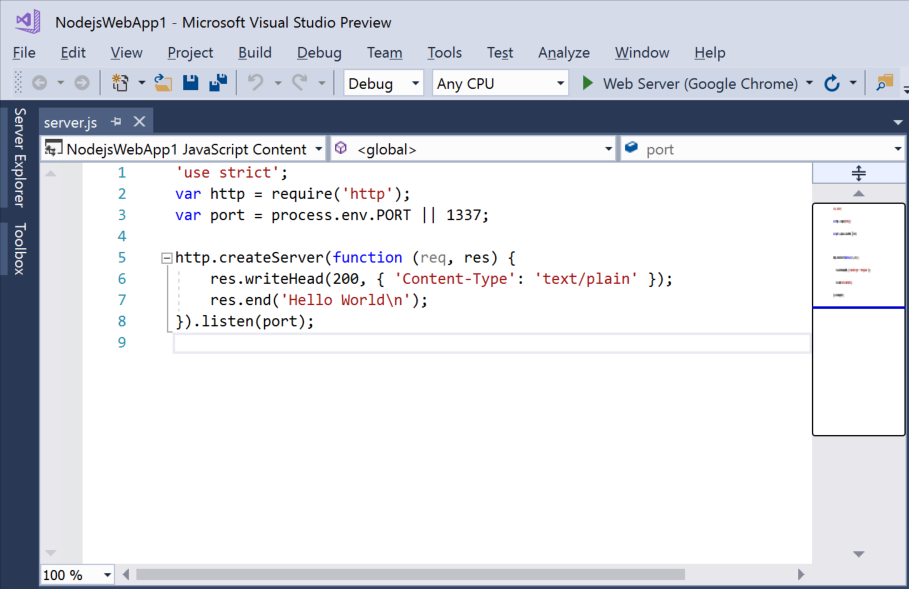
The project is created and a file named server.js opens in the Editor window. The Editor shows the contents of files, and is where you do most of your coding work in Visual Studio.
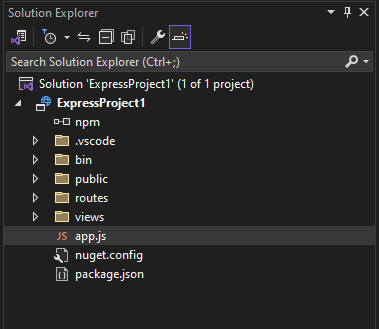
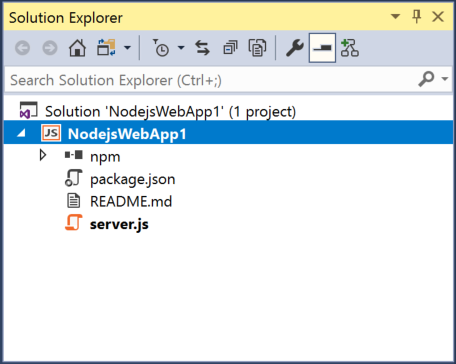
Solution Explorer
Solution Explorer, which is typically on the right-hand side of Visual Studio, shows you a graphical representation of the hierarchy of files and folders in your project, solution, or code folder. You can browse the hierarchy and navigate to a file in Solution Explorer.
Menus
The menu bar along the top of Visual Studio groups commands into categories. For example, the Project menu contains commands related to the project you're working in. On the Tools menu, you can customize how Visual Studio behaves by selecting Options, or add features to your installation by selecting Get Tools and Features.


Let's open the Error List window by choosing the View menu, and then Error List.
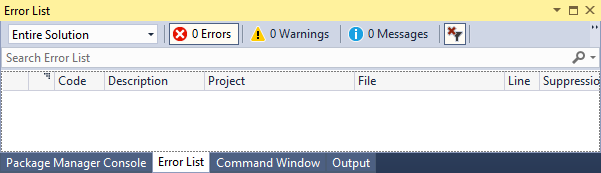
Error List
The Error List shows you errors, warning, and messages regarding the current state of your code. If there are any errors (such as a missing brace or semicolon) in your file, or anywhere in your project, they're listed here.

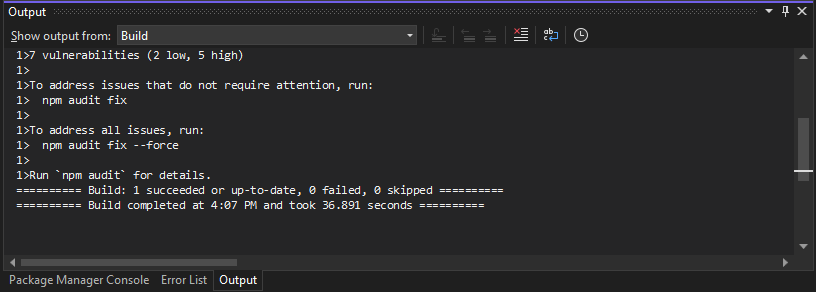
Output window
The Output window shows you output messages from building your project and from your source control provider.
Let's build the project to see some build output. From the Build menu, choose Build Solution. The Output window automatically obtains focus and display a successful build message.
Search box
The Search box is a quick and easy way to do pretty much anything in Visual Studio. You can enter some text related to what you want to do, and it'll show you a list of options that pertain to the text. For example, imagine you want to increase the build output's verbosity to display additional details about what exactly build is doing. Here's how you might do that:
- If you don't see the Search box, press Ctrl+Q to open it, and then type verbosity into the box.
From the displayed results, double-click the MSBuild project build output verbosity (projectsAndSolutions.buildAndRun.outputVerbosity) entry.

The Options pane opens to the All Settings > Projects and Solutions > Build and Run section.
Use the dropdown and set the MSBuild project build output verbosity option to Normal.
From the displayed results, double-click the Change MSBuild verbosity (Projects and Solutions > Build and Run) entry.

The Options dialog opens to the Projects and Solutions > Build and Run section.
From the displayed results, double-click the Change MSBuild verbosity (Projects and Solutions > Build and Run) entry.

The Options dialog opens to the Projects and Solutions > Build and Run options page.
- Use the dropdown and set the MSBuild project build output verbosity option to Normal, and then select OK.
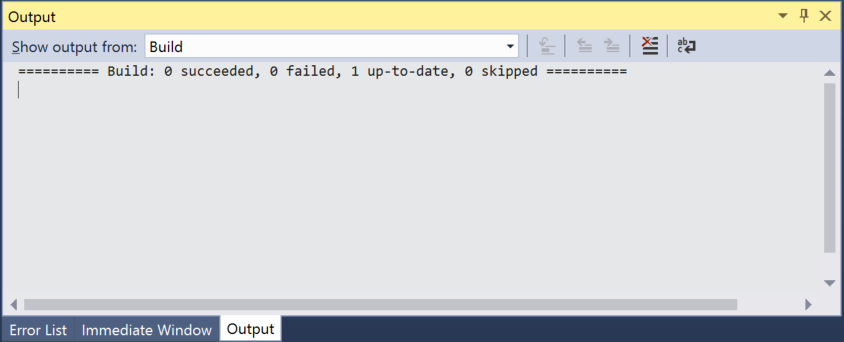
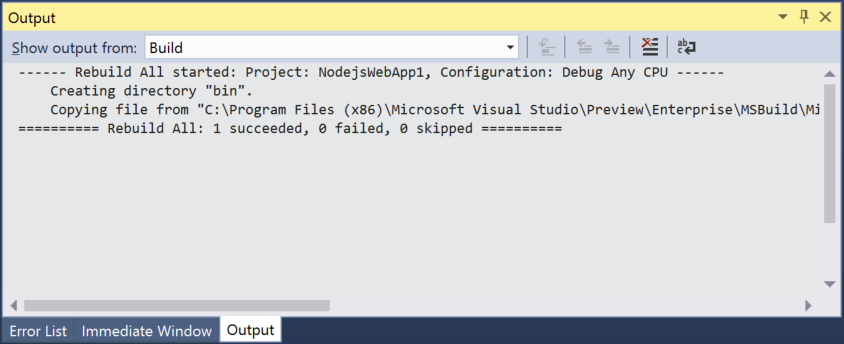
Build the project again by right-clicking the project in Solution Explorer and choosing Rebuild from the context menu.
This time the Output window shows more verbose logging from the build process.

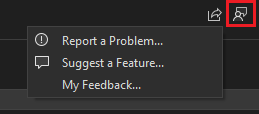
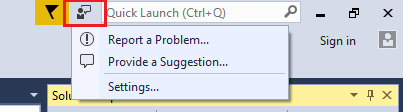
Send Feedback menu
Should you encounter any problems while you're using Visual Studio, or if you have suggestions for how to improve the product, you can use the Send Feedback menu at the top of the Visual Studio window.
Next steps
We've looked at just a few of the features of Visual Studio to get acquainted with the user interface. To explore further: