Note
Access to this page requires authorization. You can try signing in or changing directories.
Access to this page requires authorization. You can try changing directories.
HR analysts and other leaders in your organization can bring Microsoft Viva Glint survey scores into Microsoft Viva Insights to learn how people feel–Glint-along with how people work - Insights. This integration gives your organization a complete picture of the employee's experience.
Applies to: Viva Glint administrator, Viva Insights administrator
This article discusses how to import survey results – employee-level survey responses, question/item text, question/item labels, categories, survey names, rating scales, and survey closed date – from Glint into Insights.
Workflow
- The Viva Insights admin sets up a new import in the advanced insights app.
- The Viva Insights admin contacts the Viva Glint admin to share Viva Glint survey data. The Viva Glint admin selects specific survey programs and sends the data to Viva Insights.
- Viva Insights validates and processes the data so it’s ready for use.
What data can be sent to Viva Insights?
Important
By sending data to Viva Insights, you agree to have Microsoft Viva Glint data sent and stored within Microsoft Viva Insights.
This consent screen displays when you begin this integration. Agree to terms before moving forward by selecting Get Started.

Data that can be sent:
- Data from recurring or ad-hoc surveys with confidentiality thresholds is equal to or above the Viva Glint default of five respondents.
- Rating item scores, but no comments.
- All Viva Glint languages supported for question/item labels (names) and question/item text are sent to Viva Insights Power BI.
1 - Set up the Viva Insights integration from your admin dashboard
This guidance is for the Viva Glint admin.
The Viva Insights admin sets up the import and contacts you to verify that you can now share Glint survey data. The Viva Glint admin follows this procedure:
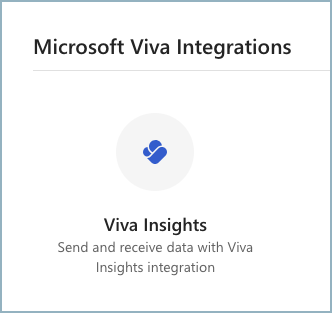
From the Glint admin dashboard, select Configure and then Viva Insights from the Microsoft Viva Integrations section.
Use the Learn More button for more information about the integration.
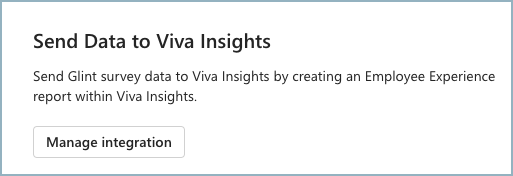
Select Set up integration from the Send Data to Viva Insights section.


Sync with Entra ID
If you find discrepancies between Glint active users and their Entra IDs in MAC, remedy the discrepancies by following Prerequisites to the integration on the integration overview page.
To resync the data to pick up the Entra ID changes:
- To resend Glint data to Insights, remove and then re-add the survey programs.
In the future, this resync occurs automatically.
2 - Send and manage data
This guidance is for the initial sending of data to Insights only.
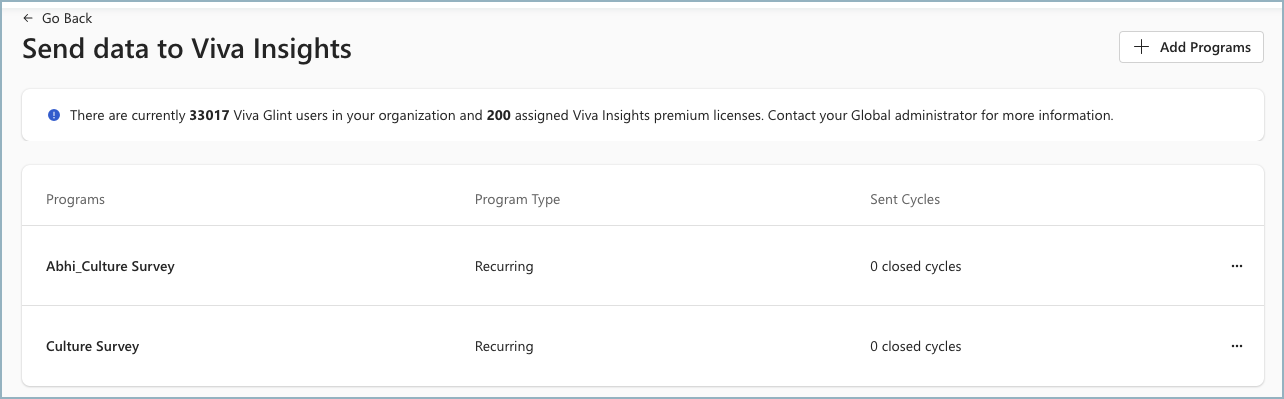
On the Send Data to Viva Insights page, Select Programs by enabling the checkbox next to the Recurring or Ad Hoc program listed. You can choose more than one program.

Select Send data to Viva Insights. You see this confirmation:
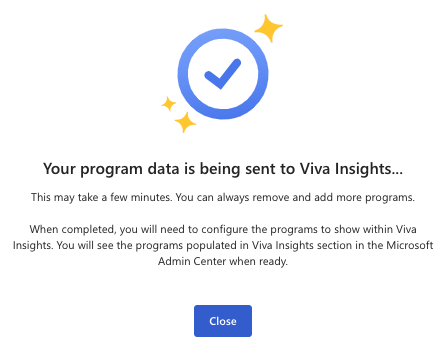
Select Close.

Important
With this integration, when export of raw survey responses is enabled for a survey program, CSV download of the Glint and organizational insights report is also supported in Viva Insights. Understand Viva Glint raw survey responses.
Send more survey programs to Viva Insights
In the Send Data to Viva Insights section, after your first data send, the button displays Manage Integration. Use this button to send more programs to Insights.
Select + Add Programs.
In the Add Program window, select Add next to any program. You can select multiple programs.
A confirmation message displays.
Be sure that the name of the program you added now shows under Programs on the Send data to Viva Insights page.
Important
Selecting a program sends data for every closed program cycle and automatically sends data for future cycles. In Viva Insights, map which program data to display on the Viva Insights dashboard.
2 - Data validation and processing
Applies to Viva Glint admin and Viva Insights admin
After the Glint admin sends data, the Insights app validates it and provides status messages about the import. Learn about the validation process, what status messages mean, and how to manage data errors.
If processing fails, try running the import again, and resending your survey data. If you're still getting a failed status, file a support ticket.
Glint data deletions result in Insights data deletion
As your company’s data controller, Microsoft Viva Glint admins can submit a user data deletion request to comply with a General Data Protection Regulation (GDPR) data subject request.
User data is deleted from the People feature on the Viva Glint admin dashboard. Any data deleted from Glint is deleted from Insights, as well. Find data deletion instructions here..
Remove a program after initial setup
After sending data to Viva Insights, you can continue to manage your integration. Stop sharing future data with Viva Insights by removing the program.
Return to your Viva Glint admin dashboard and follow the initial setup instructions. The Setup integration button now reads Manage integration.
Select Manage Integration.
Hover over the ellipses next to the program to reveal the actions available. Select Remove program.