Share meeting stage in Teams
Share meeting stage in Teams helps to enable and configure your apps for Teams meetings. It helps users to share meeting stage, enabling participants to add status details of past, present, and future tasks, thereby enhancing the Teams meeting experience.
Key features of share meeting stage in Teams
- Add status details in the side panel.
- Add details for collaboration.
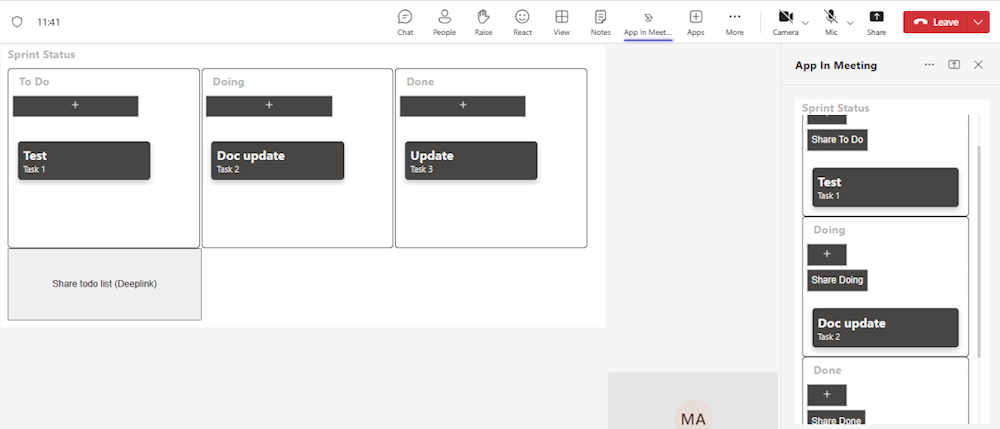
This step-by-step guide helps you to share meeting stage in Teams to add status details for collaboration. You can see the following output:
Prerequisites
Ensure that you install the following tools and set up your development environment:
| Install | For using... | |
|---|---|---|
| Microsoft Teams | Microsoft Teams to collaborate with everyone you work with through apps for chat, meetings, and call all in one place. | |
| Visual Studio 2022 | You can install the enterprise version in Visual Studio 2022, and install the ASP.NET and web development workloads. Use the latest version. | |
| Node.js and NPM | Back-end JavaScript runtime environment. For more information, see Node.js version compatibility table for project type. | |
| Dev tunnel | Teams app features (conversational bots, message extensions, and incoming webhooks) need inbound connections. A tunnel connects your development system to Teams. Dev tunnel is a powerful tool to securely open your localhost to the internet and control who has access. Dev tunnel is available in Visual Studio 2022 version 17.7.0 or later. Or You can also use ngrok as a tunnel to connect your development system to Teams. It isn't required for apps that only include tabs. This package is installed within the project directory (using npm devDependencies). |
Note
After downloading ngrok, sign up and install authtoken.
Set up local environment
Open Microsoft-Teams-Samples.
Select Code.
From the dropdown menu, select Open with GitHub Desktop.
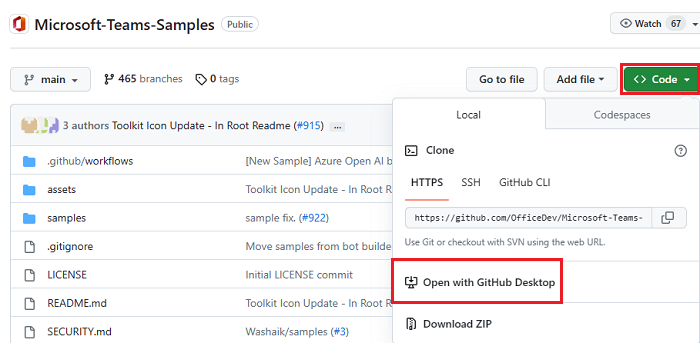
Select Clone.
Note
If you encounter the error Filename too long, apply the git command git config --system core.longpaths true in your administrator terminal of choice.
Set up tunnel for local web server
Create a tunnel
Open Visual Studio.
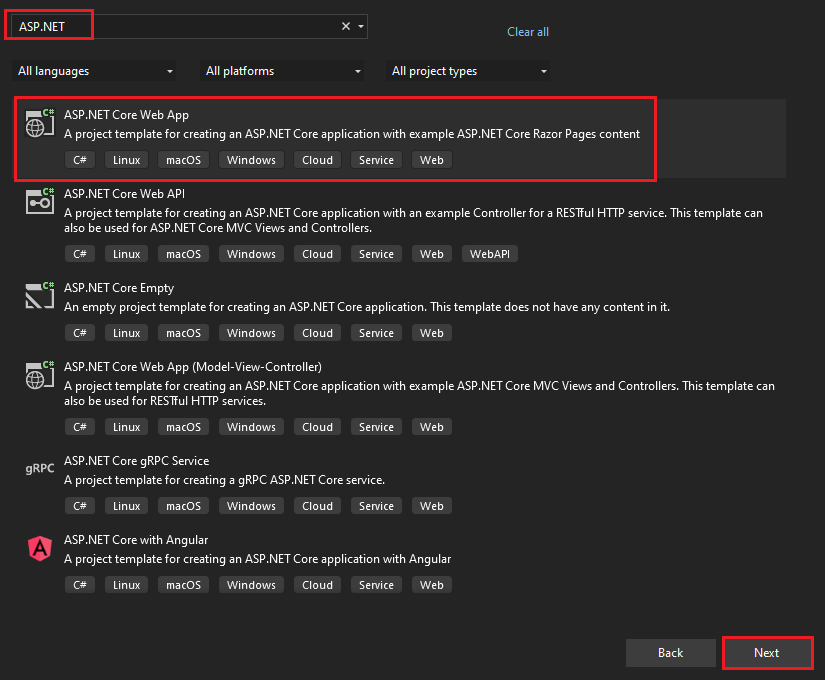
Select Create a new project.

In the search box, enter ASP.NET. From the search results, select ASP.NET Core Web App.
Select Next.
Enter Project name and select Next.
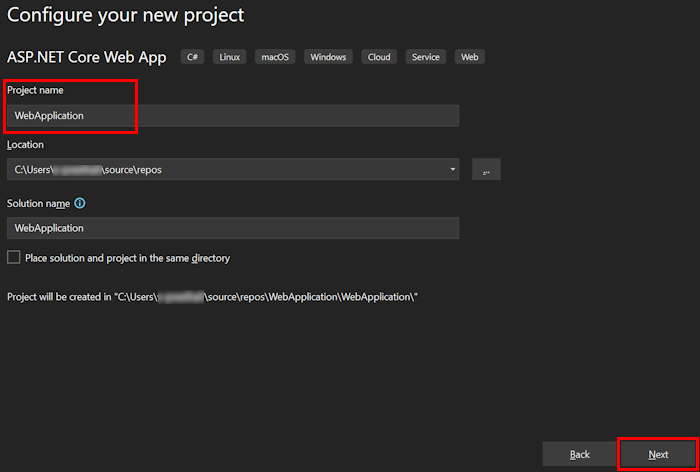
Select Create.

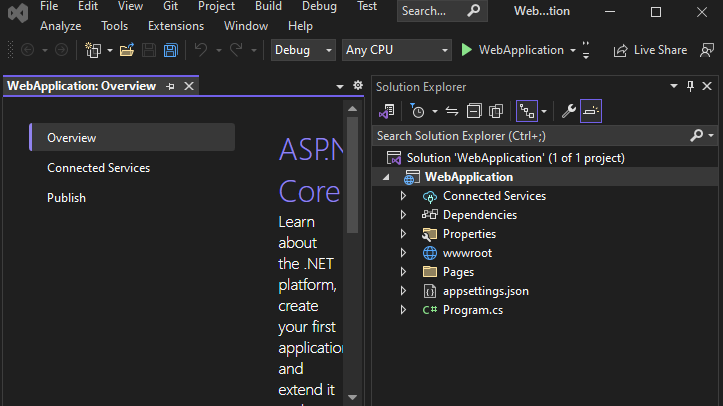
An overview window appears.
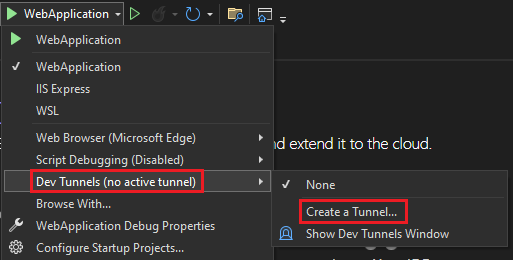
In the debug dropdown list, select Dev Tunnels (no active tunnel) > Create a Tunnel....
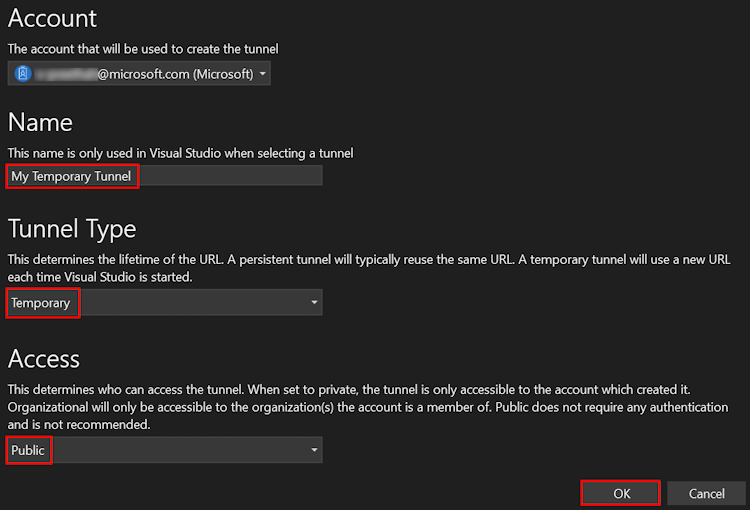
A pop-up window appears.
Update the following details in the pop-up window:
- Account: Enter a Microsoft or GitHub account.
- Name: Enter a name for your tunnel.
- Tunnel Type: From the dropdown list, select Temporary.
- Access: From the dropdown list, select Public.
Select OK.
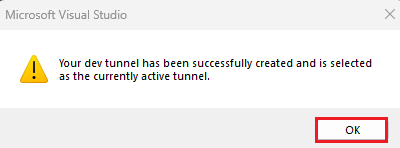
A pop-up window appears showing that dev tunnel is successfully created.
Select OK.
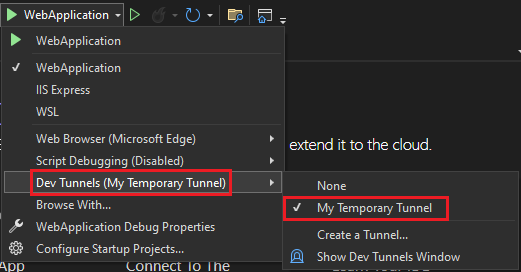
You can find the tunnel you've created in the debug dropdown list as follows:
Select F5 to run the application in the debug mode.
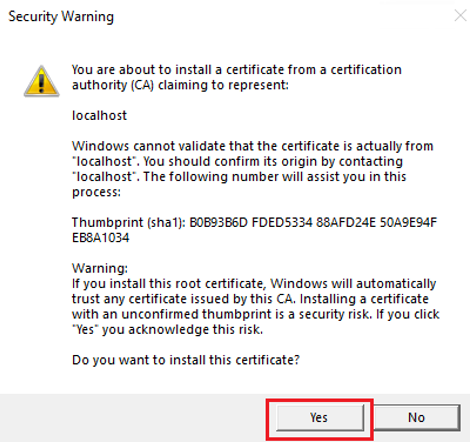
If a Security Warning dialog appears, select Yes.
A pop-up window appears.
Select Continue.
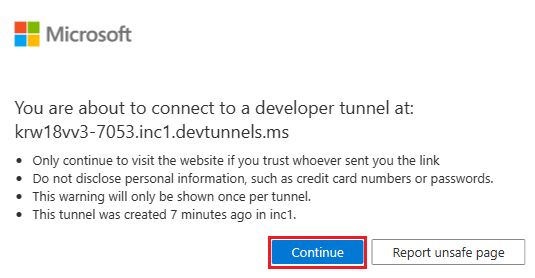
The dev tunnel home page opens in a new browser window and the dev tunnel is now active.

Go to Visual Studio, select View > Output.
From the Output console dropdown menu, select Dev Tunnels.
The Output console shows the dev tunnel URL.

Set up manifest file
Go to manifest.json in node.js folder in cloned repository.
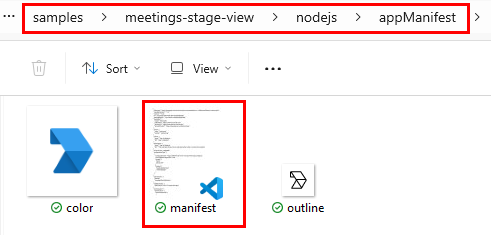
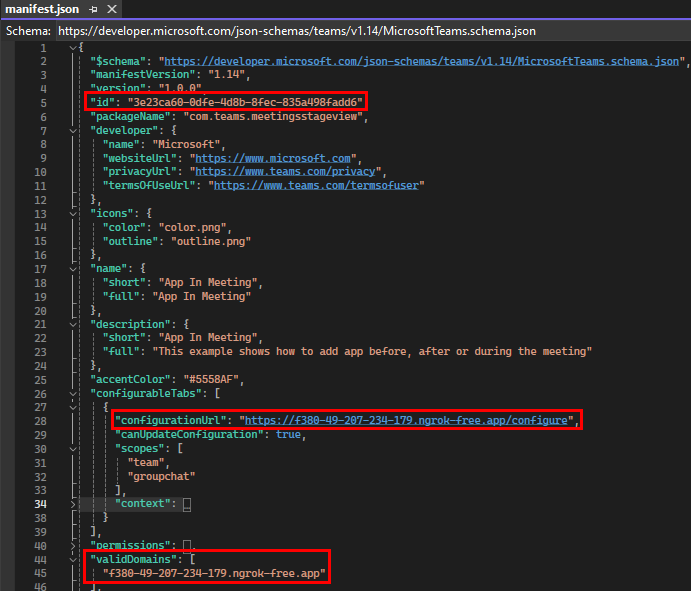
Open manifest.json in Visual Studio and make the following changes:
- Replace
<<TEAMS_APP_ID>>with your bot's Microsoft App ID. - Replace
<<TAB_DOMAIN>>with your ngrok or dev tunnel domain name. - Replace
<<VALID DOMAIN>>with your ngrok or dev tunnel domain name.
- Replace
Build and run using npm
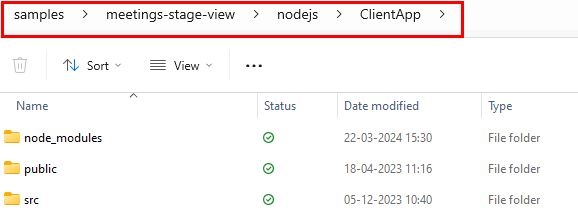
In your cloned repository, go to samples > meetings-stage-view > nodejs.
Copy the nodejs folder path.
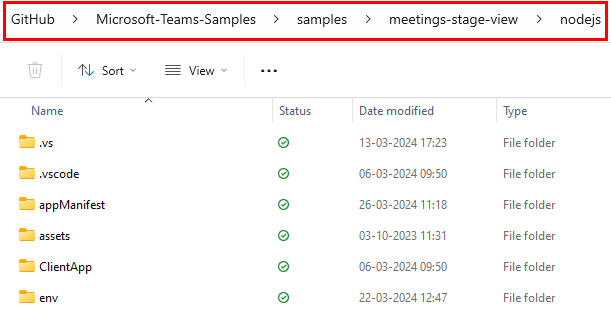
Open a new Command Prompt window and change the current directory to the copied nodejs path.

Run the following command in the Command Prompt to download packages and dependencies:
npm installRun the following command in the Command Prompt to start the app:
npm start
Add meeting stage to Teams
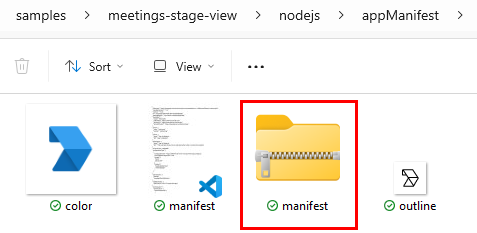
In your cloned repository, go to samples> meetings-stage-view> nodejs> appManifest.
Create a .zip with the following files that are present in the appManifest folder:
- manifest.json
- outline.png
- color.png
Create a meeting with a few presenters and attendees.
After the meeting is created, join the meeting.
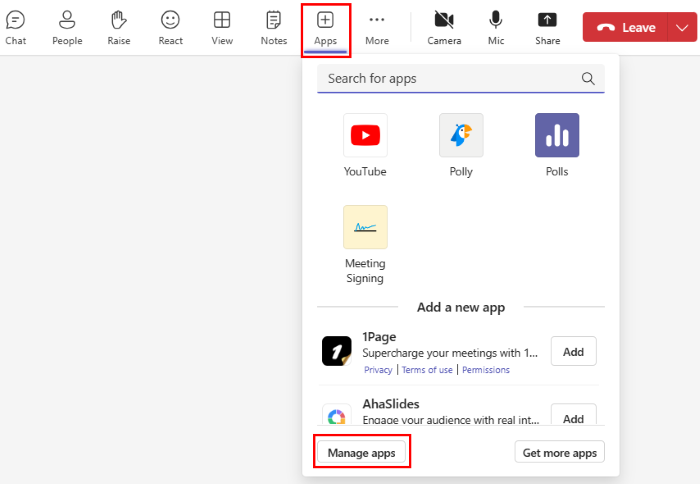
Go to the meeting details page and select the Apps icon to add an app.
In the pop-up dialog, select Manage apps.
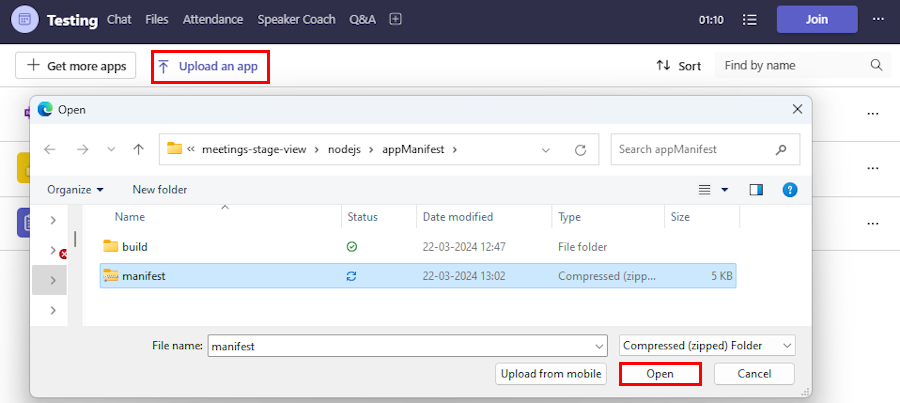
Select Upload an app.
Go to samples> meetings-stage-view> nodejs> appManifest.
Select Open to upload the .zip file that you created in the appManifest folder.
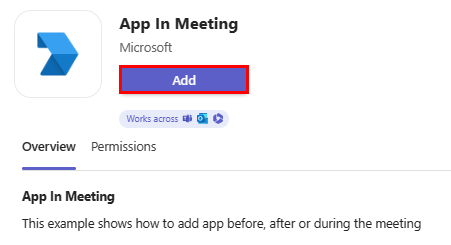
Select Add.
Search and select the required meeting or select a meeting from the list, and move through the dialog to select Go.

The Manage apps section displays the list of applications.

Interact with the app in Teams
Go to Teams meeting.
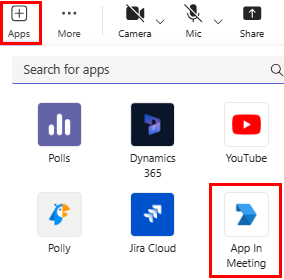
Select Apps.
In the app selection page, the App In Meeting app is displayed.
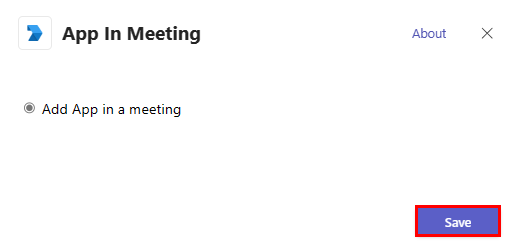
Select the App In Meeting app.
Select Save.
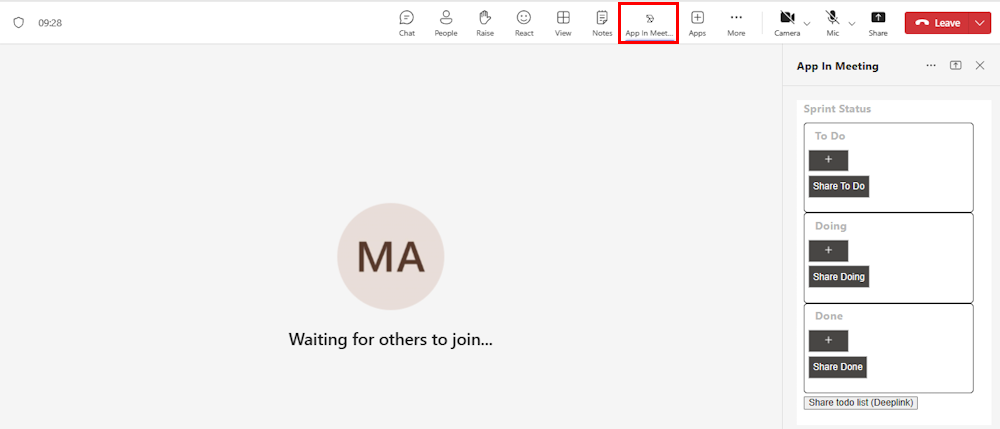
The icon is visible in the meeting window.
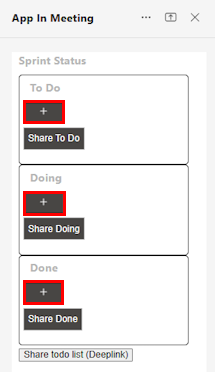
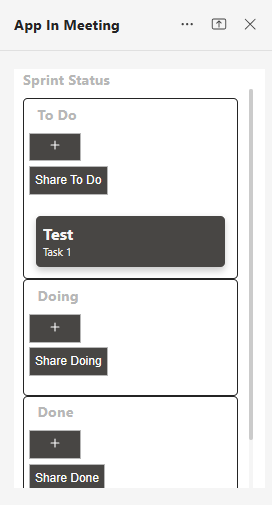
Select + from the Sprint Status. A Status Details dialog appears.
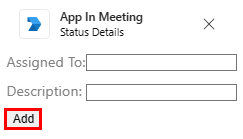
Enter Assigned To and Description.
Select Add.
App in side panel view:
Complete challenge
Did you come up with something like this?

Congratulations!
You've completed the tutorial to get started with share meeting stage in Teams.
Have an issue with this section? If so, please give us some feedback so we can improve this section.
Platform Docs

