Set up Azure AI Health Bot
The Azure AI Health Bot empowers developers in healthcare organizations to build and deploy AI-powered, compliant, conversational healthcare experiences at scale. It combines a built-in medical database with natural language capabilities to understand clinical terminology, and you can customize it to support your organization's clinical use cases. The service ensures alignment with industry compliance requirements and is privacy protected to Health Insurance Portability and Accountability Act (HIPAA) standards. For more information, see Azure AI Health Bot documentation.
In this exercise, you complete the following tasks:
Set up Azure AI Health Bot from the Azure portal.
Set up and enable integration between Omnichannel for Microsoft Dynamics 365 Customer Service and Azure AI Health Bot.
Set up and enable a bot channel to obtain a bot ID.
Obtain the application client ID for your health bot to use later.
Task: Install Azure AI Health Bot in Azure subscription
Follow these steps to install the Azure AI Health Bot in an Azure subscription.
While signed in to your Microsoft 365 tenant, open a new tab in your internet browser in Incognito or InPrivate mode and then go to the Microsoft Azure portal.
Search for Azure AI Health Bot in the search bar and then select it from the search results.
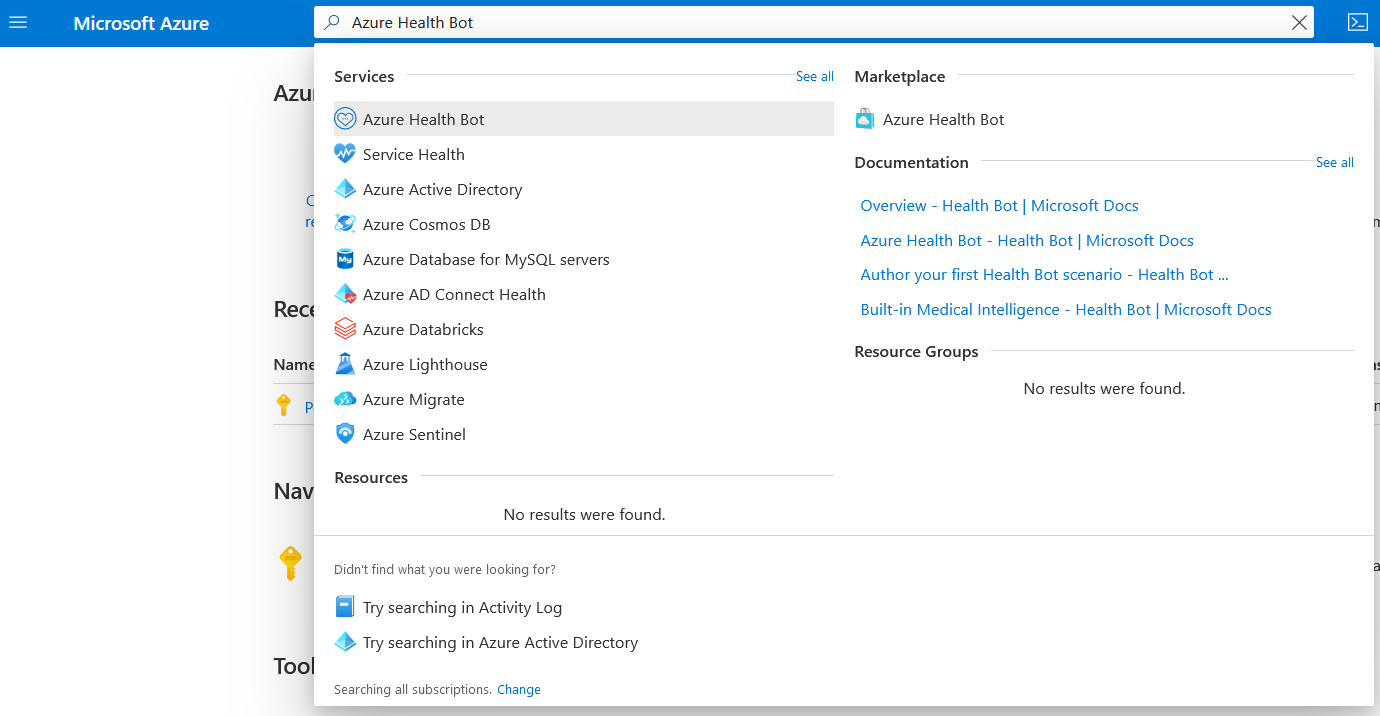
Select the Create button to create a new Azure AI Health Bot instance.

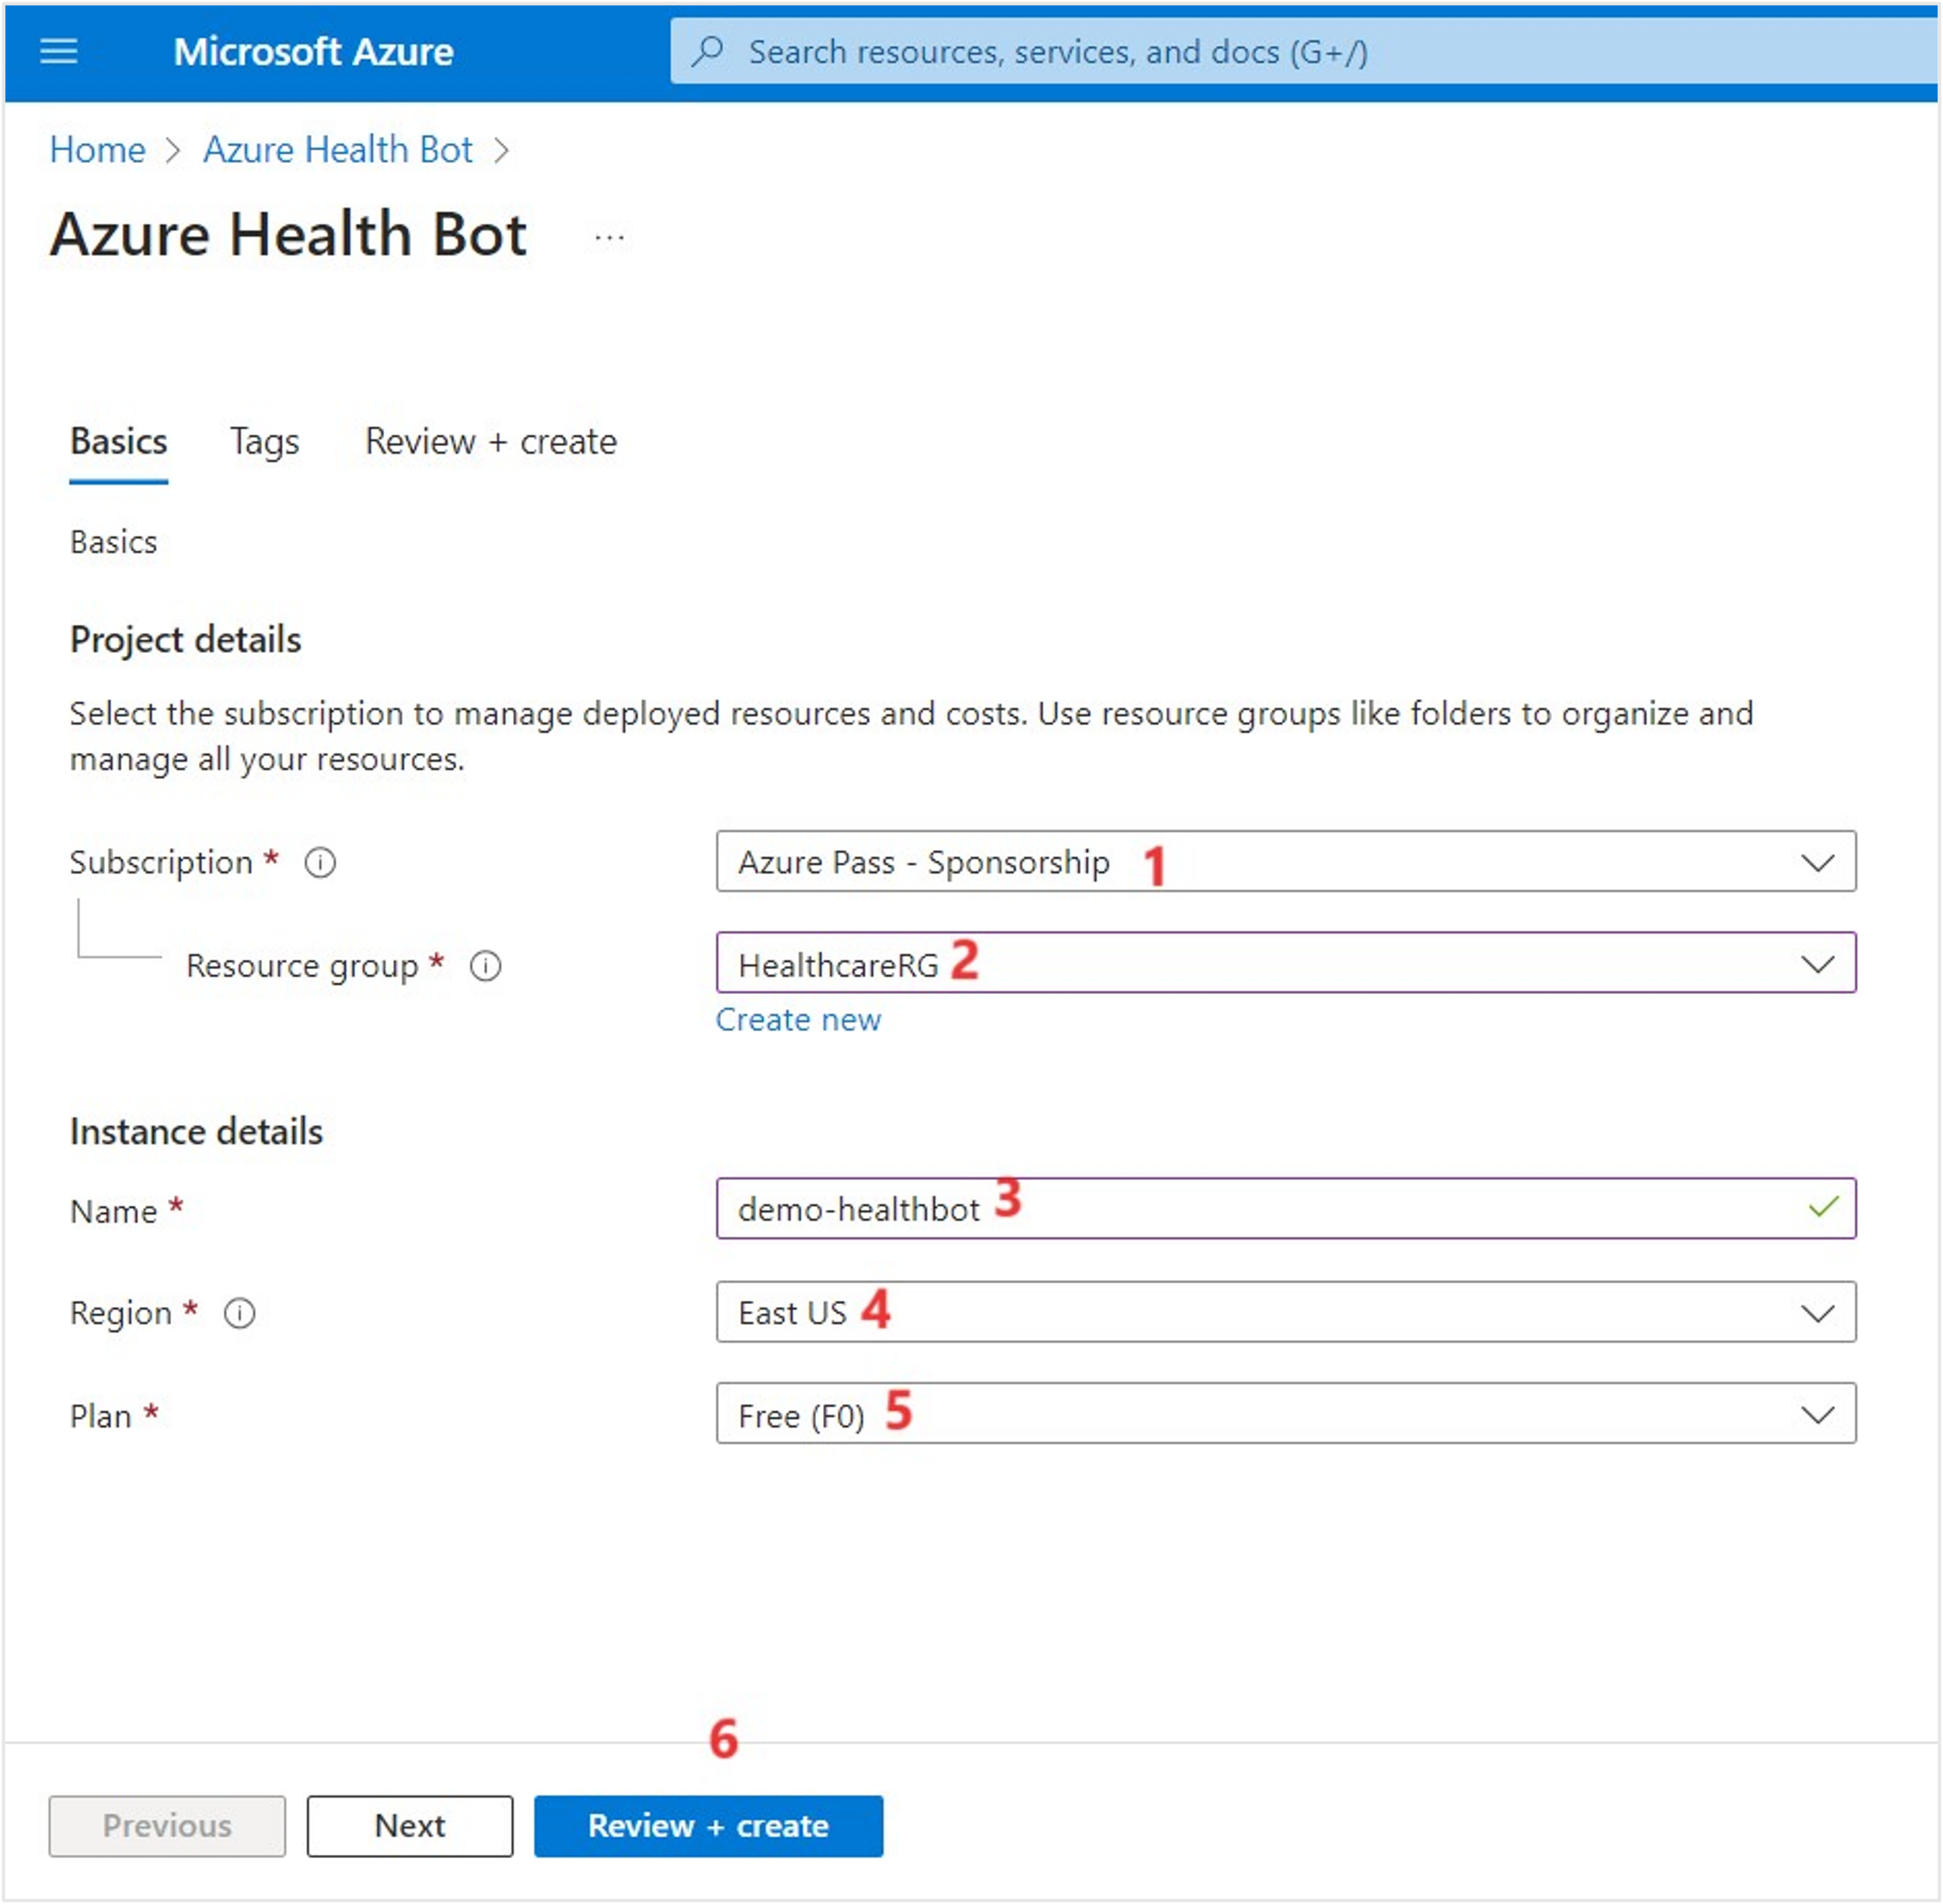
You're redirected to the Azure AI Health Bot page, where you can enter the following information:
Subscription - Choose your Azure subscription
Resource group - Create a resource group with name HealthcareRG
Name - [username]-healthbot (you can choose any name)
Region - Select the closest region
Plan - Free (F0)
Select Review + create.
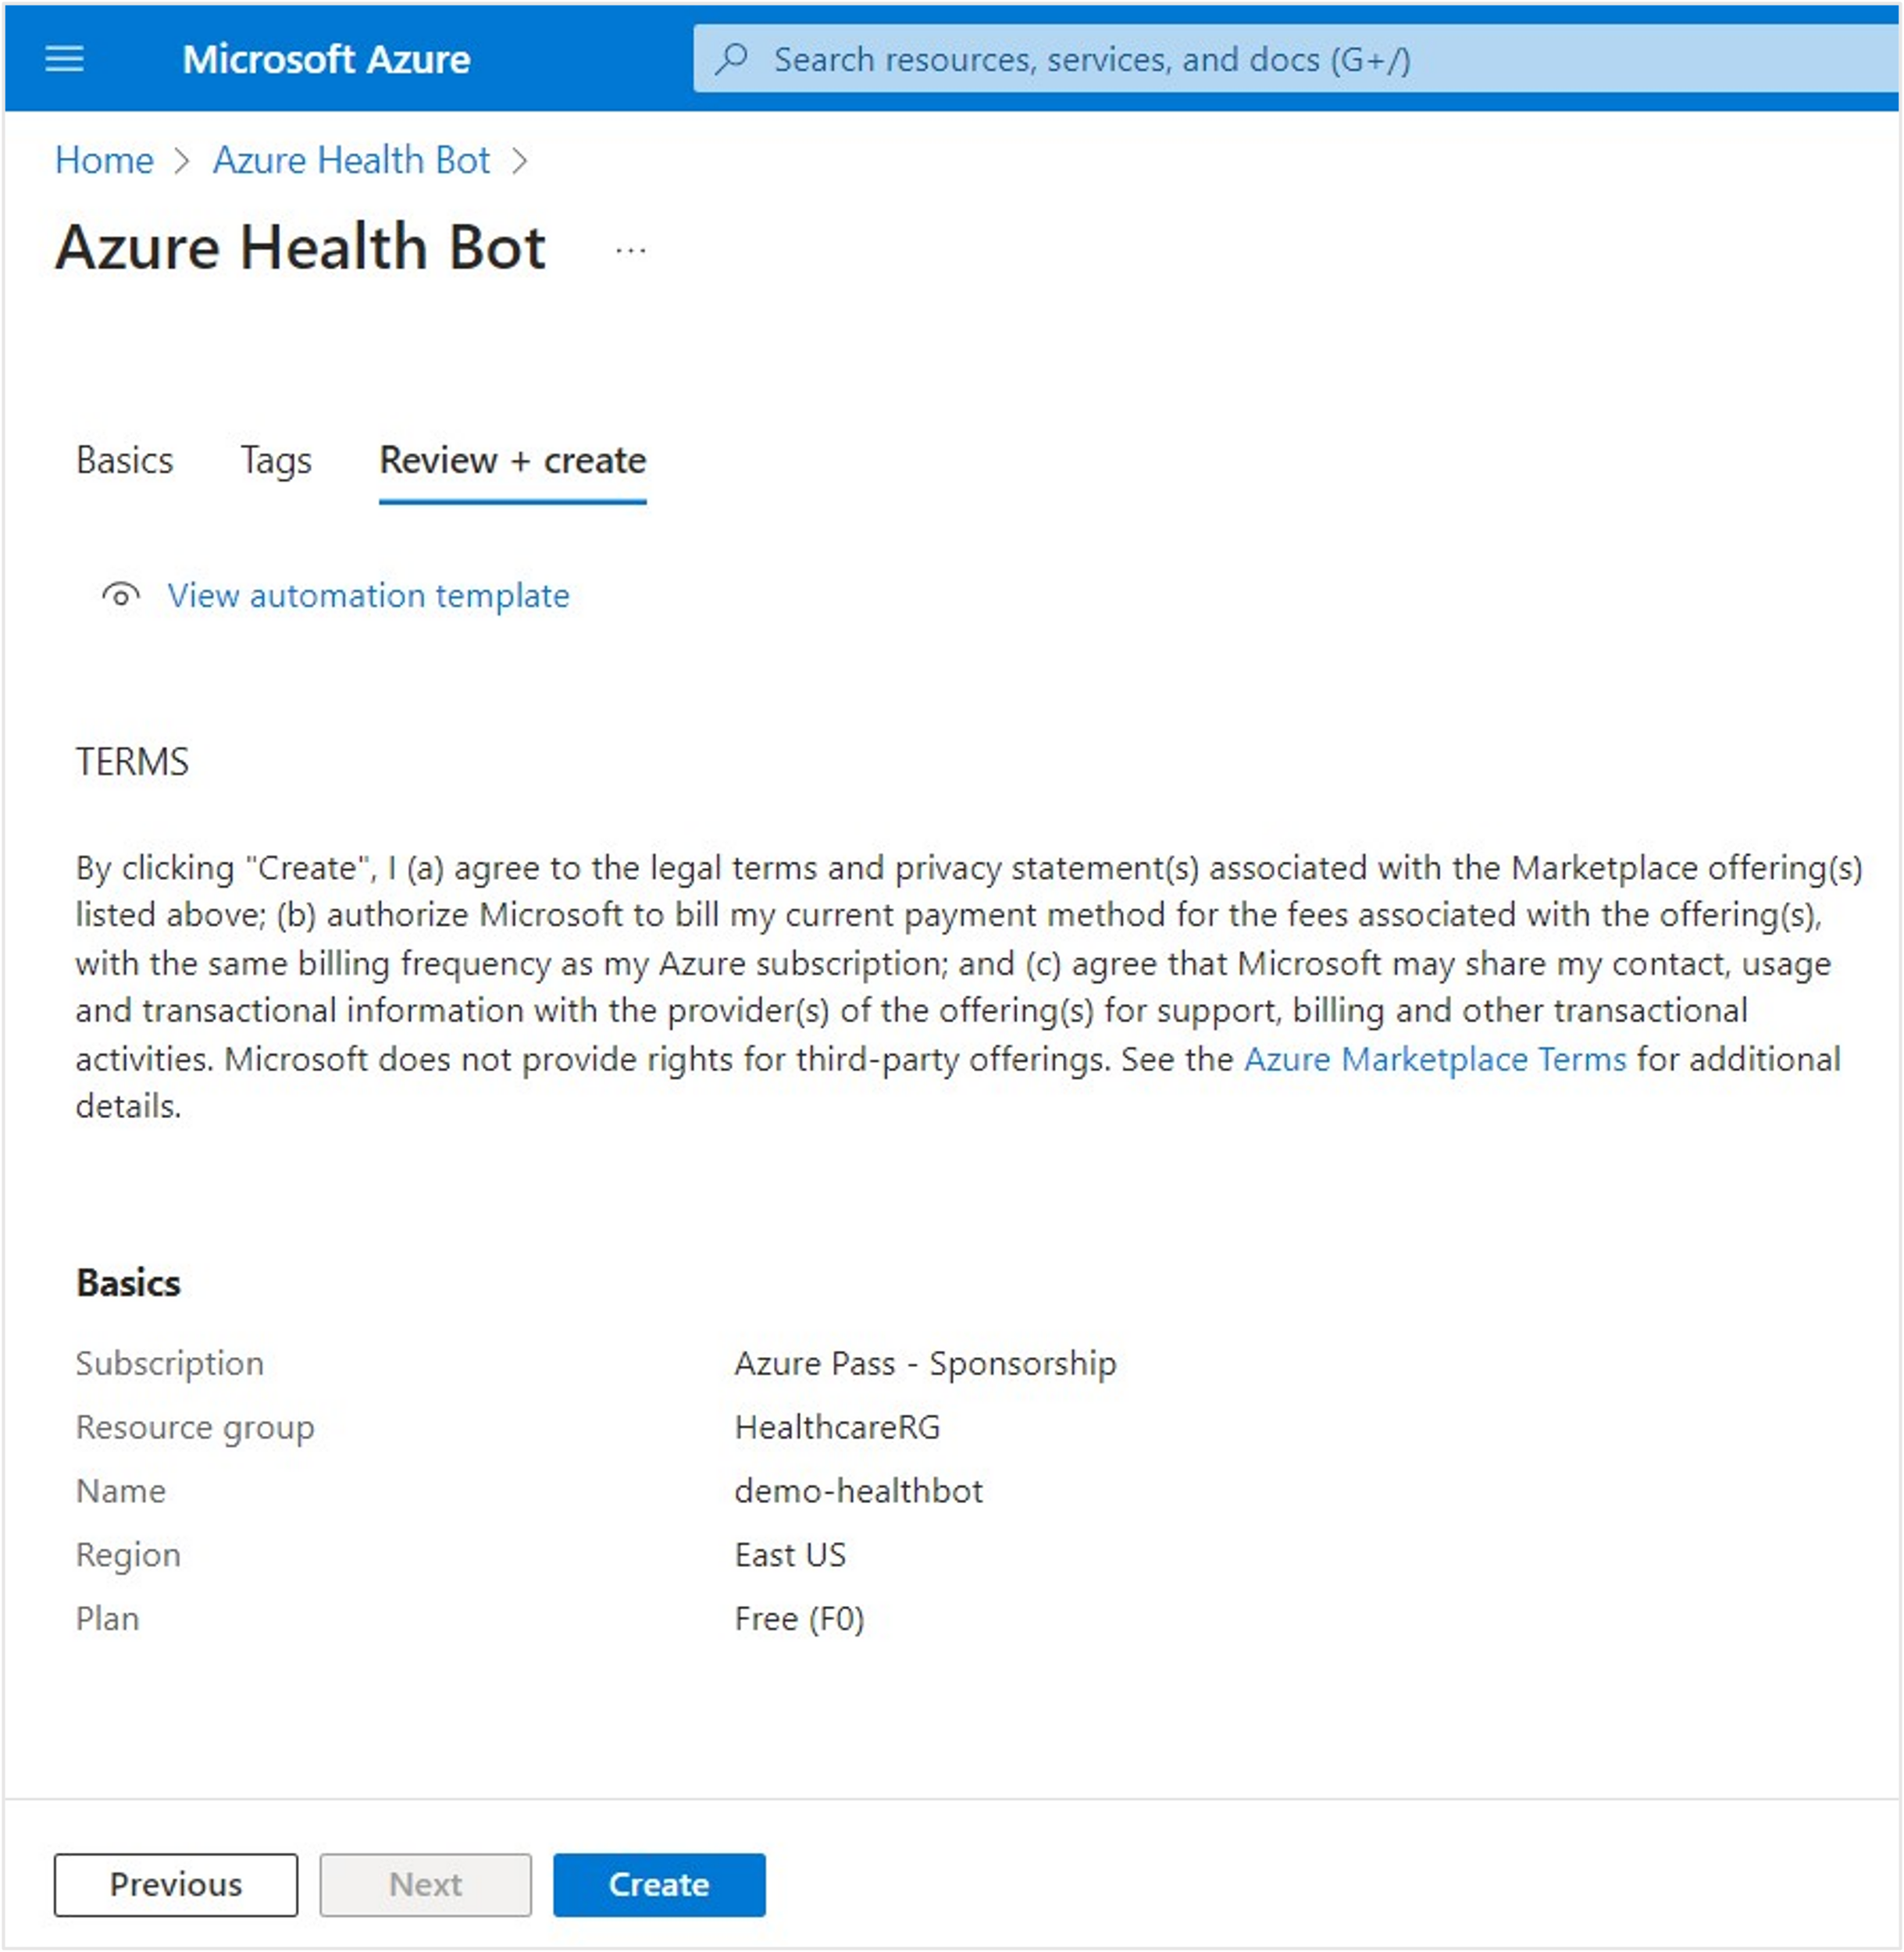
On the Review + create page, verify that your details are correct as Azure validates your Health Bot. When the create button is enabled after validation passes, select Create.
Note
It will take few seconds for the system to run the process before the Create button is enabled.
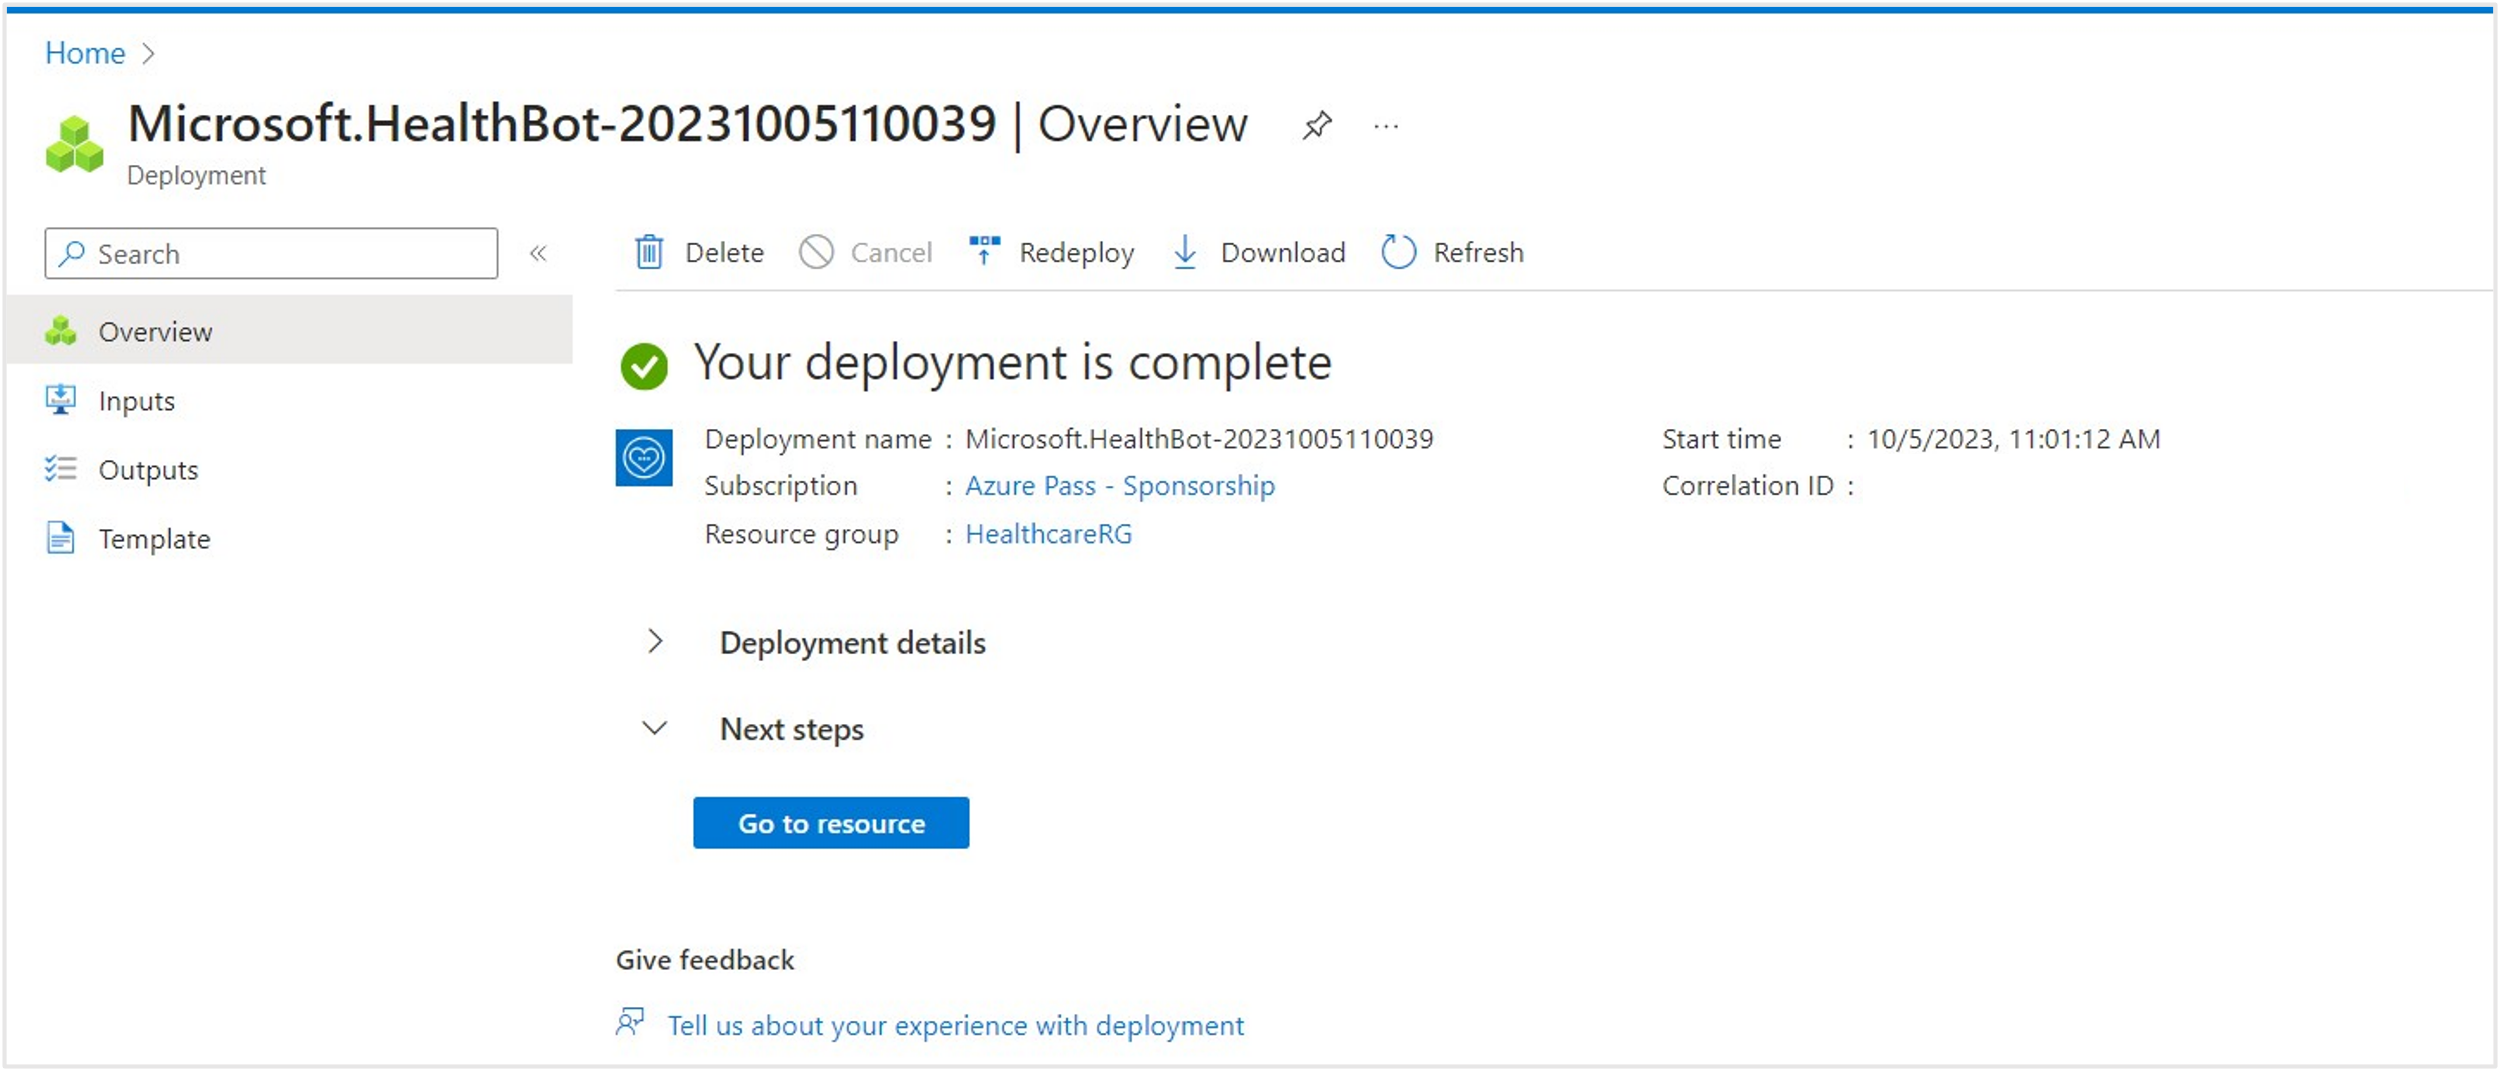
You're redirected to the Deployment page for your new Azure AI Health Bot.
When the deployment is complete, the Go to resource button is enabled. Wait until the deployment is completed for the Azure AI Health Bot and then select Go to resource.
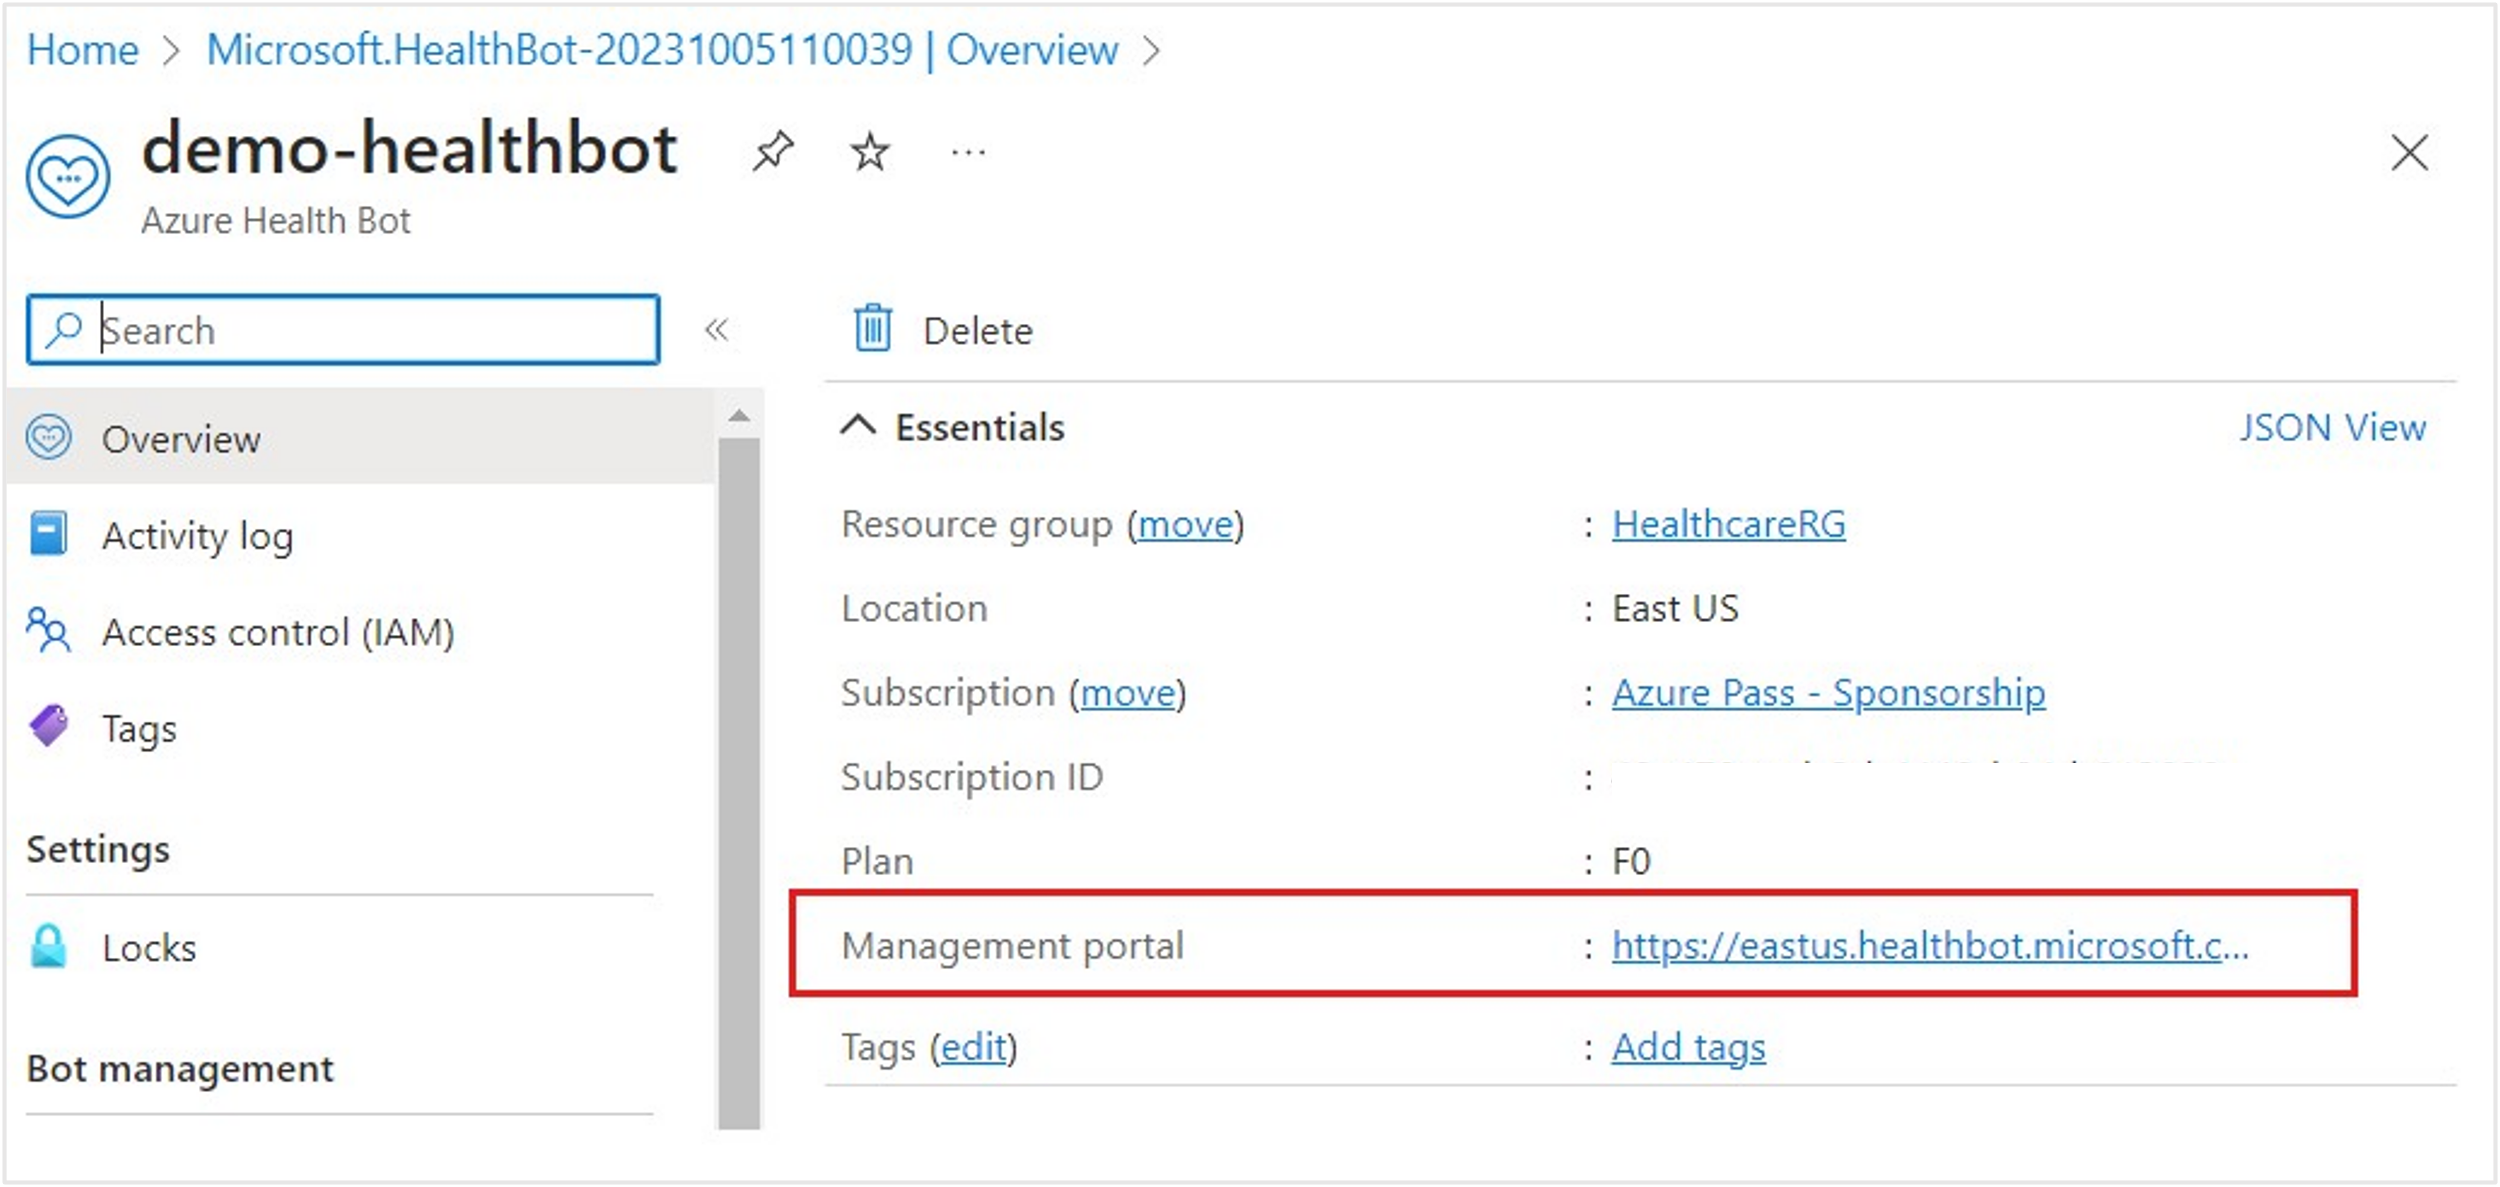
You're redirected to the Resource page for your new Azure AI Health Bot. Select the Management portal link on the right of the Essentials section to open your Azure AI Health Bot instance setup page. Select your username for sign-in, if prompted.
Note
Copy this Management portal link and store it to access the Health Bot later.
Your new Azure AI Health Bot instance homepage should appear.
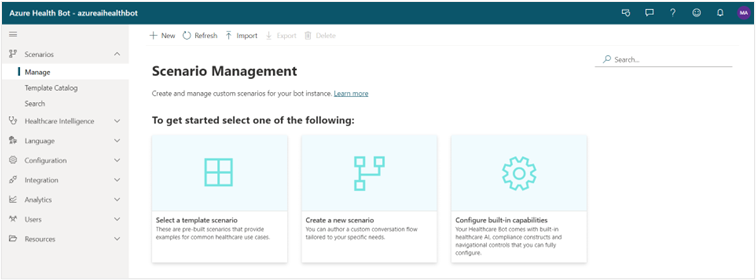


You successfully created a new Health Bot instance in your Azure tenant.
Task: Update Azure AI Health Bot settings to enable Dynamics 365 integration
To update Azure AI Health Bot settings to enable Dynamics 365 integration, follow these steps:
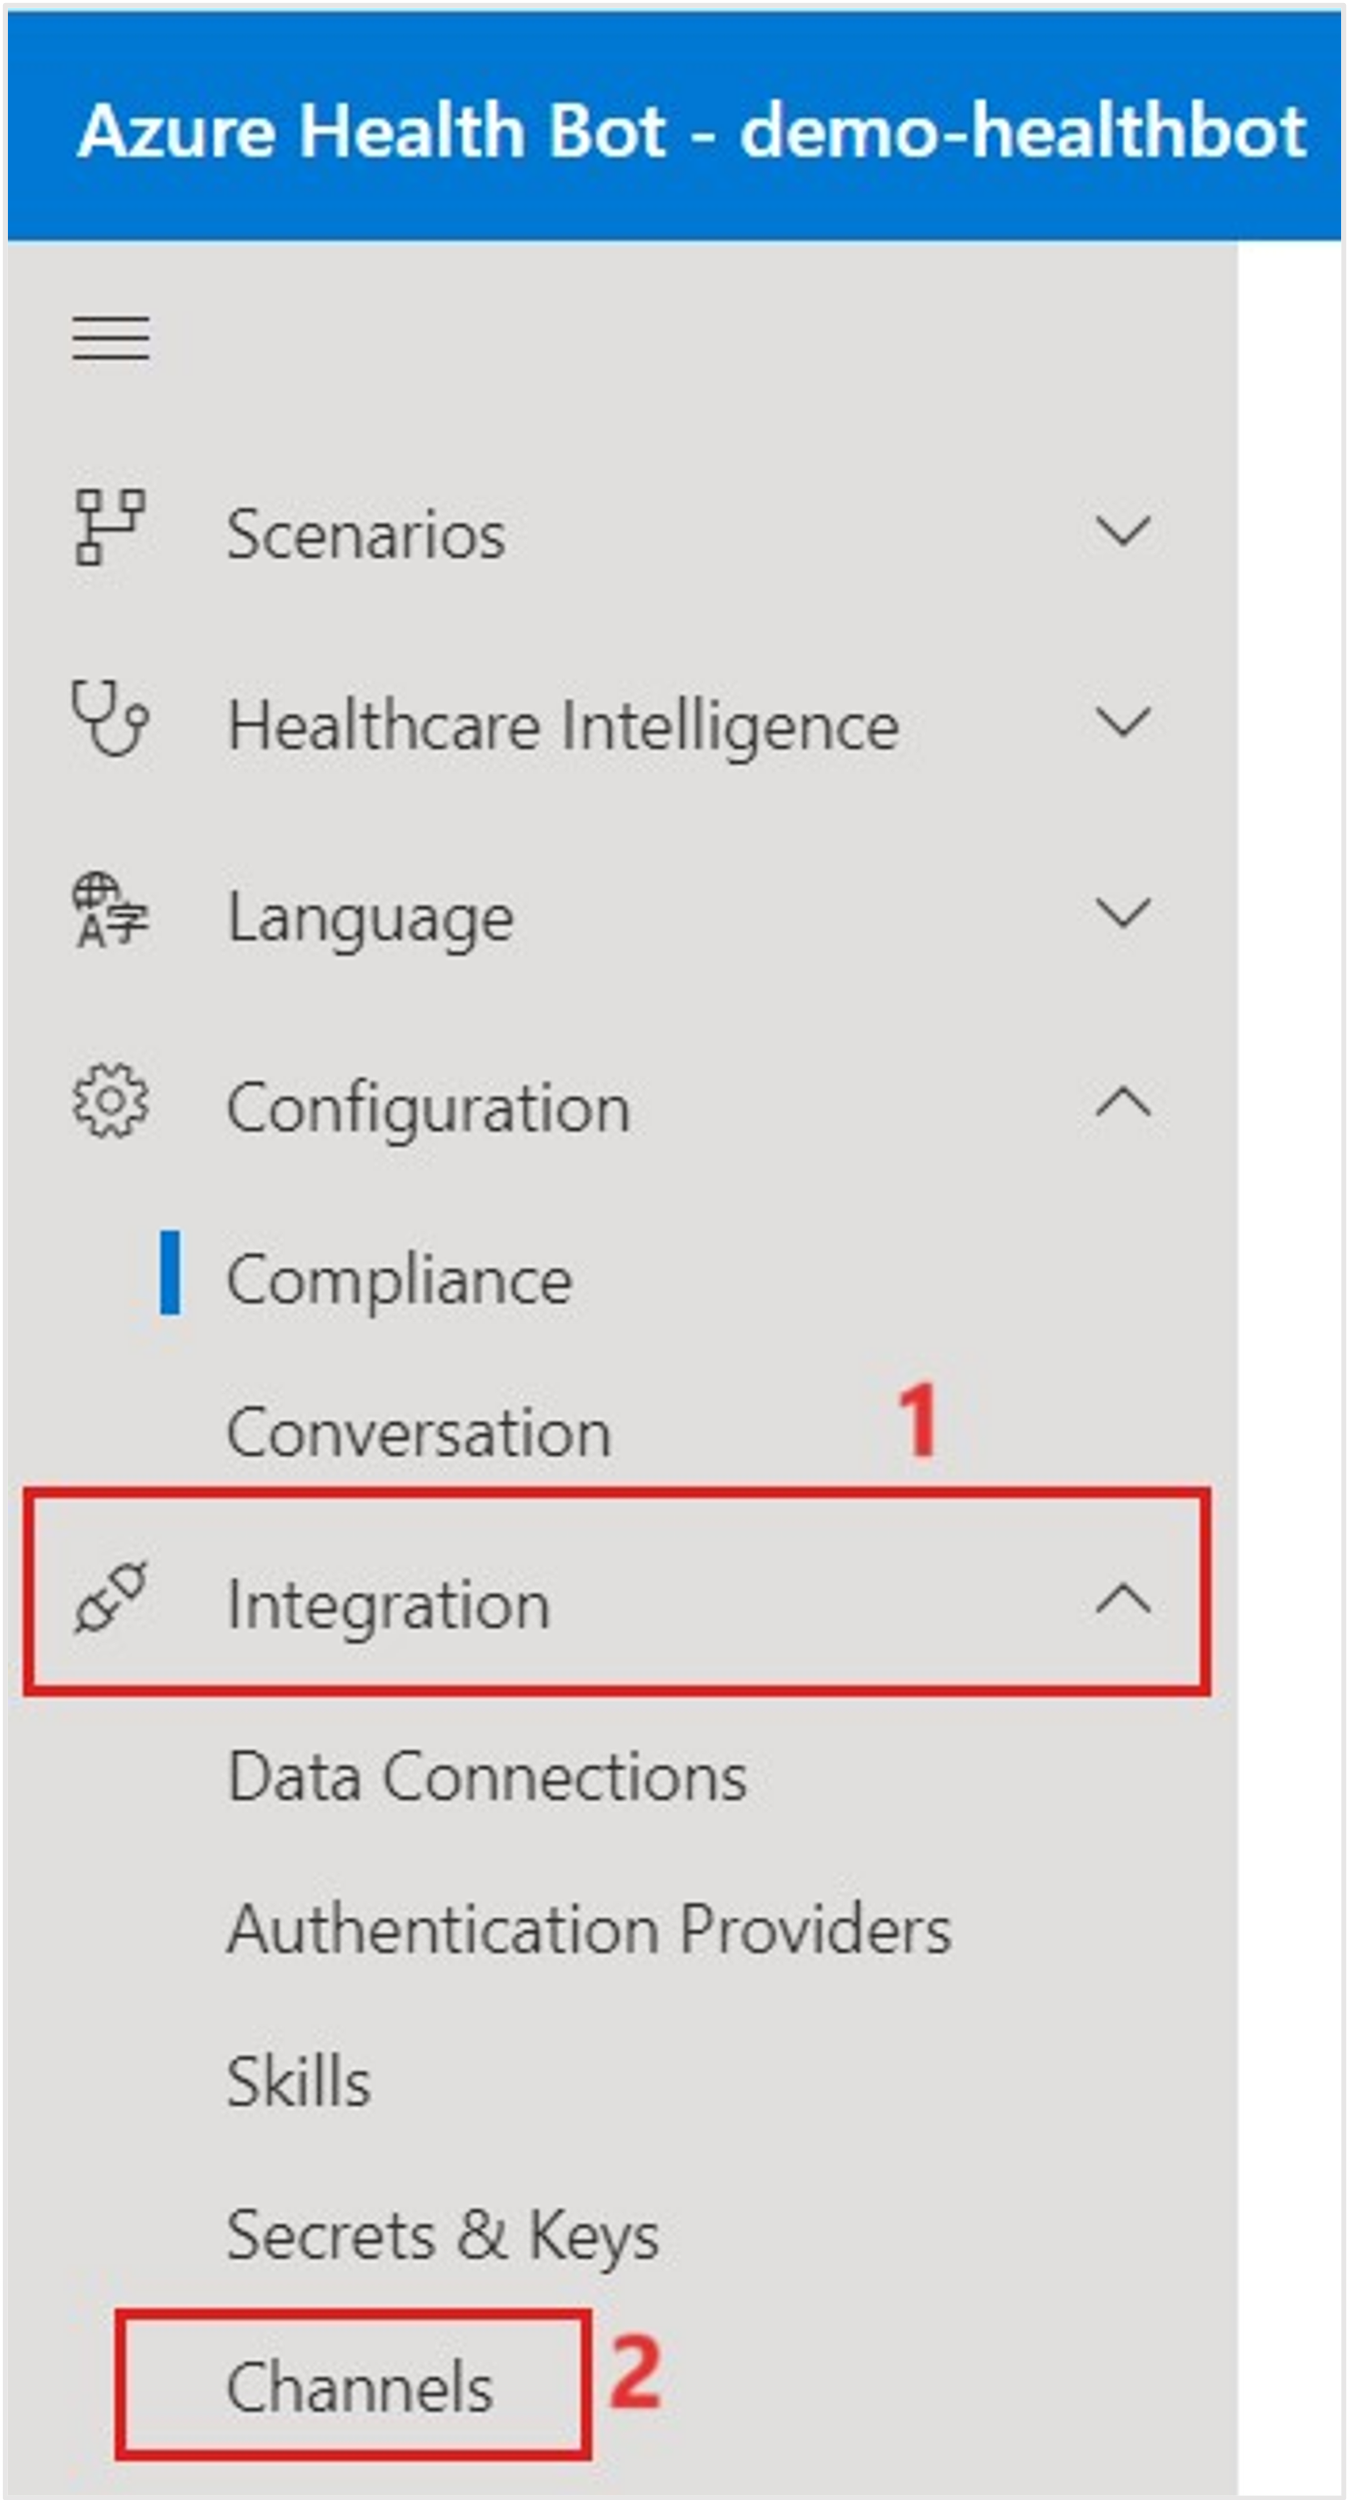
Select Configuration > Conversation on the navigation bar, which opens the Interactions tab.
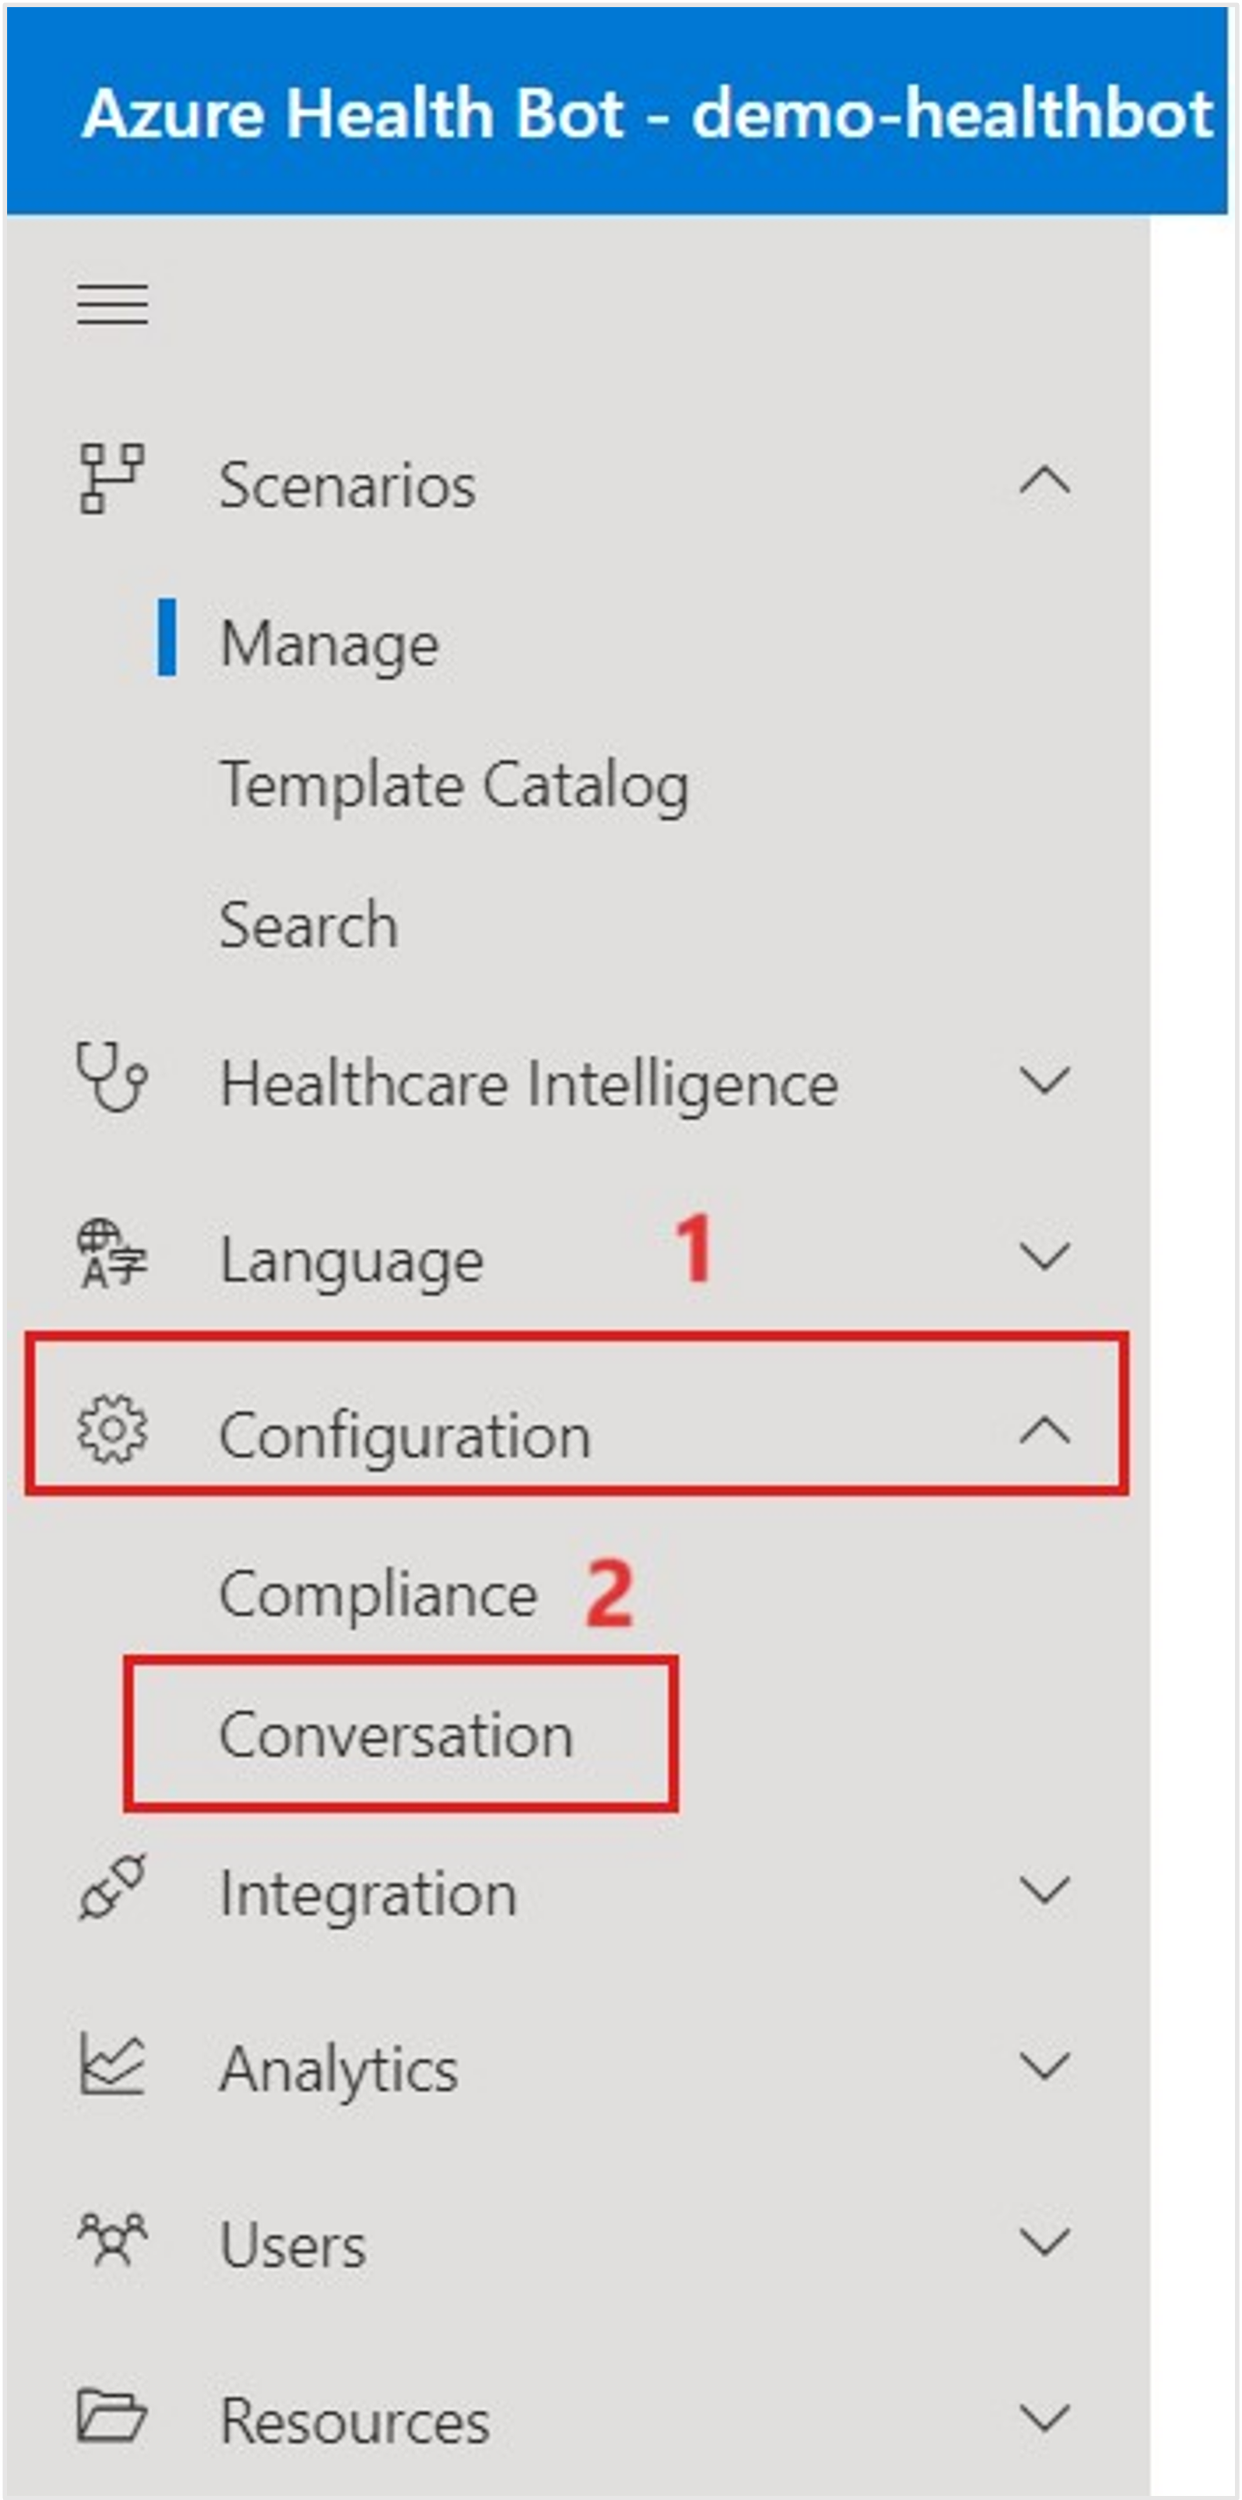
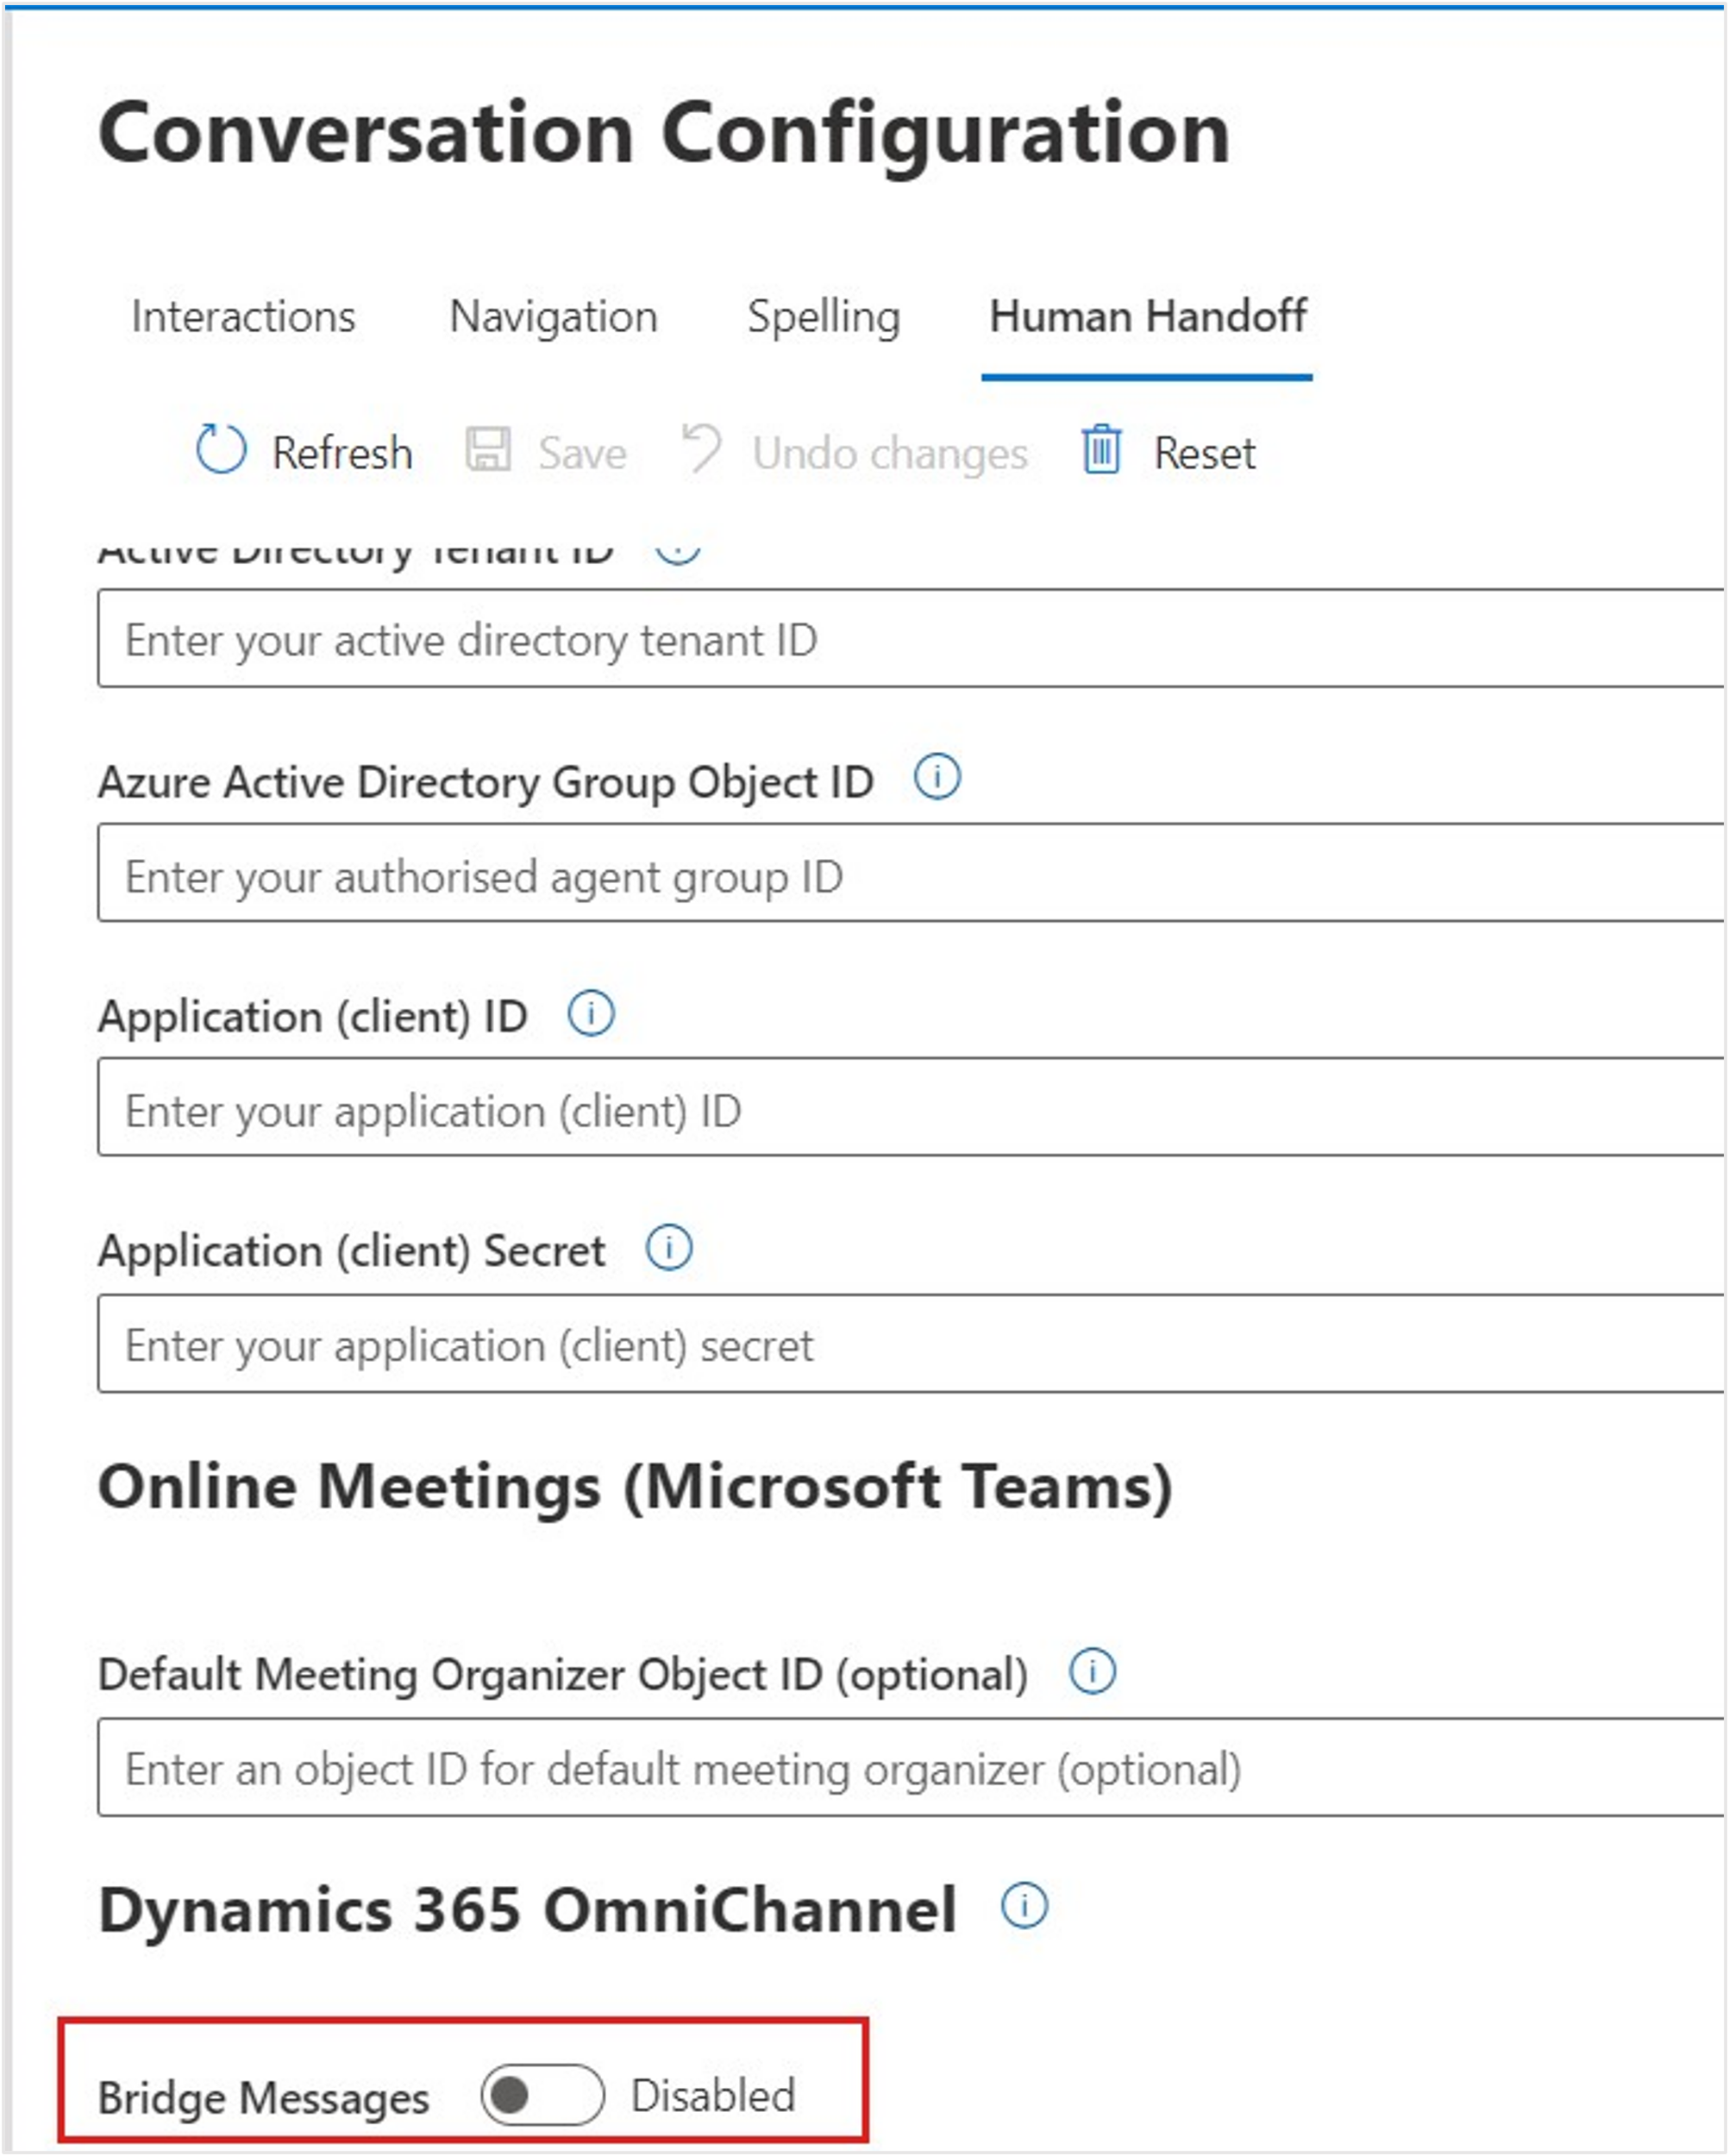
Select the Human Handoff tab in the Conversation Configuration settings.
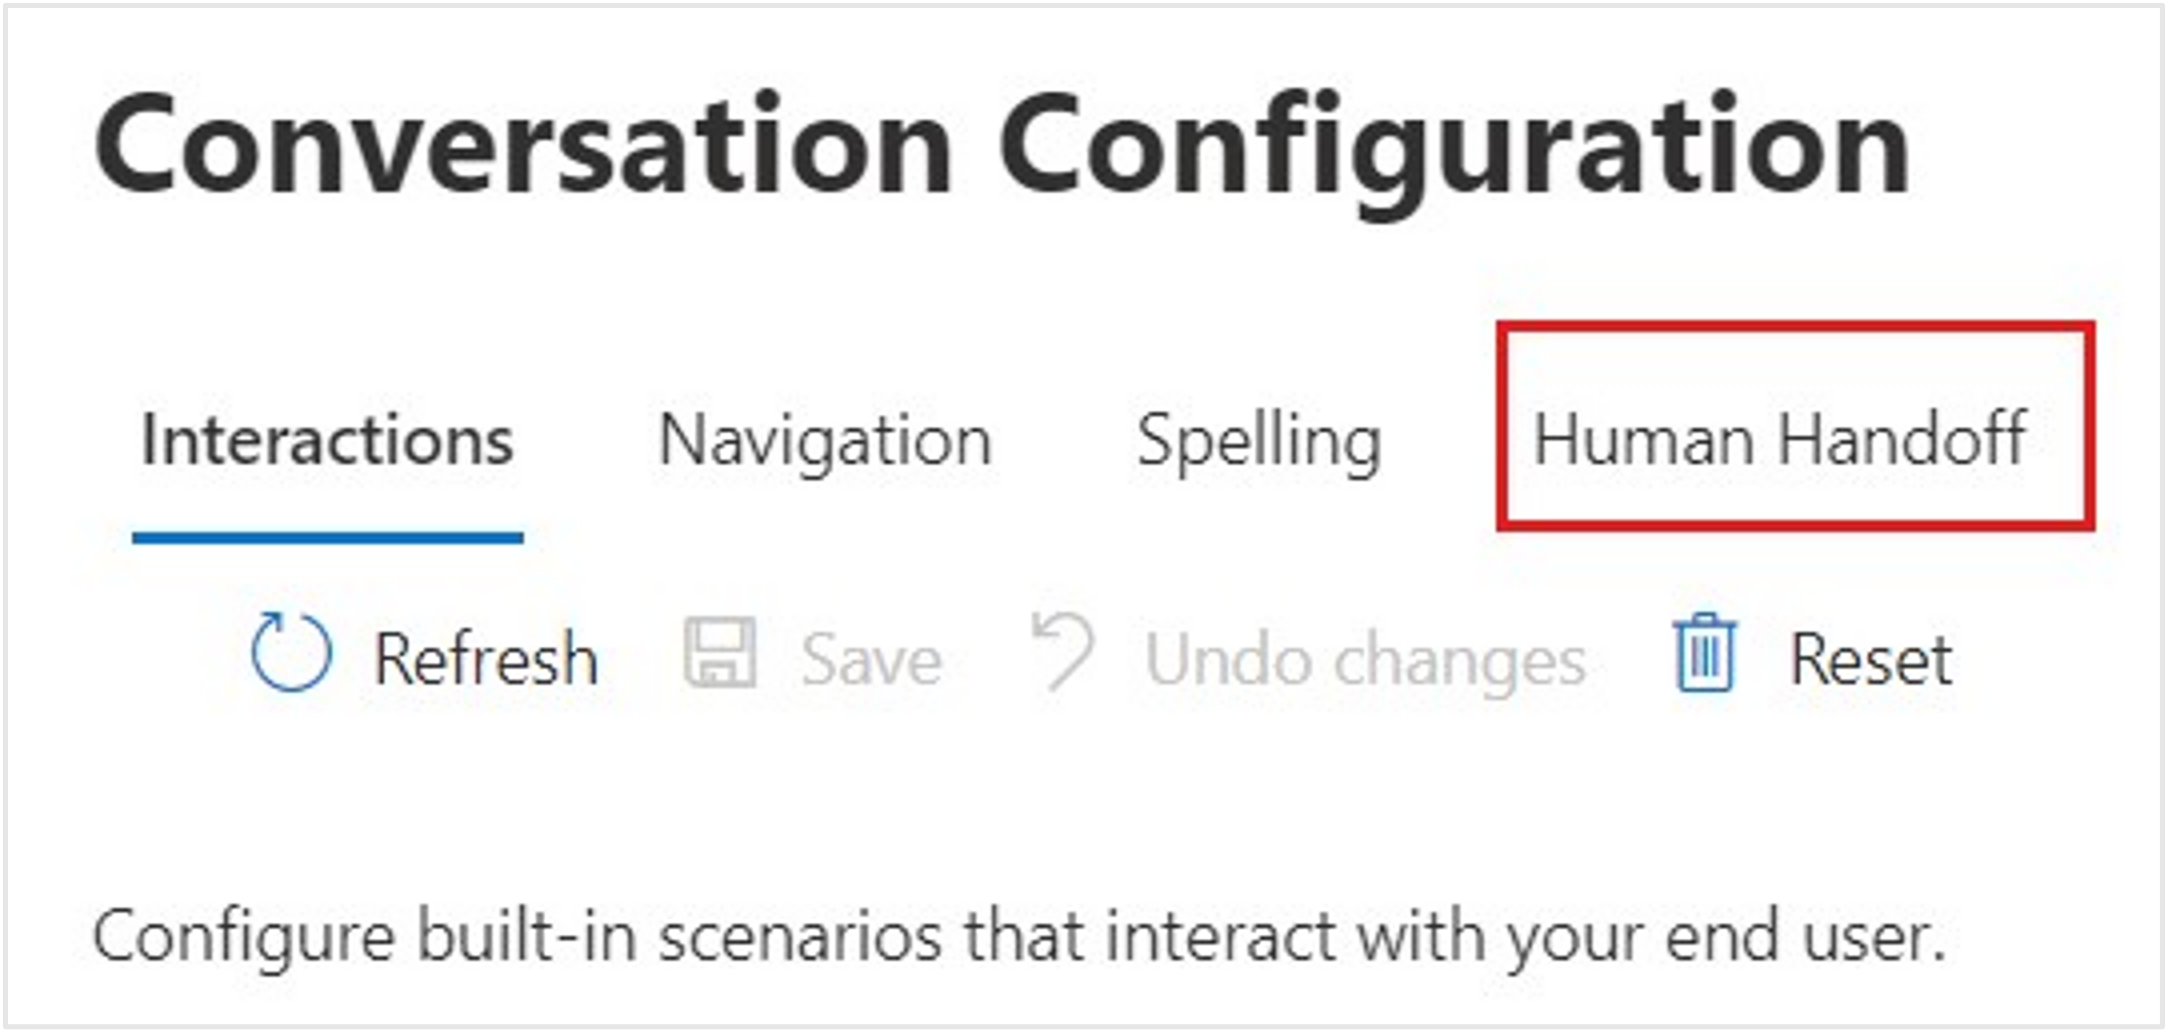
Scroll to the bottom of the Human Handoff page. Under Dynamics 365 OmniChannel, switch the Bridge Messages toggle to Enabled. This option is required to allow communication and bridge messages between the Azure AI Health Bot and Omnichannel for Dynamics 365 Customer Service. Select Save after enabling the feature.
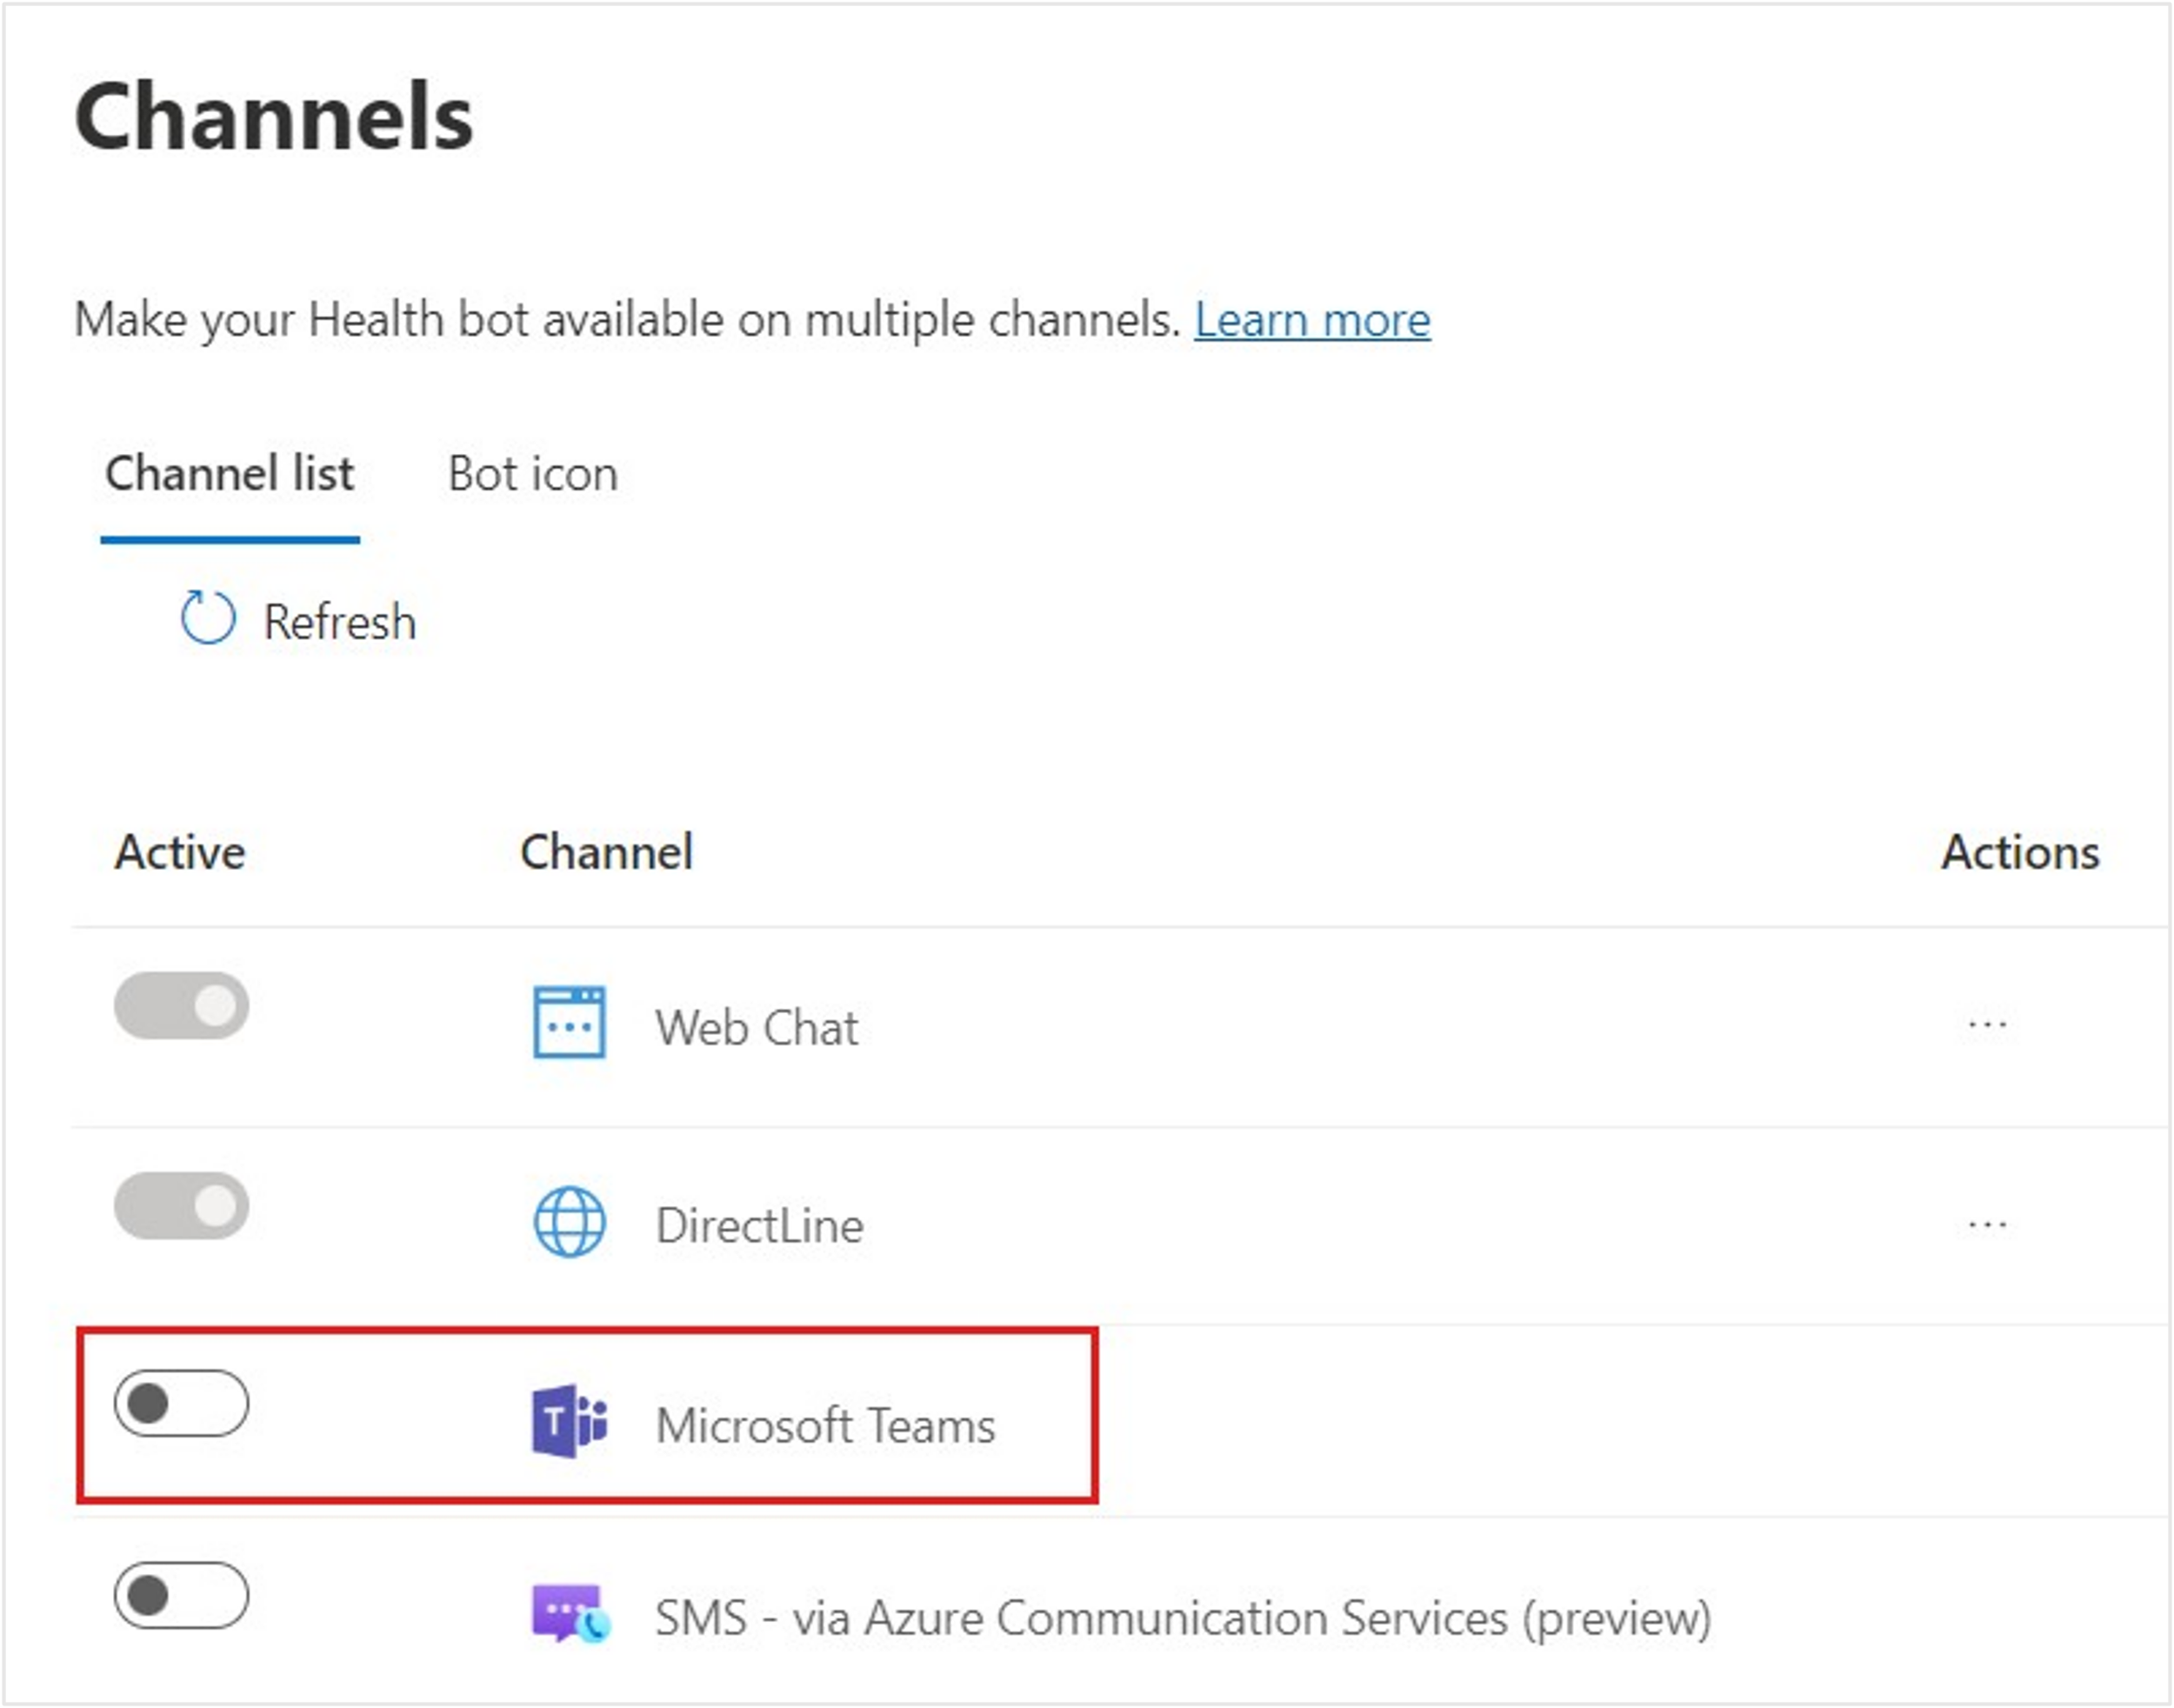
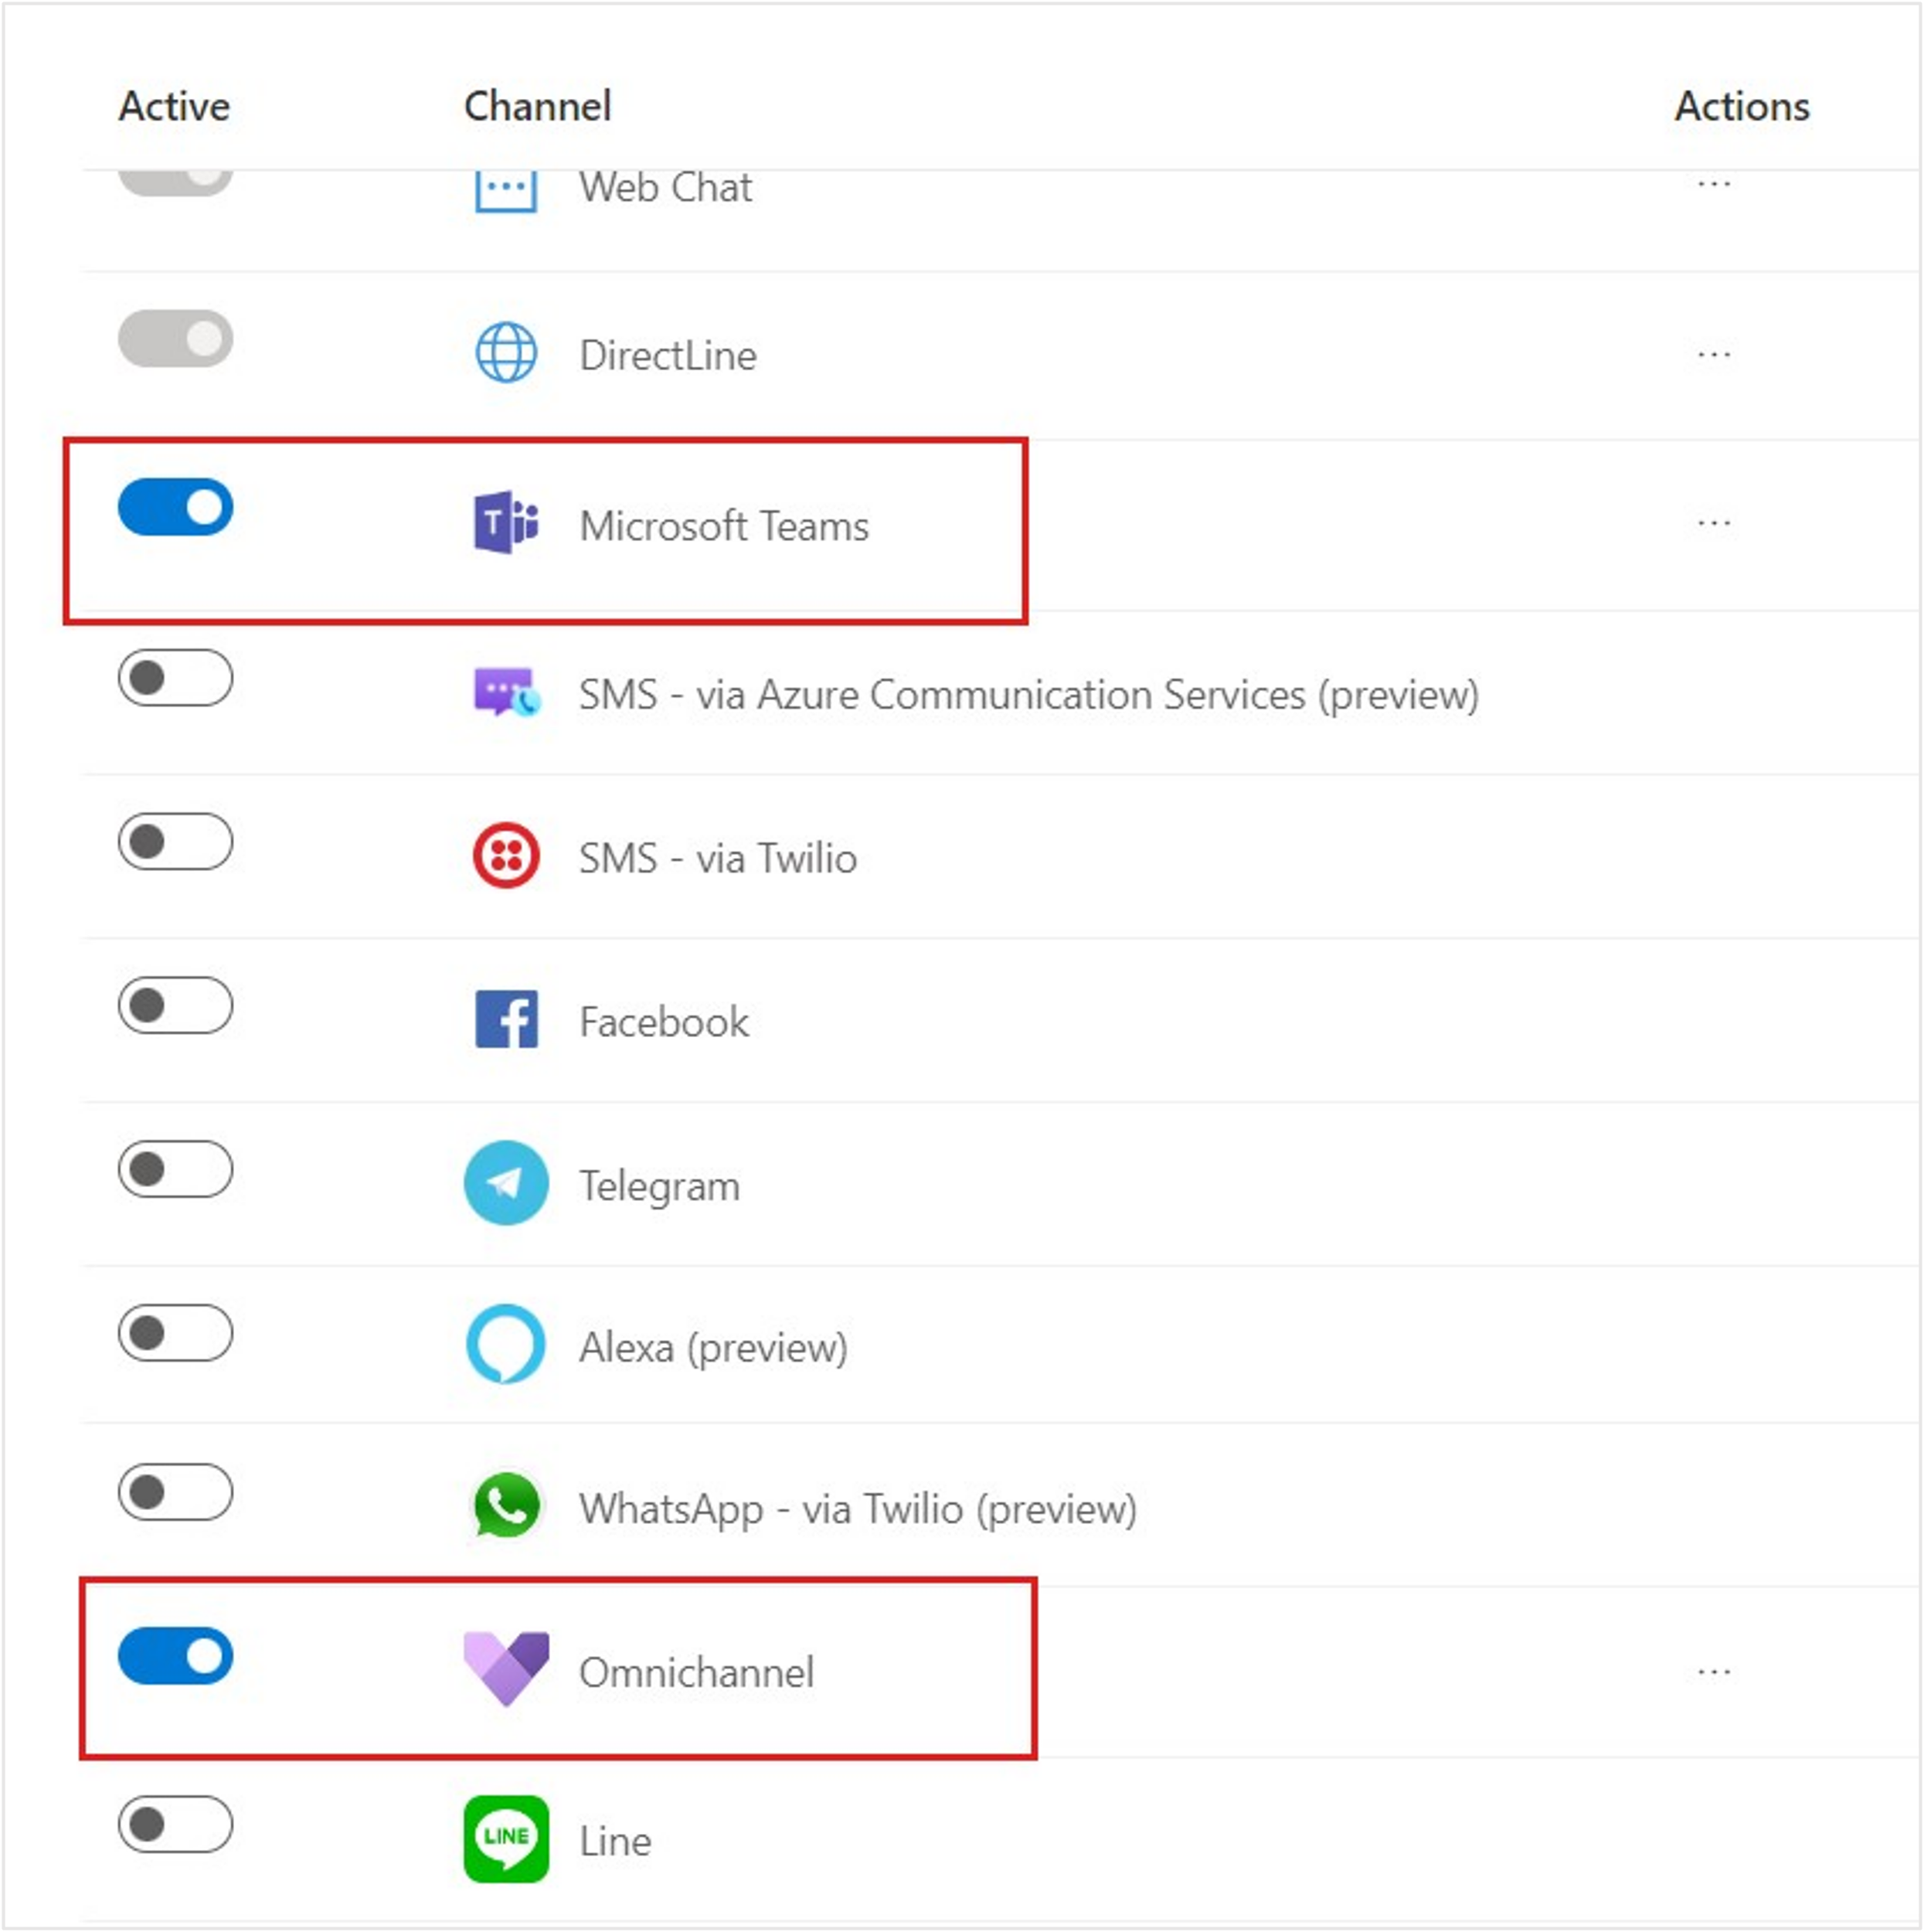
Go to Integration > Channels on the navigation pane. Enable the Health Bot for the Microsoft Teams and Omnichannel channels.
In the Channels list, select the toggle to enable Microsoft Teams.
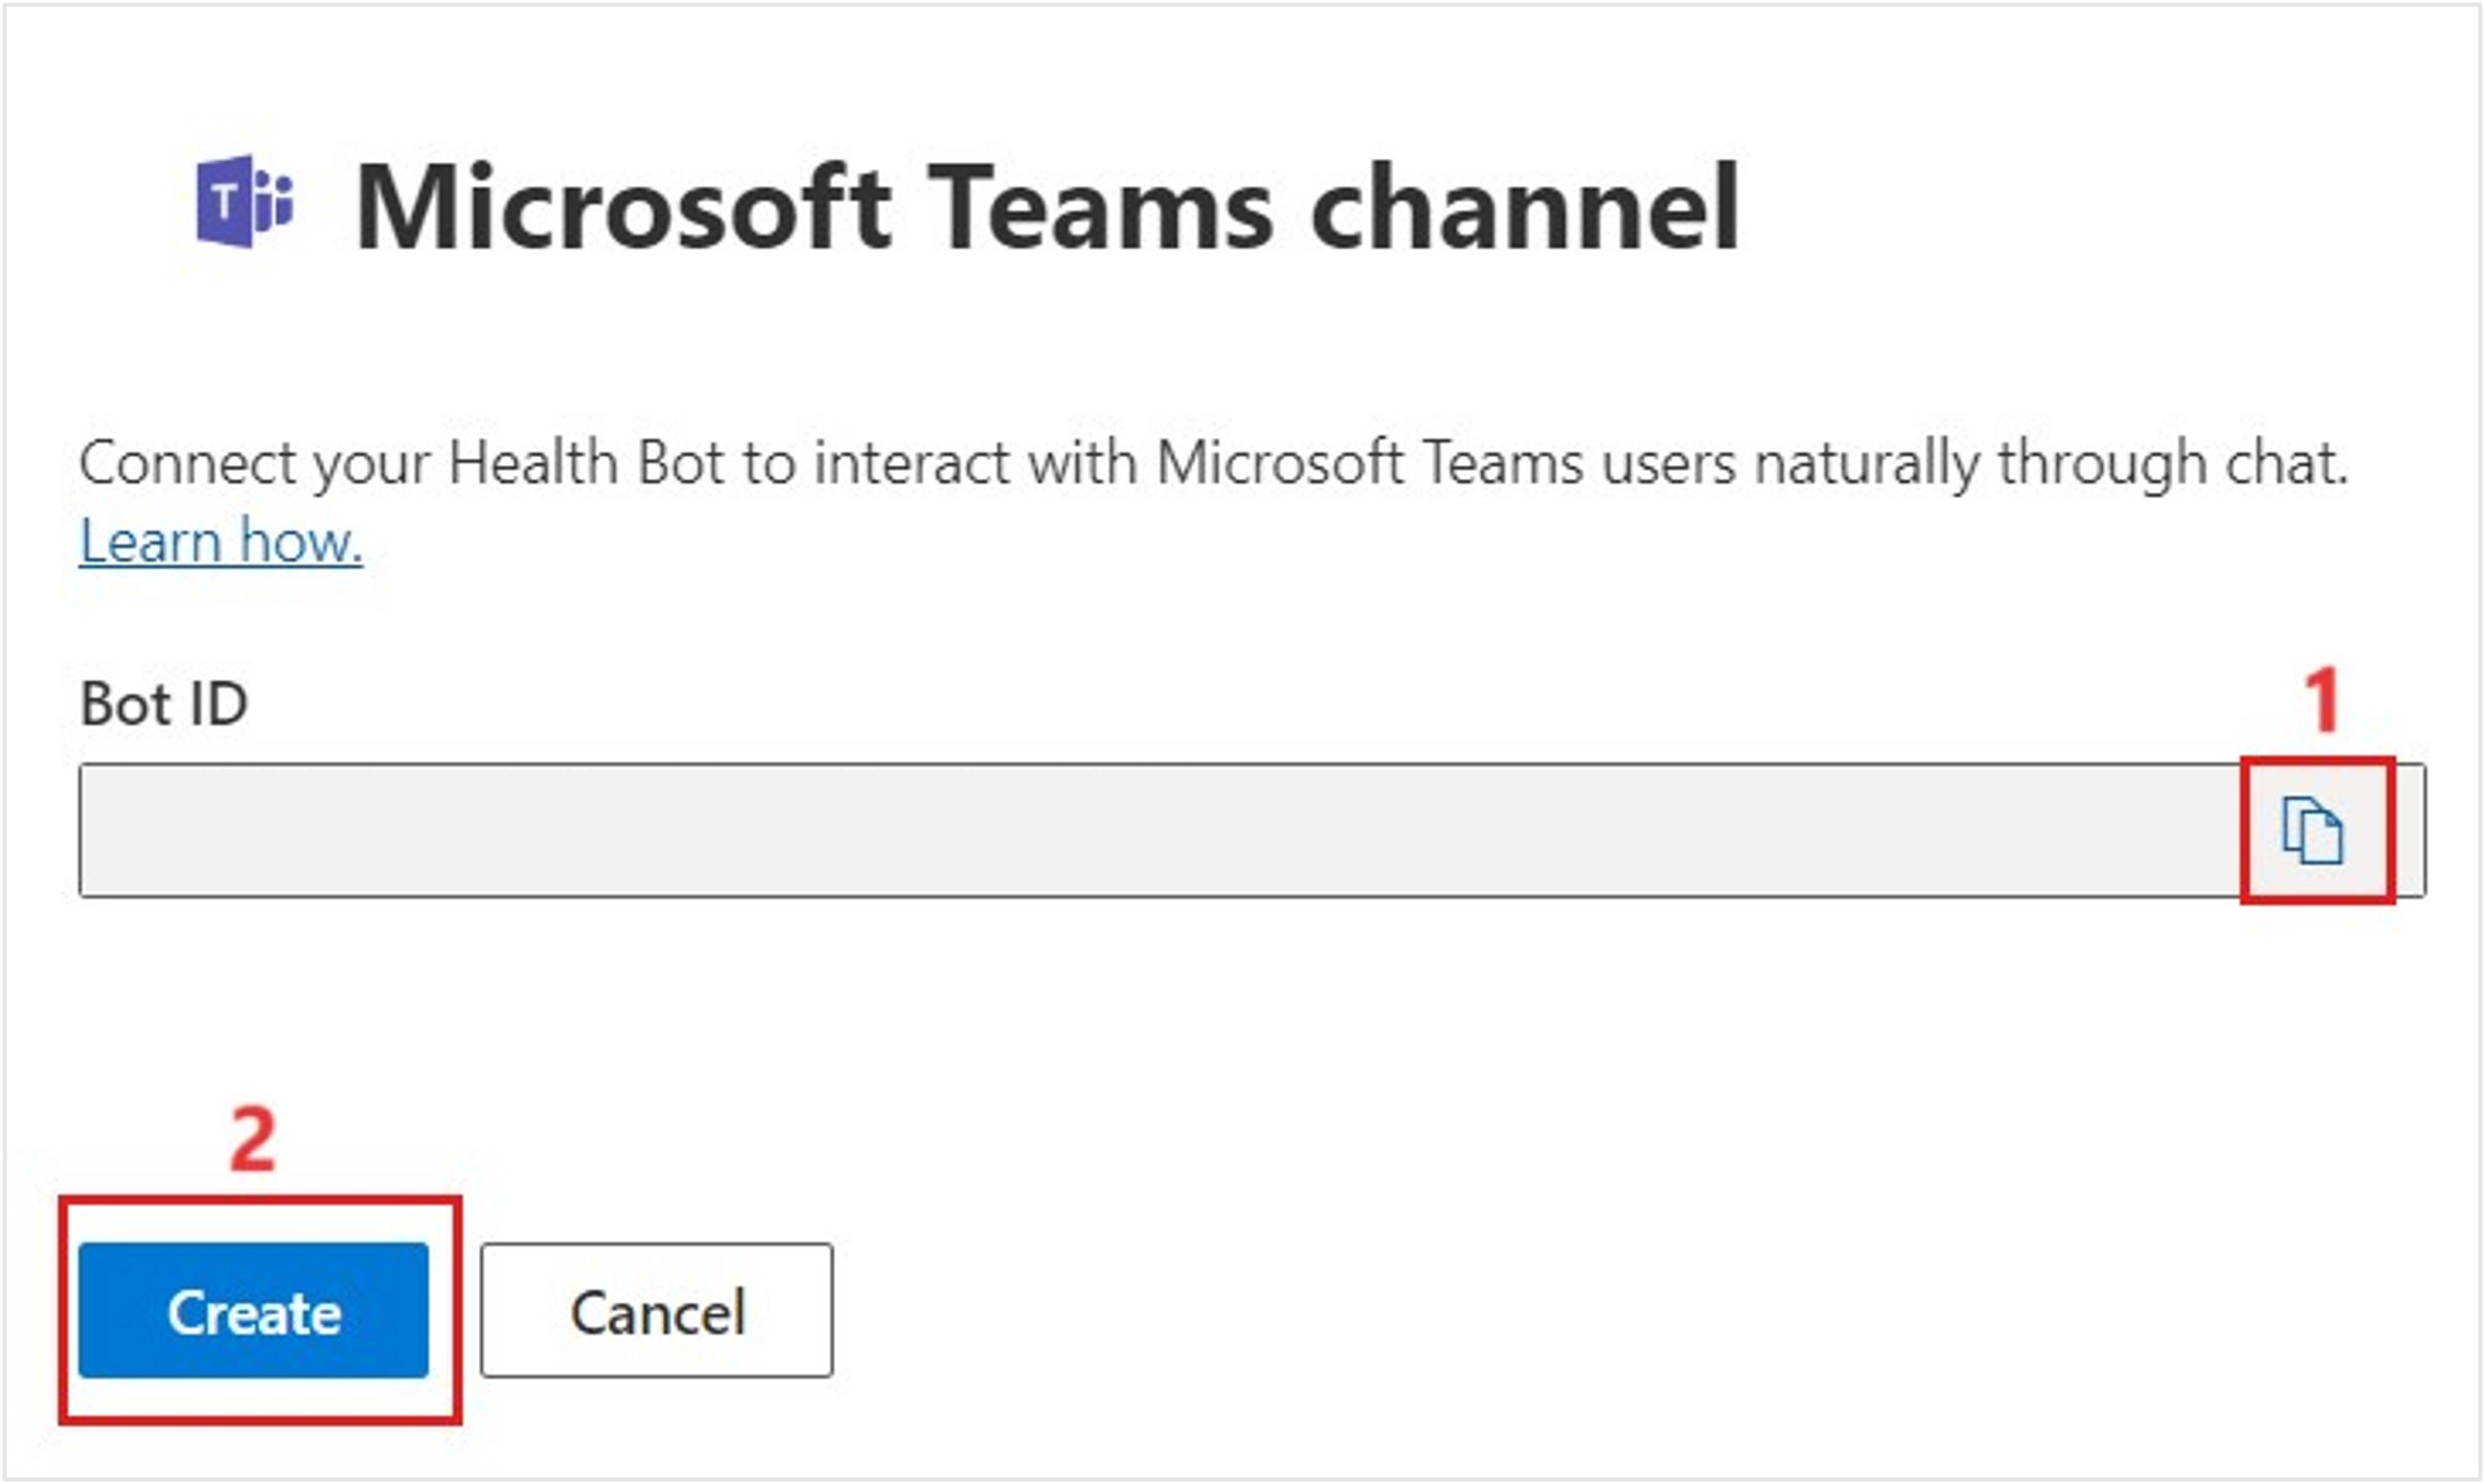
A pop-up window appears with your Bot ID information. Copy and store the Bot ID value for later when you create the Dynamics 365 application user. Select Create.
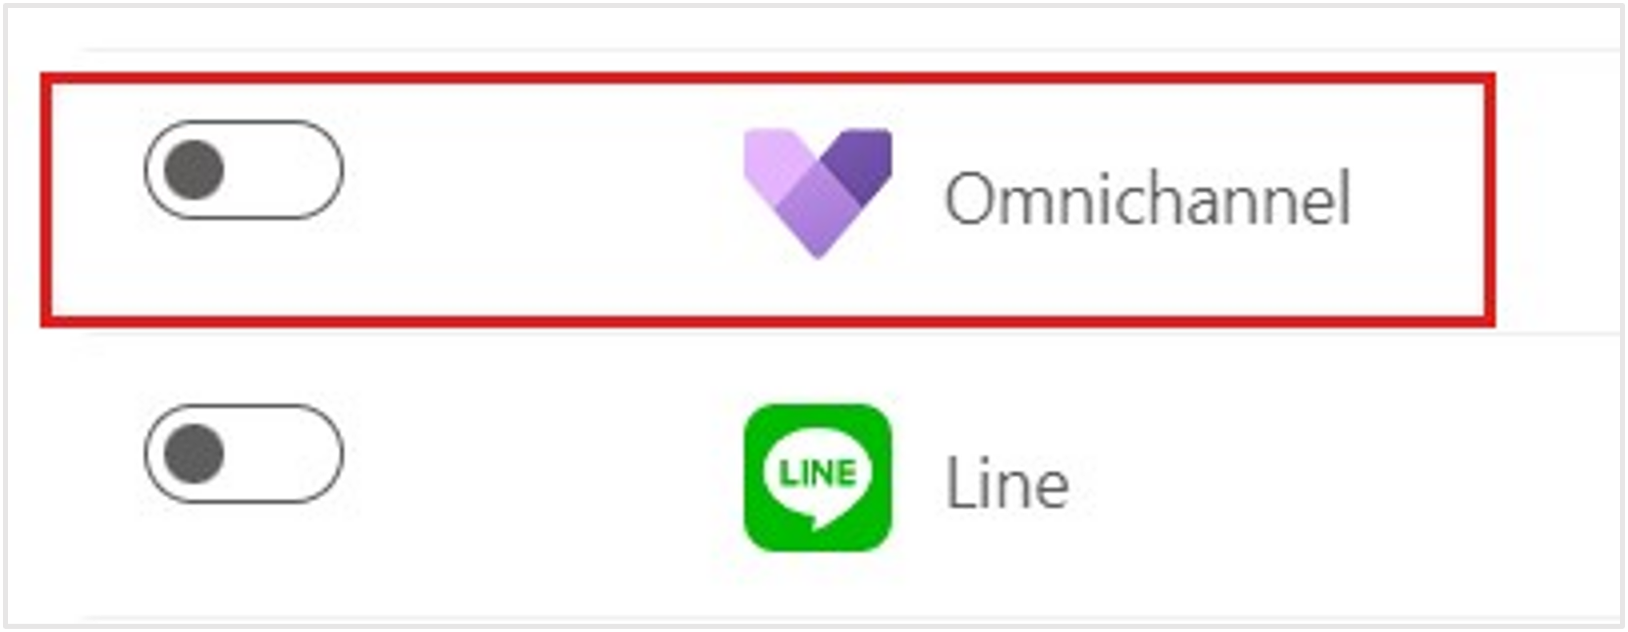
In the Channels list, select the toggle to enable Omnichannel.
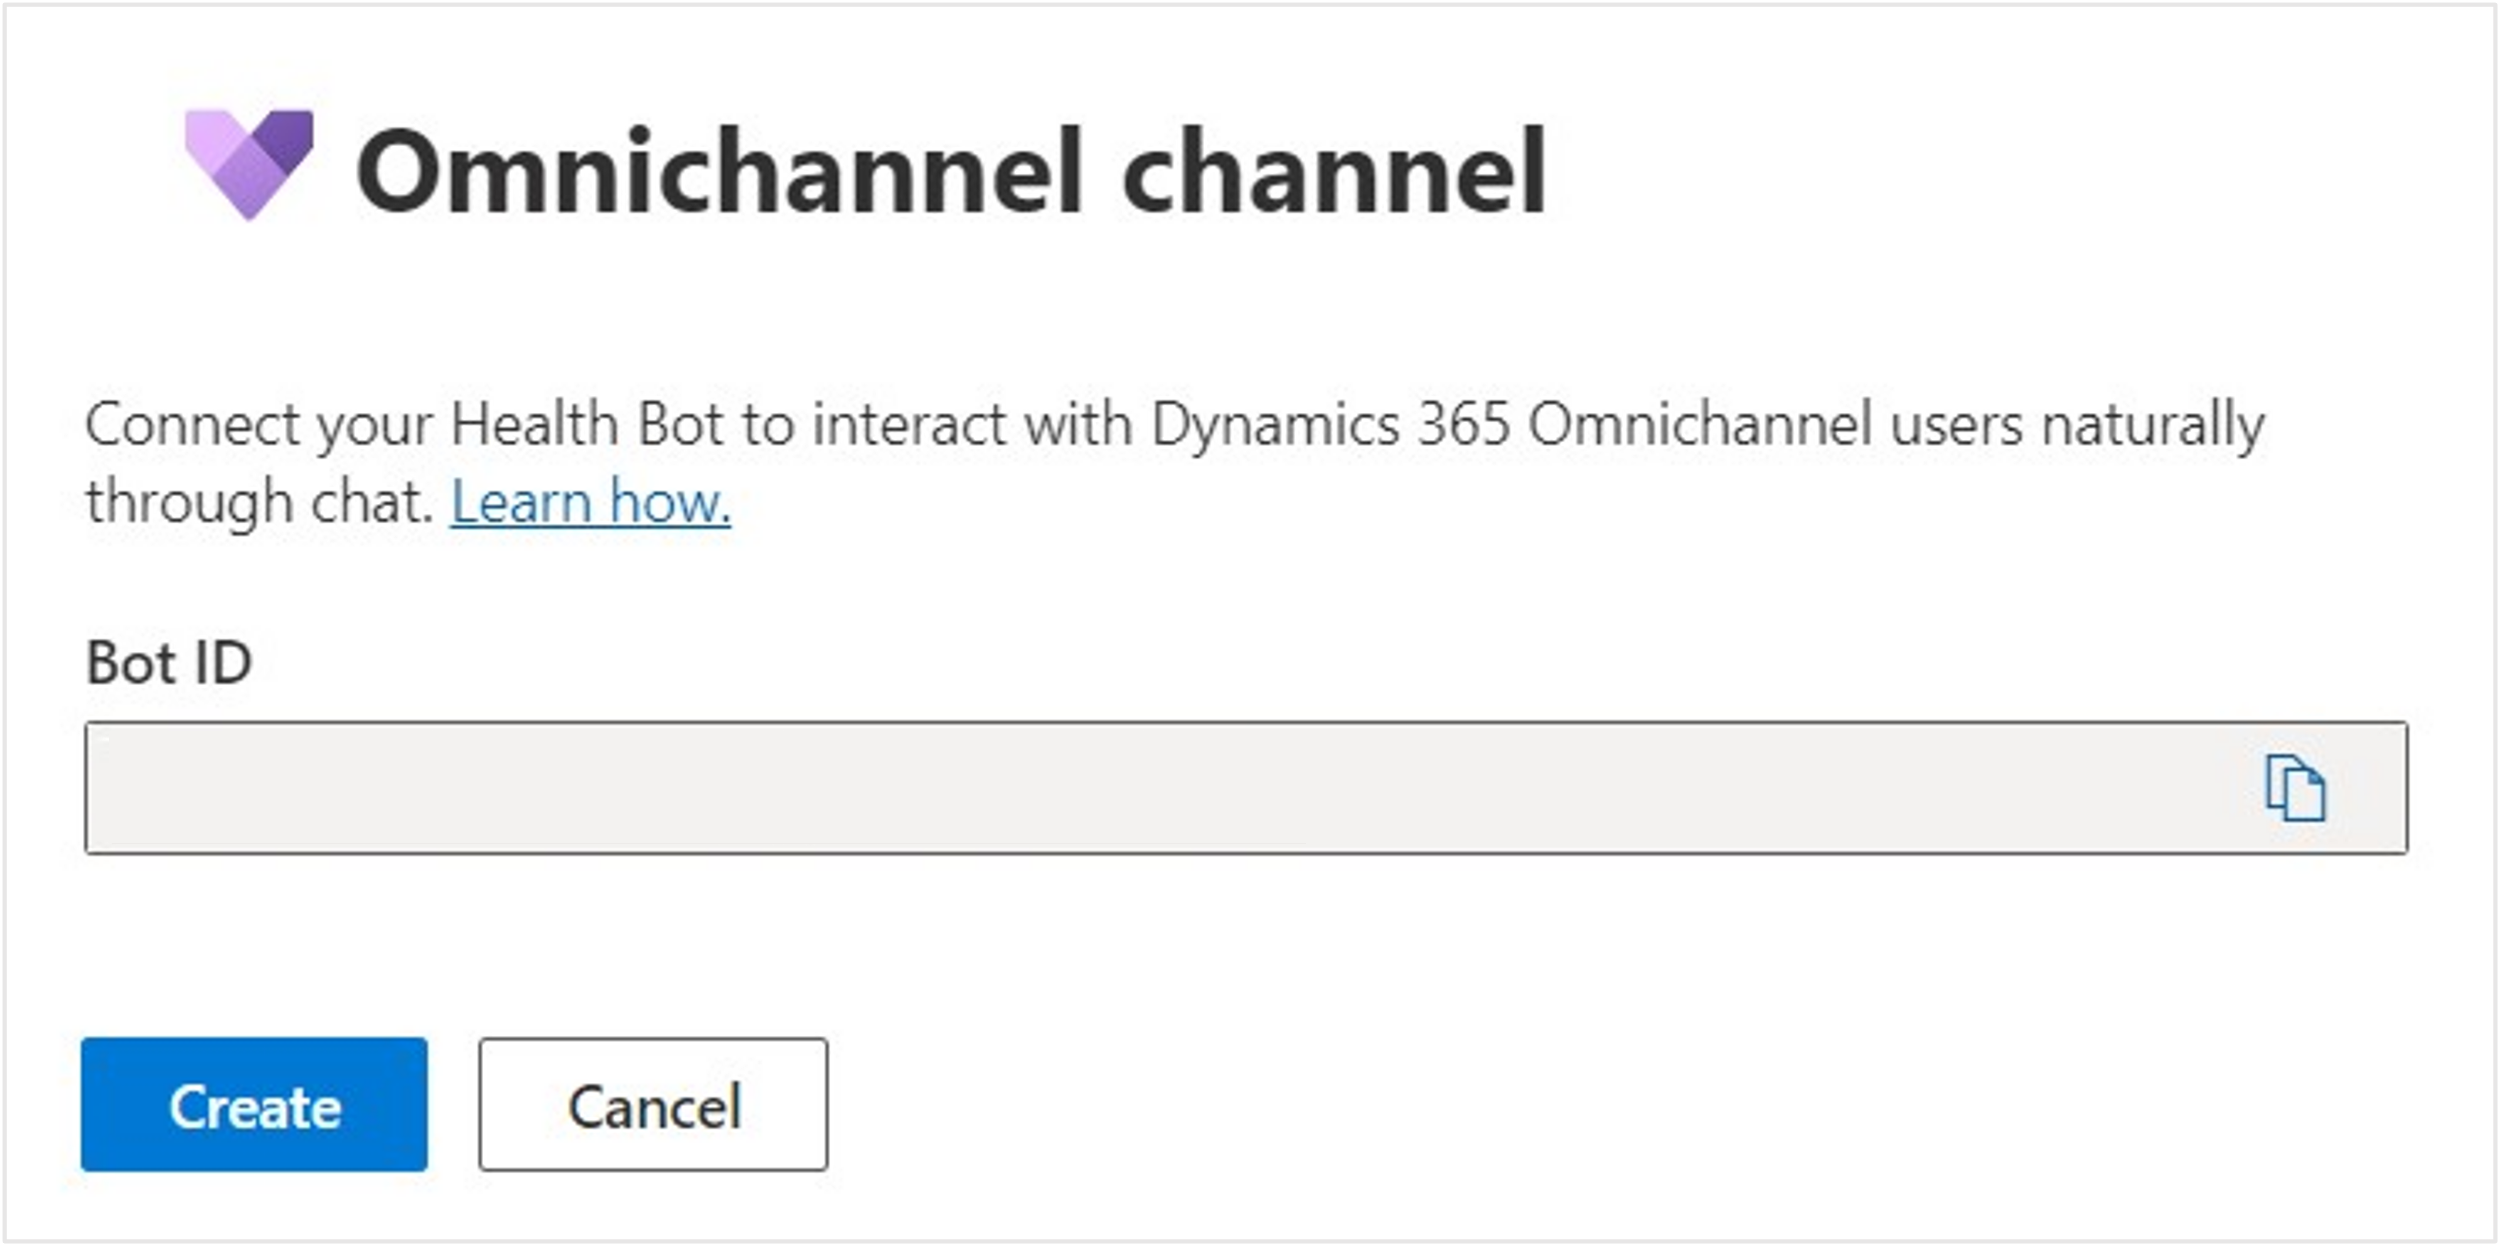
The Bot ID should be the same as the Teams channel. Select Create.
Microsoft Teams and Omnichannel channels are enabled and active.


You completed the Azure AI Health Bot settings for integration with Microsoft Teams and Omnichannel for Dynamics 365 Customer Service.
Task: Obtain an Azure application ID
In this task, you use the Microsoft Entra ID application ID that you created in your Azure tenant during environment preparation. You might have called it "MCH Application ID". Registering this ID established a trusted relationship between your Dynamics 365 app and the Microsoft identity platform.
You now obtain the client ID and store it to later create a Dynamics 365 application user to bridge the authentication between Azure AI Health Bot and Microsoft Power Apps.
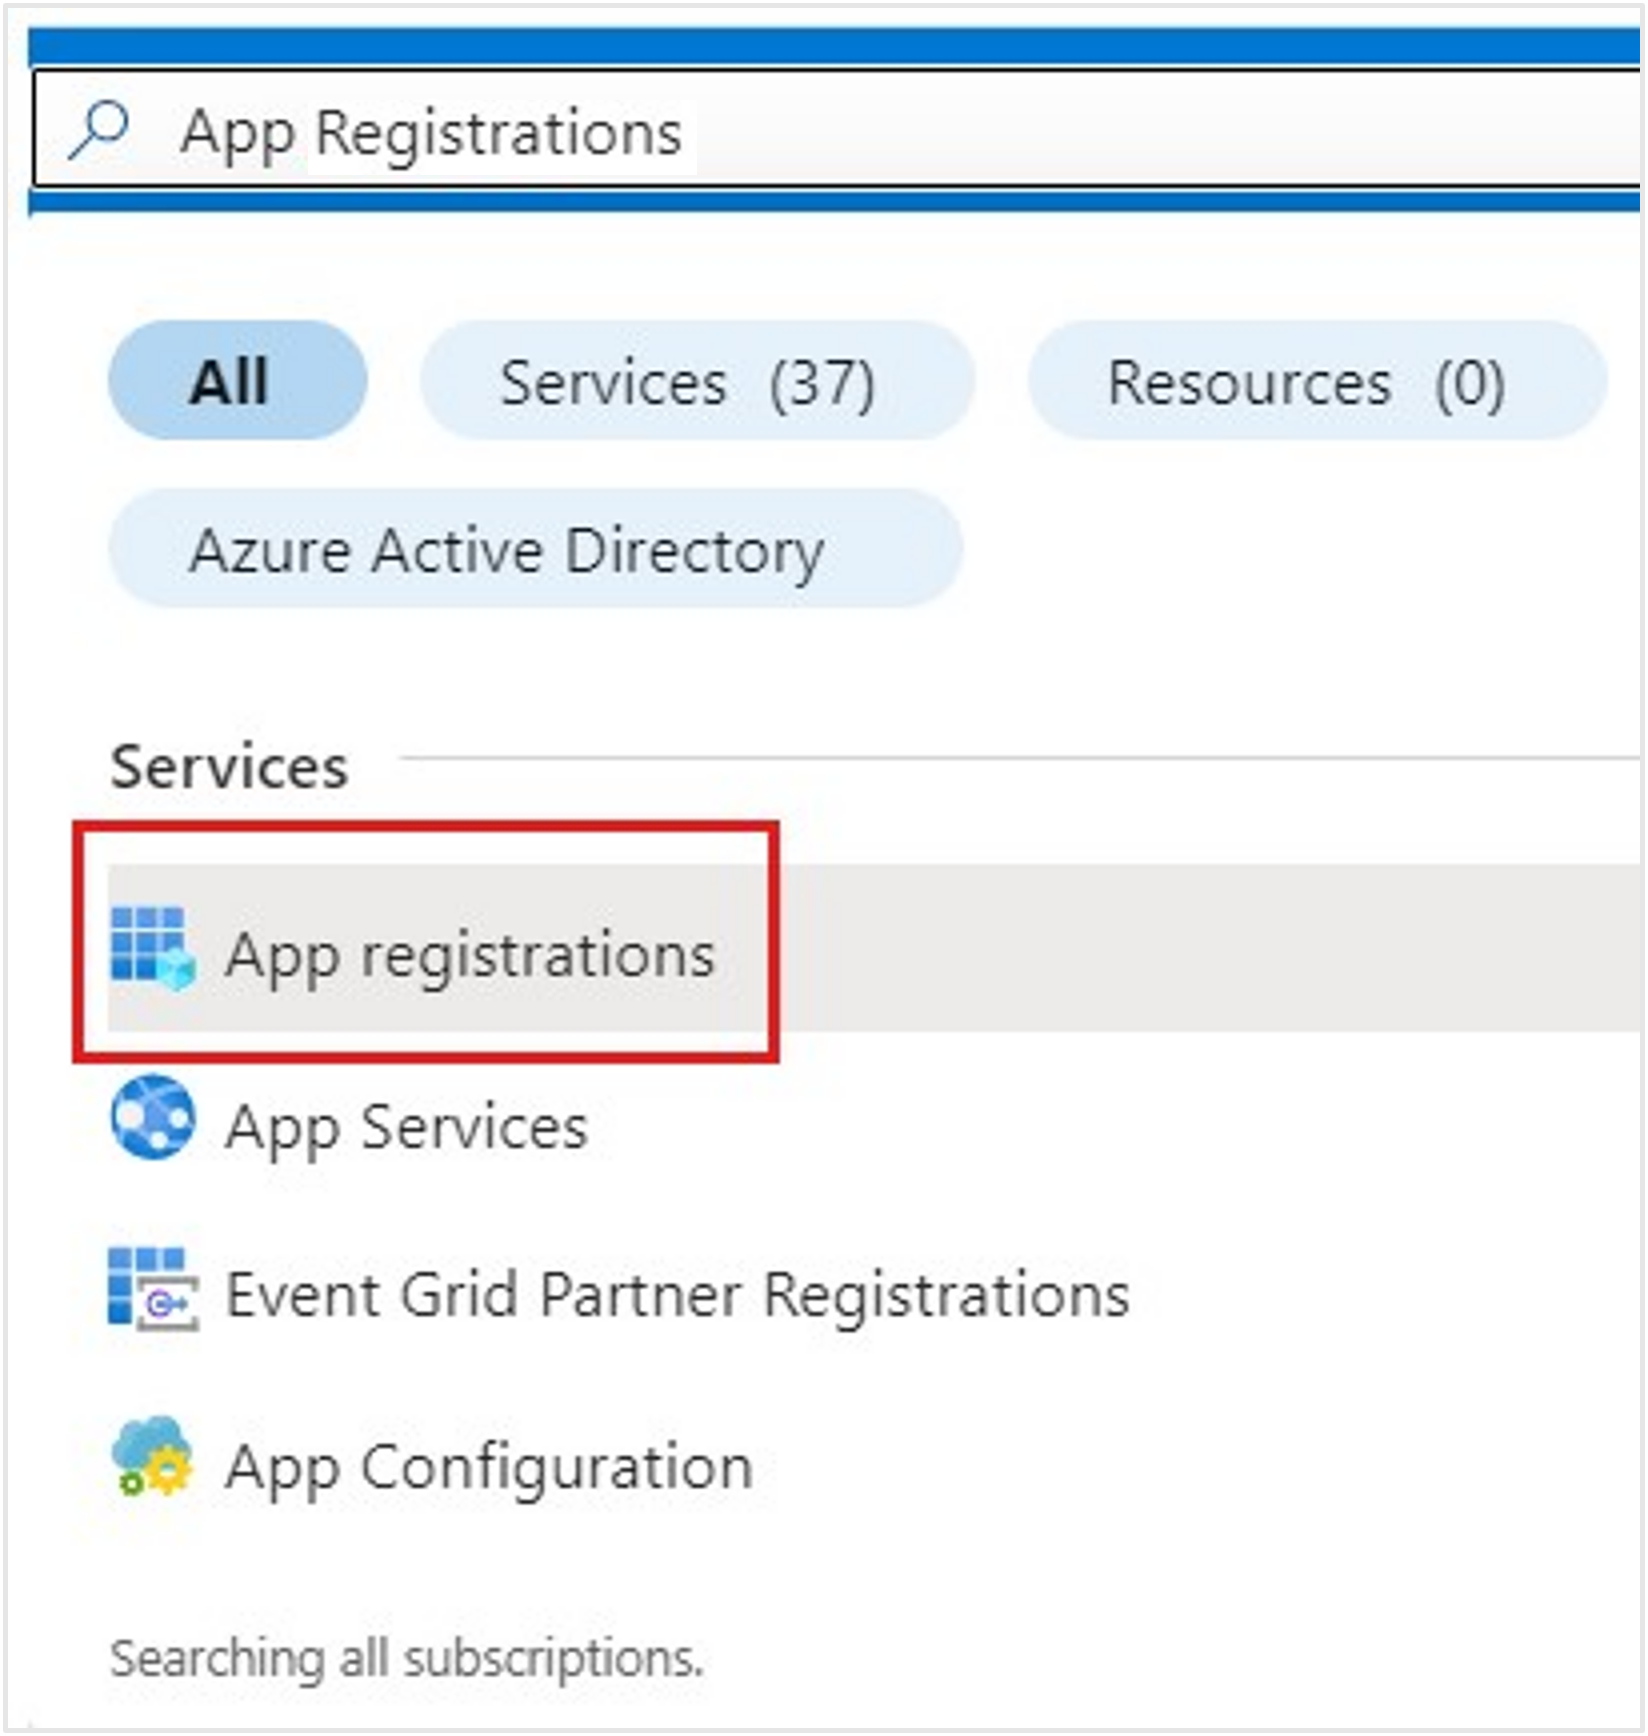
Return to the Azure portal and search for App registrations in the search box. Select the App registrations service.
The App registrations homepage opens to the Owned applications tab.
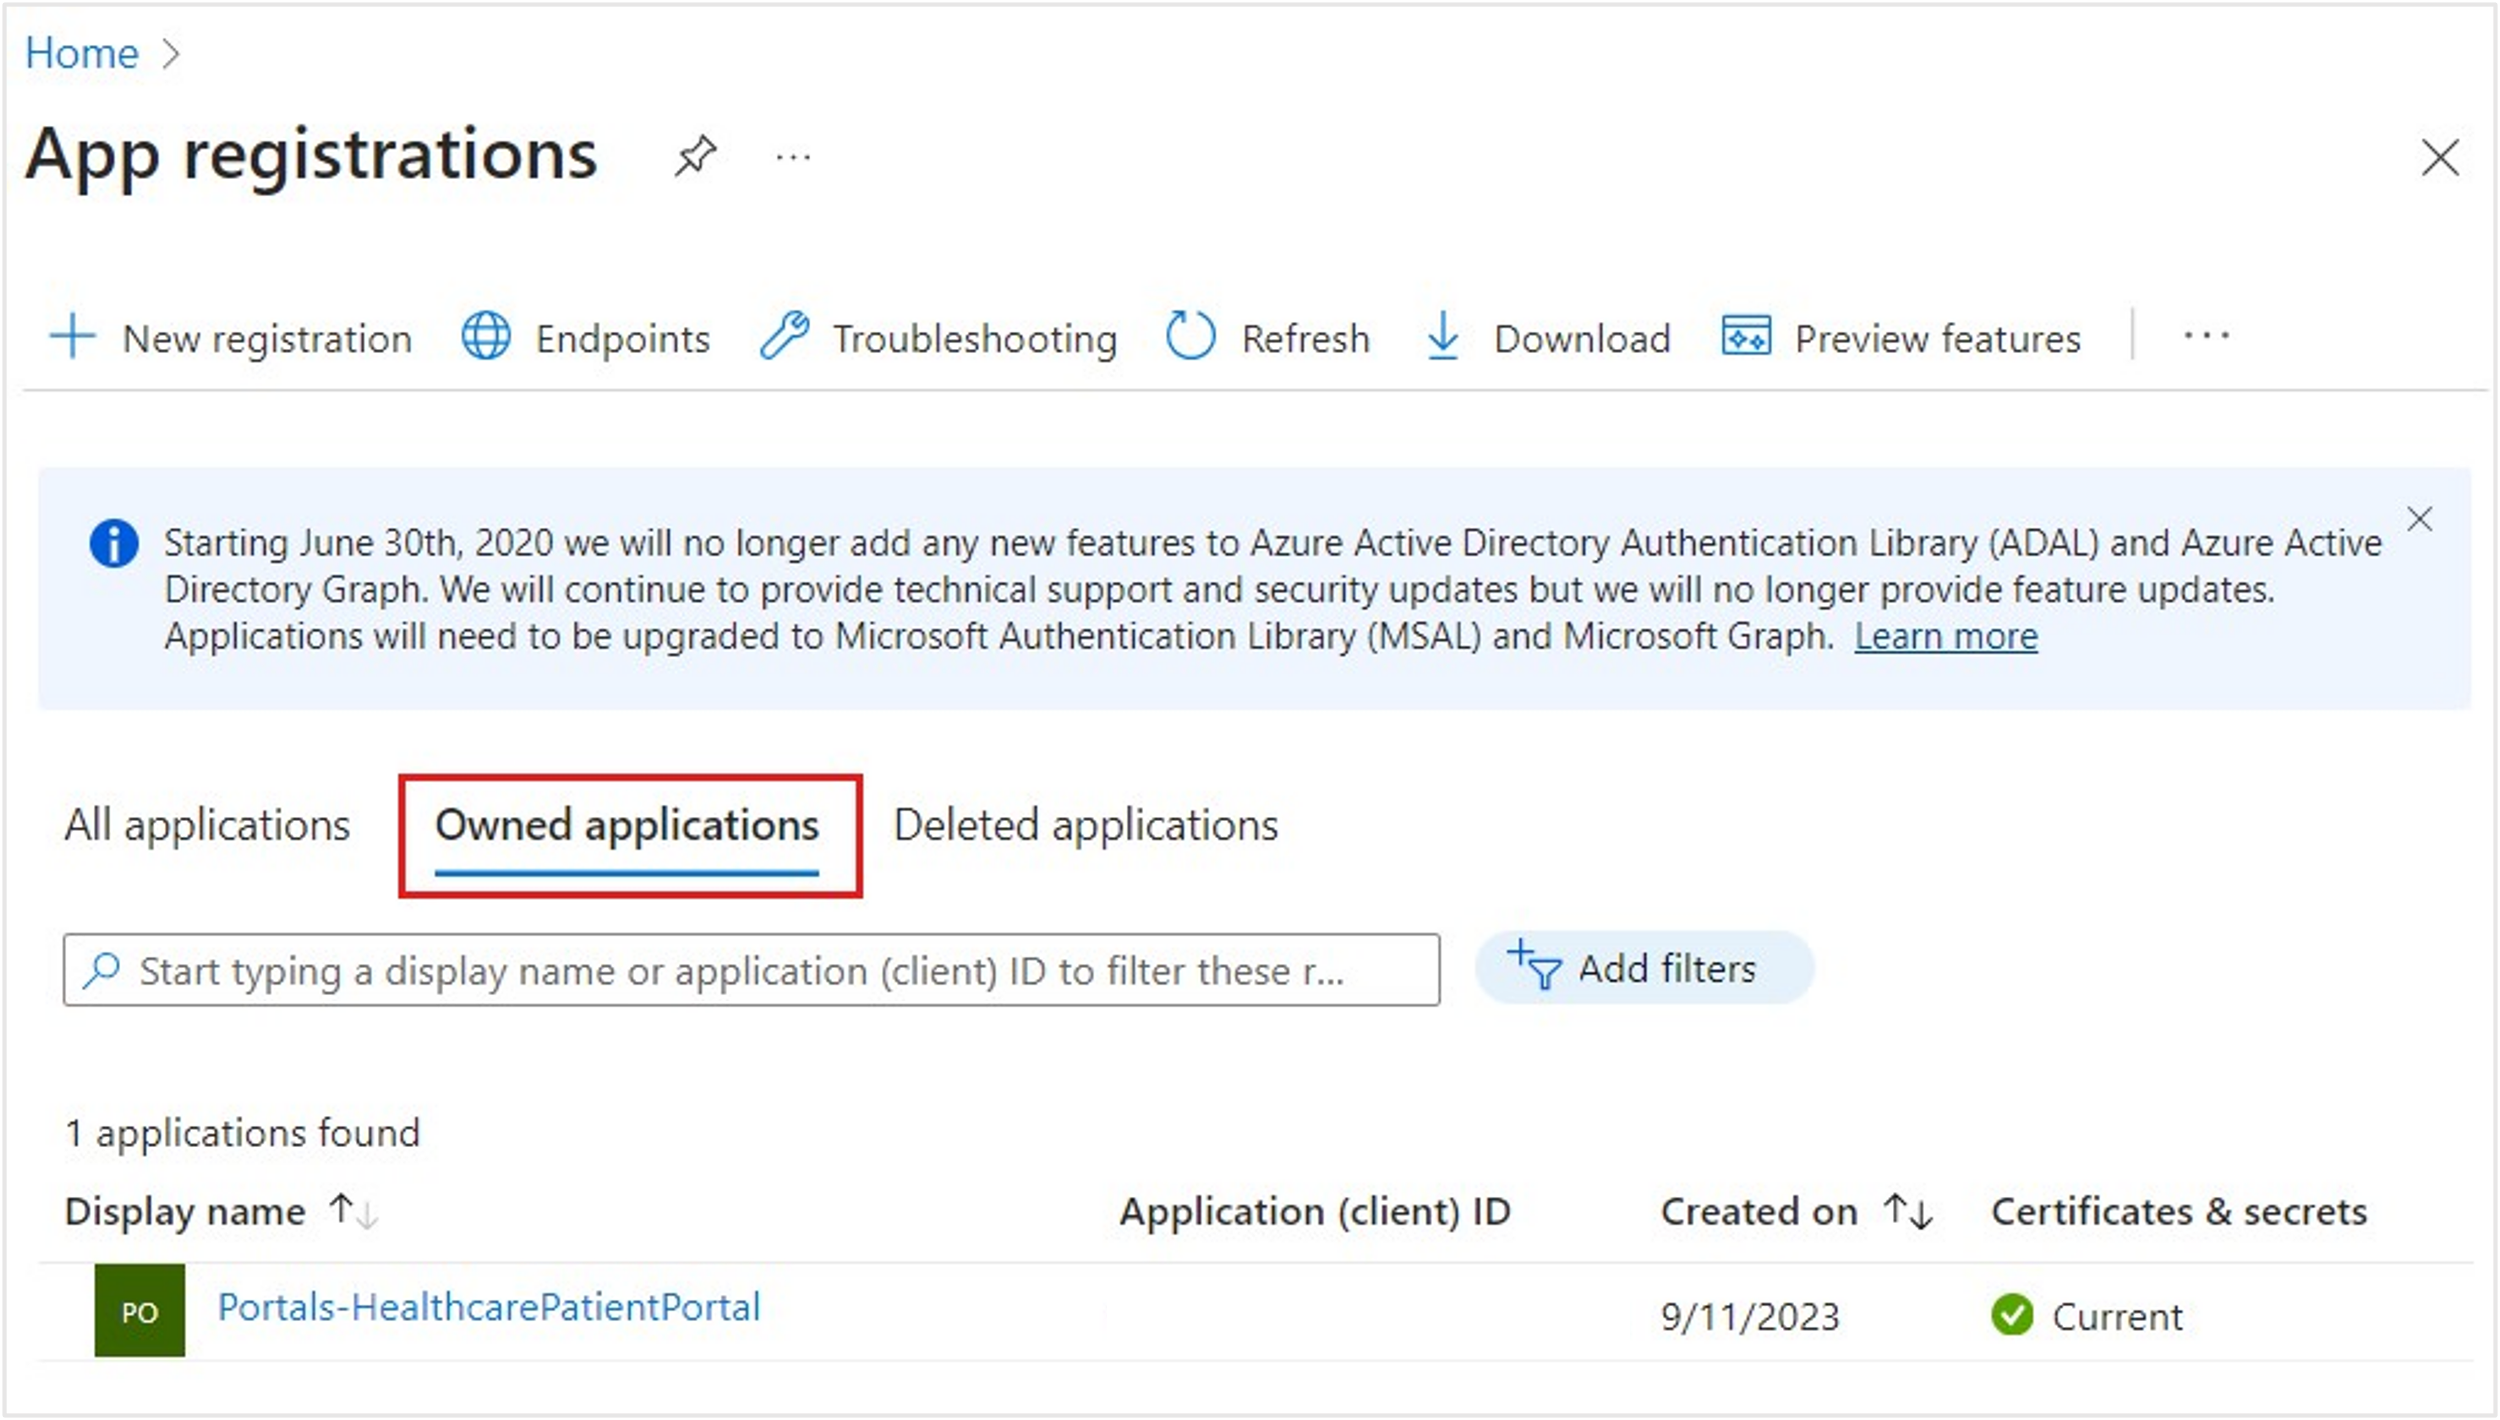
Select the All applications tab and then enter MCH Application ID in the search box to search for your application ID.
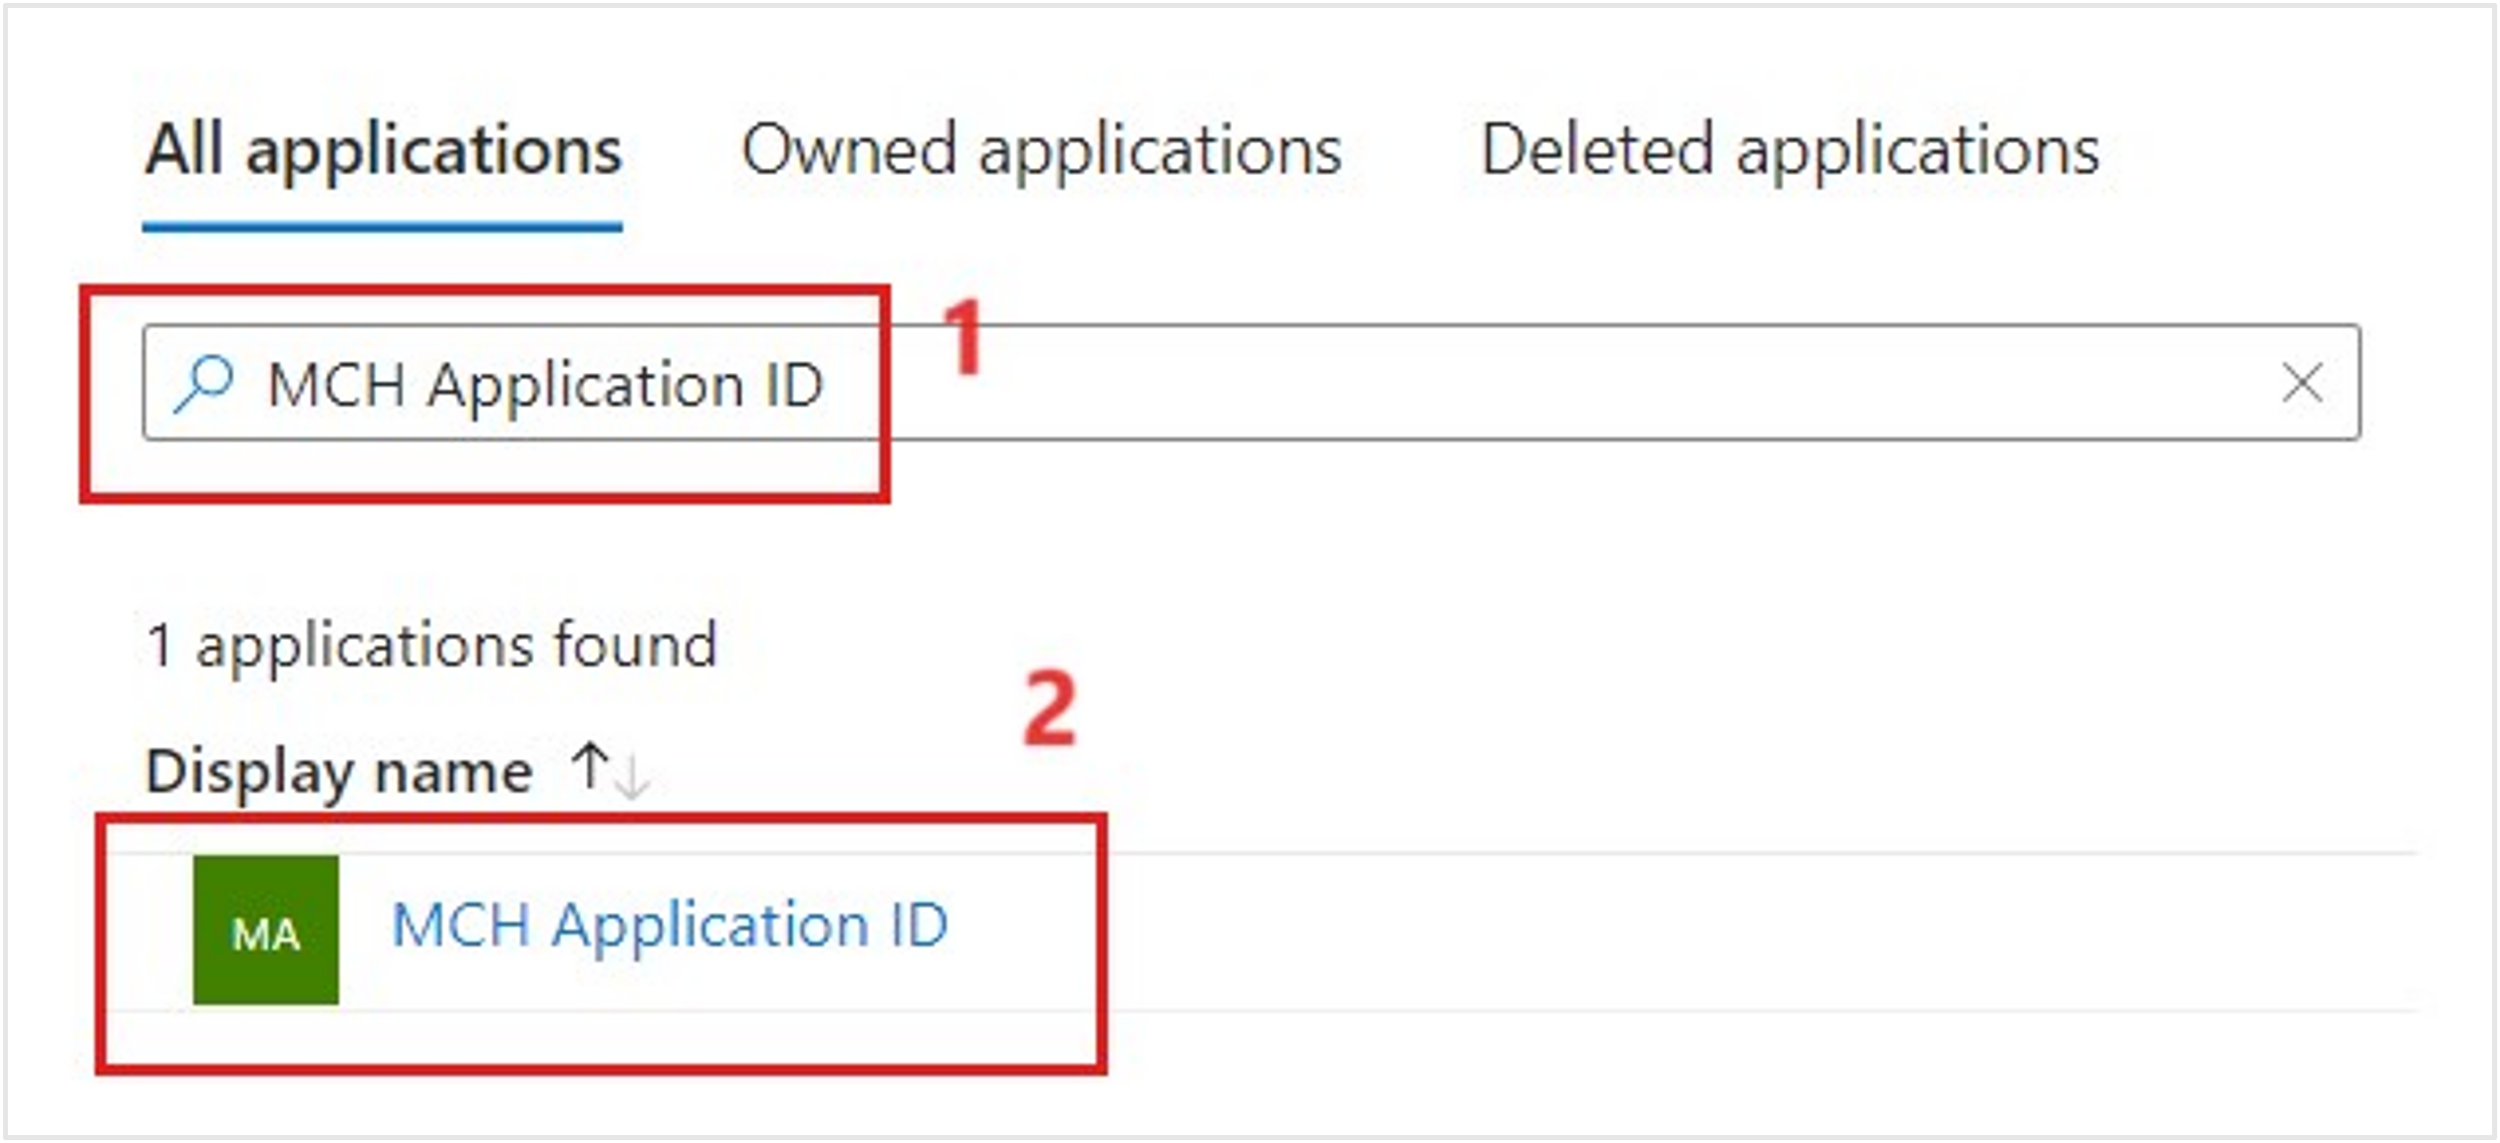
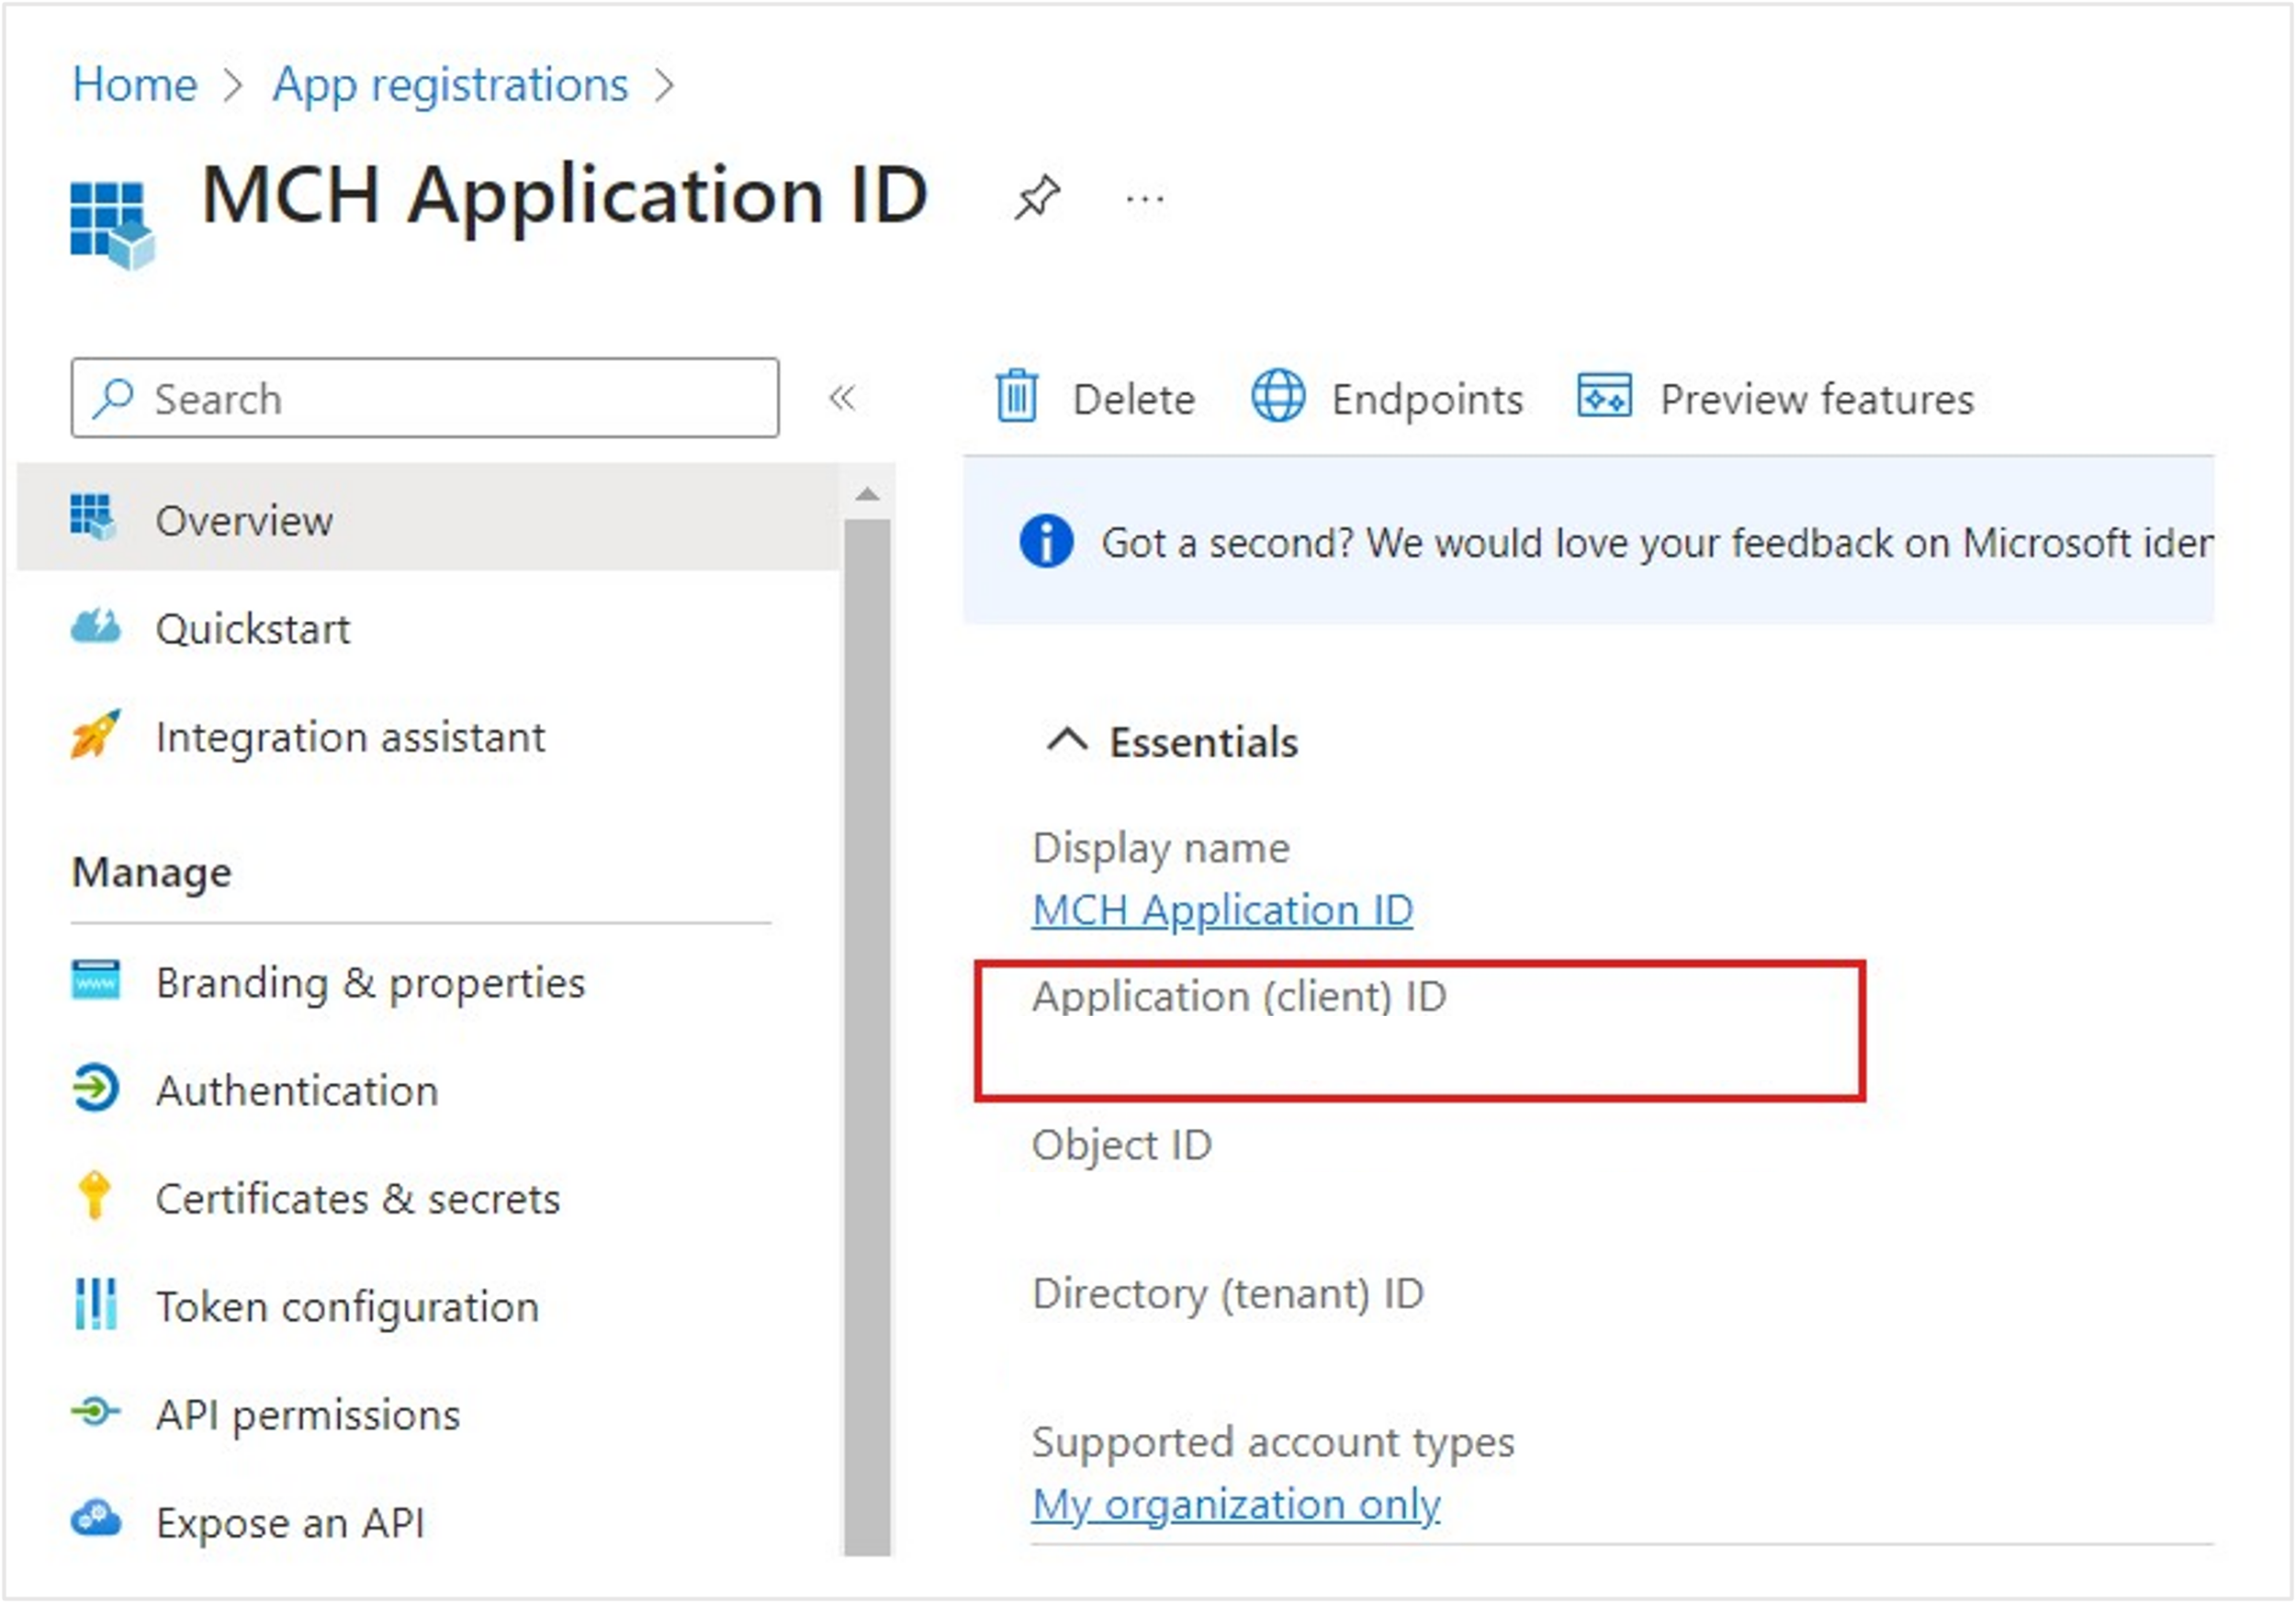
Select the MCH Application Id app registration resource. Copy and store the Application (client) ID for later when you create the Dynamics 365 application user.
Note
ID values have been removed in the screenshot for privacy purposes.


You successfully obtained the MCH Application ID from the Application registrations page in the Azure portal.