הערה
גישה לעמוד זה דורשת אישור. אתה יכול לנסות להיכנס או לשנות תיקיות.
גישה לעמוד זה דורשת אישור. אתה יכול לנסות לשנות מדריכים.
This Hello World guide walks you through setting up your WinUI and Windows App SDK development environment in Visual Studio and creating your first app.
1. Enable Developer Mode
Windows includes a Developer Mode that adjusts security settings to let you run and test apps you're building. Enable Developer Mode before building, deploying, and testing your app with Visual Studio.
Tip
If you don't enable Developer Mode now, Visual Studio prompts you to enable it when you try to build your app.
To enable Developer Mode:
- Open Windows Settings and navigate to the System > Advanced page.
- Toggle the Developer Mode switch to On and confirm your choice in the confirmation dialog.
For more information about Developer Mode, see Settings for developers.
2. Install Visual Studio and the required workloads for WinUI and Windows App SDK
Use Visual Studio, Microsoft's IDE, to build, debug, and deploy WinUI apps. Visual Studio includes ready-to-use project templates for Windows that help you get started quickly.
The free Visual Studio Community edition includes everything you need to develop apps. Professional and Enterprise editions are available for larger teams or organizations. For more details, see What is Visual Studio? and the system requirements for Windows app development.
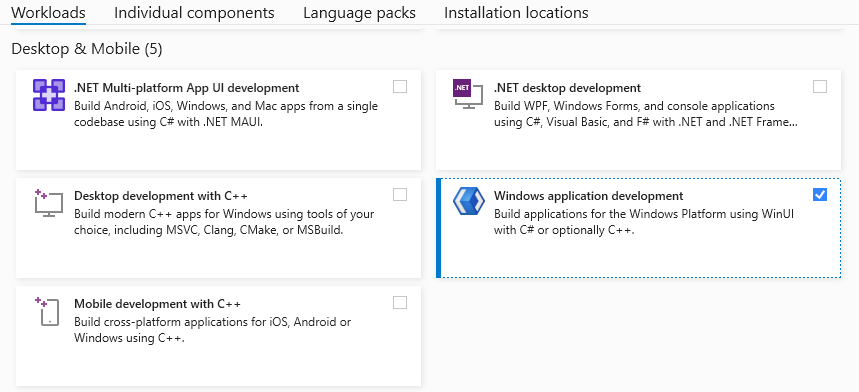
Install the required tools and workloads by running one of the following commands in a console.
The command opens the Visual Studio Installer with any missing workloads preselected — select Modify to install them.
You can replace Community with Professional or Enterprise to install a different Visual Studio edition.
For C# app development
winget install "Visual Studio Community 2022" --override "--add Microsoft.VisualStudio.Workload.ManagedDesktop Microsoft.VisualStudio.ComponentGroup.WindowsAppSDK.Cs" -s msstore
For C++ app development
winget install "Visual Studio Community 2022" --override "--add Microsoft.VisualStudio.Workload.NativeDesktop Microsoft.VisualStudio.ComponentGroup.WindowsAppSDK.Cpp" -s msstore
3. Create and launch your first WinUI app
Visual Studio project templates include everything you need to create an app quickly. When you create a project from a WinUI app template, you start with a runnable app that you can extend with your own code.
To create a new project using the WinUI C# Blank App project template:
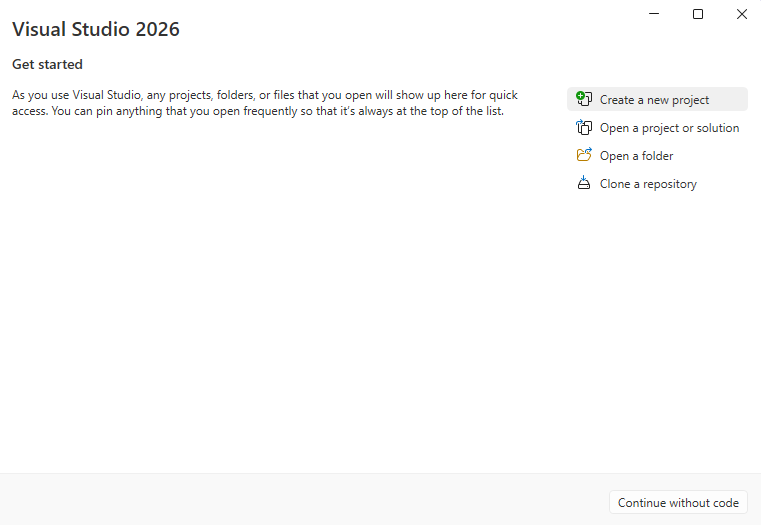
Open Visual Studio and select Create a new project on the launch page. If Visual Studio is already open, select File > New > Project.

Search for WinUI, select the WinUI Blank App (Packaged) C# project template, and then select Next.

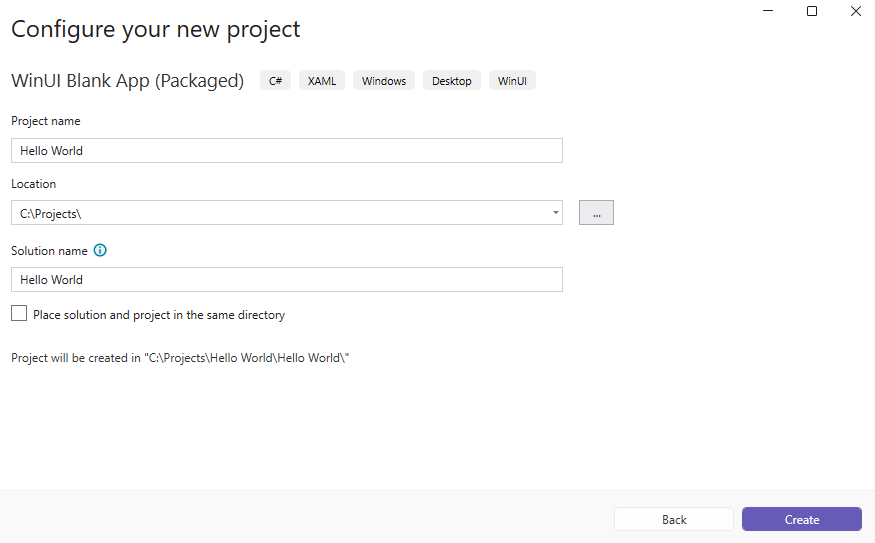
Specify a project name, then select Create. You can optionally specify a solution name and directory, or leave the defaults. In this image, the
Hello Worldproject belongs to aHello Worldsolution, which lives inC:\Projects\:
Press the Start button to build and run your project:

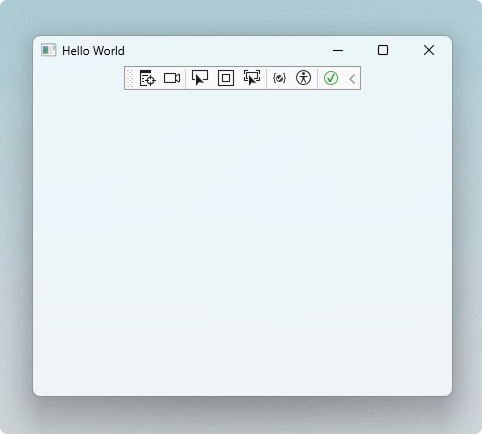
Your project will build, be deployed to your local machine, and run in debug mode:

Congratulations, you've just built your first WinUI app!
Next steps
To get an idea of what WinUI offers, check out the WinUI Gallery app.
The WinUI 3 Gallery app includes interactive examples of most WinUI 3 controls, features, and functionality. Get the app from the Microsoft Store or get the source code on GitHub
Learn more about WinUI fundamentals.
Explore Fluent Design principles.
Find samples and tools to help you develop apps more efficiently.
Windows developer

