Exercise - Embed a survey on a website
Exercise 1: Embed a survey on a webpage
In this exercise, you will create a project with a survey and then embed the survey on a webpage.
Note
If you do not have access to a website that you can edit, go through as many steps as possible.
Task 1: Create a new project
In this task, you will create a new project with a survey.
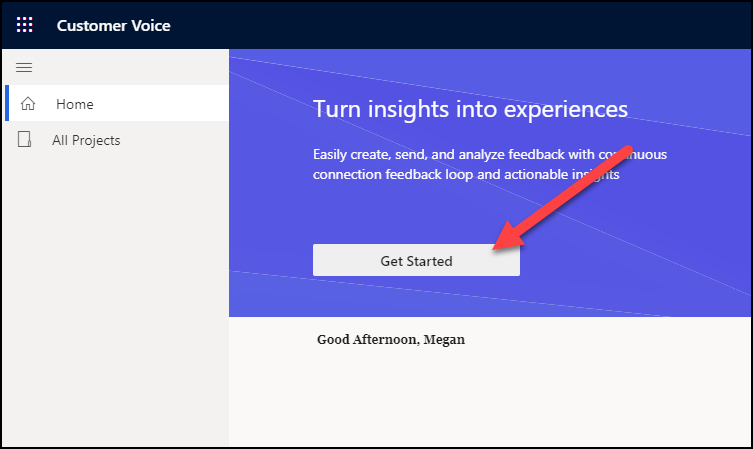
Go to Microsoft Customer Voice and sign in with your credentials.
Select Get Started.
Select the Blank project option.

Select the Next button to continue.
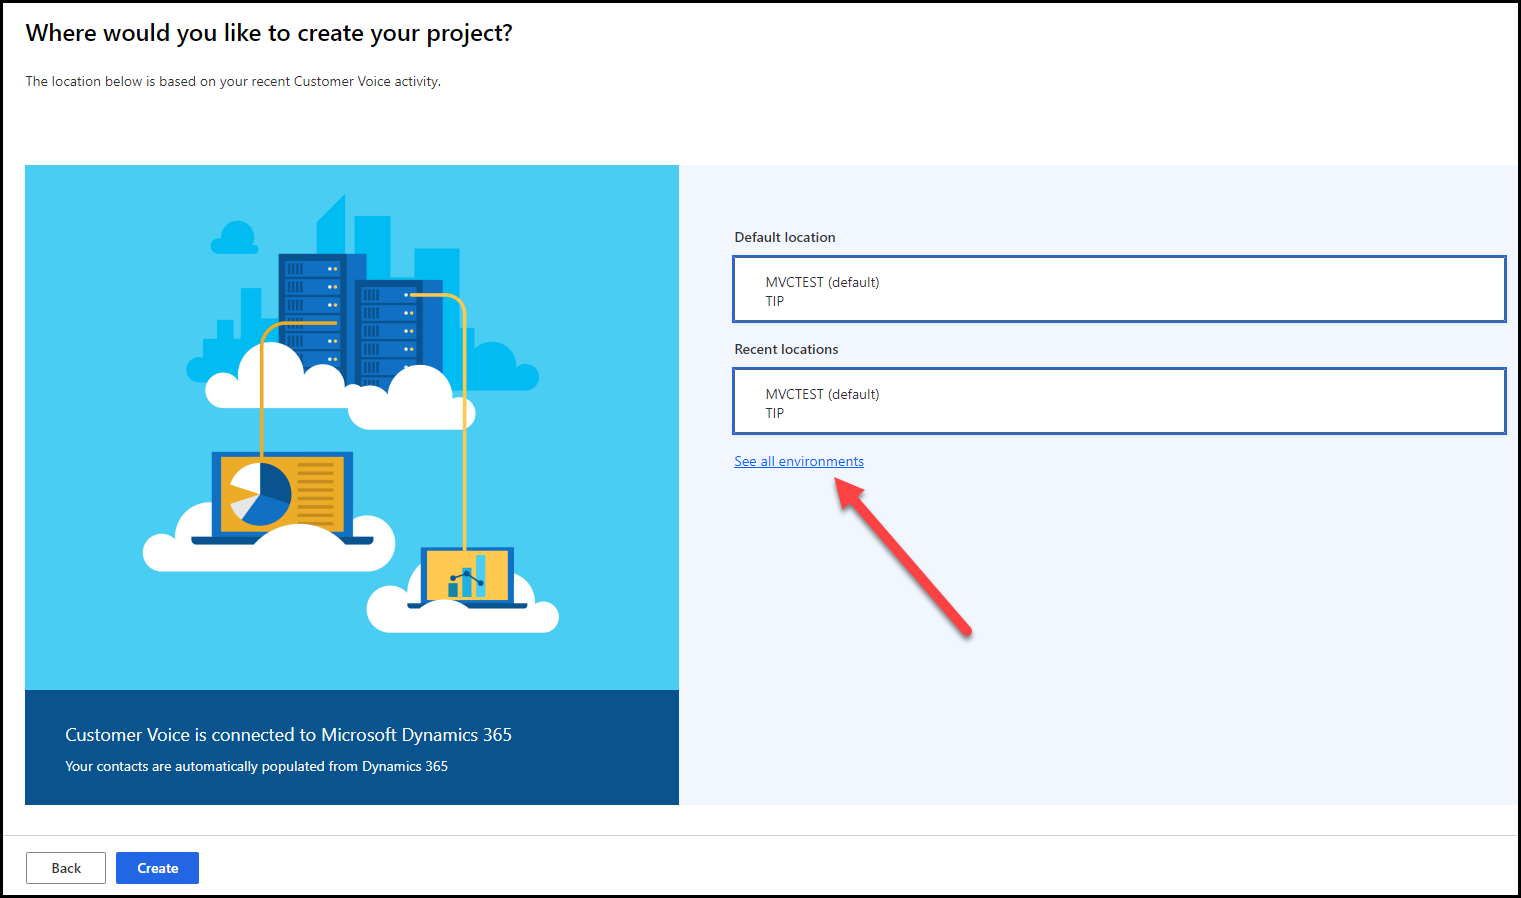
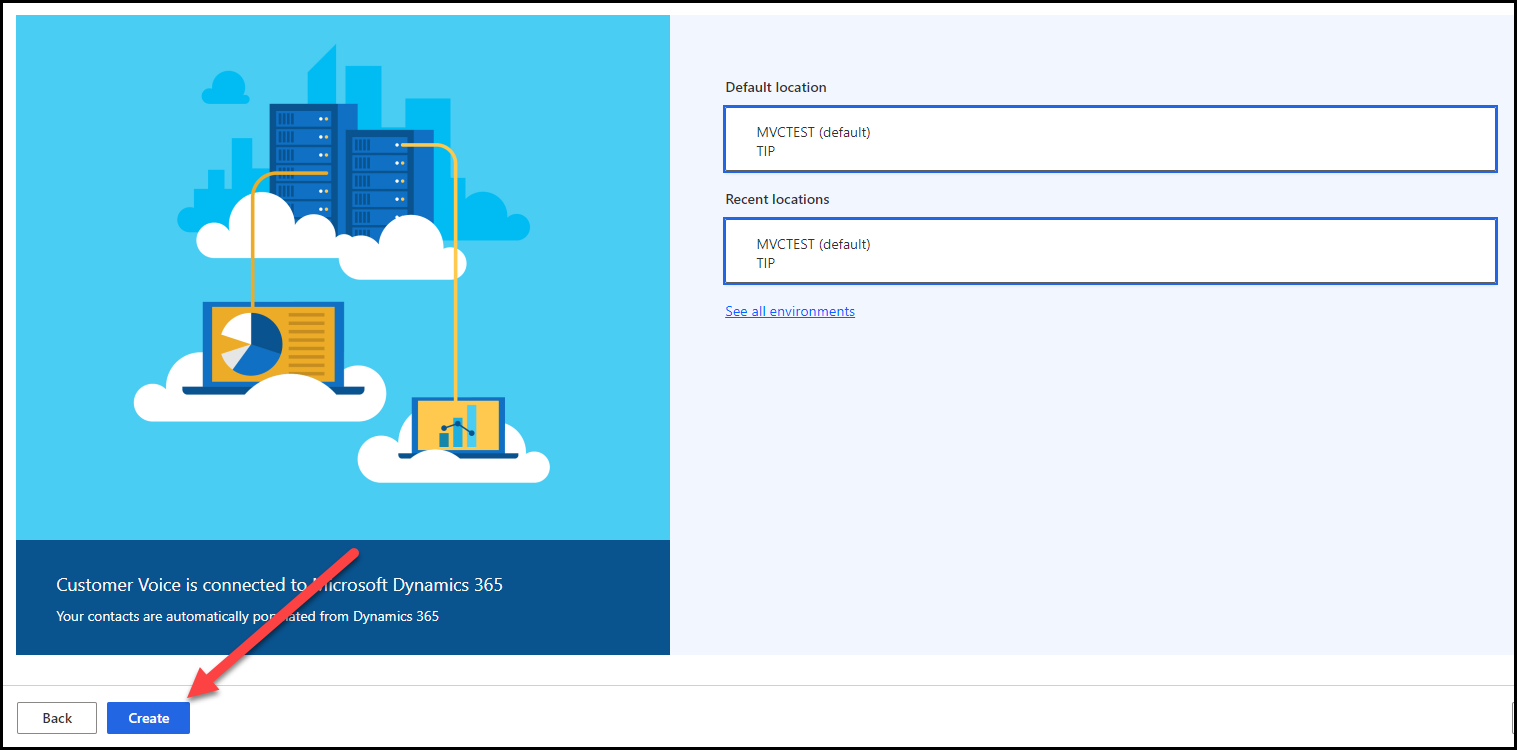
From the Where would you like to create your project? screen, determine which location to add your project to. Select the See all environments link.
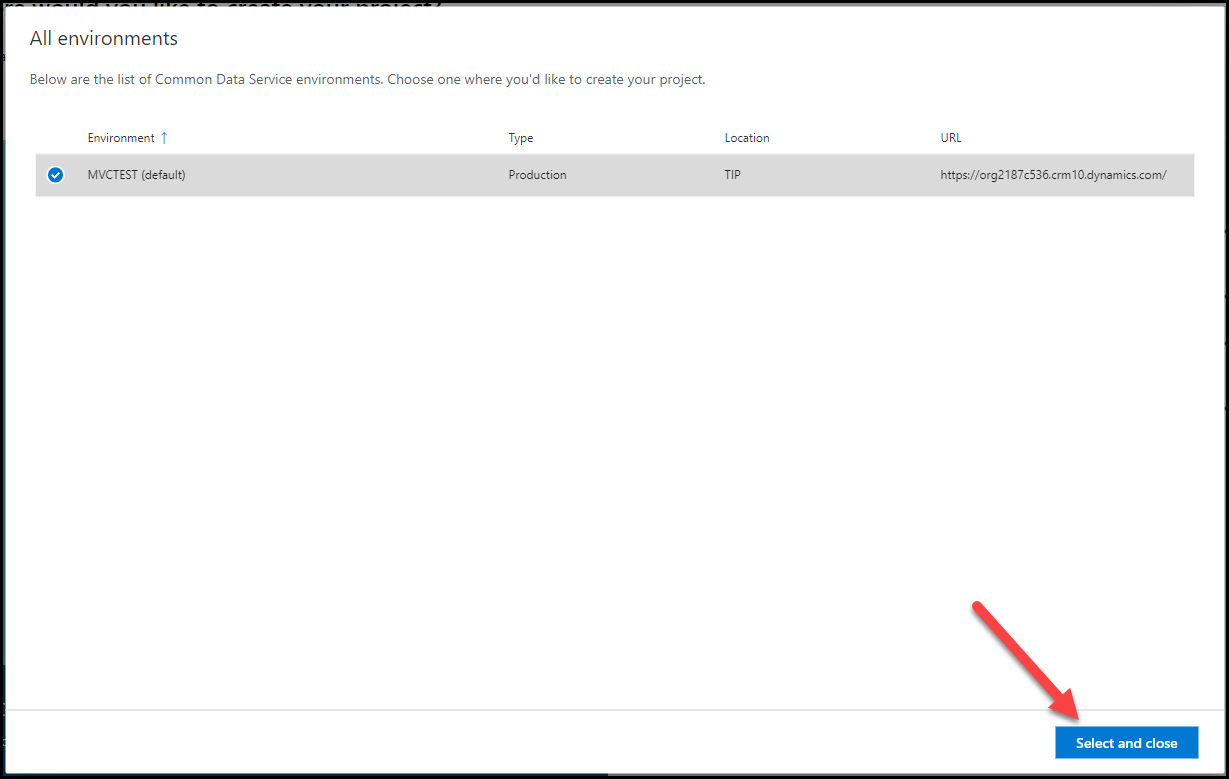
The All environments screen will show a list of all Microsoft Dataverse environments that you have access to. Select the environment that you are using to complete this exercise and then select the Select and close button.
Select the Create button. If you are unable to select the button, confirm by using the previous step and then make sure that you have one location selected.
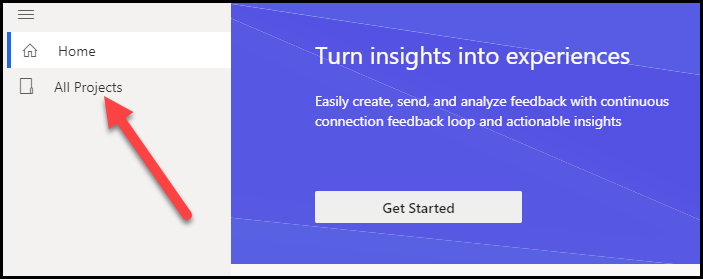
From the navigation menu, select All Projects.
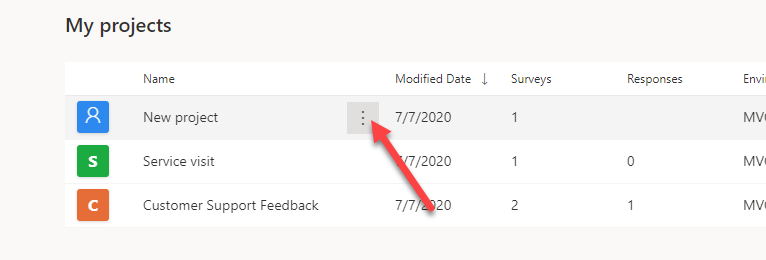
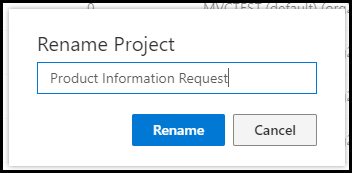
Find your new project from the list and then select the ellipsis (...) next to its name.
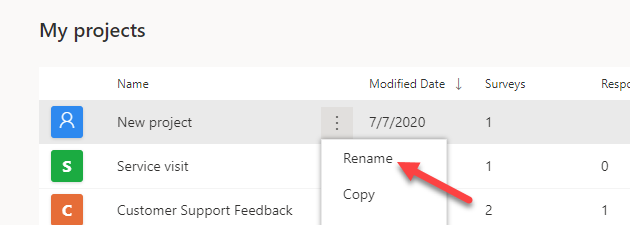
Select Rename from the menu.
Enter Product Information Request as the new name and then select Rename.
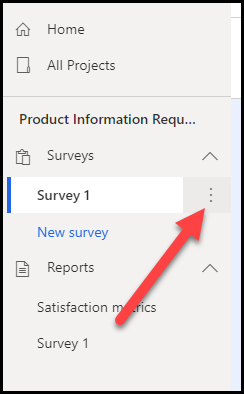
After the project has been renamed, double-click the project to open it from the list.
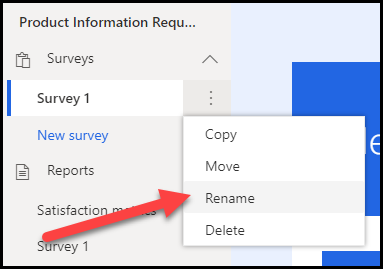
Select the ellipsis (...) next to the survey.
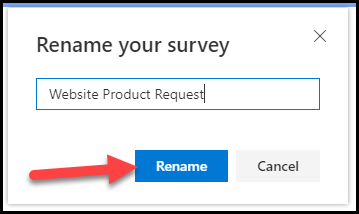
Select Rename.
Enter Website Product Request as the new survey name and then select Rename.
Select the New Survey title.
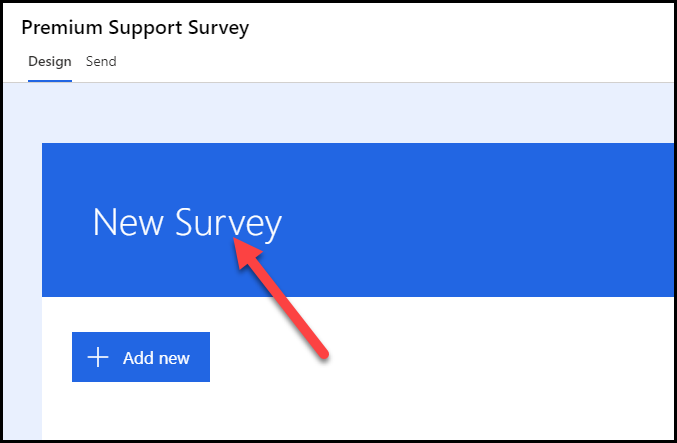
Enter Product Request as a Title.
Select + Add new.
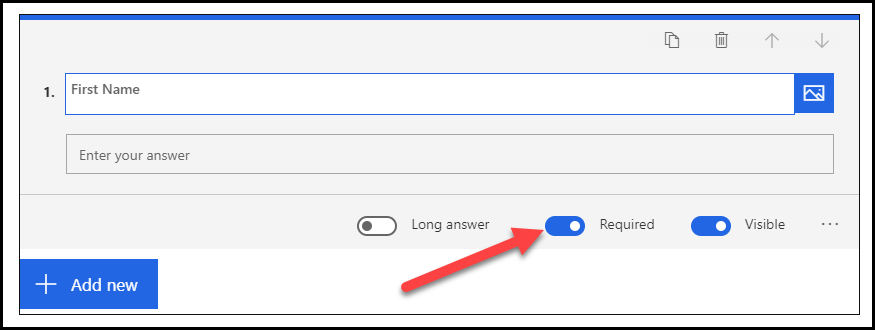
Select a text question, enter First Name as the question, and then turn on the Required option. Select Add new.
Select a text question, enter Last Name as the question, and then turn on the Required option. Select Add new.
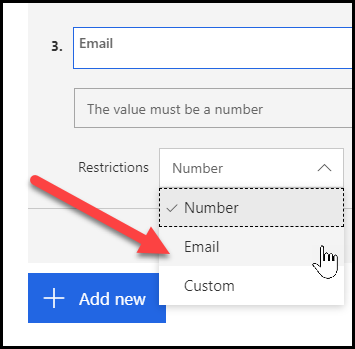
Select a text question, enter Email as the question, and then turn on the Required option. Select the ellipsis (...) and then select Restrictions.
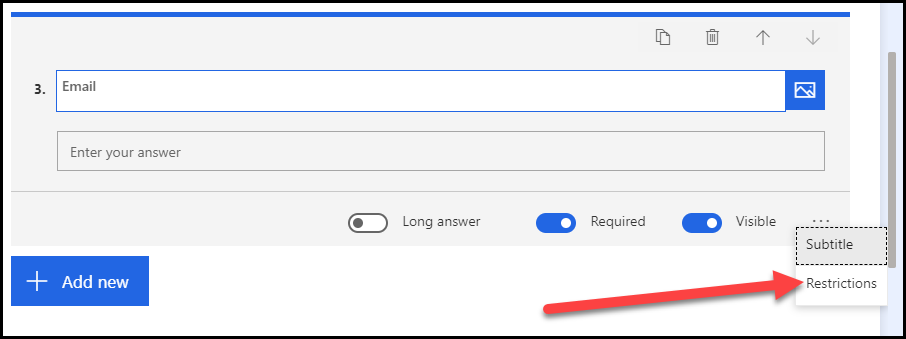
Select the Restrictions drop-down menu, select Email, and then select Add new.
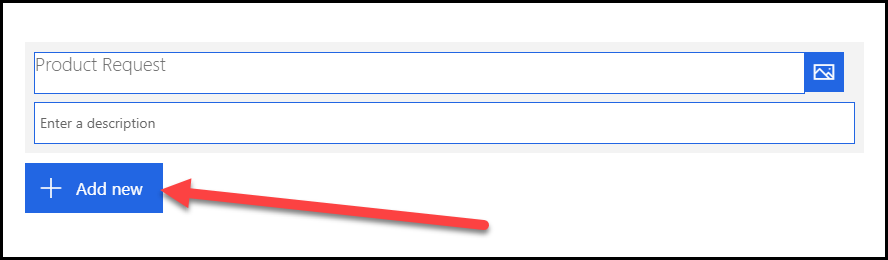
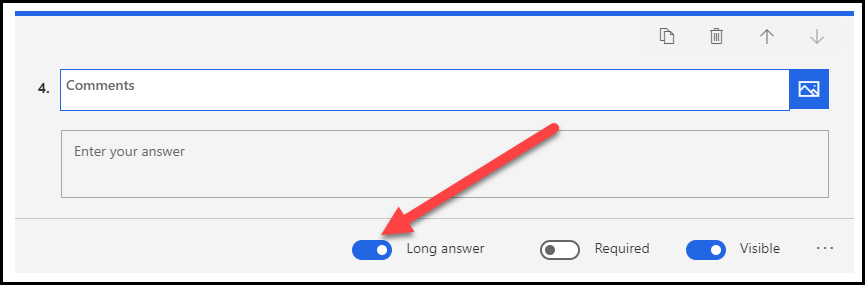
Select a text question and enter Comments as the question text. Turn on the Long answer option, and make sure that the Required option is turned off.
Stay within your project.
Task 2: Create variables for the survey
In this task, you will add a new variable to be used when embedding the survey into a website.
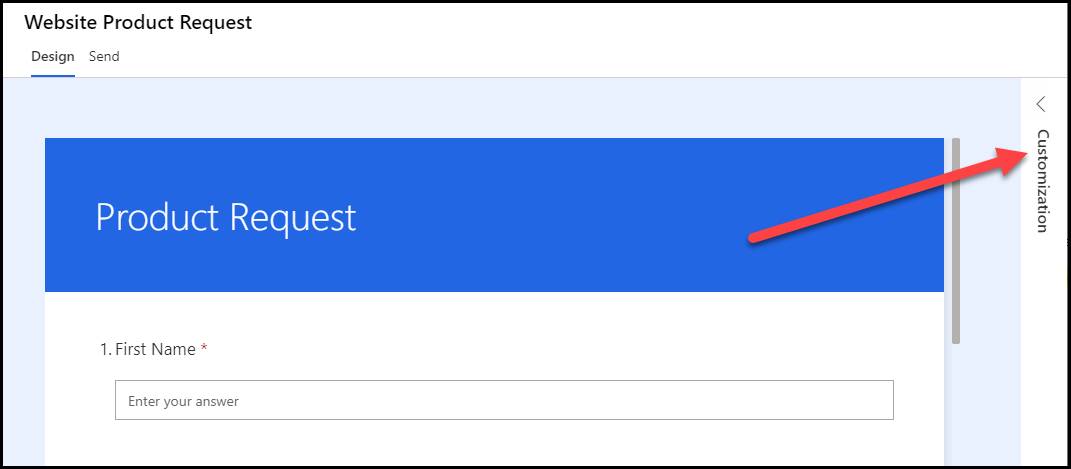
From the Design tab of your survey, select Customization.
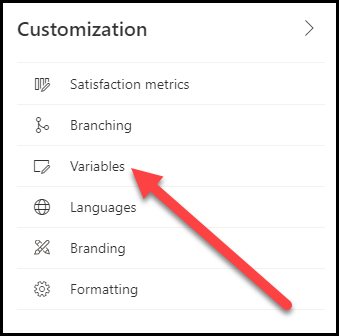
Select Variables.
Hover your mouse over the locale variable and then select the Delete icon to remove it.
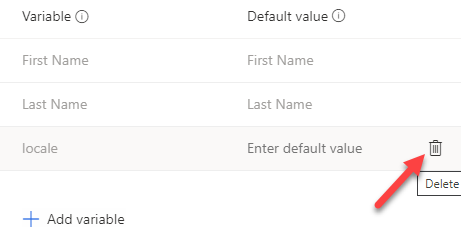
Select Delete again to confirm that you want to remove the variable.
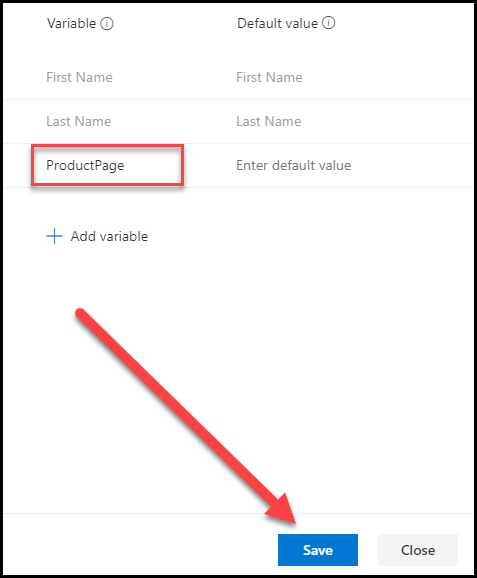
Select Add variable.

Enter ProductPage for the variable name and then select Save.
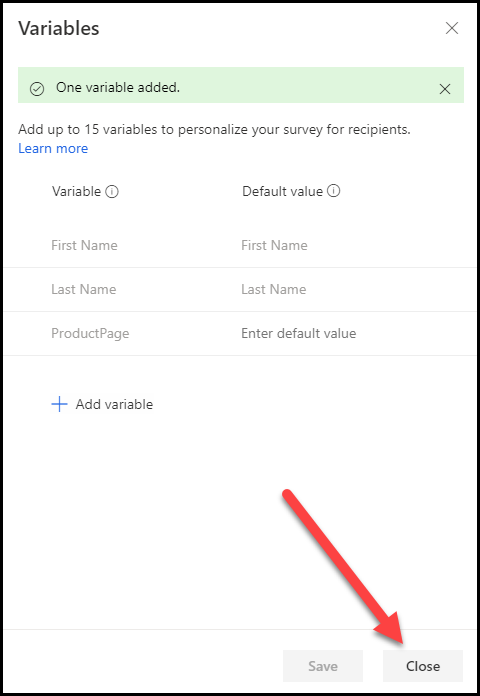
When the One variable added indication appears, select Close.
Stay within the survey.
Task 3: Prepare and add the embedded code
In this task, you will prepare the code that is needed to embed the survey onto your website and then you will add the code to a webpage.
From the survey, select the Send tab and then select Embed.
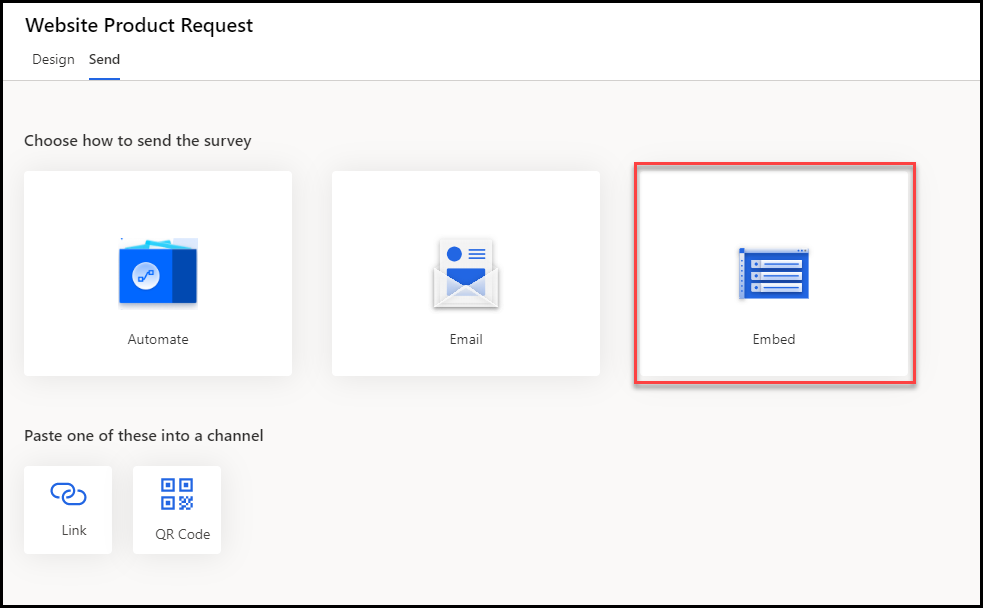
In the Choose an embed format section, keep the Inline option selected and then select Copy.
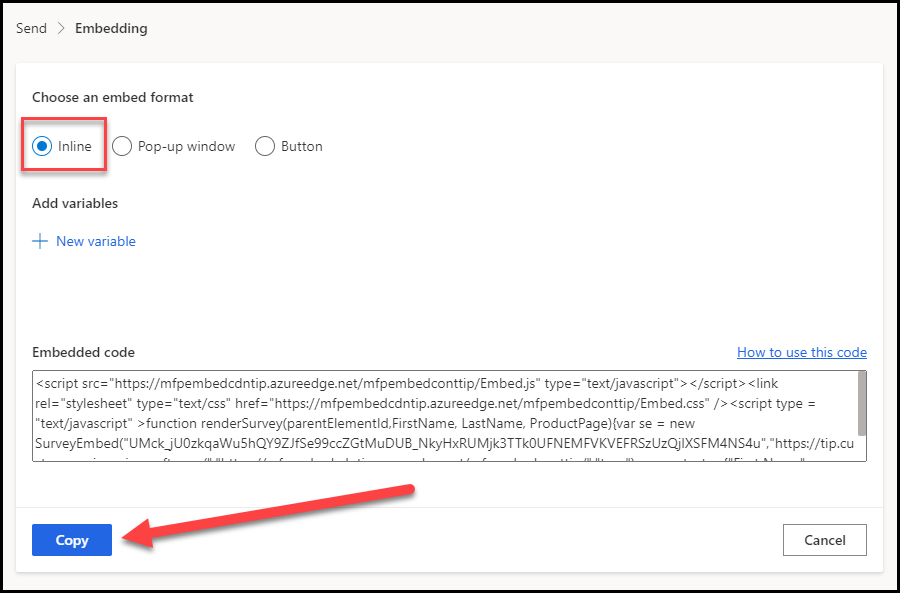
Open Notepad (or any other text editor on your workstation), and then right-click and select Paste to add the code to your file. You can save this file for your records, if you want.
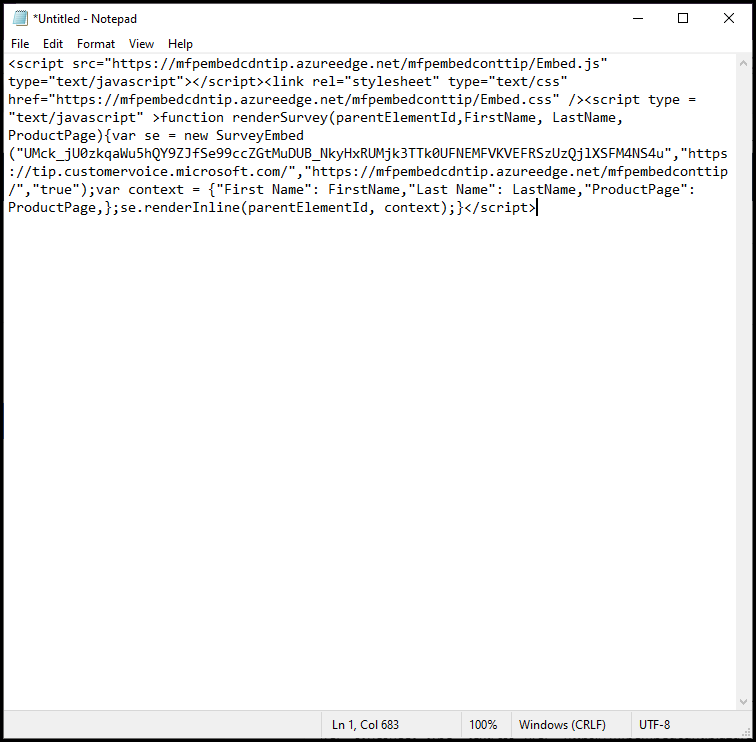
Add the following text to the bottom of the file that you created in the previous step. This text is used to set the First Name as Lead, the Last Name as Capture, and the ProductPage as Product A.
 <script>
 window.addEventListener('load', function () {
 renderSurvey("surveyDiv","Lead","Capture","Product A");
 }, false);
 </script>
Above the script, add the following text:
<center>
<div id="surveyDiv" style="height: 700px; width:600px; margin-left:auto; margin-right:auto">
At the bottom of the file, add the following text:
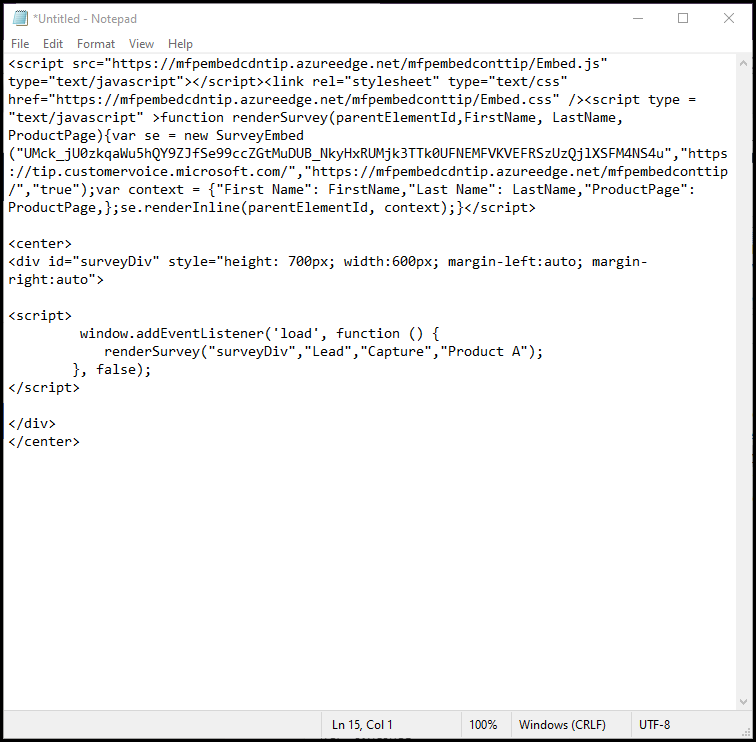
</div>
</center>
The entire script should now look like the following figure.
If you have access to a website and can add this code to a page, sign in to your website and add the script to your webpage.
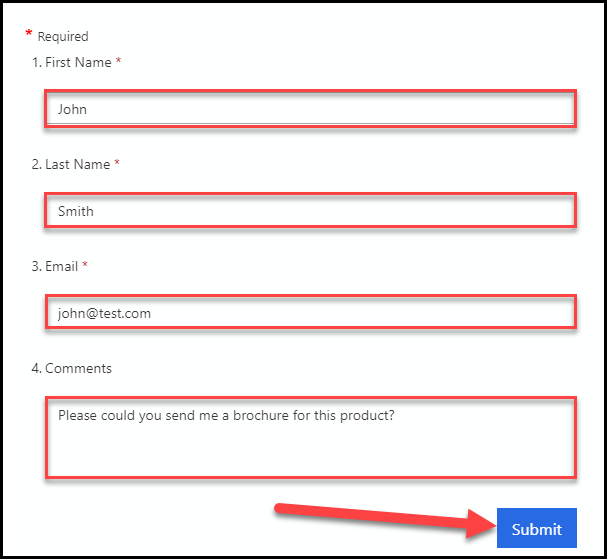
The survey will be displayed on the webpage, as shown in the following figure.
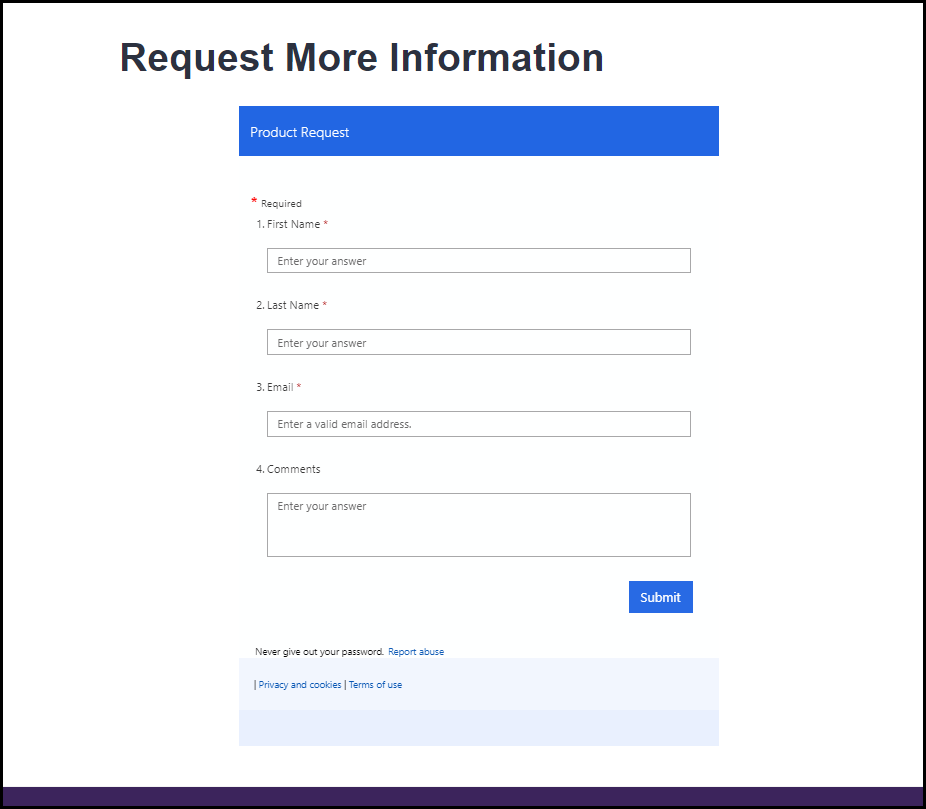
Complete the survey by adding John as the First Name, Smith as the Last Name, john@test.com as the Email, and Please could you send me a brochure for this product? in the Comments column.
Select Submit.
Task 4: Review the submitted variable values
In this task, you will review the variable values that were passed through from the embedded survey into the survey response that was submitted at the end of Task 3.
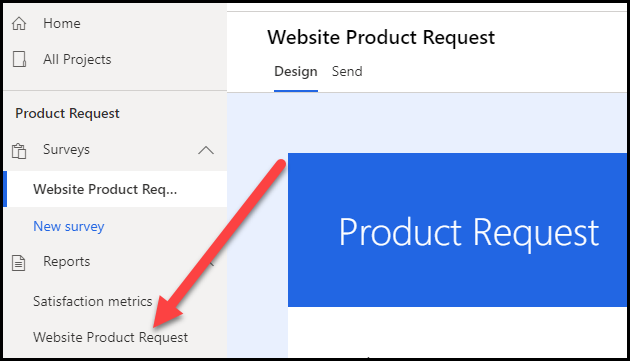
Open Dynamics 365 Customer Voice and go to the survey that you used to embed into your website.
Select the Website Product Request report.
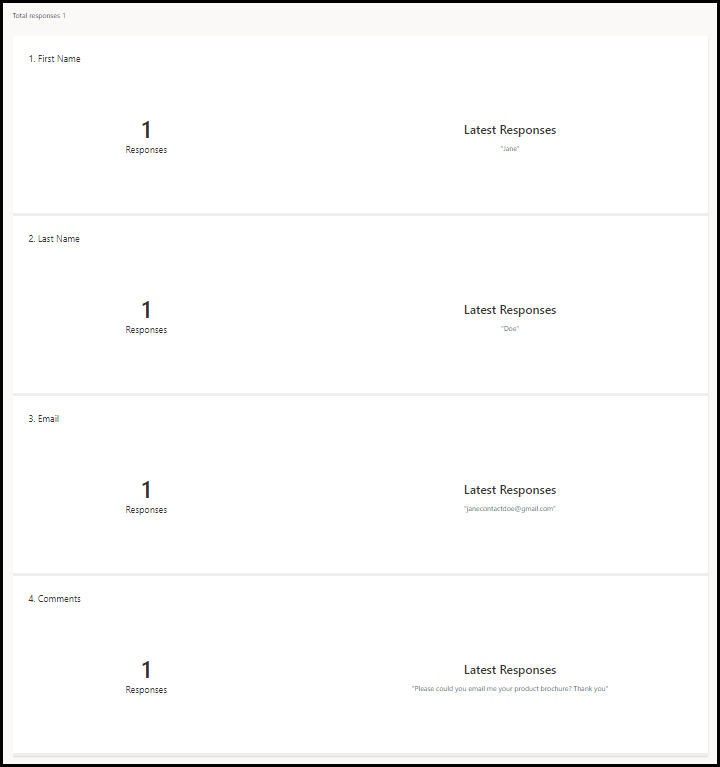
You should see the response that you submitted in Task 3. If you do not yet see it, wait a few moments and then refresh the screen.
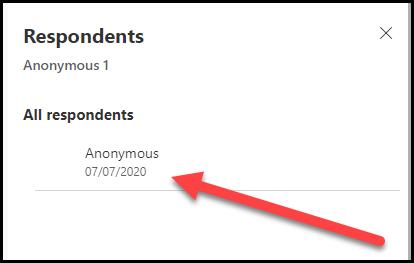
Select the Respondents menu to the right of the screen.
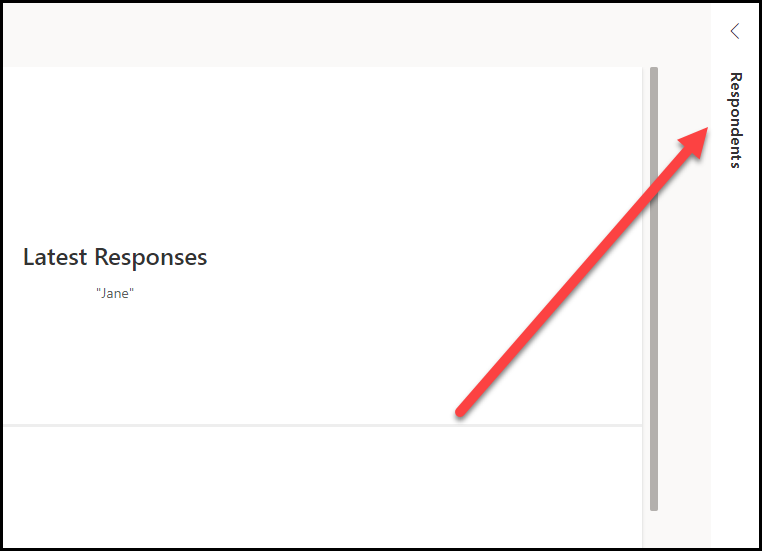
Double-click the Anonymous response in the All respondents list.
 n"}
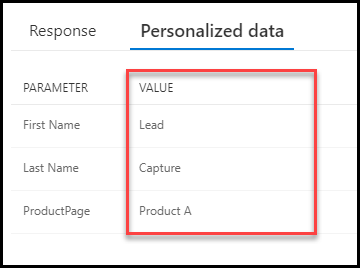
n"}Select the Personalized data tab.
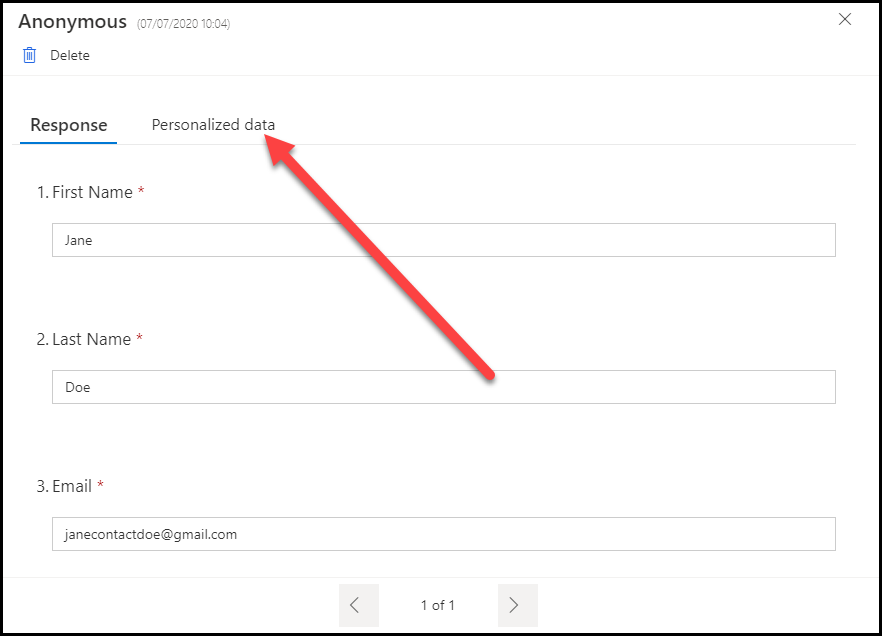
You should now see the three values that were passed through in the embed code that was added to the webpage on your website.