How do I use my USB-connected microphone or camera in the online classroom?
If you’re on a PC or Mac and using an external webcam or microphone connected through USB, you'll need to make sure to select the right devices in TakeLessons Classroom.
- Plug in your external webcam
- Before you enter the classroom, enable your camera and microphone, and make sure they're both working. (Learn more)
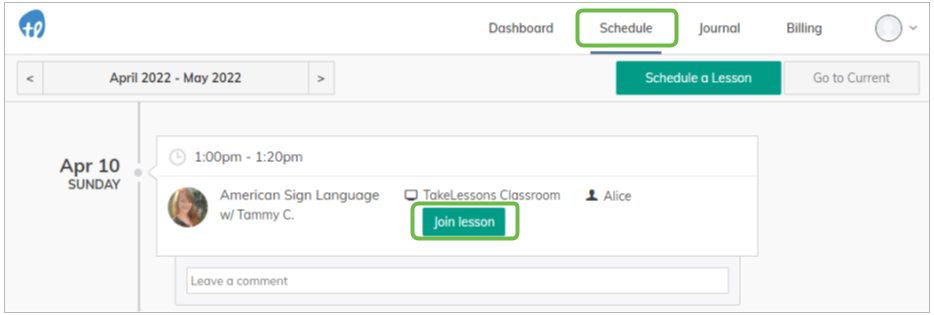
- Log in to your (TakeLessons student account) and click the Join Lesson button from your Schedule or Dashboard page to enter the Classroom

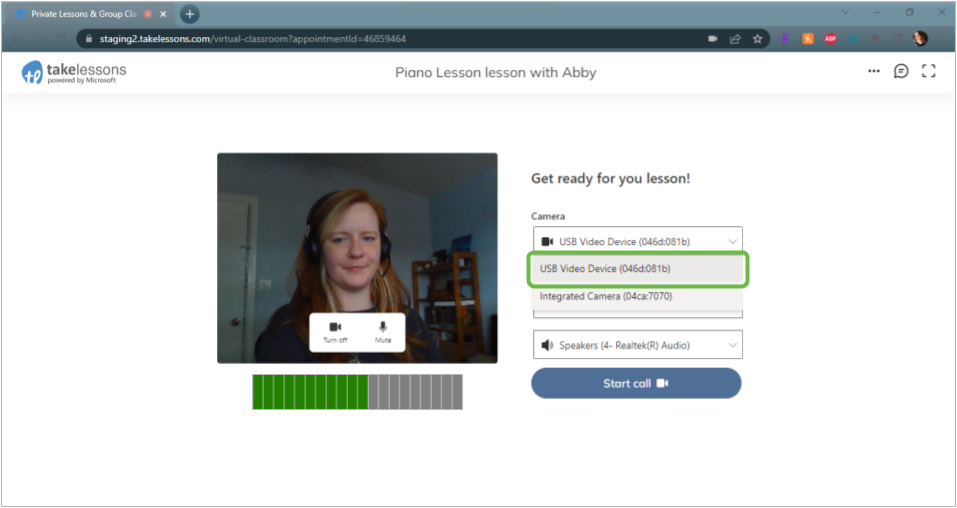
- Select the webcam that you would like to use from the drop down list in the greenroom, prior to entering the class. Then click Start Call

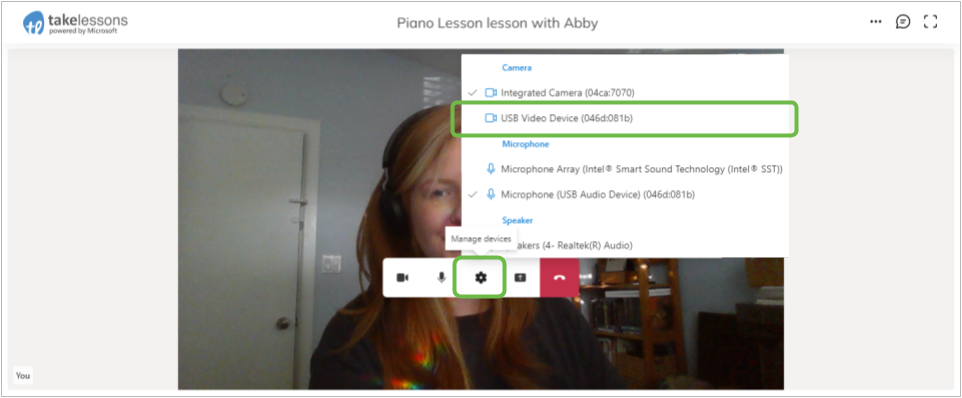
- If you need to switch your webcam during the lesson, click the gear symbol on the toolbar inside your classroom. Then, select the webcam that you would like to use.

- If the classroom has trouble recognizing the new camera, refresh your browser page so the changes can take effect.
Still having trouble? Try this article: