AI Builder: Implementing Custom Model in Power Automate to identify objects by making use of Object Detection Model
Introduction
The AI Builder is the new Power Platform feature that allows us to use Artificial Intelligence to easily automate the processes within a business and predict the outcome.
AI Models
AI Builder currently supports four types of models. Lets have a look at the 4 AI Models
1. Form processing model
Form processing allows you to create and use models that use machine learning technology to extracts data from form which helps reduce the manual effort involved in extracting data from the form
2. Text Classification model
It allows us to tag elements of text in a company documents so as to use it for spam detection, sentiment analysis and so on. Thus, it enables classifying the text based on the tags assigned to it.
3. Prediction classification model
It predicts yes/no business outcomes by learning to associate historical data patterns with historical outcomes. Based on those results, the prediction model detects learned patterns in new data to predict future outcomes.
4. Object detection model
Object detection, allows us train the model with the images so that it can detect the object based on trained images
Work with Object Detection Model
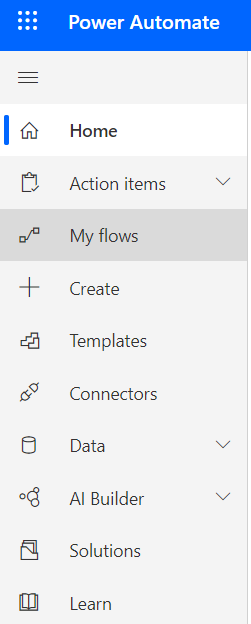
With AI Builder, we can build and train these AI model suited to our needs, In this article we will take the Object detection model and train it to detect objects. So as to get started with it, lets head to the flow.microsoft.com site. AI Builder can be accessed from the left pane.
However we have to ensure that we own a PowerApps Plan 2 for getting started with it
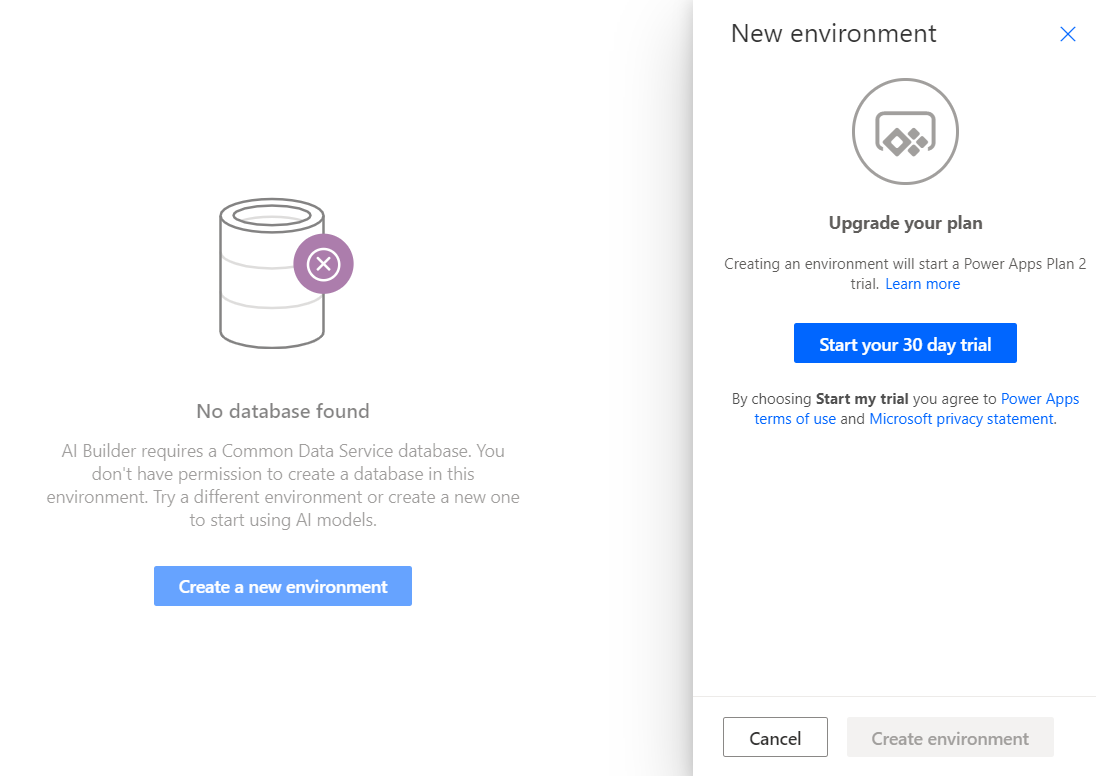
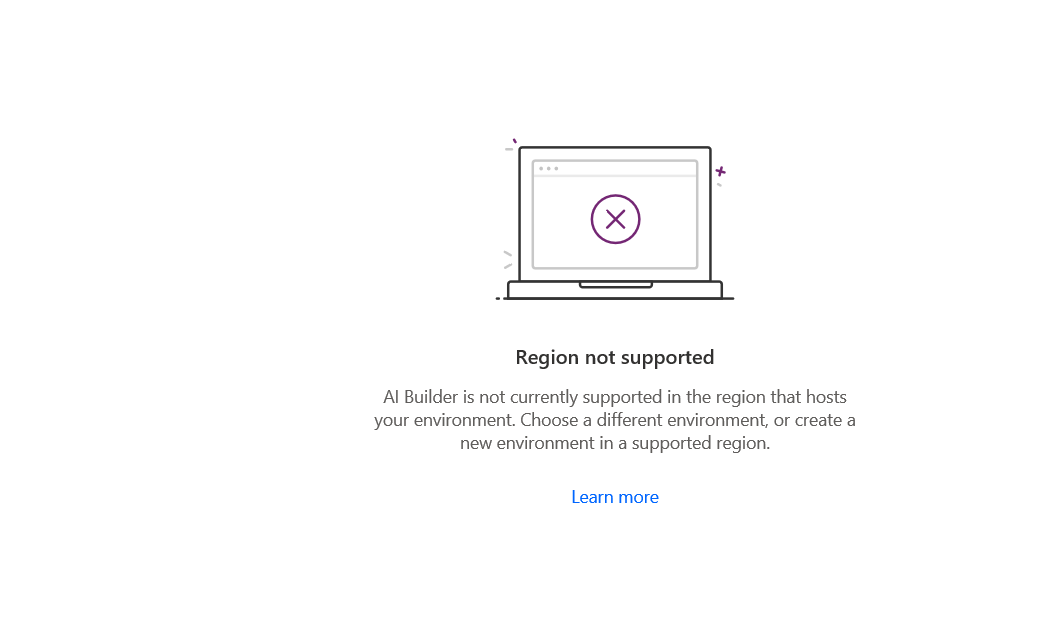
In case we don’t own one, we can start a 30 days trial. Lets also create an environment within which the Common Data Service Database will reside. In case you already have an environment, ensure that It is within US/Europe region, else it will throw the below error as AI Builder is currently available only in those region.
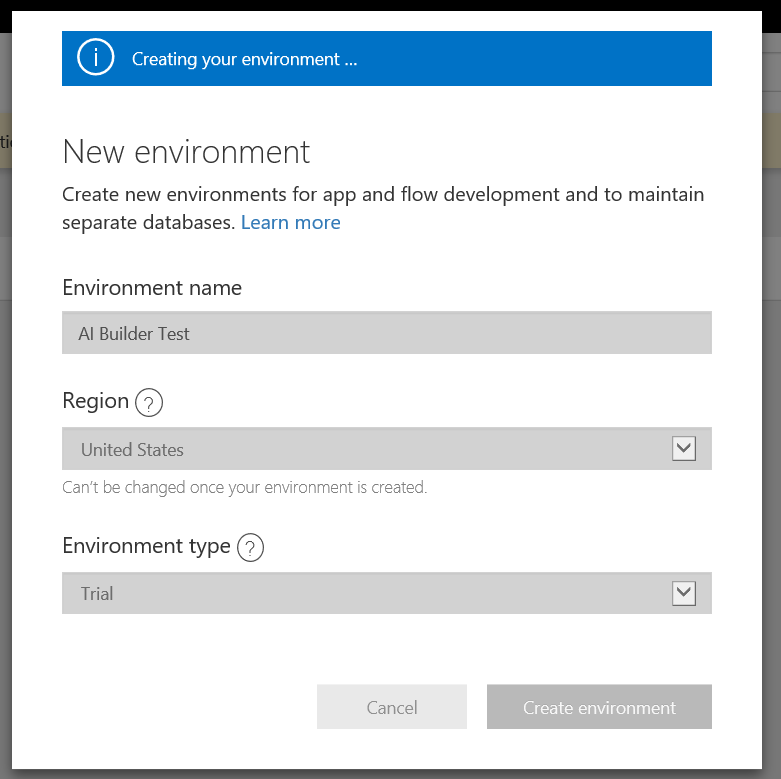
You can create a new region by heading to the Flow Admin portal. Click on New Environment
Specify the environment name and region
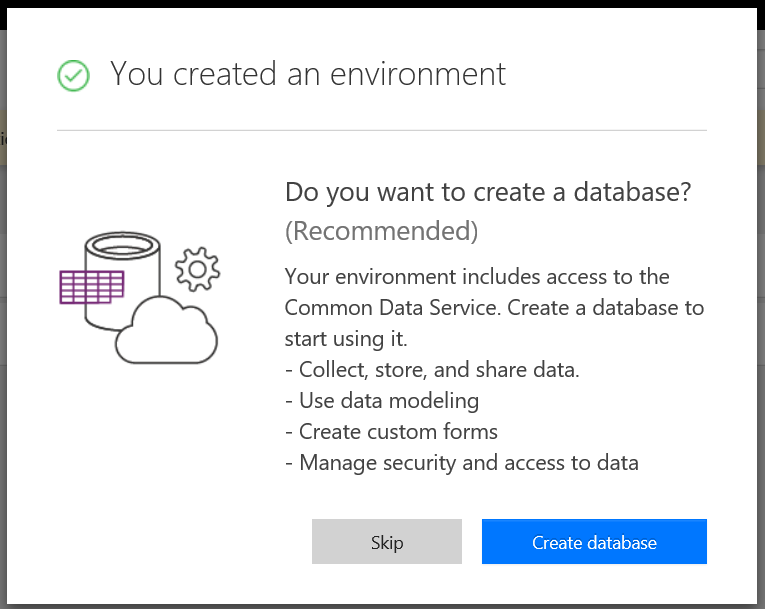
Once the environment is created lets create a database to work with Common Data Service
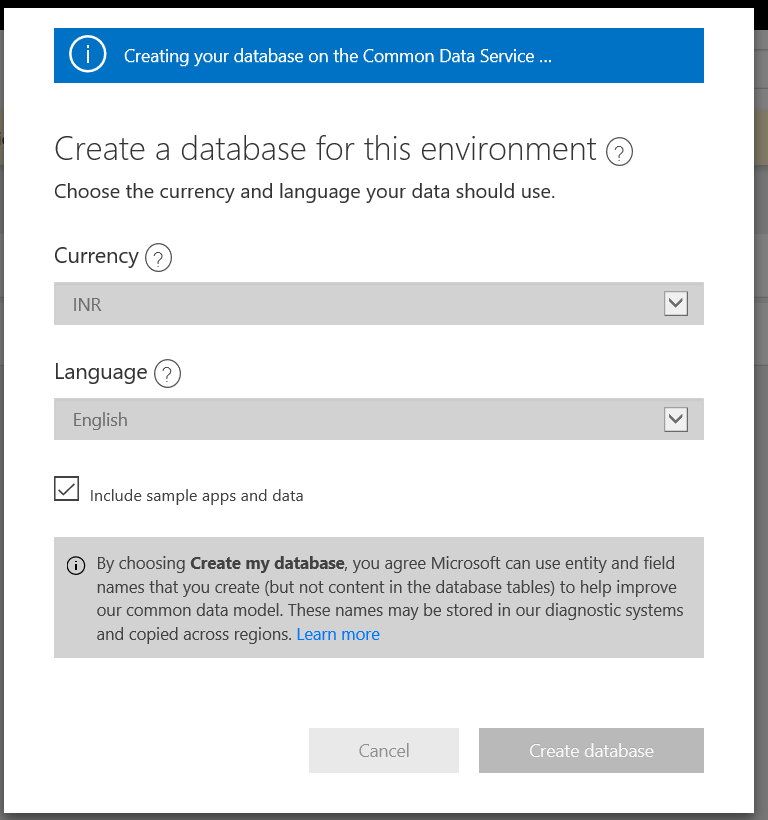
Specify the currency and language and click on create database which will start provisioning the database.
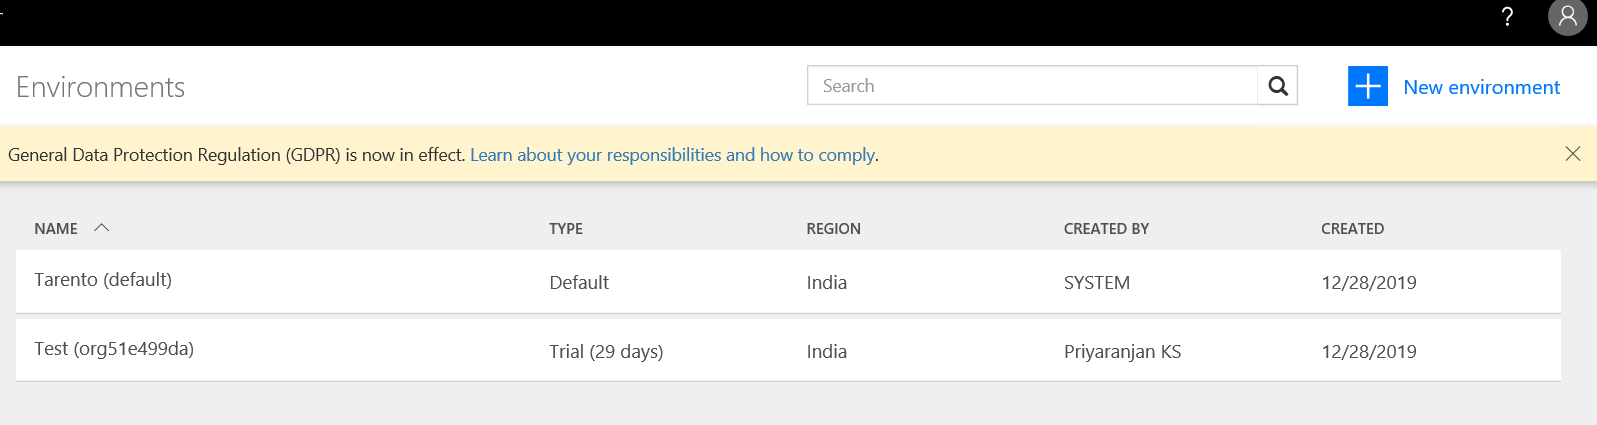
Once its completed, we can see that the new environment in the US region is listed in the environment collection

Now if we click on the Build tab in AI Builder, it will show the available AI Data Models with we can get started with the development.

Get Started with Object Detection
In this article we work with Object detection model for which you can select the Object detection model from the above 4 options. This is still in preview and not production ready.
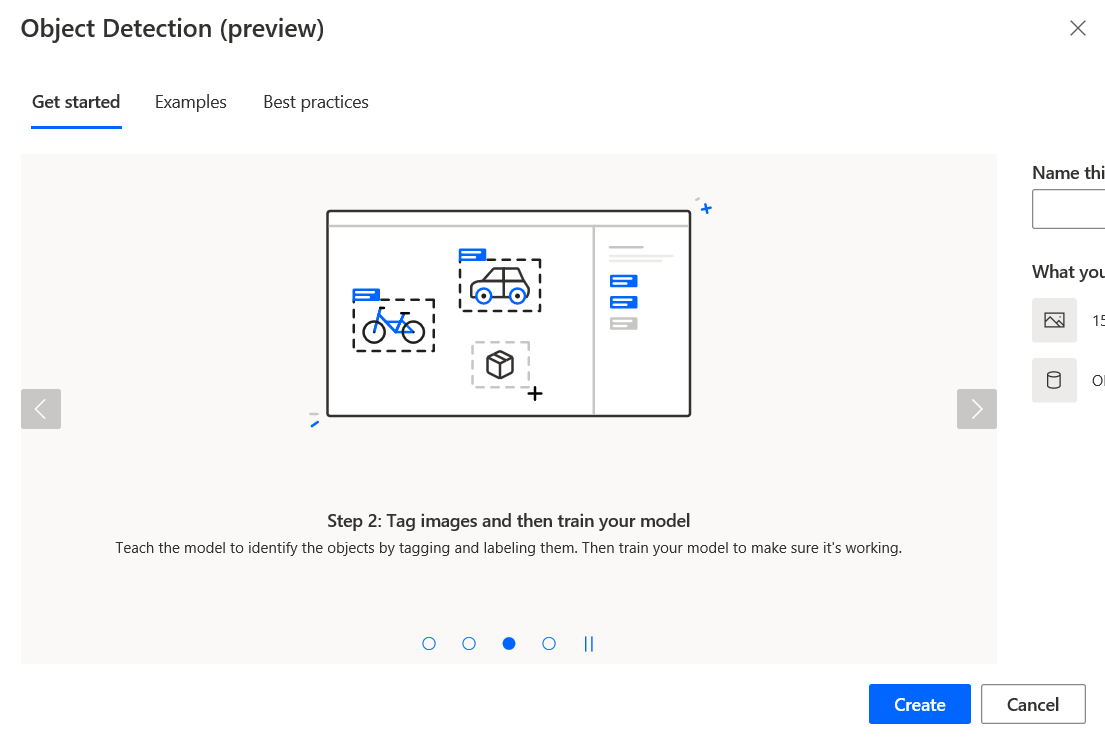
Lets give a name to the AI model. We will be teaching the model to detect the mode of transportation from the various images, so lets name it as Transportation.
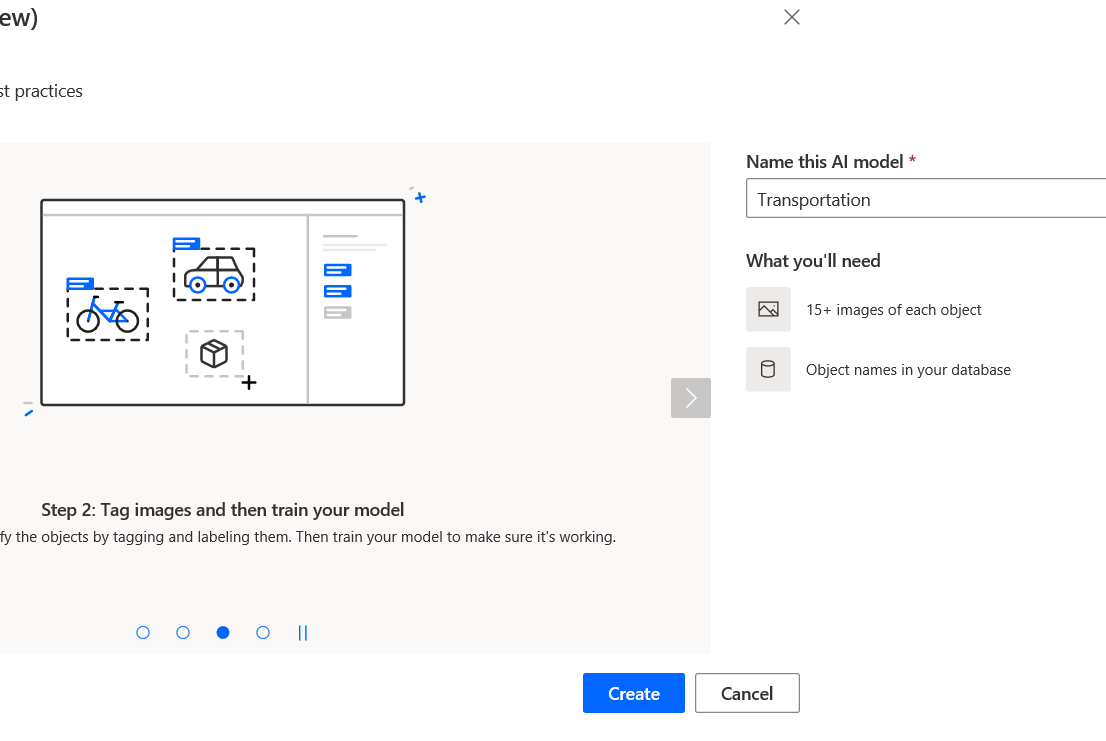
There are 4 steps to define the Model
- Choose the object names that we will be teaching the model
- Add the relevant images
- Tag the images against the object name
- Train the model
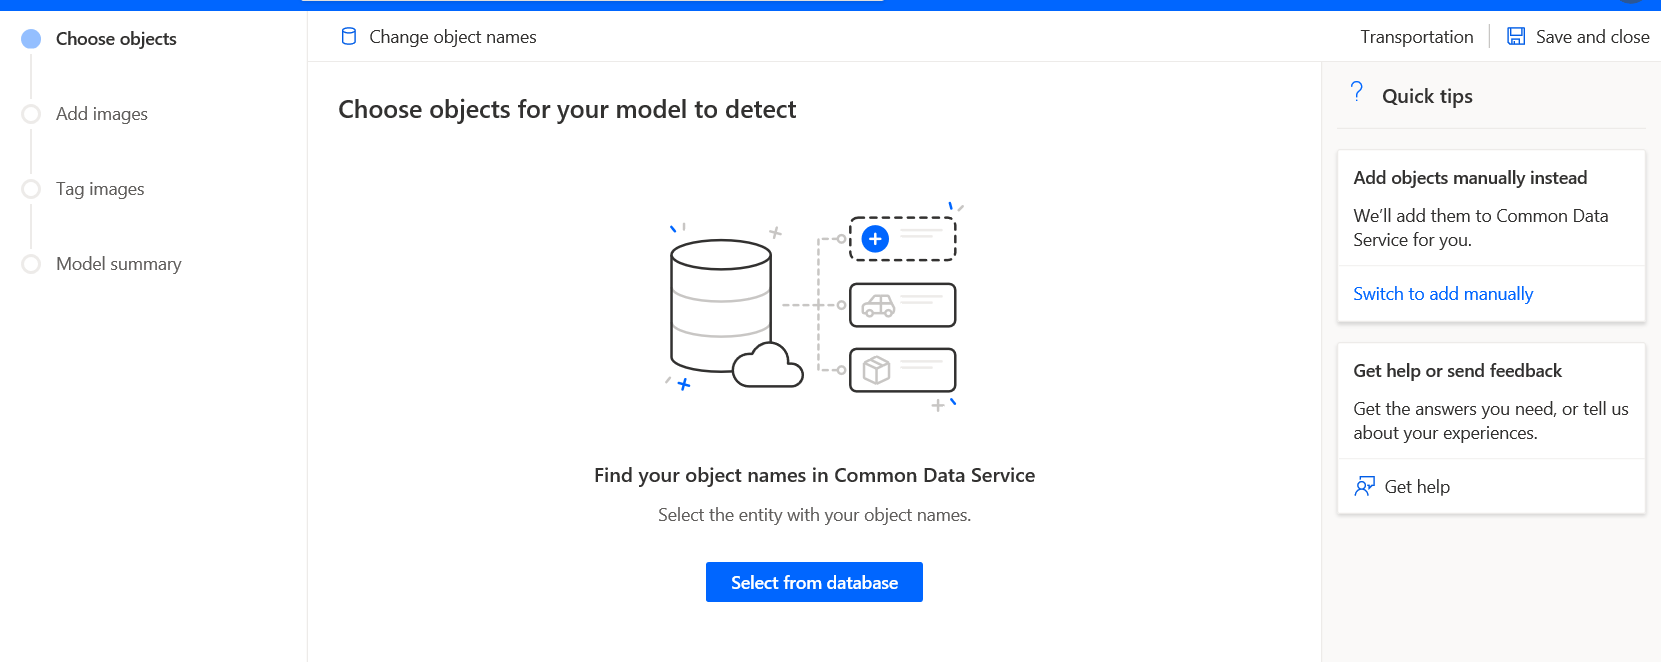
Choose the Objects
We can either choose the objects already available from CDS or we can add it manually. In our case we will be doing it manually, select ‘Switch to add manually’ option

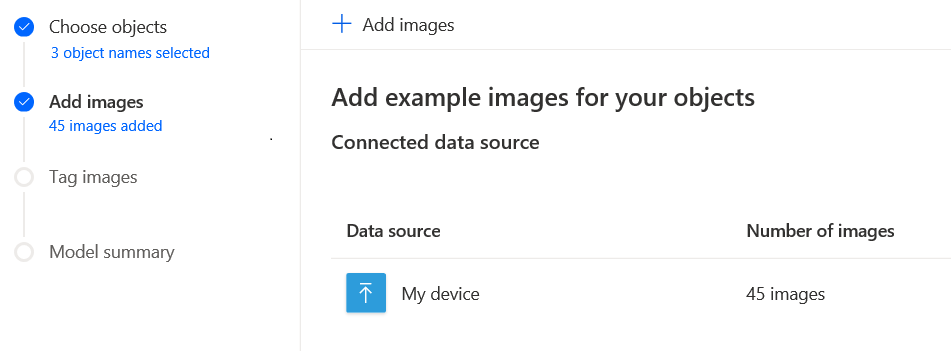
Add Images
Click on Next and we can see that the 3 objects have been added to the model
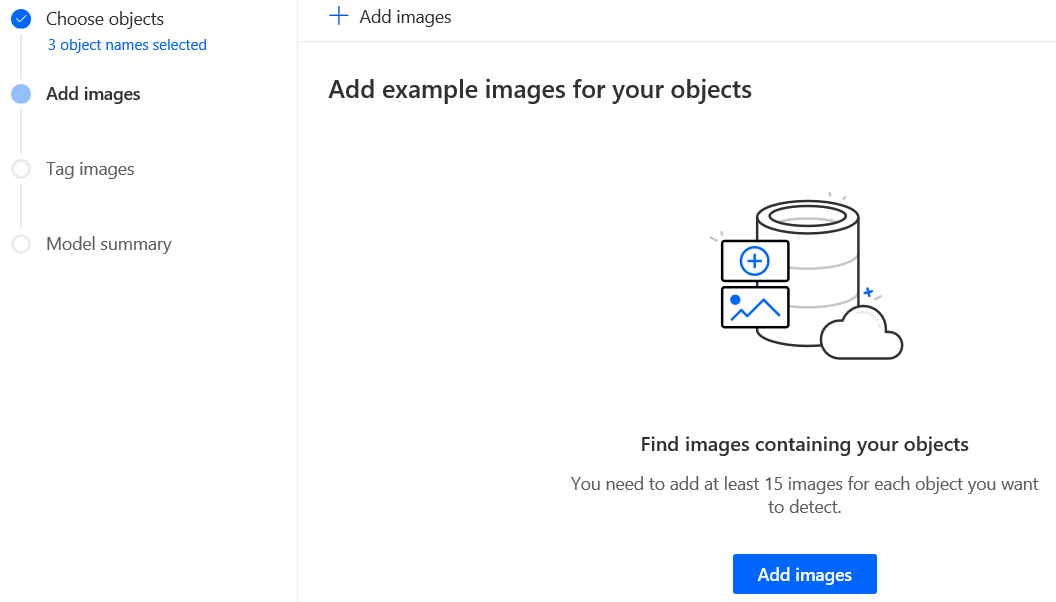
Click on Add Images, so as to add the relevant object images to the model. We will have to upload at least 15 different images of each object so that we can train the model on what is what. Choose the pictures wisely to ensure that the model can understand wide variety of selection because in case of car, there are thousands of models of cars available in the market.
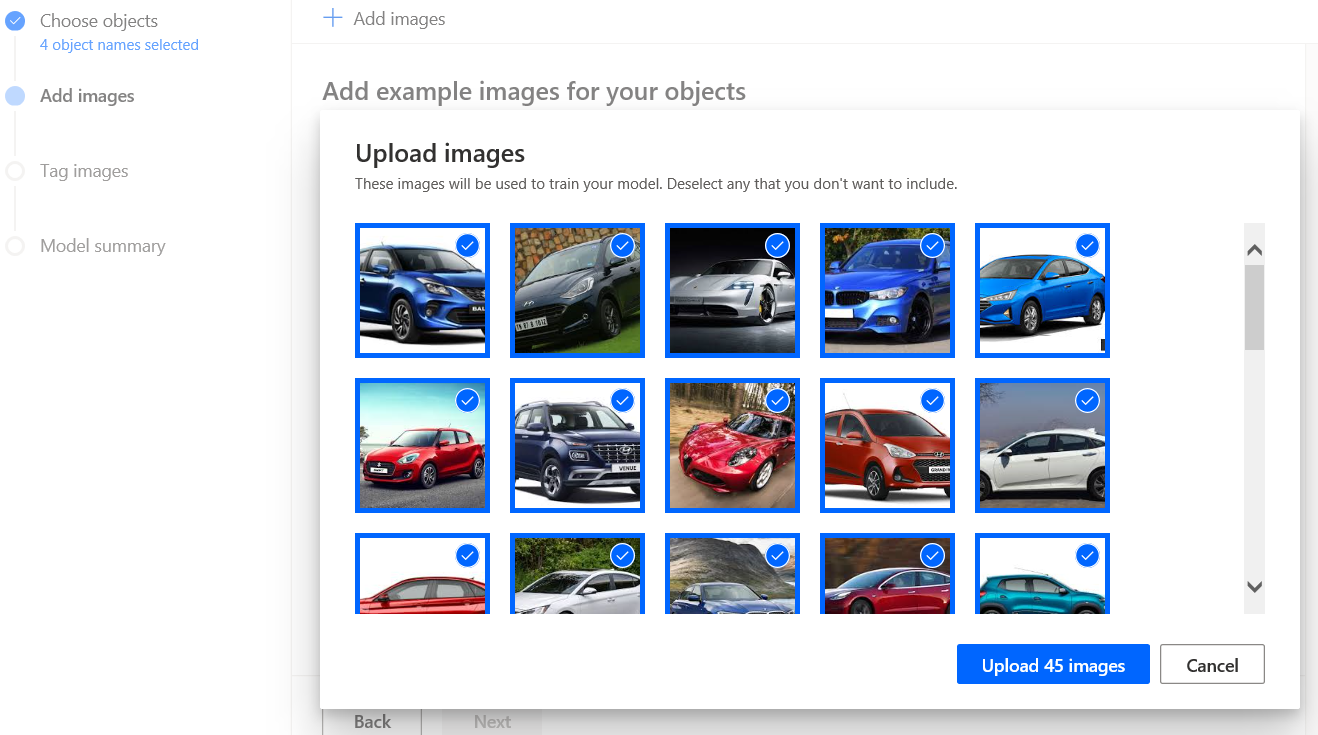
Click on Upload to upload all the 45 images to the model.
Tag the images
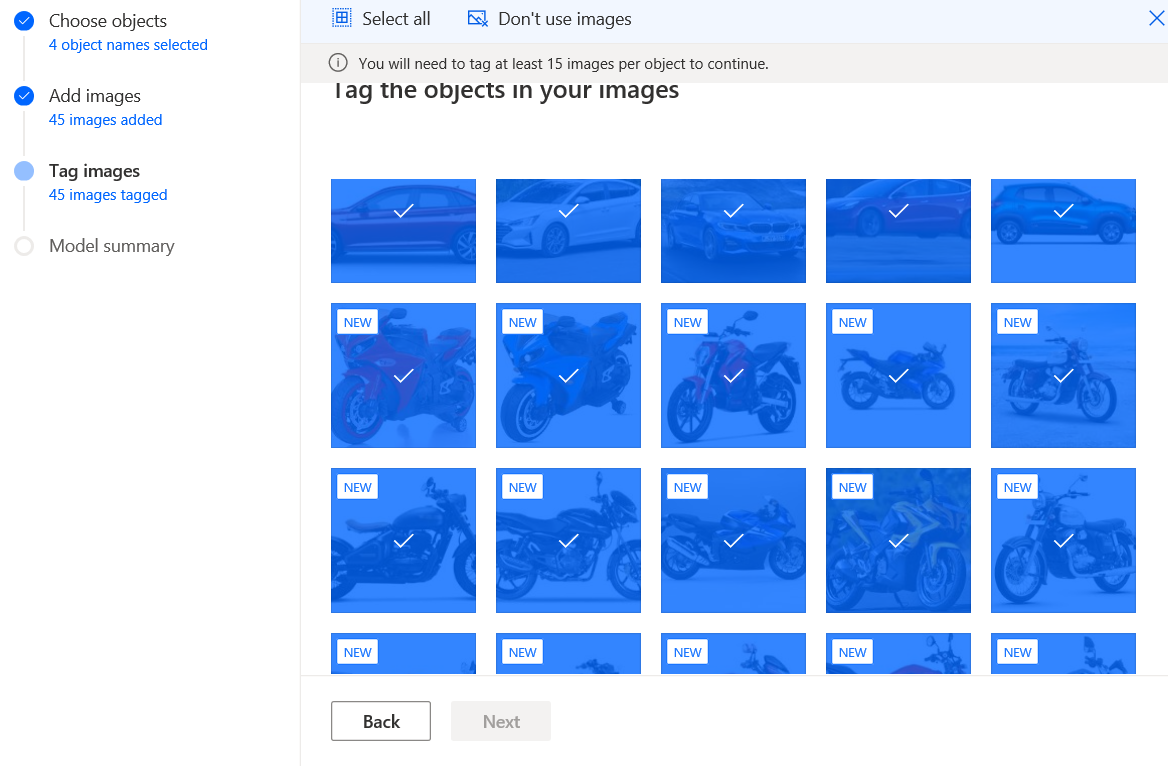
Now lets tag the images to the respective object names so the model understands which image is what.

Select the image and define the boundary within which the object is present and select the object name.
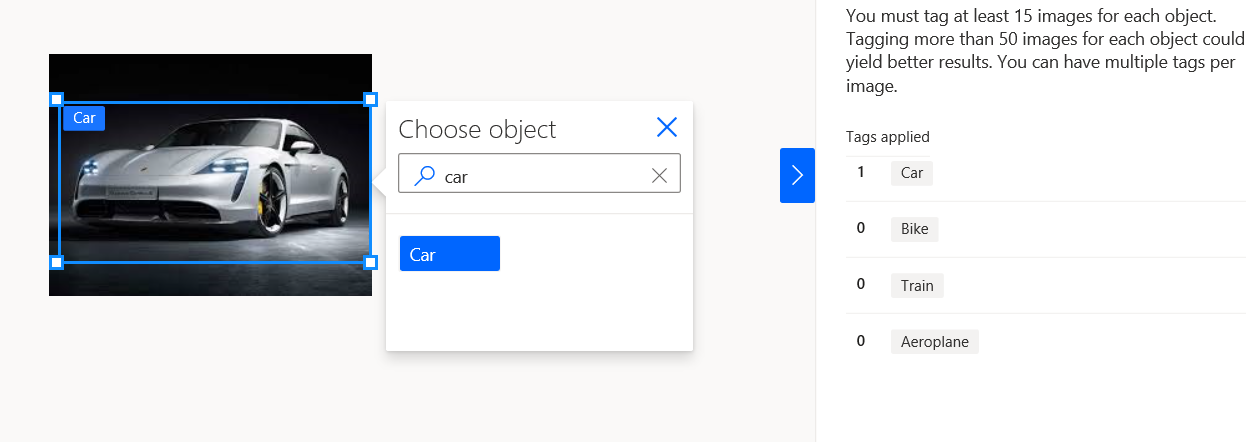
Do this for all the 45 images.
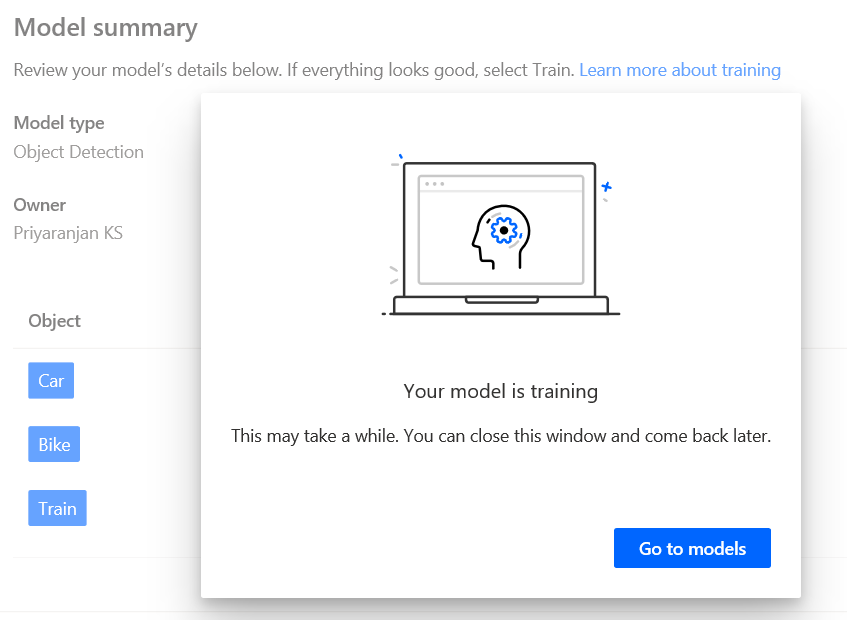
Train the model
Now click on Train button to train the model with the image of the objects so that it can understand a similar object by name from the uploaded image in the future
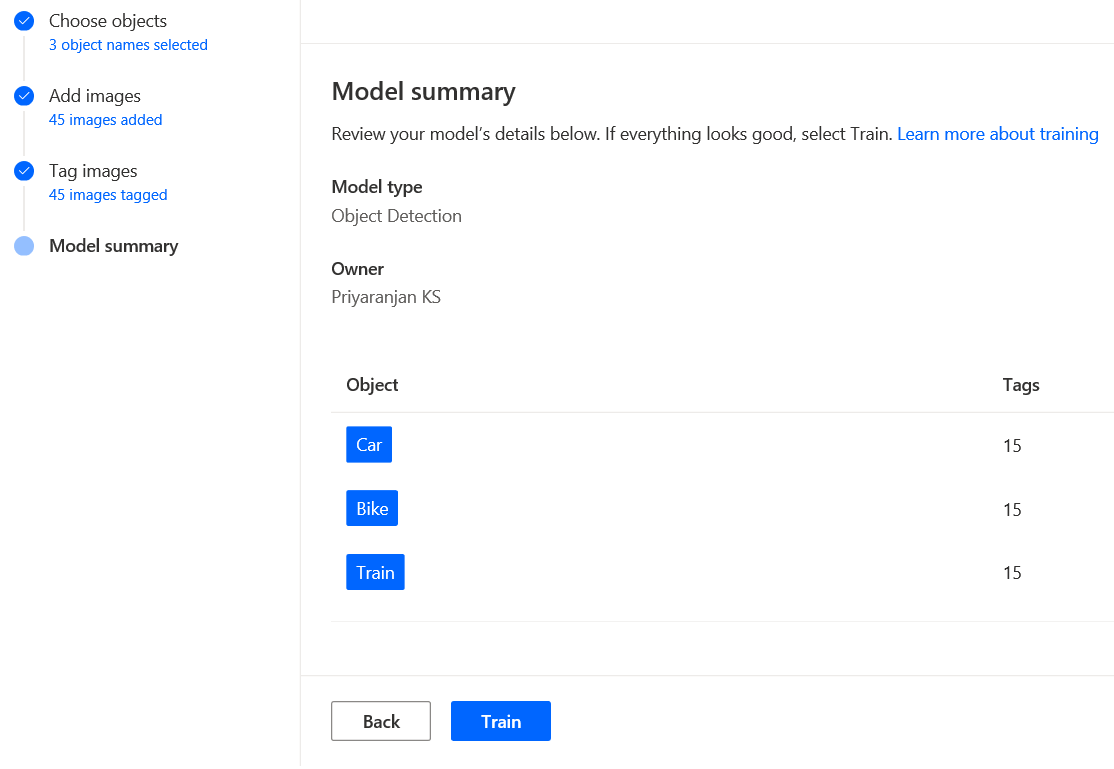
It will take at least 10 minutes for the model to train on the image objects.
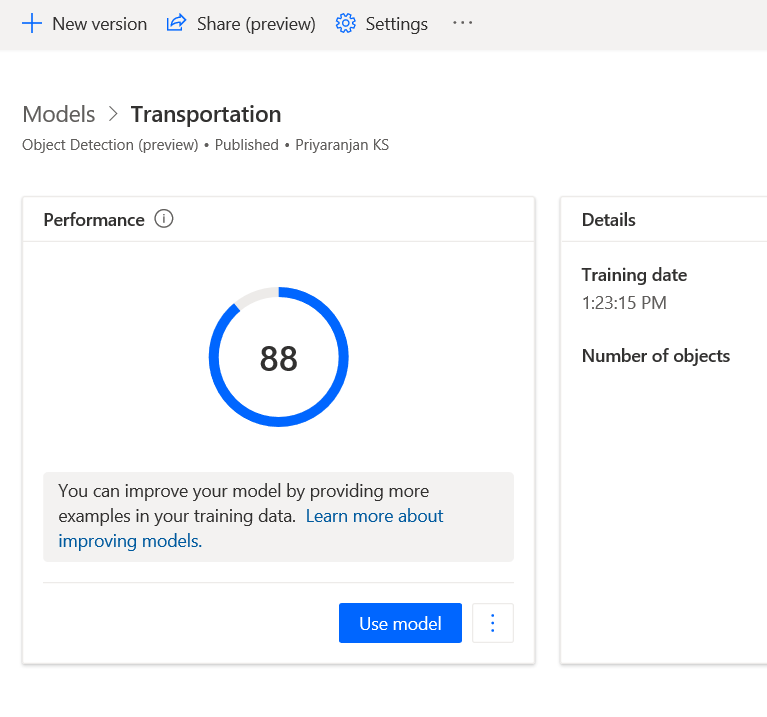
Once the training is completed, go to the details page to do a sample testing.
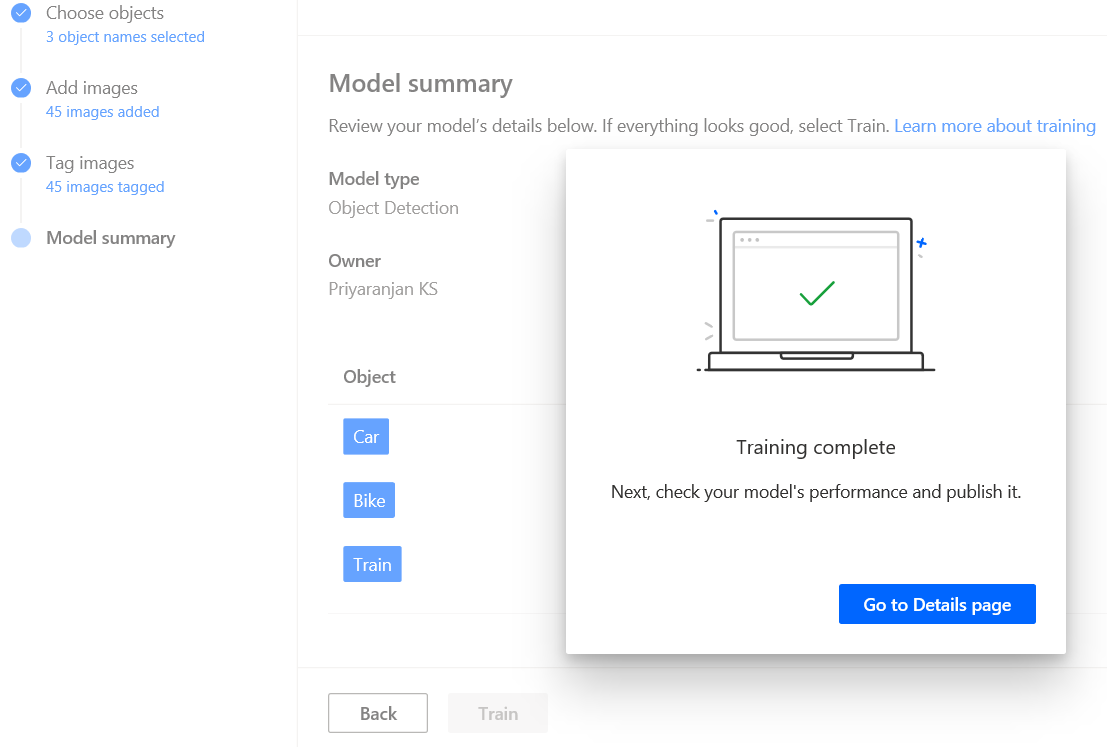
Here we can see that the model has trained on the images with an 88% accuracy. However we can improve this by uploading better range of pictures.

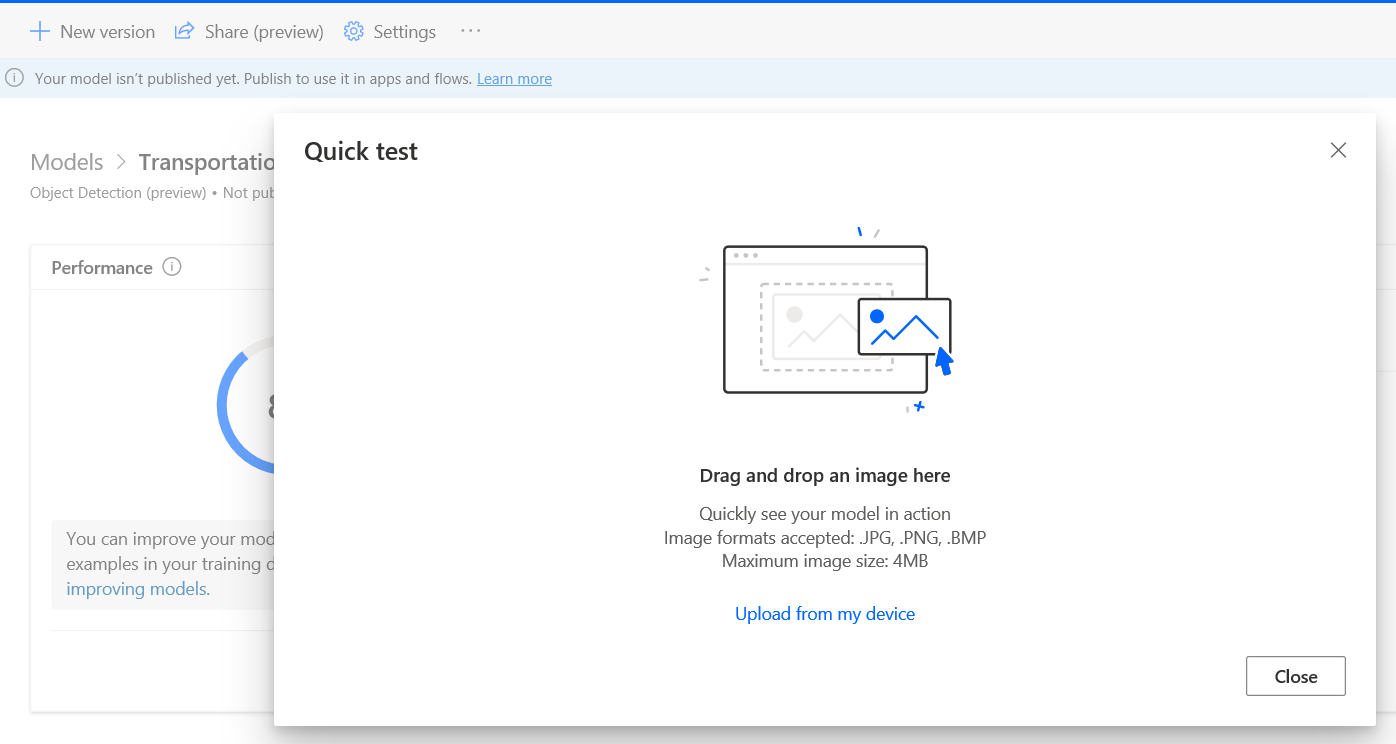
Test the Model
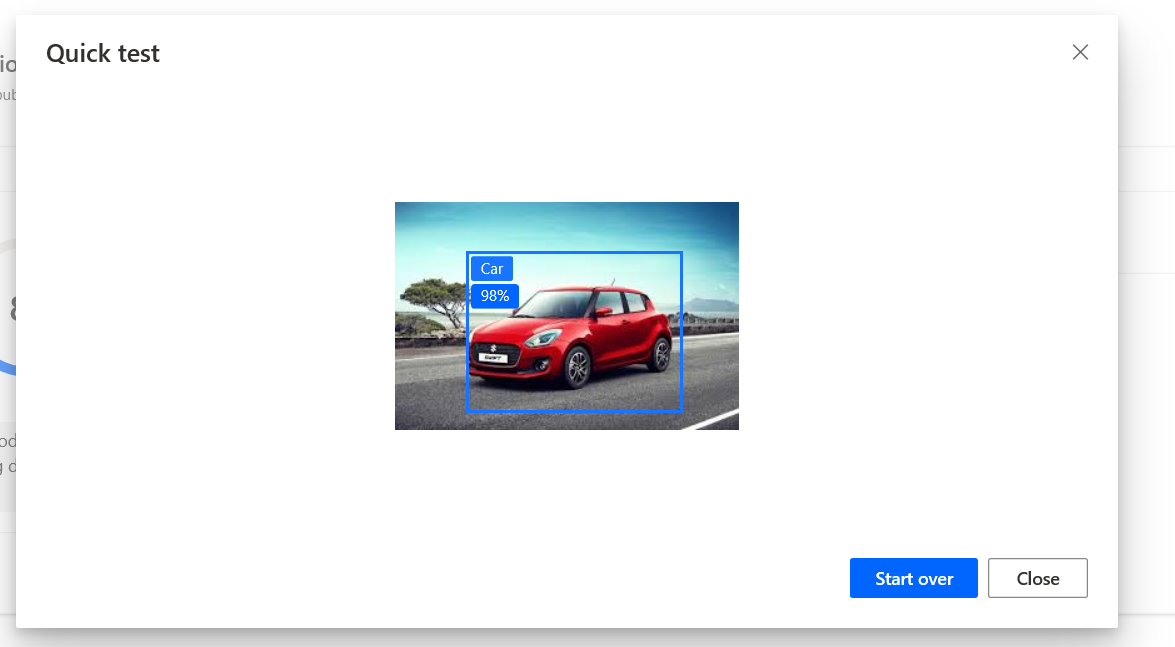
Lets do a quick test by uploading a sample picture of the car
It has identified that it is a car with 98%accuracy.
Publish and Use Model
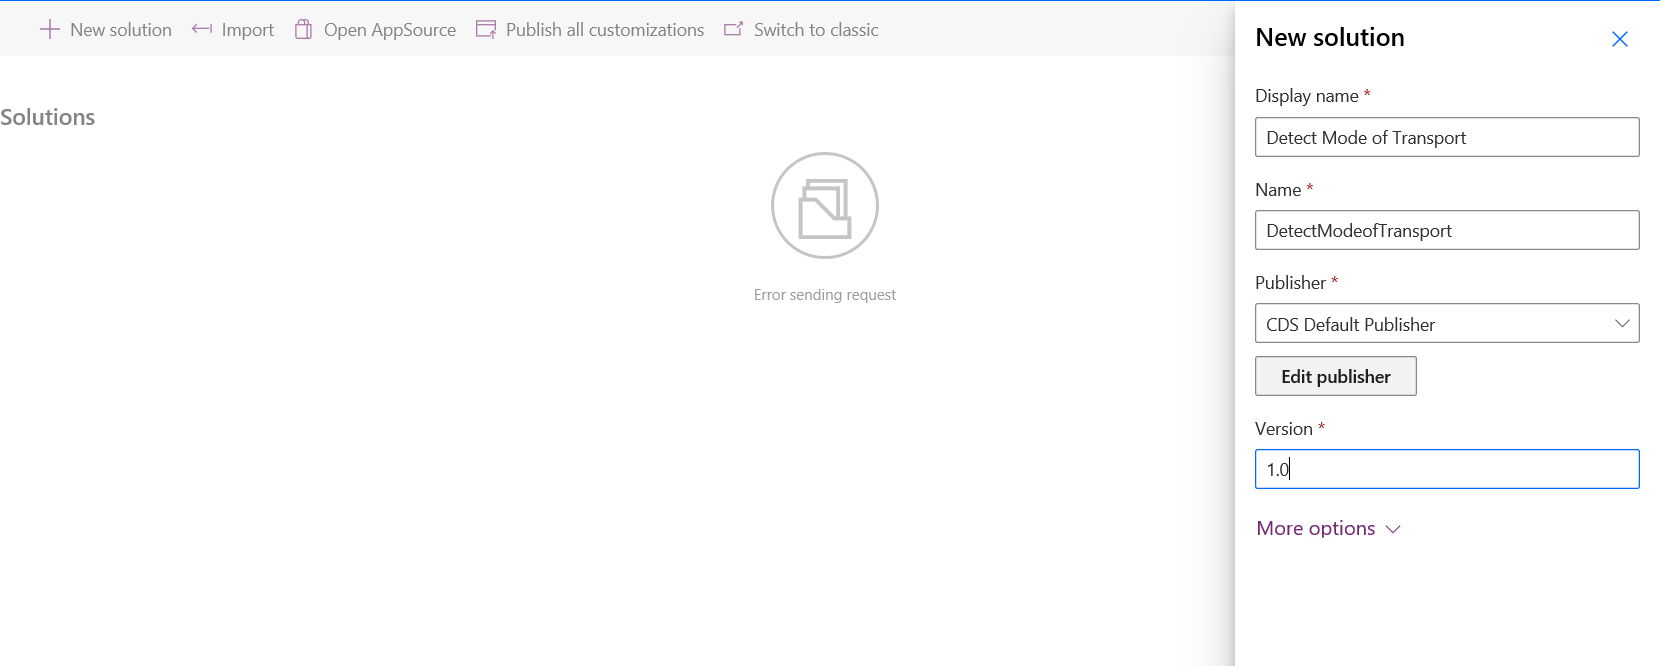
Now its time to publish and use this model in solutions. Click on Use Model to publish the model and add it to the solutions section.
It will open up the solutions window where we can specify the solution name and the publisher.
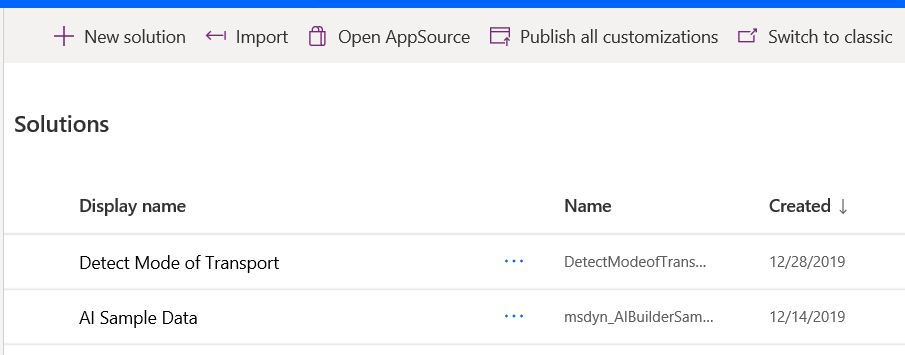
On Clicking on Save, it will get listed in the already available solutions.
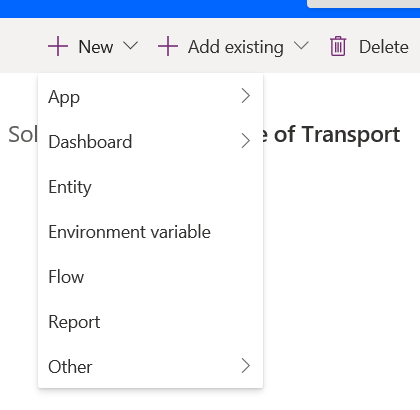
Create a flow
Now lets select the solution ‘Detect mode of Transport’ and from within it select the new button which will let us chose Flow as an option to create a new flow that utilizes the recently created AI Model.
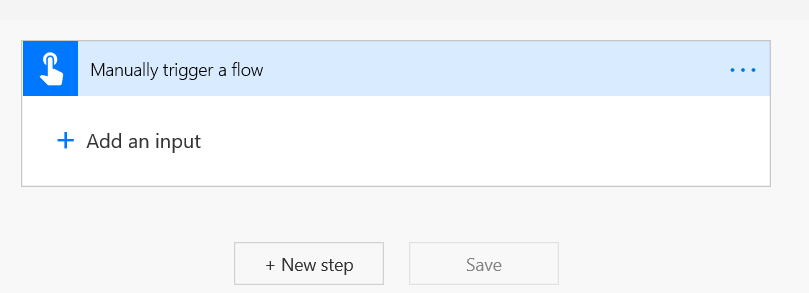
We will chose the flow that is triggered on a manual trigger.
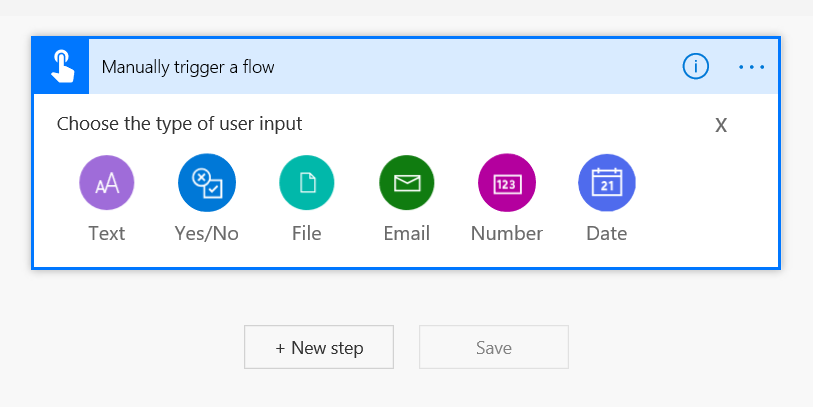
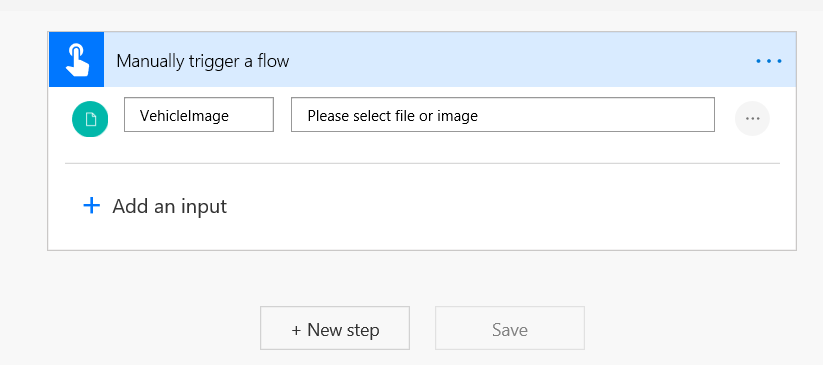
Lets add the input for the manual trigger as a File.
Lets also rename the file title as Vehicle Image.
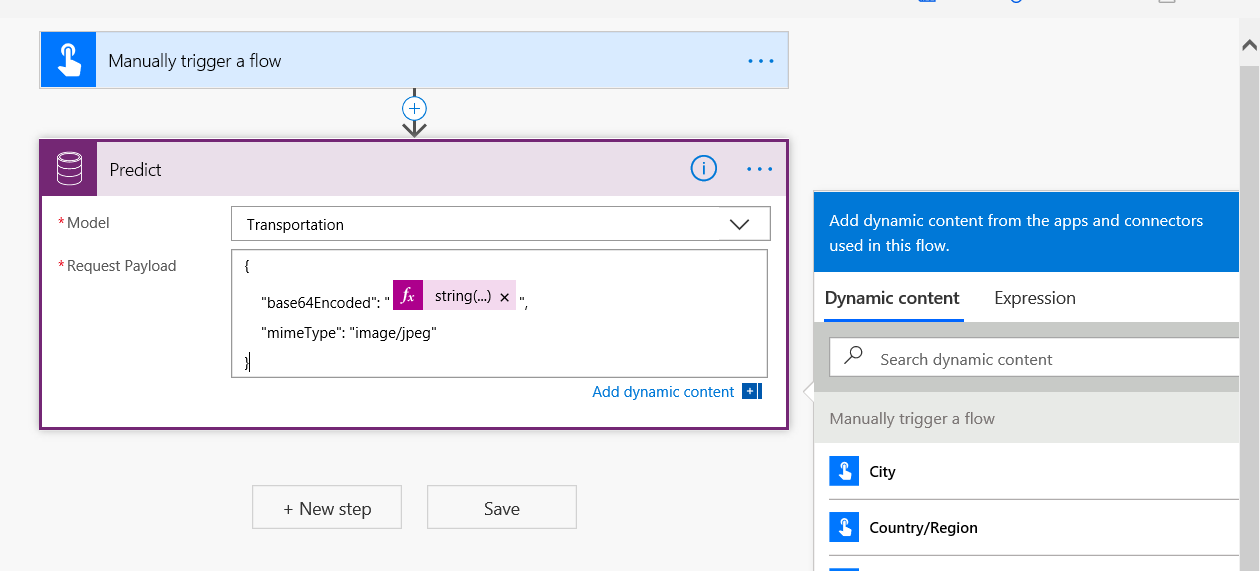
Now we can add the prediction step which will utilize the already created model.
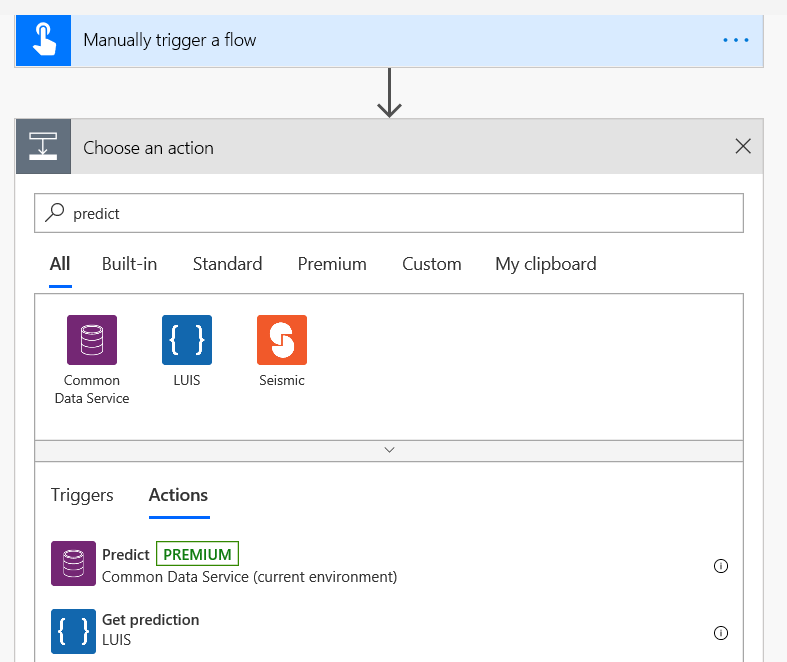
Select the Transportation object detection model ,and specify the following as Request Payload
{
"base64Encoded": "EXPRESSION",
"mimeType": "image/jpeg"
}

Replace EXPRESSION with the following expression string on the formula bar on the right as shown in the illustration:
string(triggerBody()?['file']?['contentBytes'])
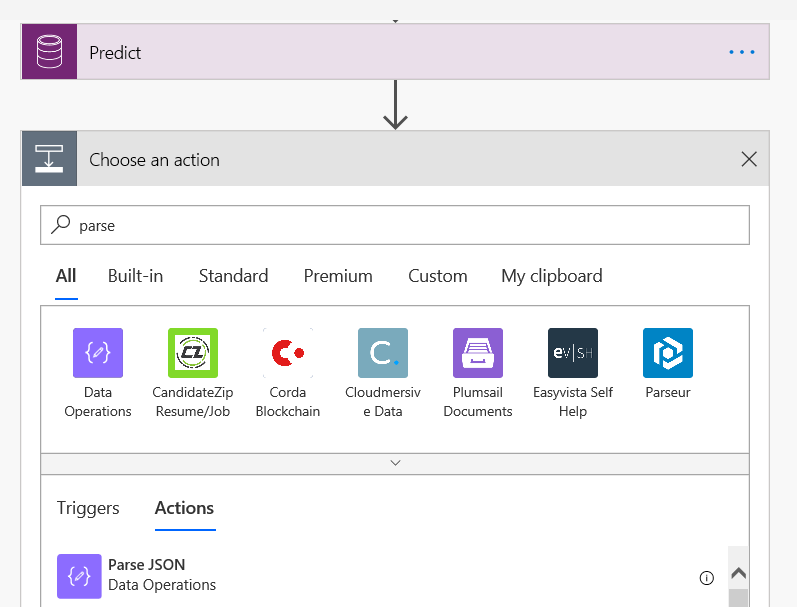
Now we will add the next step Parse JSON – Data Operations from the lists of actions.
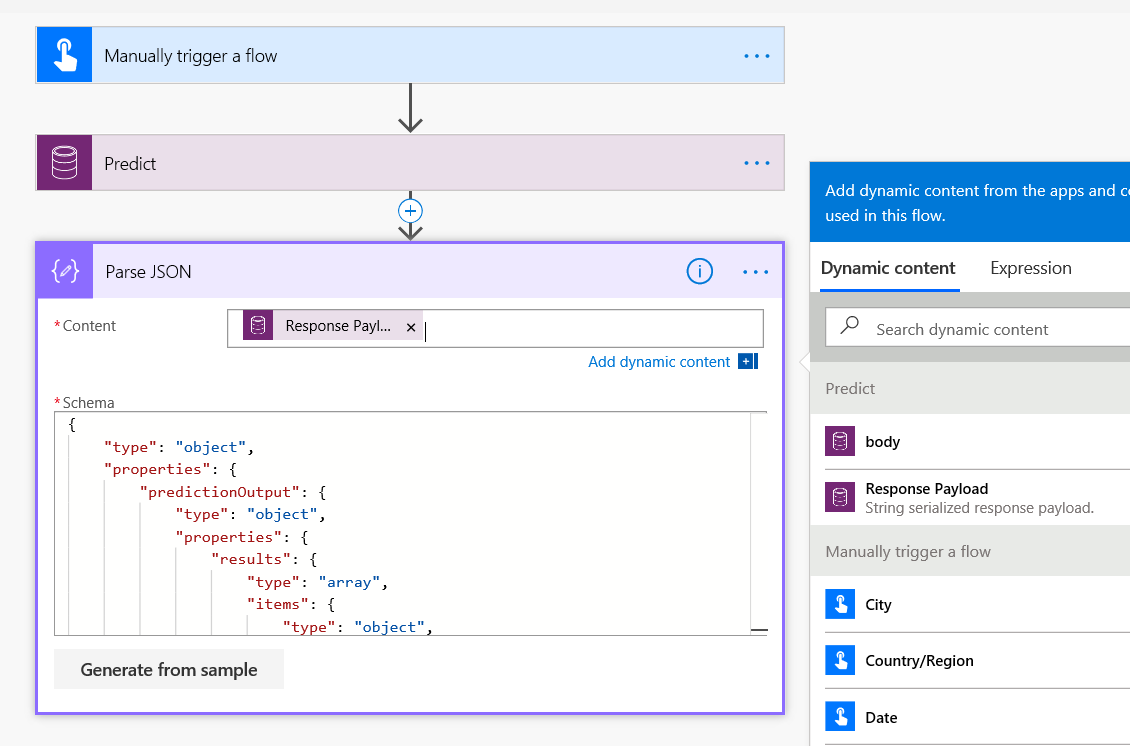
In the Parse JSON screen, next to Content, select Response Payload and in the schema add the below content
{
"type": "object",
"properties": {
"predictionOutput": {
"type": "object",
"properties": {
"results": {
"type": "array",
"items": {
"type": "object",
"properties": {
"tagId": {
"type": "string"
},
"boundingBox": {
"type": "object",
"properties": {
"left": {
"type": "number"
},
"top": {
"type": "number"
},
"width": {
"type": "number"
},
"height": {
"type": "number"
}
}
},
"confidence": {
"type": "number"
}
},
"required": [
"tagId",
"boundingBox",
"confidence"
]
}
}
}
},
"operationStatus": {
"type": "string"
},
"error": {}
}
}
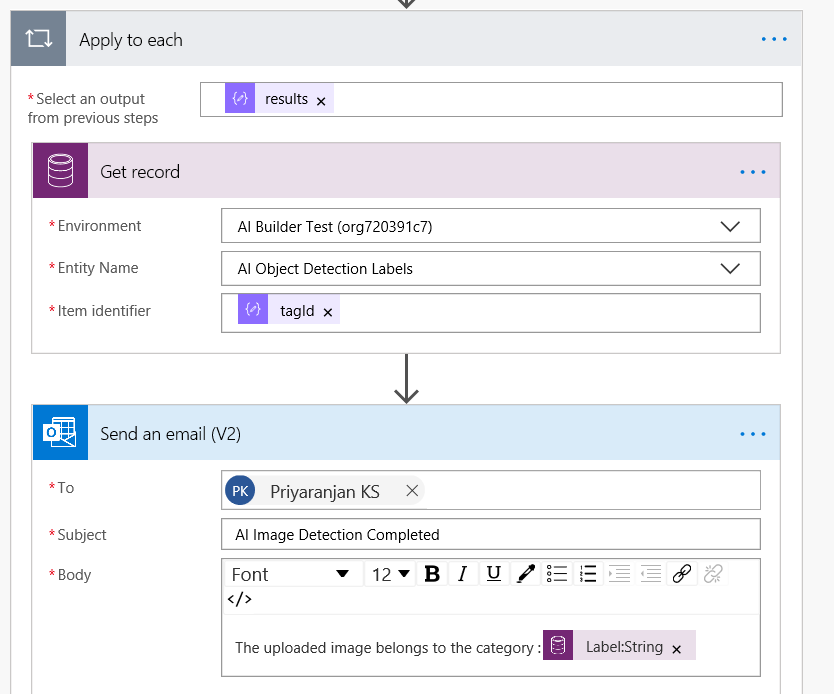
To retrieve the name of the detected object lets add the Get a record action from Common Data Service
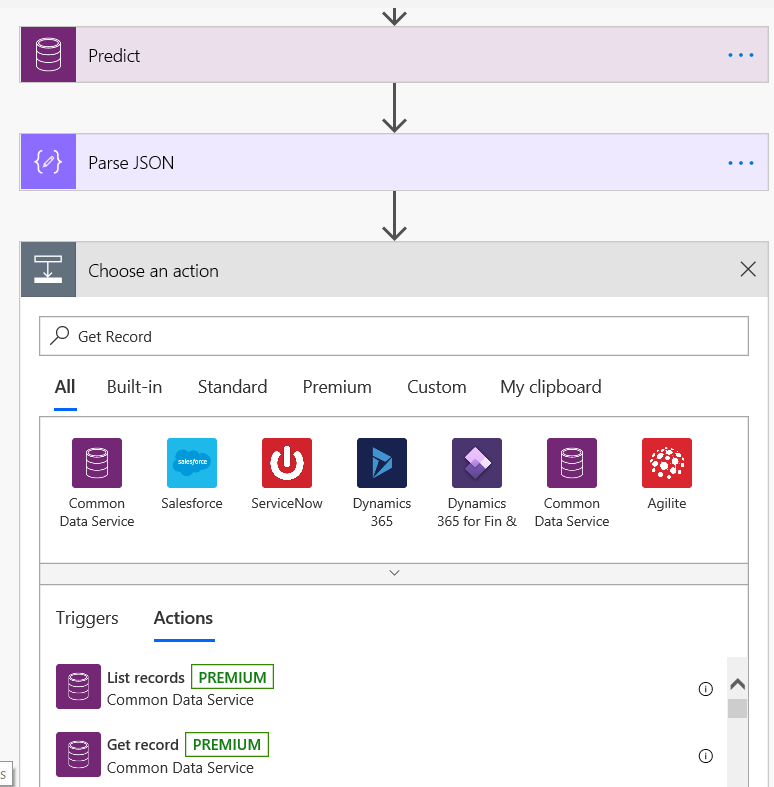
Specify the environment and Entity Name value as AI Object Detection Labels. In the Item Identifier select tagId as the value. When we add tagId as Item identifier an apply to each loop is automatically added. This loops all the object tags that are detected on the image.

Now lets add a send an email action which will alert me with the Object name detected using the model.
Test the flow
Lets test the manually triggered flow using the test option in the flow portal.

We will be uploading the image of the car as the trigger input of the file.
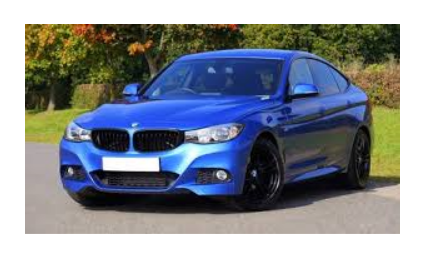
Use the Import button to browse for the image and upload it.
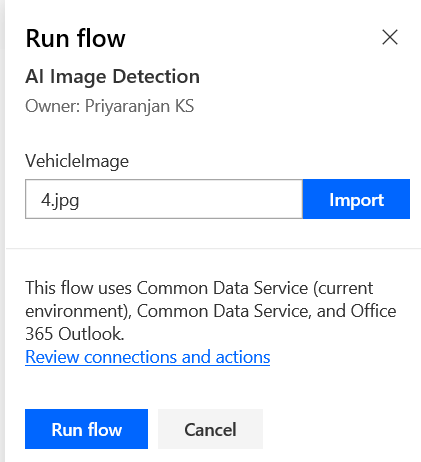
Click on Run Flow to start the flow
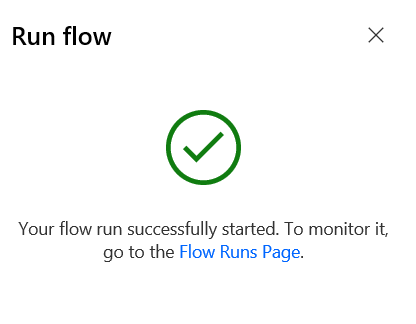
The flow has been run successfully
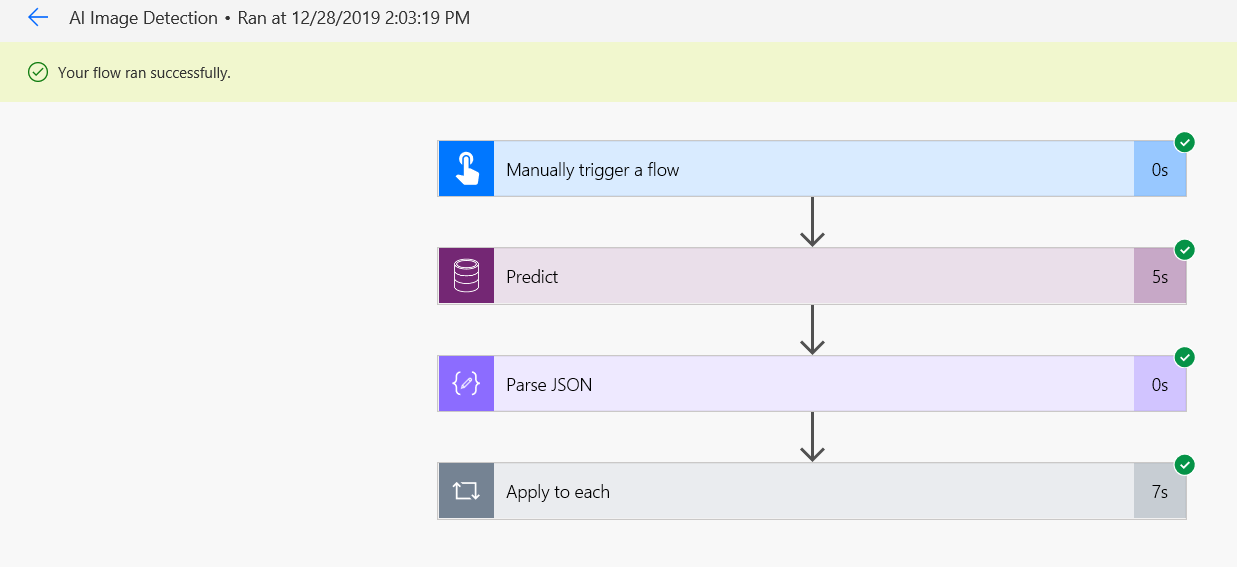
If we go to the flow runs, we would be able to see the details of each step.
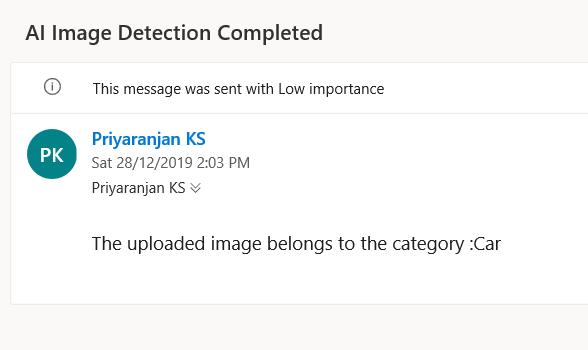
We have also received the email that specifies the object name present in the image which shows that the Flow has successfully utilized the AI Model and has detected the image.
Summary
Thus we have utilized AI Builder in Power Automate, created an AI Model using the Object Classification model, trained it and have create a flow that utilized the model to detect object names from the uploaded image