Validate connectors in Exchange Online
If your organization has its own email server (also called on-premises server), you must set up connectors to enable mail flow between Microsoft 365 or Office 365 and your email server. For mail flow to work correctly, your connectors must be validated and turned on. Connector validation runs as part of the connector setup process. This article helps if you want to validate your connectors at a different time, or if you want to understand more about the process. Use built-in connector validation to test whether a connector is set up correctly and fix any mail flow issues before you turn the connector on.
Note
If you want to change connector settings, Microsoft 365 or Office 365 uses the existing connector settings for mail flow until you save your changes. For more information, see Change a connector that Microsoft 365 or Office 365 is using for mail flow
Validate and turn on connectors
This section describes the procedures to validate and turn on connectors in both the New Exchange admin center (EAC) and Classic EAC.
Before validating and turning on the connectors, sign in to Microsoft 365 or Office 365, choose Admin, and then select Exchange to go to the New EAC.
Note
To navigate to Classic EAC, you need not seperately launch its URL. You can navigate from New EAC interface by clicking Classic Exchange admin center on the left-bottom.
For New EAC
- Navigate to Mail flow > Connectors. The Connectors screen appears.
Note
Any Microsoft 365 or Office 365 connectors that exist for your organization are listed on the Connectors page. This list includes connectors that were created by using the Hybrid Configuration Wizard or PowerShell. You can validate any connector configured for mail flow from Microsoft 365 or Office 365 to your organization's email server, or to a partner organization.
- Choose and click the connector you want to validate or turn on.
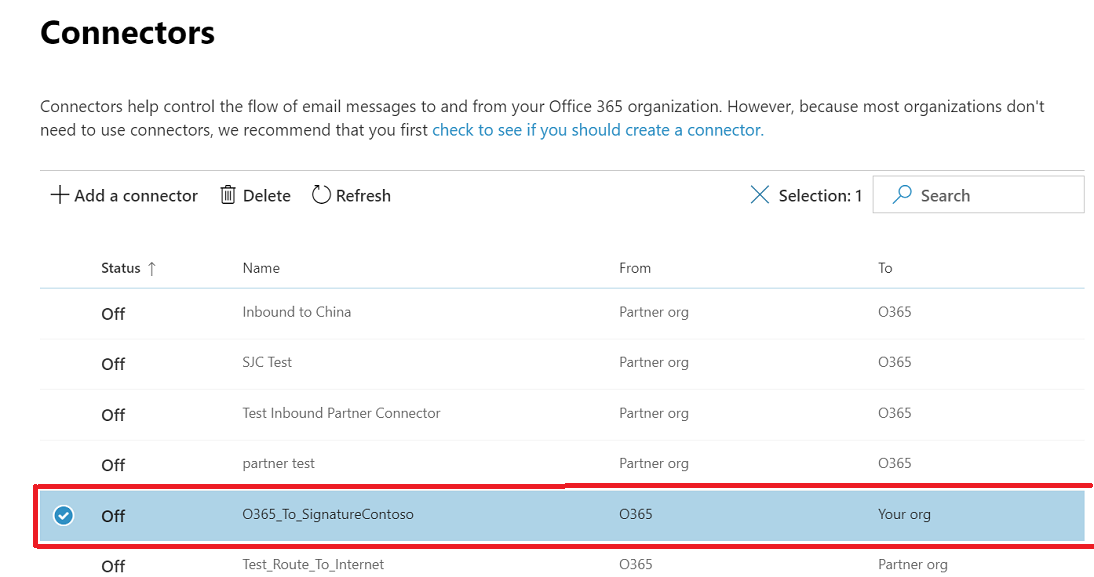
Click the connector. The connector details screen appears.
View the information.
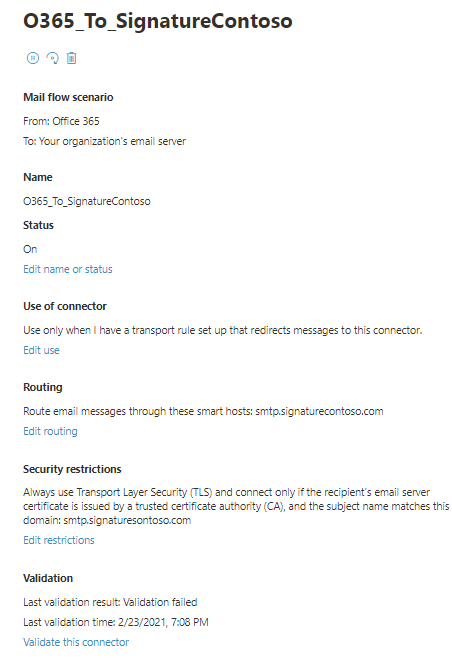
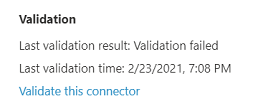
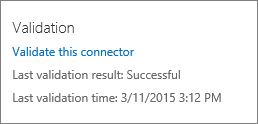
When you select a connector for mail flow that originates in Microsoft 365 or Office 365, you can choose the Validate this connector link. You can also see whether the connector was validated previously as shown in the following screenshot.
Under Status, if Off is displayed, click Edit name or status. The Connector name screen appears.
Under What do you want to do after connector is saved, check the check box for Turn it on.
Click Next. The Validation email screen appears.
Enter an email address that is part of the active mailbox on your organization's email server.
Click +, and then click Validate. The validation process starts.
Once the validation process is completed, click Save.
The connector is updated successfully from being turned off to being turned on.
For Classic EAC
Navigate to the Classic EAC portal by clicking Classic Exchange admin center. Select mail flow and then connectors.
Any Microsoft 365 or Office 365 connectors that exist for your organization are listed on the Connectors page. This includes connectors that were created by using the Hybrid Configuration Wizard or PowerShell. You can validate any connector configured for mail flow from Microsoft 365 or Office 365 to your organization's email server, or to a partner organization.
Choose the connector you want to validate or turn on. You can see information about the connector in the details pane as shown in the following screen shot.
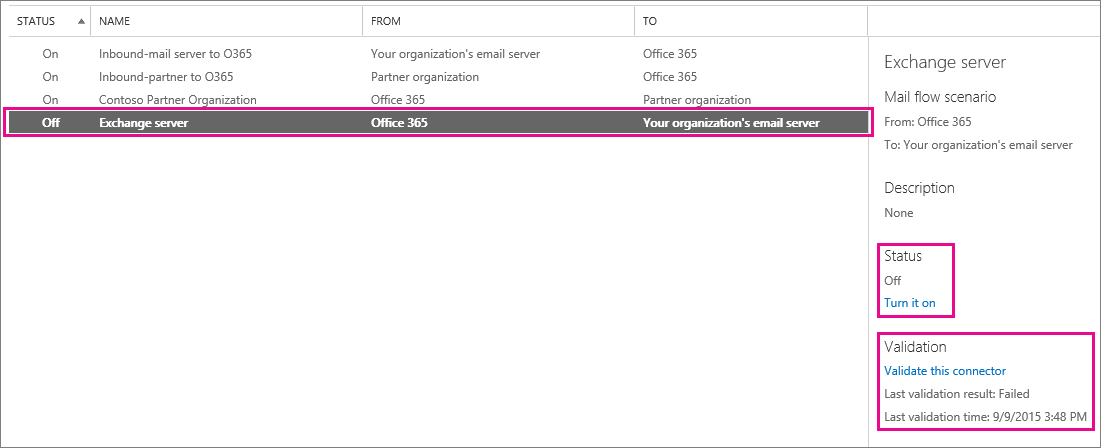
When you select a connector for mail flow that originates in Microsoft 365 or Office 365, you can choose the Validate this connector link. You can also see whether the connector was validated previously as shown in the following screen shot.
With the connector selected, choose Validate this connector. The Validate this connector dialog box opens. Enter one or more email addresses to start the validation. Microsoft 365 or Office 365 uses these addresses to make sure your mail flow is set up correctly. For example, if you want to validate a connector for mail flow from Microsoft 365 or Office 365 to your organization's email server, enter an email address for a mailbox located on that email server.
Choose Validate to continue. To find out what issues validation examines, and for details about fixing any validation errors, see Validate connectors.
For each connector, check whether the connector is turned on. If a connector that you need for mail flow isn't turned on, under Status choose Turn it on.
Note
If you continue to have mail flow issues after validating a connector, check whether you have set up multiple connectors that might apply in a single scenario. For example, problems can occur if you have more than one connector set up for mail flow from Microsoft 365 or Office 365 to your email server. If you need multiple connectors for mail flow from Microsoft 365 or Office 365 to your email server (or to a partner), ensure you validate and turn on each connector. If you want to change a connector, Microsoft 365 or Office 365 uses the existing connector settings for mail flow until you save your changes. For more information, see Change a connector that Microsoft 365 or Office 365 is using for mail flow
See also
Set up connectors to route mail between Microsoft 365 or Office 365 and your own email servers