Notitie
Voor toegang tot deze pagina is autorisatie vereist. U kunt proberen u aan te melden of de directory te wijzigen.
Voor toegang tot deze pagina is autorisatie vereist. U kunt proberen de mappen te wijzigen.
Learn how to fail over Azure VMs that are enabled for disaster recovery with Azure Site Recovery, to a secondary Azure region. After failover, you reprotect VMs in the target region so that they replicate back to the primary region. In dit artikel leert u het volgende:
- Controleer de vereisten
- VM-instellingen controleren
- Run a failover to the secondary region
- Start replicating the VM back to the primary region.
Opmerking
This tutorial shows you how to fail over VMs with minimal steps. If you want to run a failover with full settings, learn about Azure VM networking, automation, and troubleshooting.
Vereiste voorwaarden
Before you start this tutorial, you should have:
- Set up replication for one or more Azure VMs. If you haven't, complete the first tutorial in this series to do that.
- We recommend you run a disaster recovery drill for replicated VMs. Running a drill before you run a full failover helps ensure everything works as expected, without impacting your production environment.
Verify the VM settings
In the vault >Replicated items, select the VM.
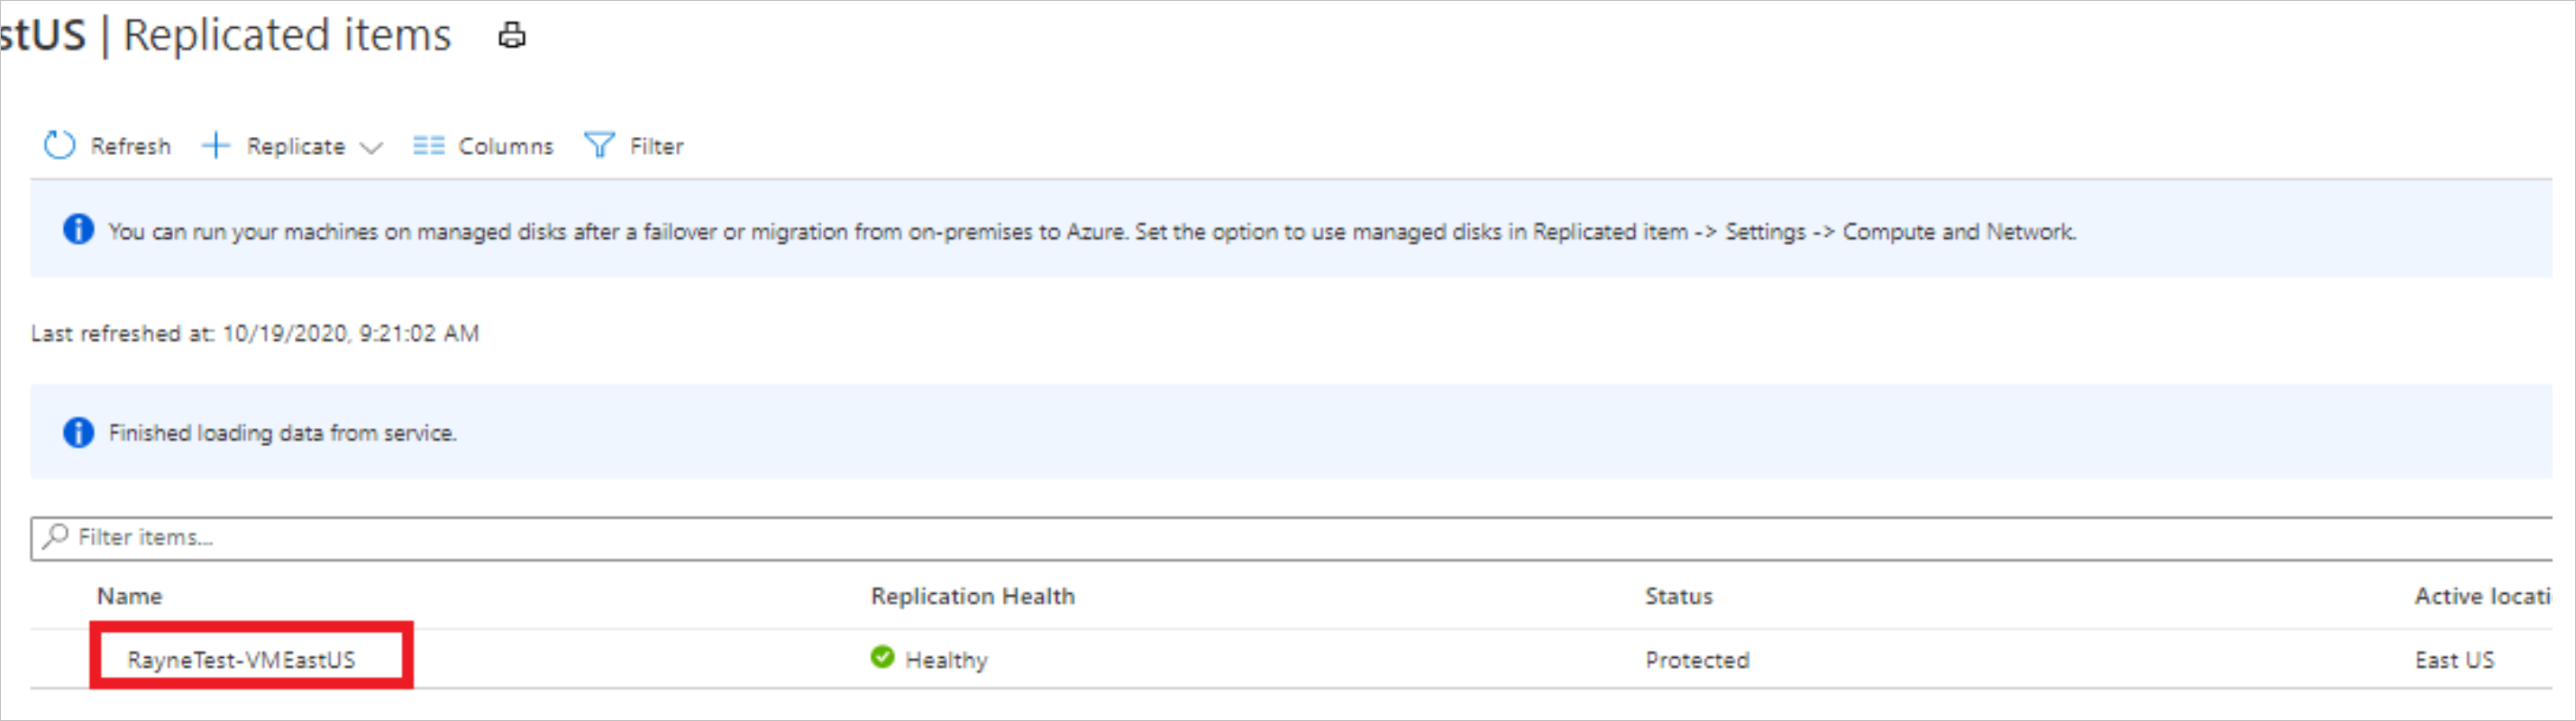
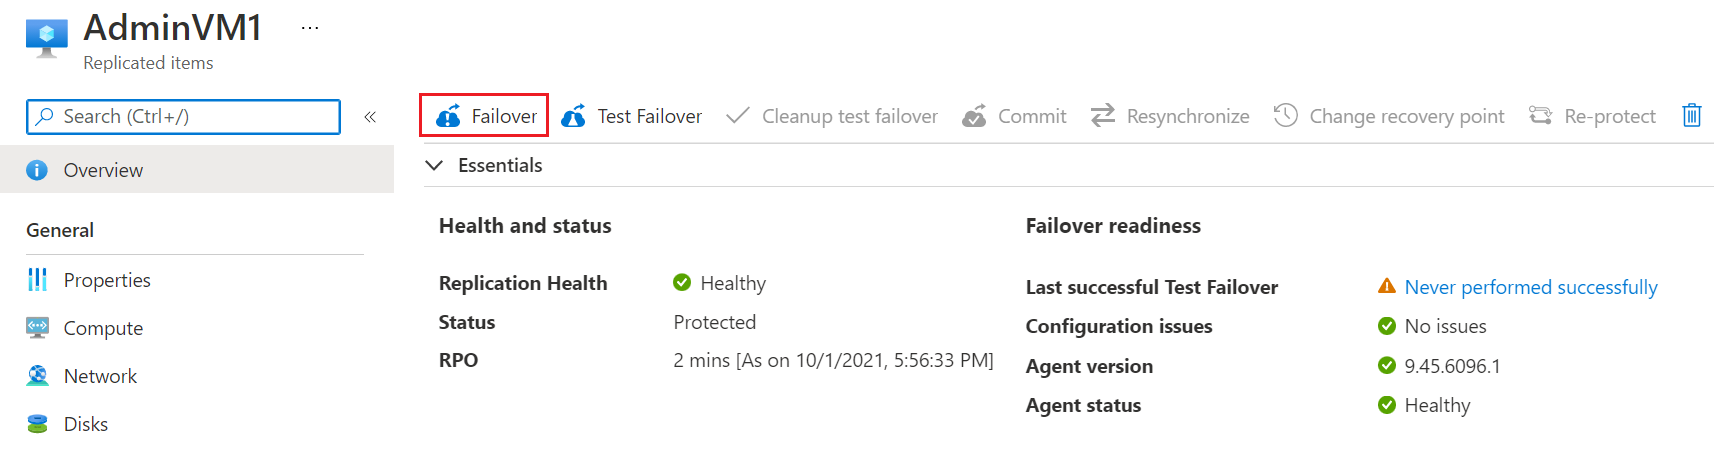
On the VM Overview page, check that the VM is protected and healthy, before you run a failover.

Before you fail over, check that:
- The VM is running a supported Windows or Linux operating system.
- The VM complies with compute, storage, and networking requirements.
Een failover uitvoeren
On the VM Overview page, select Failover.
In Failover, choose a recovery point. De Virtuele Azure-machine in de doelregio wordt gemaakt met behulp van gegevens van dit herstelpunt.
- Laatst verwerkt: maakt gebruik van het meest recente herstelpunt dat door Site Recovery wordt verwerkt. Het tijdstempel wordt weergegeven. Er wordt geen tijd besteed aan het verwerken van gegevens, zodat er sprake is van een lage RTO (Recovery Time Objective).
- Meest recente: verwerkt alle gegevens die naar Site Recovery worden verzonden om een herstelpunt voor elke VIRTUELE machine te maken voordat er een failover naar wordt uitgevoerd. Biedt het laagste Recovery Point Objective (RPO), omdat alle gegevens naar Site Recovery worden gerepliceerd wanneer de failover wordt geactiveerd.
- Latest app-consistent: This option fails over VMs to the latest app-consistent recovery point. Het tijdstempel wordt weergegeven.
- Aangepast: Overgang naar een specifiek herstelpunt. Aanpassingen zijn alleen beschikbaar wanneer u een failover uitvoert voor één VM en geen herstelplan gebruikt.
Opmerking
If you added a disk to a VM after you enabled replication, replication points shows disks available for recovery. For example, a replication point created before you added a second disk will show as "1 of 2 disks".
Select Shut down machine before beginning failover if you want Site Recovery to try to shut down the source VMs before starting failover. Shutdown helps to ensure no data loss. Failover continues even if shutdown fails.
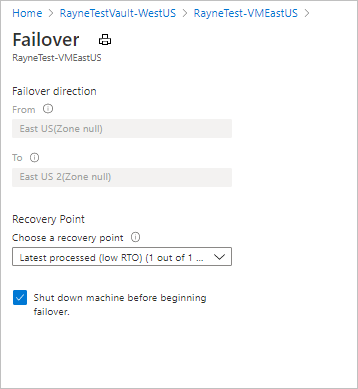
Selecteer OK om de failover te starten.
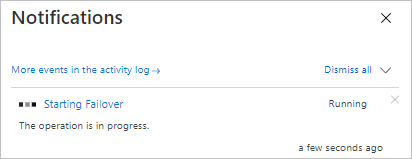
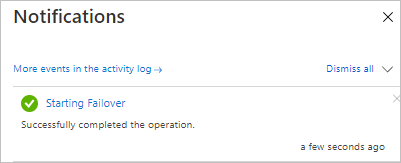
Monitor the failover in notifications.
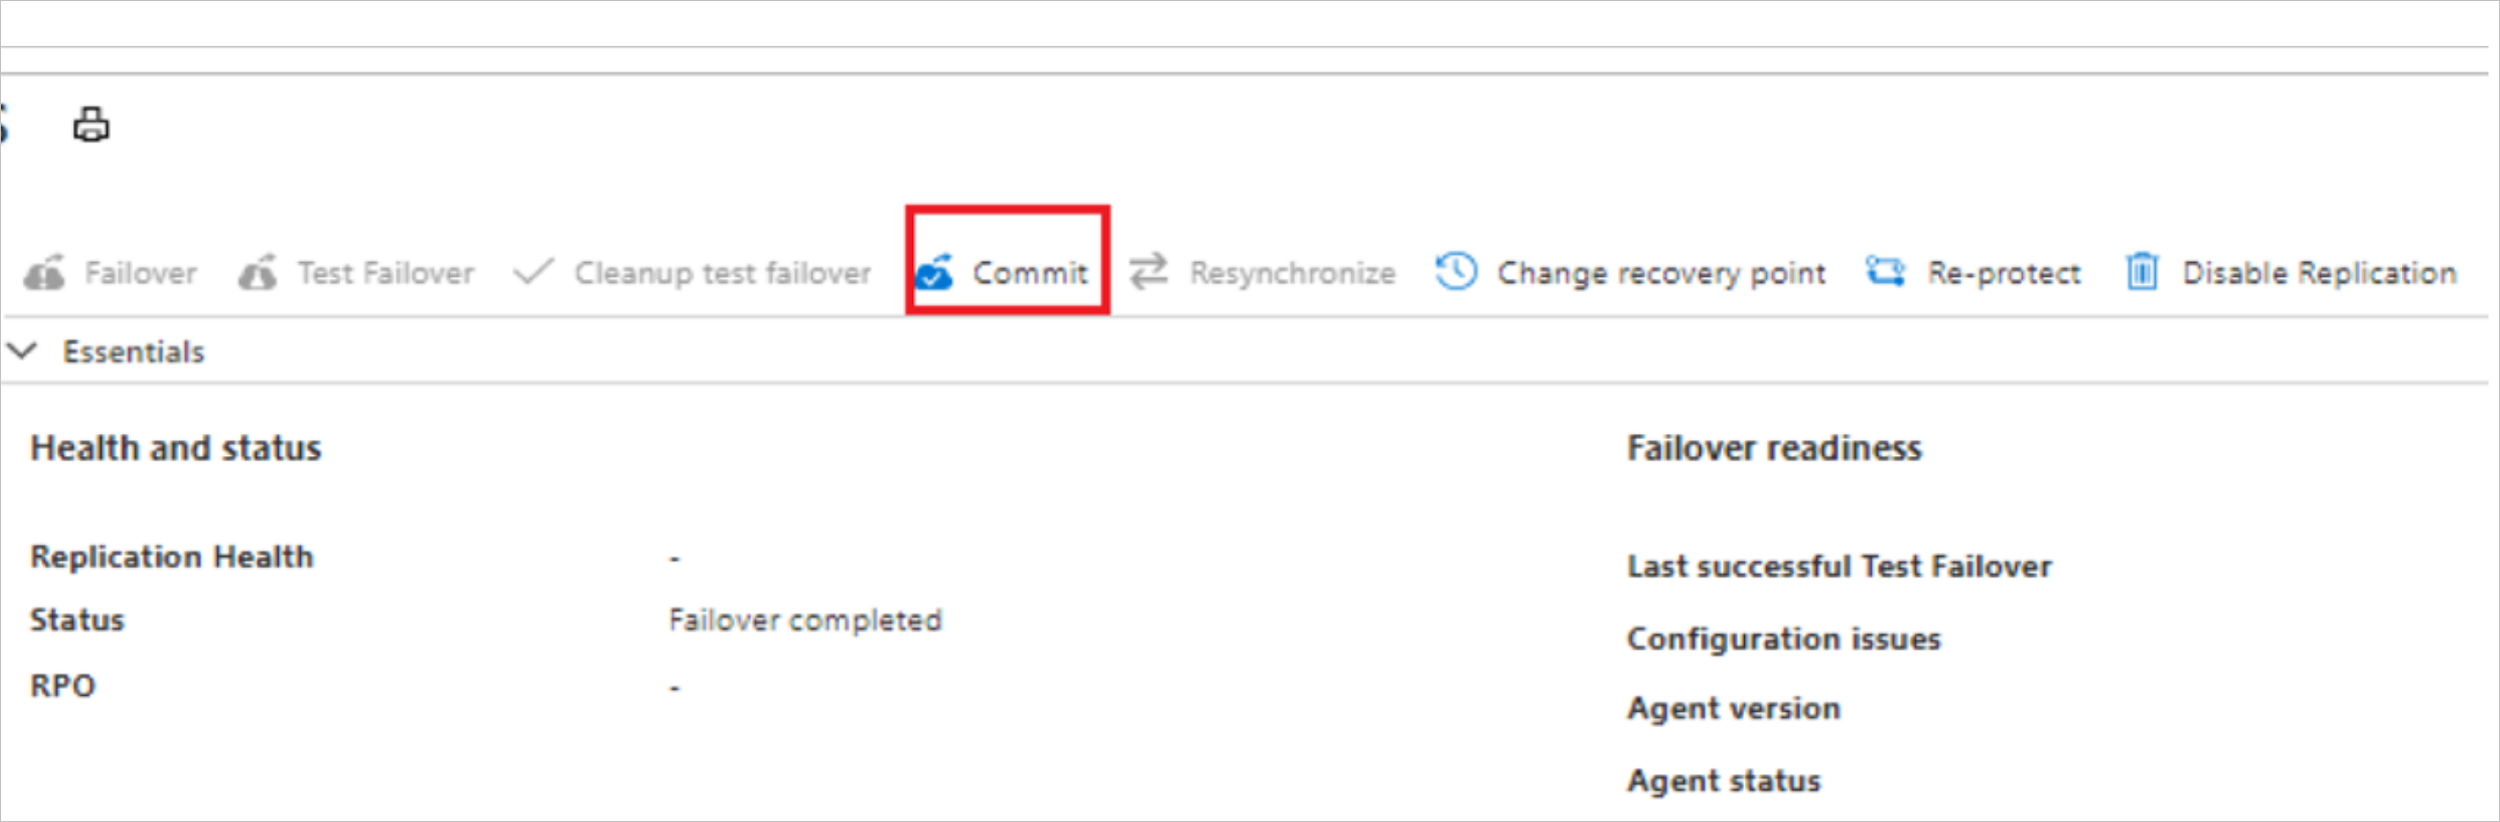
After the failover, the Azure VM created in the target region appears in Virtual Machines. Make sure that the VM is running, and sized appropriately. If you want to use a different recovery point for the VM, select Change recovery point, on the Essentials page.
When you're satisfied with the failed over VM, select Commit on the overview page, to finish the failover.
In Commit, select OK to confirm. Commit deletes all the available recovery points for the VM in Site Recovery, and you won't be able to change the recovery point.
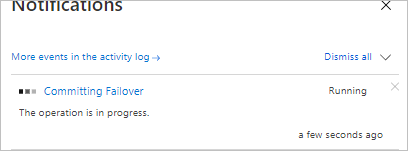
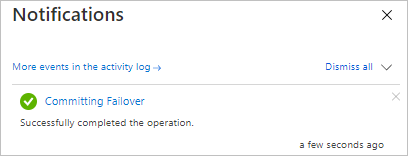
Monitor the commit progress in notifications.
Reprotect the VM
After failover, you reprotect the VM in the secondary region, so that it replicates back to the primary region.
Make sure that VM Status is Failover committed before you start.
Check that you can access the primary region is available, and that you have permissions to create VMs in it.
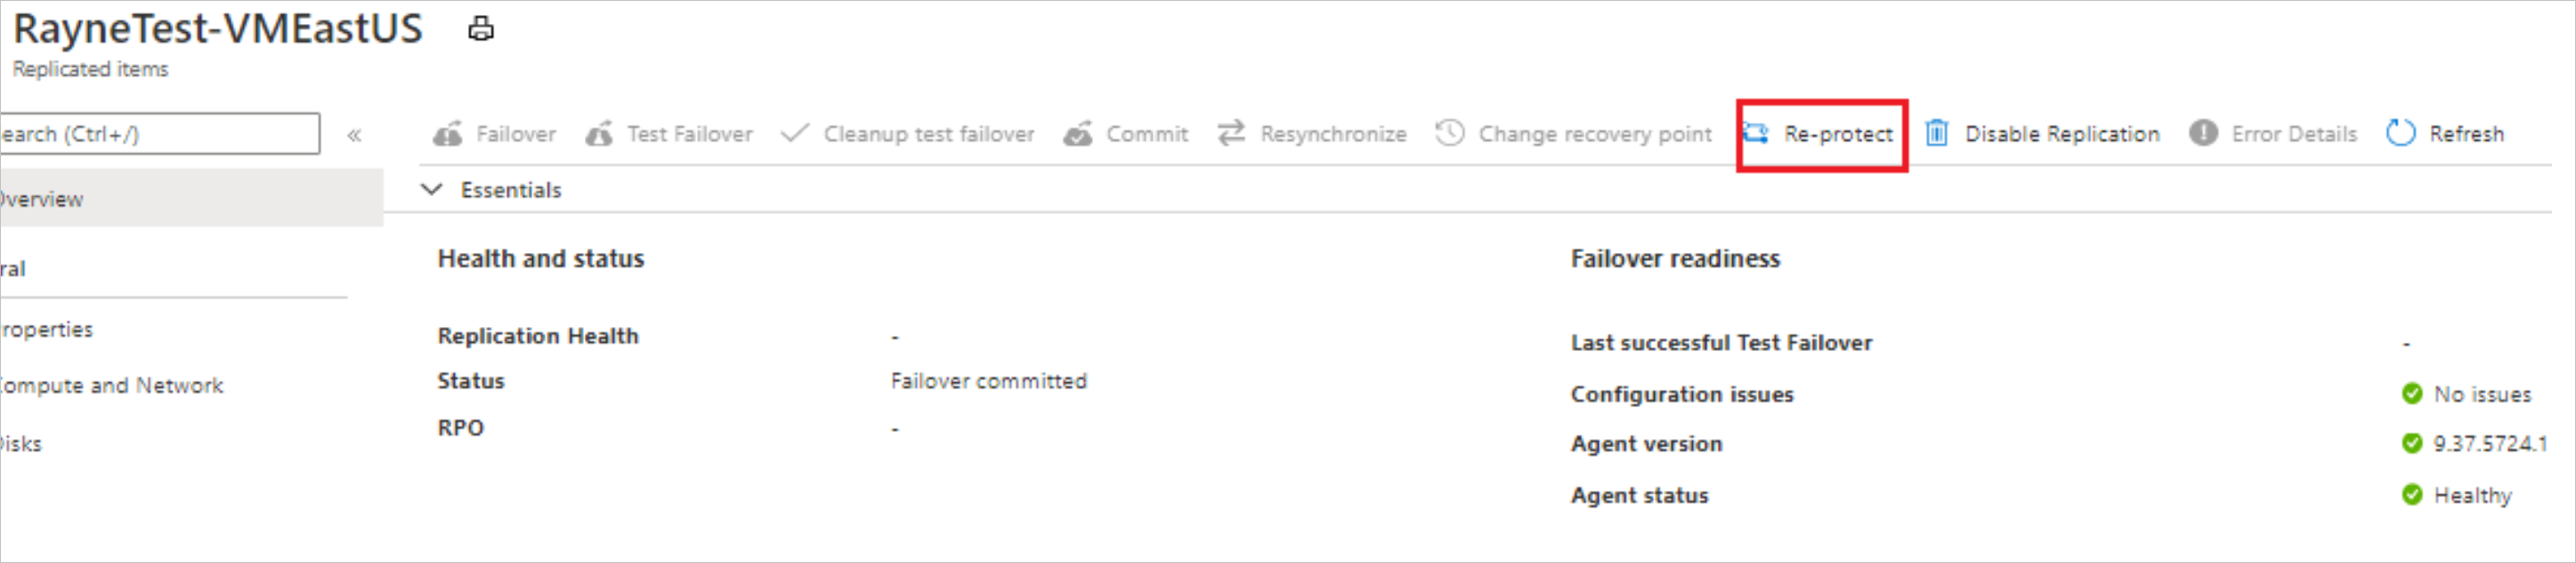
On the VM Overview page, select Re-Protect.
In Re-protect, verify the replication direction (secondary to primary region), and review the target settings for the primary region. Resources marked as new are created by Site Recovery as part of the reprotect operation.
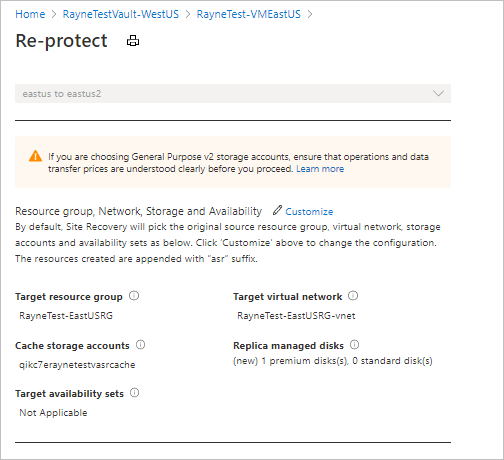
Select OK to start the reprotect process. The process sends initial data to the target location, and then replicates delta information for the VMs to the target.
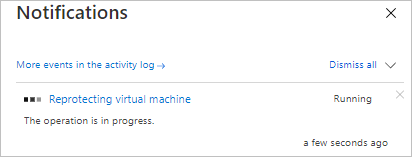
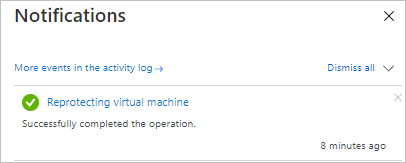
Monitor reprotect progress in the notifications.
Volgende stappen
In this tutorial, you failed over from the primary region to the secondary, and started replicating VMs back to the primary region. Now you can fail back from the secondary region to the primary.