Copilot creation
You'll likely be excited to get started with building a custom copilot using Microsoft Copilot Studio, however in this section you'll learn why it's important to first see what can be achieved with Generative AI in Copilot Studio as it might determine what topics you choose to manually author in the studio's authoring canvas.
In this unit, you'll create a copilot by using Microsoft Copilot Studio.
Sign in to create a copilot
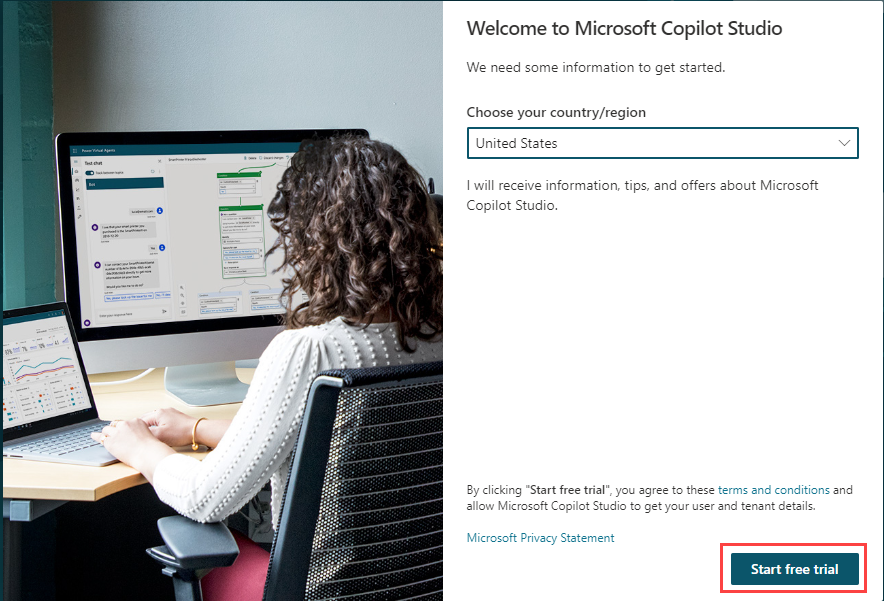
Navigate to https://copilotstudio.microsoft.com and select Start free.
If prompted to sign in enter your email address and select Sign in.
Note
Your account might already have been set up. If screens similar to the following images don't show, you can skip to step 2.
Sign up for a Microsoft Copilot Studio trial
In the Welcome to Copilot Studio popup, leave the country/region as the default value and select Start free trial.
Important
Skip to here if your account was already set up.
You should be redirected to
https://copilotstudio.microsoft.com. If not, go to the maker environment URL for Microsoft Copilot Studio:https://copilotstudio.microsoft.com. An Environment selector box is located in the upper-right corner. An environment is where your organization stores, manages, and shares the Copilot, business data, apps, and Microsoft Power Automate flows. You can select the Environment selector button to display the copilots within that environment.If you're working with an instructor, confirm now with your instructor the environment to use, if you didn't already do so. If you aren't working with an instructor, and you're using your own environment, for the purposes of this course, you can use the default environment. Alternatively, if your tenant allows, you can create your own environment to use in the Power Platform Admin Center.
Note
For more information, see Power Platform environments overview.
Tip
If you do not have a license for the Power Platform or have access to a Power Platform environment, you can sign up for a Power Apps Developer plan.

Create a copilot
Once you're in the correct environment, select Create from the left navigation pane and select the New copilot tile.

Note
The Create a copilot wizard opens. This wizard helps you set up your copilot by naming it, selecting the language, and also optionally choosing if you want to boost your conversations with generative answers.
This screen allows you to set up your Copilot by describing what you want to a conversational AI. For now, select Skip to configure in the top right so we can name and create our first Copilot.
Name your Copilot
Contoso Customer Service, choose your preferred language, and select the Create button at the top right of the screen.
Note
After you've selected Create, the process of creating the first Copilot within a new environment can take up to 15 minutes. Subsequent Copilots are created much faster.
Note
After creating the Copilot, a pop-up window may appear showing new features in Copilot Studio. To continue past this, click Next three times and Done at the end.
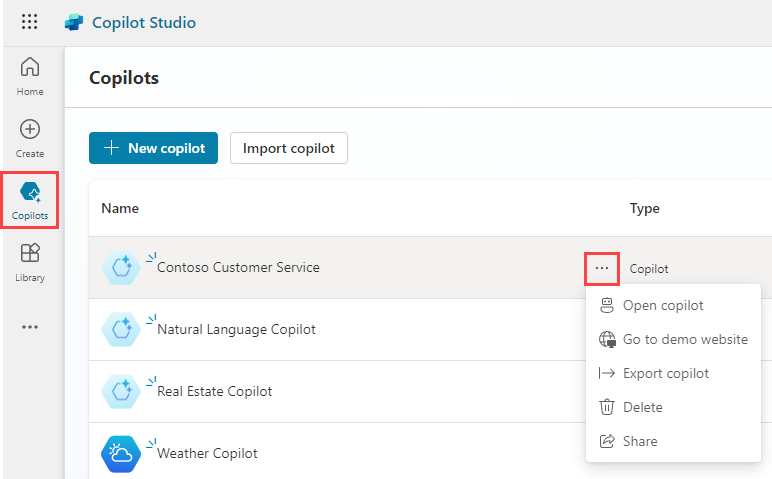
After you create your Copilot, it appears in the list under the Copilots menu in the left navigation bar.
Tip
If you've created a Copilot in this environment before, to create another, select the Copilots menu item on the navigation bar and then select New Copilot.
Within the Copilots menu, you can select from the Copilots that are available to you. Selecting the ellipses next to a Copilot brings up drop-down with controls like open the Copilot, export the Copilot, and delete. You can also select the name of the Copilot, which opens it.


Copilot templates
Alternatively, you can create a copilot based on a template. There are several templates available to start building a copilot from including:

The templates include topics, actions, and knowledge.

You can further edit the copilot based on a template.
Microsoft Copilot Studio user interface
Microsoft Copilot Studio makes it easier for you to build basic to advanced Copilots. The following section reviews the main pages of the maker experience for Microsoft Copilot Studio.
Because the Copilot area was explained in the preceding section, the ensuing section will cover the main options that are available after you select a Copilot.

Overview
Displays your home page, including a summary of the Copilot's Details, Knowledge, Topics, Actions, and Publish status.
Knowledge
Allows you to provide a knowledge base as grounding data for your Copilot that enables it to pull information from specific data you provide.
Topics
Provides a list of all the Topics available to your Copilot. These Topics are conversation paths you develop to determine how your Copilot responds to specific scenarios.
Actions
Allows you to build Actions that your Copilot can complete. These actions are similar to Power Automate cloud flows like automating a database entry.
Analytics
Provides view metrics to monitor how well your Copilot is operating. The various Analytics sections include: Customer satisfaction, Sessions, Billing, and Boost conversations.
Channels
- Allows you to publish and connect your Copilot with various websites, web-services, and integrations into your own website.
Copilot analytics
Microsoft Copilot Studio makes it easy to analyze the results of your Copilot's sessions with users.
To view the analytics of your selected Copilot, select Analytics from the top navigation bar of your Copilot's home page.

Note
The following screenshots display the analytics data from a sample Copilot. When you first create a Copilot, there is no session history to pull data from. To review analytics for your Copilot, you will need users to interact with the Copilot first.
When you first explore the Analytics section, you will be taken to the Summary page. This is where a summary of your Copilot's sessions is displayed.

The Summary page displays key performance indicators (KPIs) from your Copilot's session logs. These KPIs include:
Total sessions - The count of sessions, starting when a user sends a message and ending when the problem is solved, the chat is abandoned, or escalation is triggered.
Engagement rate - The percentage of sessions where a user-authored topic or escalation topic is triggered.
Resolution rate - The percentage of engaged sessions that are resolved, indicated by the user reaching the ‘end of conversation’ topic and responding positively or not at all to the survey.
Escalation rate - The percentage of engaged sessions ending in escalation.
Abandon rate - The percentage of engaged sessions abandoned within 1 hour of interaction.
CSAT - The average Customer Satisfaction score from surveys rated on a scale of 1-5.
Additional visuals in the Summary include graphs comparing Engagement over time and Session outcomes over time, as well as tables detailing the impact and rate drivers of Resolution, Escalation, and Abandon rates for each triggered topic.
Next to Summary is the Customer satisfaction Analytics page. This page displays the history of CSATs and the relationship between CSATs triggered by different Topics.

The Sessions page makes the session logs for your Copilot available for download. Sessions are only able to be pulled from within the past 28 days, and are limited to 7 days of data at a time.

Note
The session log is downloaded in CSV format, with the SessionID, StartDateTime, InitialUserMessage, TopicName, ChatTranscript, SessionOutcome, and TopicID fields represented for each individual session.

The Billing page displays the total number of billable sessions and compares billed sessions over time.

The Boost conversations page displays the analytics for individual questions answered through the OpenAI GPT service. The data covers both the rate of which GPT was able to answer questions outside of the Copilot's grounding data, and compares the reasoning for questions going unanswered (filters, errors, etc.)
