Simulation - Build an Approval Request
In this unit, you learn how to build a business-friendly scenario that uses approvals.
In this scenario, anyone who has access to the SharePoint library can add a document. When the document is created, an approval starts that allows certain users to approve. If the document is approved, it stays in the document library. If the document is rejected, then it's moved to a separate folder.
Try this simulation exercise below first, and then view the detailed steps once you complete the simulation. The simulation guides you through a scenario resembling the steps you would use to create a document library in SharePoint and then create a flow. You'll click through the prompts, in various sections of your screen, and you'll have a narrator to guide you along.
Note
Select the thumbnail image below to start the lab simulation. When complete, you can return to this page to review the steps in the simulation, or you can continue to the next unit.
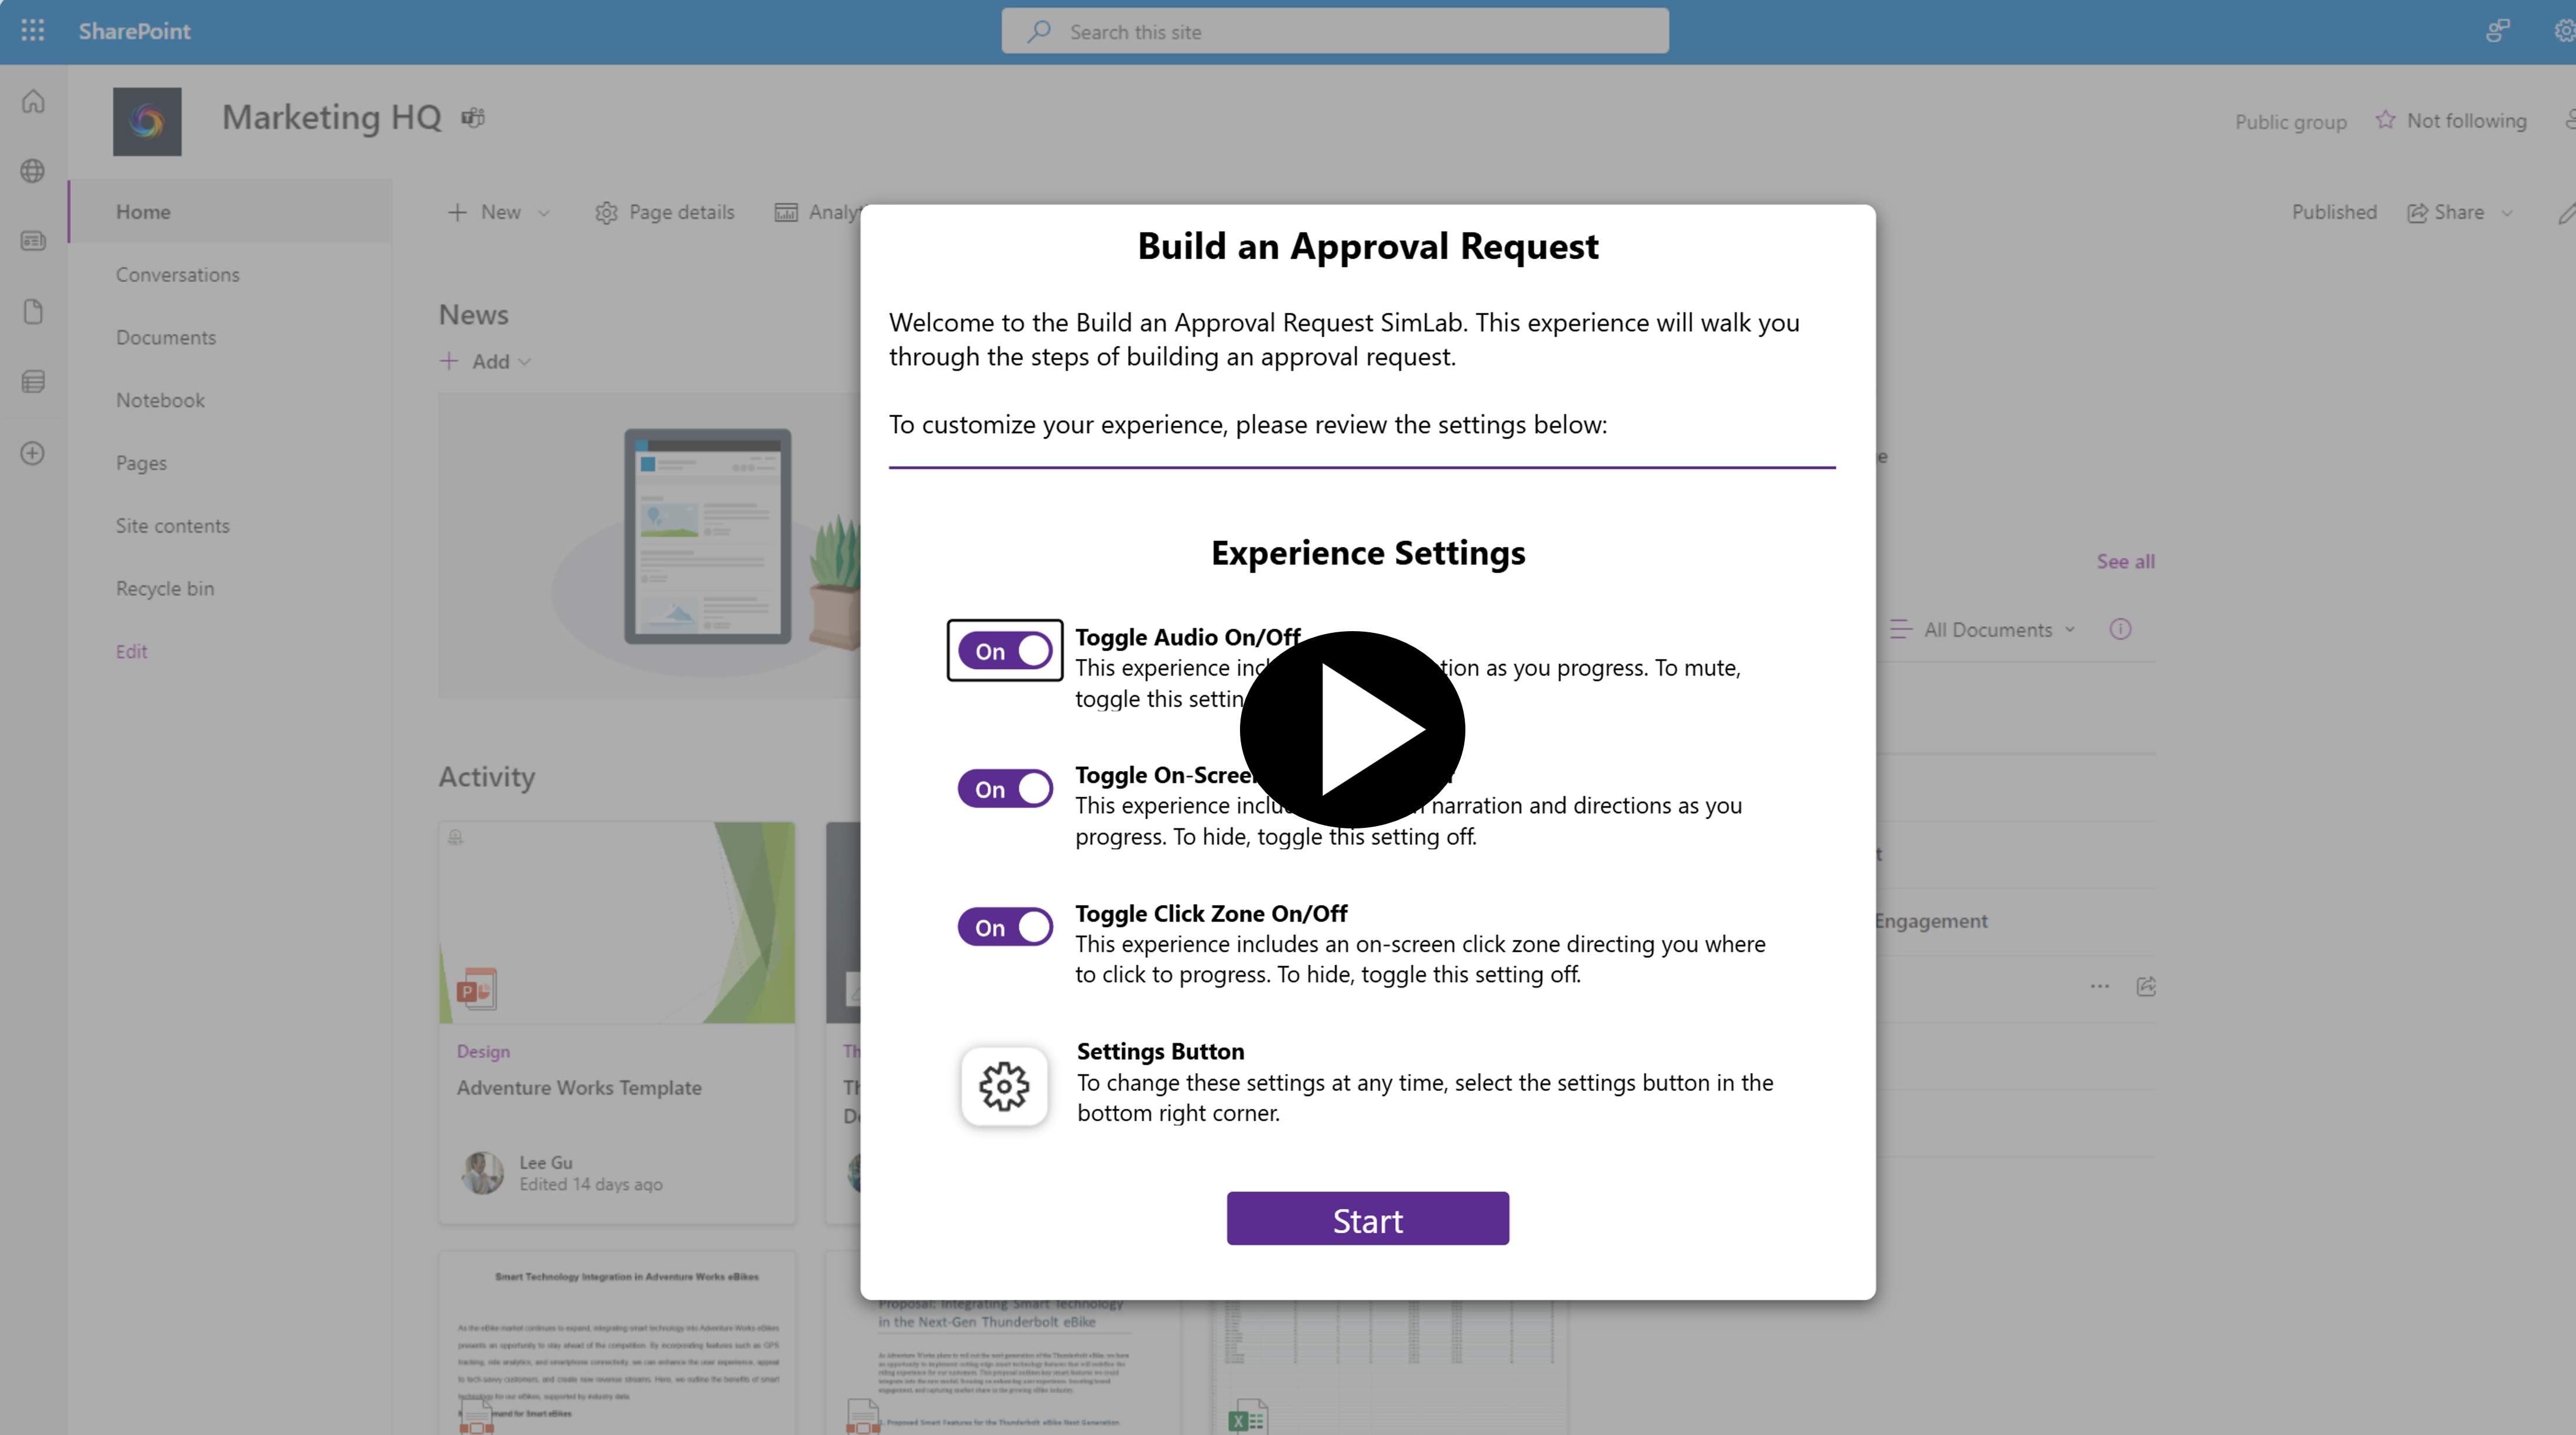 .
.
Prerequisites
Access to Power Automate
A Microsoft Office 365 account with access to SharePoint
Note
You'll need to create the document library in your own SharePoint tenant.
Step 1: Create a document library
First, let's create a document library in a SharePoint site.
On your SharePoint site home page, select + New > Document Library > Blank library.
Name your library Approvals Library, and then select Create.
In your new document library, at the top, choose + New and select Folder.
Name your folder Rejected Documents, and select Create.
Now, let's create our approval flow.
Next go to the Power Automate maker portal at make.powerautomate.com.
In the Copilot text area, type When a file is created (properties only), add a start and wait for approval action and add a condition depending on the approval outcome.
Select Generate.

Copilot generates a flow based on the prompt provided. Copilot may produce more than one version to consider as well.
You can continue to converse back and forth with Copilot to refine the flow for what you want. Once you're satisfied with the structure of the flow, select Keep it and continue.
Review your connections. If you aren't already connected (green checks mean your connection's ready to go), select the 3 dots and select Add new connection. Once your connections are properly connected, select the Create flow button at the bottom of the screen.
Select the When a file is created (properties only) trigger, and choose your SharePoint site under Site Address and Approvals Library under Library Name.
Select the Start and wait for an approval action. The properties panel opens on the left hand side.
Clear the Approval type field, and then choose Approve/Reject - First to respond from the Approval Type dropdown. (Refer to the diagram below step 13 for reference.)
Update the Title field to Document Approval.
In the Assigned To field, enter your organization email address. (This is for testing purposes. You can always come back and choose a different approver later if you wish.)
Put your cursor in the Item Link field and select the lightning bolt (dynamic content) button next to it. This pulls up your dynamic content for this section.
Search for and select Link To Item.
Choose Link to item in the pop-up window.

Select the Condition action (below the approval) to review what Copilot automatically selected as the condition. Ensure that the Outcome property (or body/outcome) from the Start and wait for an approval action is on the left and Approve is on the right.
Expand the condition by selecting the down pointed chevron on the right of the action header. This reveals the True and False branches of the condition. Select the + icon under the False side of the condition and choose the circled plus sign to Add an action.
In the Add an action panel that appears on the left of your screen, search for move and choose the SharePoint Move file action.
Choose your SharePoint site address from the first dropdown.
Under File to Move, use the lightning bolt icon for dynamic content and find and select the Identifier from the SharePoint trigger content. (You might need to search for it.)
Choose the same SharePoint site for the Destination Site Address.
For the Destination Folder, select the folder icon on the right side. Find your Approvals Library, and select the arrow to the right of its name. Then select the folder name Rejected Documents.
Under If Another File Is Already There option, choose Move with a new name.

Save your flow.


To test your flow, go back to your SharePoint Approvals Library and add a new document.
After a short amount of time, an approval appears under the approvals section of the Power Automate maker portal. If the Approvals app is activated for your organization within Teams, you see the approval notification pop-up there. If not, Power Automate approvals is the right place to find it.

To make sure that our flow is moving a rejected item to our Rejected Documents folder, select the approval and choose Reject as your response. Then return to your SharePoint Approvals Library. Refresh the browser (if needed) and you should see the document move to the Rejected Documents folder.
Congrats! You built an approval flow using Copilot that allows users to approve or reject documents in a SharePoint document library.
You can easily edit or extend this approval flow to better fit your needs. Or check out the approvals Power Automate Templates to give yourself various starting places for your own approvals.