Exercise- Working with forms
This hands-on lab shows you how to work with Forms to show and edit data.
Start by downloading the Flooring Estimates workbook and save it to OneDrive for Business.
Go to https://make.powerapps.com and sign in with your organizational account.
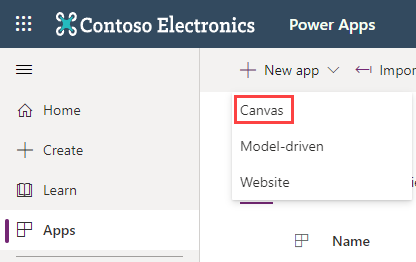
From the Home screen select Apps (from the left side menu), + New app (from the command bar), Canvas .
Name your app New App, format Tablet and select Create.
Select Add Data from the command bar, search for OneDrive and select OneDrive for Business. If prompted, add a connection to OneDrive for Business and sign in using your organizational credentials, or select an already existing connection to OneDrive for Business.
In the Choose an Excel file right-side menu, find and select the file FlooringEstimates.xlsx. The menu changes to Choose a table, there should only be one table called FlooringEstimates, select it and then Connect. The Excel table is now a data source for your app.
Insert a Vertical gallery, set its data source (or Items property) to FlooringEstimates. Your gallery will now begin displaying the list.
Set the OnSelect property of your new gallery to the following:
Navigate(Screen2)We create Screen2 in the next step so you can ignore the formula error at the moment.
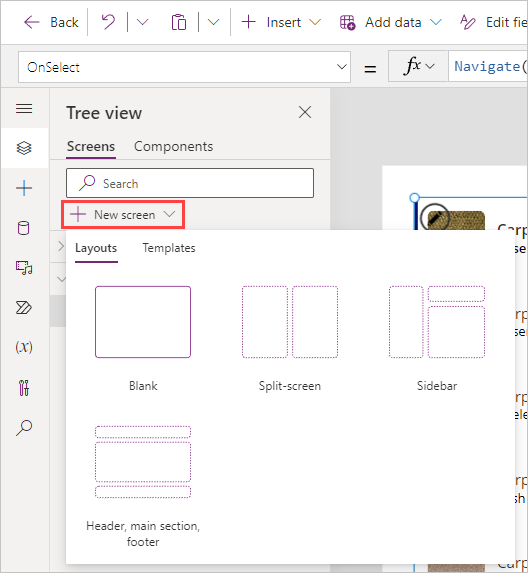
Select New Screen and pick the Blank one. The action takes you to Screen2.
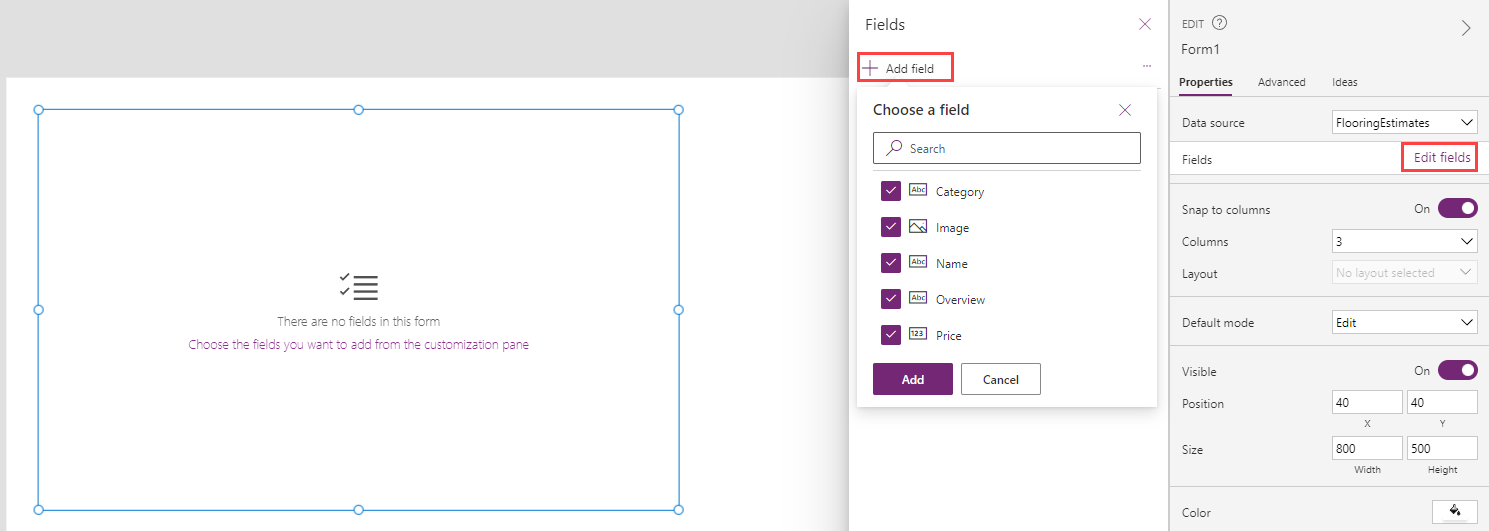
From Screen2 Select Insert > Edit form. Set the DataSource property to FlooringEstimates and the Item property to Gallery1.Selected.
From the properties panel on the right, select Edit fields > + Add field, and select all of the available fields (Category, Image, Name, Overview and Price). Then select Add.
You should now see your form with the five fields displayed. Change the OnSuccess property of the form to the following:
Navigate(Screen1, ScreenTransition.Cover); Notify("You have successfully submitted a record for " & Self.LastSubmit.Name)Change the OnFailure property of the form to the following:
Notify("Your data was not saved. Please try again or contact an administrator.", NotificationType.Error)Select the Insert tab and add 2 buttons. Change the text of one to New Form and the other to Submit Form.
Change the OnSelect property of the New Form button to the following:
NewForm(Form1)Change the OnSelect property of the Submit Form button to the following:
SubmitForm(Form1)Now go back to the first page, put the app in preview mode, and select the second item in the gallery: "Caserta Sky Grey" carpet. Selecting this record should navigate you to the form screen (Screen2) showing the details for "Caserta Sky Grey" carpet.
Change the price from "8.1" to "8.25" and select your button Submit Form. After a moment, your app should navigate back to the home screen and display the message at the top that you have successfully submitted a record.
Select the same item to return to the form screen and notice the "Price" is now "8.25".
Select the New Form button and enter the following information (don't worry about adding a picture):
Field Input Category Carpet Name A new test Overview Testing Price 1.75 Select Submit Form. Once you return to the home screen, scroll to the bottom of your gallery and find A new test.

Congratulations! You have successfully created a basic app utilizing the principles taught in this module.