Note
Access to this page requires authorization. You can try signing in or changing directories.
Access to this page requires authorization. You can try changing directories.
With Power BI Desktop, you can connect to data from many different sources. For the full list of available connectors, see Connectors in Power Query.
Power BI Desktop offers two Get Data experiences:
- New Power Query experience (Preview): A redesigned interface with streamlined navigation, improved accessibility, and a consistent Power Query experience across Power BI Desktop, web modeling, and other Fabric products.
- Legacy experience: The original Get Data dialog box with category-based data source selection.
This article provides an overview of both experiences and describes how to find a data source. It also describes how to export or use data sources as PBIDS files to make it easier to build new reports from the same data.
For known limitations, workarounds, and a place to share feedback, see New Power Query experience known limitations and workarounds.
Note
The Power BI team is continually expanding the data sources available to Power BI Desktop and the Power BI service. As such, you often see early versions of data sources marked as Beta or Preview. Any data source marked as Beta or Preview has limited support and functionality, and it shouldn't be used in production environments. Additionally, any data source marked as Beta or Preview for Power BI Desktop might not be available for use in the Power BI service or other Microsoft services until the data source becomes generally available (GA).
Get data
The Power Query Get Data experience replaces the legacy Get Data dialog with a redesigned interface that provides a consistent Power Query experience across Power BI Desktop, web modeling, and other Fabric products.
Note
The Power Query experience is in preview.
Prerequisites
Power BI Desktop with the New Power Query experience preview feature enabled.
To enable the Power Query experience:
Launch Power BI Desktop.
Go to File > Options and settings > Options.
Select Preview features, and then select the New Power Query experience checkbox.

Select OK.
Select Get data to get started.

Get data (Power Query)
The Get data (Power Query) experience displays a left-hand navigation pane that helps you find and select the right data source. The experience is separated into the following sections:
- Home
- New
- Recent data
- OneLake catalog
- Blank table
- Blank query

Home
The home page summarizes all the other sections and presents you with quick options to connect to your data. On this page, you can search for a connector across all categories by using the search bar at the top of the page. From the home page, select View more next to New sources, Recent, or OneLake catalog to visit those sections.
New
In the New section you can view a full list of data connectors. On this page, you can search for a connector across all categories by using the search bar at the top of the page. You can also navigate across the categories to find a specific connector to integrate with. Selecting a connector opens the connection settings window, which begins the process of connecting. For more information on using connectors, see Getting data overview.
Recent
In the Recent section, you can find and reconnect to your most recently used data sources.
OneLake catalog
In the OneLake catalog section, you can find, explore, and use the Fabric data items in your organization that you have access to. It provides information about the items and entry points for working with them. This module also lets you choose your preferred connectivity mode. For more information on the OneLake catalog, go to OneLake catalog.

Blank Table
In the Blank Table section, you can copy and paste data or manually enter it into a new table.
Blank Query
In the Blank Query section, you can write or paste your own M script to create a new query.

Find a data source
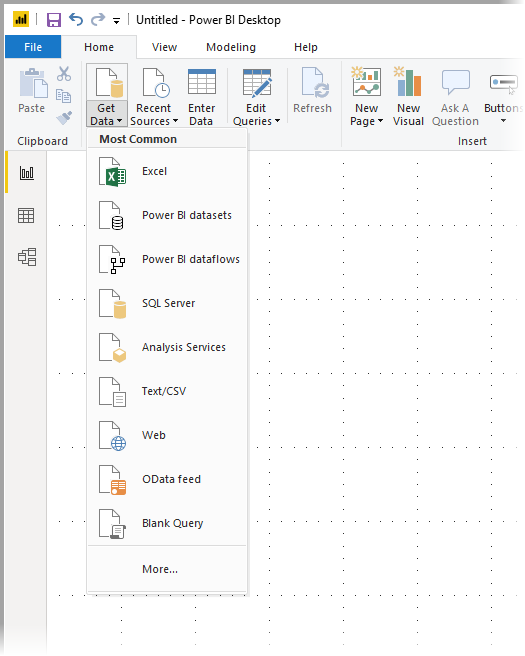
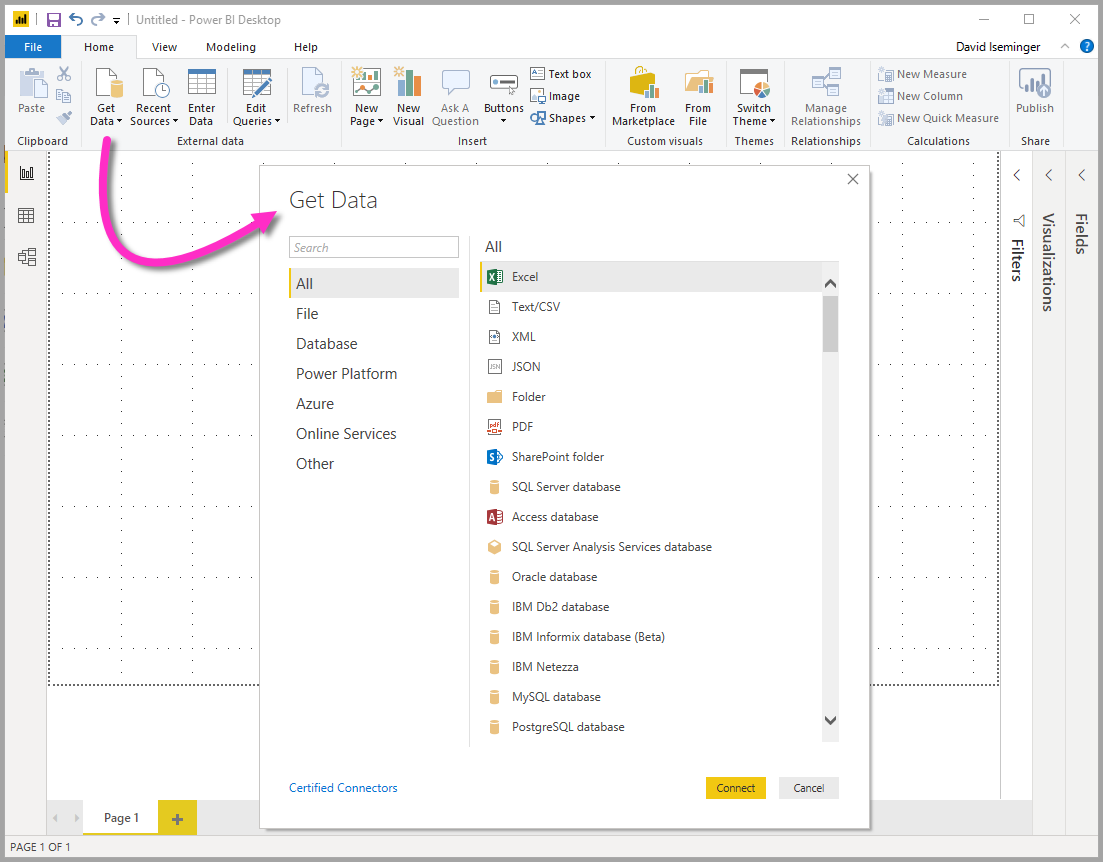
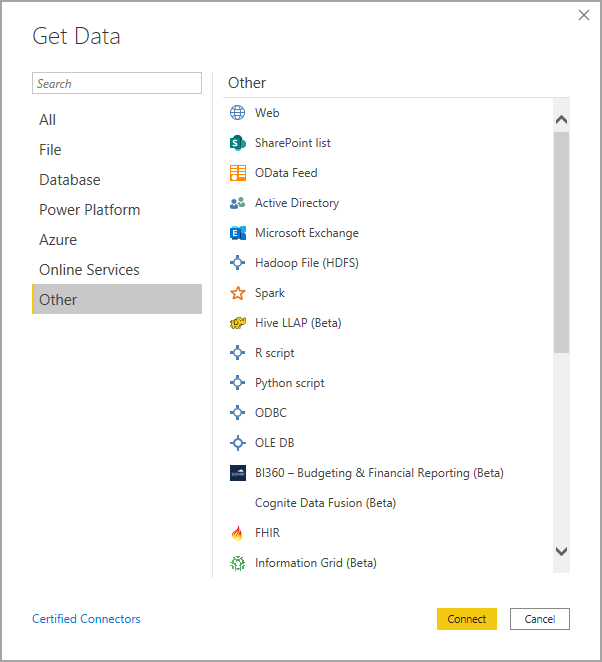
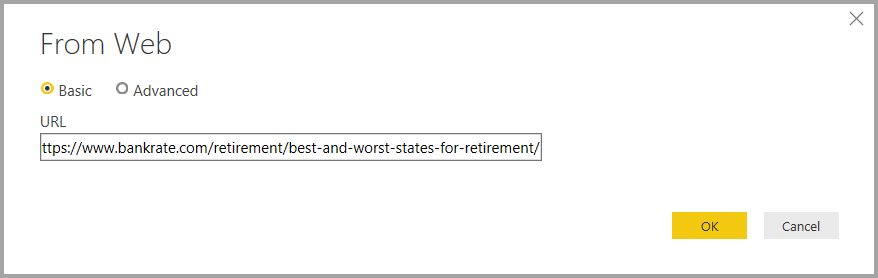
Power BI Desktop uses Power Query to connect to data. For the full, current list of connectors and their capabilities, including DirectQuery support, authentication kinds, and prerequisites, see Connectors in Power Query.
In the new Get Data experience, browse the connectors in the New module, or search for a connector from the Home page. In the legacy experience, connectors are organized by category in the Get Data dialog box.
Note
Some connectors must be enabled before you can use them. Go to File > Options and settings > Options > Preview features and enable the connector. Any data source marked as Beta or Preview has limited support and functionality, and shouldn't be used in production environments.
Note
Currently, you can't connect to custom data sources secured through Microsoft Entra ID.
Use PBIDS files to get data
PBIDS files are Power BI Desktop files that have a specific structure and a .pbids extension to identify them as Power BI data source files.
You can create a PBIDS file to streamline the Get Data experience for new or beginner report creators in your organization. If you create the PBIDS file from existing reports, it's easier for beginning report authors to build new reports from the same data.
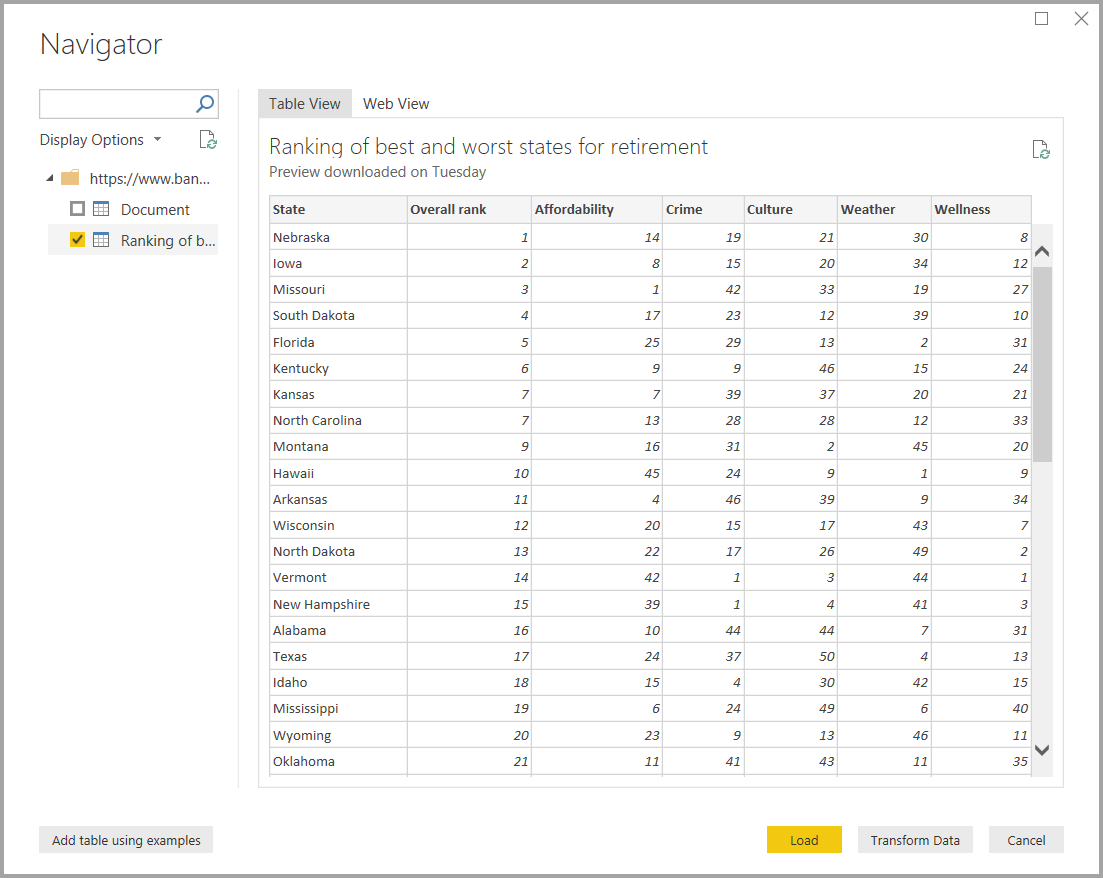
When an author opens a PBIDS file, Power BI Desktop prompts the user for credentials to authenticate and connect to the data source that the file specifies. The Navigator dialog box appears, and the user must select the tables from that data source to load into the model. Users might also need to select the database and connection mode if none was specified in the PBIDS file.
From that point forward, the user can begin building visualizations or select Recent Sources to load a new set of tables into the model.
Currently, PBIDS files only support a single data source in one file. Specifying more than one data source results in an error.
How to create a PBIDS connection file
If you already have a Power BI Desktop PBIX file connected to the data you want, you can export the connection files from within Power BI Desktop. This method is recommended because Power BI Desktop can autogenerate the PBIDS file. You can also edit or manually create the file in a text editor.
To create the PBIDS file, select File > Options and settings > Data source settings.

In the dialog that appears, select the data source you want to export as a PBIDS file, and then select Export PBIDS.

In the Save As dialog box, enter a name for the file, and select Save. Power BI Desktop generates the PBIDS file. You can rename it, save it in your directory, and share it with others.
You can also open the file in a text editor and modify the file further, including specifying the mode of connection in the file itself. The following image shows a PBIDS file open in a text editor.

If you prefer to manually create your PBIDS files in a text editor, you must specify the required inputs for a single connection and save the file with the .pbids extension. Optionally, you can also specify the connection mode as either DirectQuery or Import. If mode is missing or null in the file, the user who opens the file in Power BI Desktop is prompted to select DirectQuery or Import.
Important
Some data sources return an error if columns are encrypted in the data source. For example, if two or more columns in an Azure SQL Database are encrypted during an Import action, an error is returned. For more information, see SQL Database.
PBIDS file examples
This section provides examples from commonly used data sources. The PBIDS file type only supports data connections that Power BI Desktop also supports, with the following exceptions: Wiki URLs, Live Connect, and Blank Query.
The PBIDS file doesn't include authentication information or table and schema information.
The following code snippets show several common examples for PBIDS files, but they aren't complete or comprehensive. For other data sources, see the git Data Source Reference (DSR) format for protocol and address information.
If you're editing or manually creating the connection files, use these examples for convenience only. They aren't meant to be comprehensive and don't include all supported connectors in DSR format.
Azure AS
{
    "version": "0.1",
    "connections": [
    {
        "details": {
        "protocol": "analysis-services",
        "address": {
            "server": "server-here"
        },
        }
    }
    ]
}
Folder
{
  "version": "0.1",
  "connections": [
    {
      "details": {
        "protocol": "folder",
        "address": {
            "path": "folder-path-here"
        }
      }
    }
  ]
}
OData
{
  "version": "0.1",
  "connections": [
    {
      "details": {
        "protocol": "odata",
        "address": {
            "url": "URL-here"
        }
      }
    }
  ]
}
SAP BW
{
  "version": "0.1",
  "connections": [
    {
      "details": {
        "protocol": "sap-bw-olap",
        "address": {
          "server": "server-name-here",
          "systemNumber": "system-number-here",
          "clientId": "client-id-here"
        },
      }
    }
  ]
}
SAP HANA
{
  "version": "0.1",
  "connections": [
    {
      "details": {
        "protocol": "sap-hana-sql",
        "address": {
          "server": "server-name-here:port-here"
        },
      }
    }
  ]
}
SharePoint list
The URL must point to the SharePoint site itself, not to a list within the site. Users get a navigator that they can use to select one or more lists from that site. Each list becomes a table in the model.
{
  "version": "0.1",
  "connections": [
    {
      "details": {
        "protocol": "sharepoint-list",
        "address": {
          "url": "URL-here"
        },
       }
    }
  ]
}
SQL Server
{
  "version": "0.1",
  "connections": [
    {
      "details": {
        "protocol": "tds",
        "address": {
          "server": "server-name-here",
          "database": "db-name-here (optional) "
        }
      },
      "options": {},
      "mode": "DirectQuery"
    }
  ]
}
Text file
{
  "version": "0.1",
  "connections": [
    {
      "details": {
        "protocol": "file",
        "address": {
            "path": "path-here"
        }
      }
    }
  ]
}
Web
{
  "version": "0.1",
  "connections": [
    {
      "details": {
        "protocol": "http",
        "address": {
            "url": "URL-here"
        }
      }
    }
  ]
}
Dataflow
{
  "version": "0.1",
  "connections": [
    {
      "details": {
        "protocol": "powerbi-dataflows",
        "address": {
          "workspace":"workspace id (Guid)",
          "dataflow":"optional dataflow id (Guid)",
          "entity":"optional entity name"
        }
       }
    }
  ]
}