Configure retention policies
Email, documents, Skype for Business, and Teams conversations. Your users generate a lot of content every day. Take control of it by setting up retention policies to keep what you want and get rid of what you don't. Users can continue to edit and work with the content when it is subject to a retention policy, because the content is retained in place, in its original location. If someone edits or deletes content subject to the policy, a copy is saved to a secure location where it is retained while the policy is in effect.
Navigate to Microsoft Purview compliance portal > Data Lifecycle Management > Retention to configure retention policies.
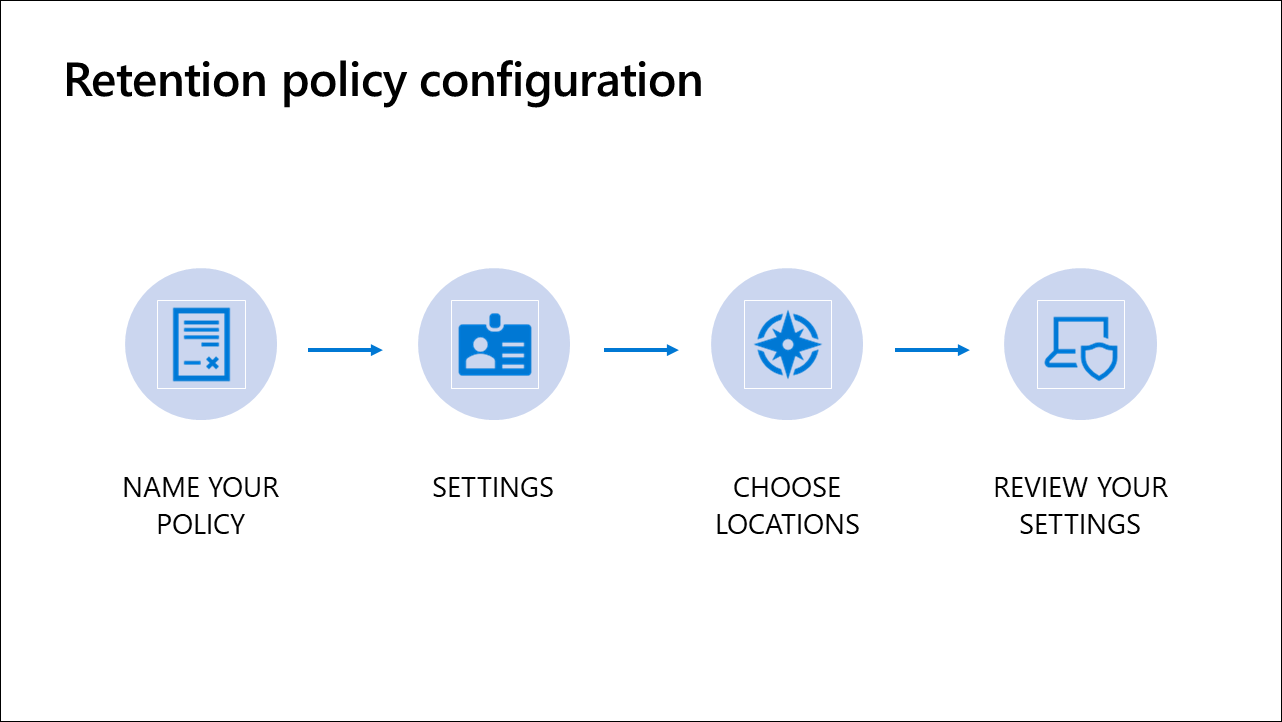
Creating a retention policy consists of these steps.
- Name your policy
- Settings
- Choose locations
- Review your settings
Step 1: Name your policy
Name
Enter a short name for the retention policy to be displayed on the Retention page.
Description
Enter a description of the retention policy's purpose.
Step 2: Settings
The first decision you need to make when configuring the settings for the retention policy is which path to take: basic or advanced. The basic path, along with its branches, is represented by the settings under the heading, Do you want to retain content? The advanced path is represented by the settings under the heading. Need more options? The basic branch applies to all content in the locations you choose, while the advanced path lets you set more granular application options.
Note
While the advanced Need more options? path still exists today, a best practice is to use retention labels instead when you need to apply granular retention settings. It is not covered here for that reason.
Do you want to retain content?
You will have to provide additional information based on if the answer to this question is yes or no.
Yes, I want to retain it. Selecting this option means the content will stay where it is for the time period specified. For example, email and Teams conversations will stay in mailboxes and documents will stay in SharePoint or OneDrive. If users delete the content, a copy will be placed in a secure location so you can access it, if needed.
In addition to specifying the amount of time to retain the content before it is disposed, you must specify when you want the retention period timer to start. The options are when it was created and when it was last modified. The settings here behave differently for content in different locations.
SharePoint and OneDrive documents:
- When it was created. The retention period begins when documents were created.
- When it was last modified. The retention period begins based on when documents were last modified.
Email messages and Teams conversations:
- When it was created or when it was last modified. Regardless of what you choose, the retention period on content in email messages and Teams conversations will be based on when messages or conversations were sent or received.
Next, select if you want to delete the content after the retention period has expired. Options are Yes and No. There is no option for the content to go through a disposition review.
- Yes. After this time, content is deleted from where it is stored and from the secure location where copies are kept.
- No. Content will be left in place. If you do not want to keep the content, you must delete it yourself.
No, just delete content older than. Users will be free to permanently delete their content any time prior to expiration. When the content reaches the age selected, it will be deleted without the user having to do anything. For example, email messages and calendar items will be deleted from users' mailboxes and documents will be deleted from their SharePoint or OneDrive libraries.
In addition to specifying the amount of time that must pass before content is deleted you must determine when you want the timer to start. The options are when it was created and when it was last modified. The settings behave differently for content in certain locations.
SharePoint and OneDrive documents:
- When it was created. Documents will be deleted based on when they were created.
- When it was last modified. Documents will be deleted based on when they were last modified.
Email messages and Teams conversations:
- When it was created or when it was last modified. Regardless of what you choose, the retention period on content in email messages and Teams conversations will be based on when messages or conversations were sent or received.
Step 3: Choose locations
The first option is Apply policy only to content in Exchange email, public folders, Microsoft 365 groups, OneDrive, and SharePoint documents. No additional options are provided if you select this option.
The second option offers you more control. In addition to selecting more locations, you can also include or exclude locations based on additional parameters. For example, you can include only the Finance department's SharePoint site in the retention policy. The following table shows the options and the additional control to refine the retention policy scope.
| Location | Include/Exclude |
|---|---|
| Exchange email | Recipients |
| SharePoint sites | Sites |
| OneDrive accounts | Accounts |
| Microsoft 365 groups | Groups |
| Skype for Business | Users |
| Exchange public folders | |
| Teams channel messages | Teams |
| Teams chats | Users |
Retention settings behave differently for some locations:
SharePoint sites
Your retention policy can retain content in SharePoint communication sites, team sites that are not connected by Microsoft 365 groups, and classic sites. Team sites connected by Microsoft 365 groups use the Microsoft 365 groups locations instead.
Microsoft 365 groups
The policy will apply to content in the group's mailbox, site, files, conversations, and OneNote.
Skype for Business conversations
Applying a policy to all Skype for Business conversations in your organization is not supported. If you want to retain these conversations, you need to turn on the location, then manually choose the users whose conversations you want to retain.
Teams chats and channel messages
To retain Teams content, you can only turn on one or both Teams locations. All other non-Teams locations must be turned off. This setting does not apply to files, tabs (like Wiki and OneNote), or third-party apps that may have been added to the Teams workspace.
Step 4: Review your settings
The final step in the process is to review your settings and make any necessary updates. Options include publishing the policy right away or saving it for later.
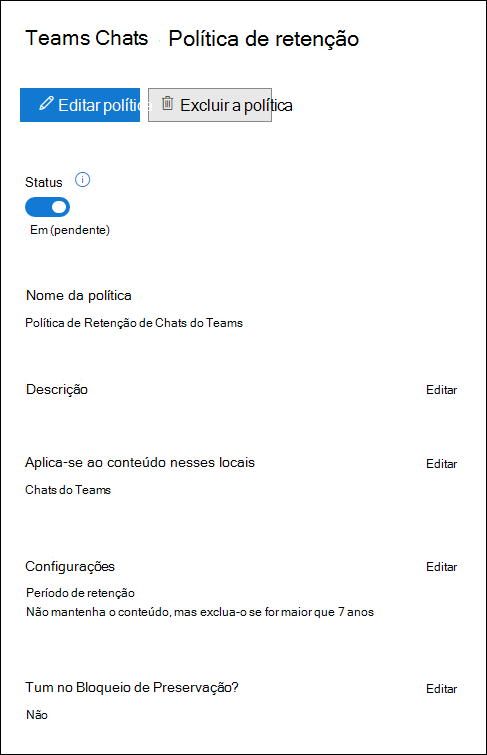
Retention policy status
Retention policy status is available by selecting the policy on the retention tab of the Data Lifecycle Management solution in the Microsoft Purview compliance portal. Here is a summary of the states the policy might be in:
| Status | Description |
|---|---|
| On (Success) | The policy is active and being applied to the content in the locations you chose. |
| On (Pending) | The policy is still being deployed to the locations you chose. It can take up to 24 hours to be fully deployed. |
| On (Errors) | The policy is active but not being enforced on content in one or more locations due to an error. |
| Off (Success) | The policy is not active or being applied to content. However, the policy's settings are saved in case you need to enable it. |
| Off (Pending) | The process of turning off the policy has started. It can take up to 24 hours to turn it off entirely. Until this time, it might still be applied to content in some locations. |
| Off (Errors) | The policy is turned off but might still be applied to content in one or more locations. |
The image below shows the retention policy Teams Chats Retention Policy with a status of On (Pending). The (On Pending) status means the policy is still being deployed and not being enforced on content yet.