Заметка
Доступ к этой странице требует авторизации. Вы можете попробовать войти в систему или изменить каталог.
Доступ к этой странице требует авторизации. Вы можете попробовать сменить директорию.
Введение
This tutorial describes how to connect to, set up, and activate your Data Box Gateway device by using the local web UI.
The setup and activation process can take around 10 minutes to complete.
В этом руководстве описано, как:
- Connect to a virtual device
- Set up and activate the virtual device
Предпосылки
Before you configure and set up your Data Box Gateway, make sure that:
- You've provisioned a virtual device and obtained a connected URL to it as detailed in the Provision a Data Box Gateway in Hyper-V or Provision a Data Box Gateway in VMware.
- You have the activation key from the Data Box Gateway service that you created to manage Data Box Gateway devices. Дополнительные сведения см. в разделе Подготовка к развертыванию шлюза Azure Data Box.
Подключение к настройке локального веб-интерфейса
Open a browser window and access the local web UI of the device at:
https://ip-address-of-network-interface
Use the connection URL noted in the previous tutorial. Появится сообщение об ошибке или предупреждение, указывающее, что возникла проблема с сертификатом безопасности веб-сайта.
Выберите Перейти на эту веб-страницу. Эти действия могут отличаться в зависимости от используемого браузера.
сообщение об ошибке сертификата безопасности веб-сайта

Sign in to the web UI of your virtual device. Пароль по умолчанию — Password1.
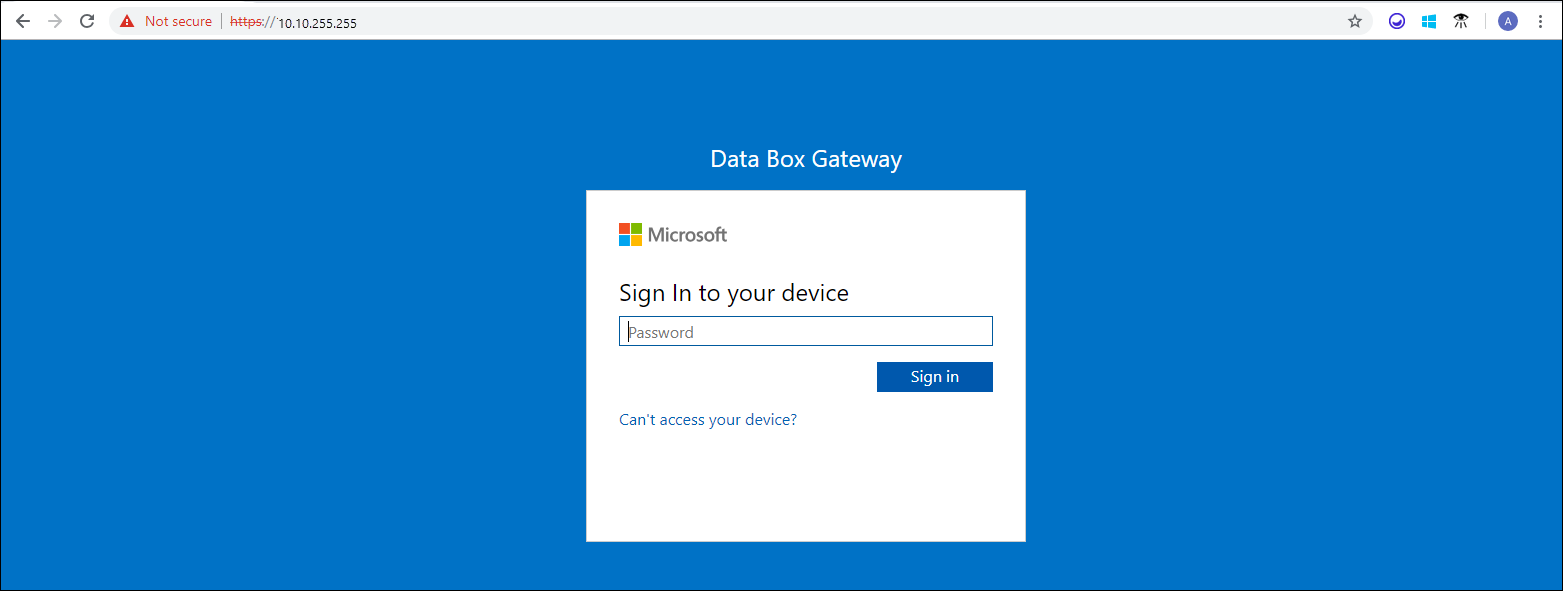
At the prompt, change the device password. Новый пароль должен содержать от 8 до 16 символов. It must contain 3 of the following: uppercase, lowercase, numeric, and special characters.

You're now at the Dashboard of your device.
Set up and activate the virtual device
Your dashboard displays the various settings that are required to configure and register the virtual device with the Data Box Gateway service. имя устройства, параметры сети, установки веб-проксии настройки времени опциональны. Единственными необходимыми параметрами являются настройки облака .

In the left-pane, select Device name, and then enter a friendly name for your device. The friendly name must contain from 1 to 15 characters long and have letter, numbers, and hyphens.

(Optional) In the left-pane, select Network settings and then configure the settings. On your virtual device, you'll see at least one network interface and more depending on how many you configured in the underlying virtual machine. The Network settings page for a virtual device with one network interface enabled is as shown below.
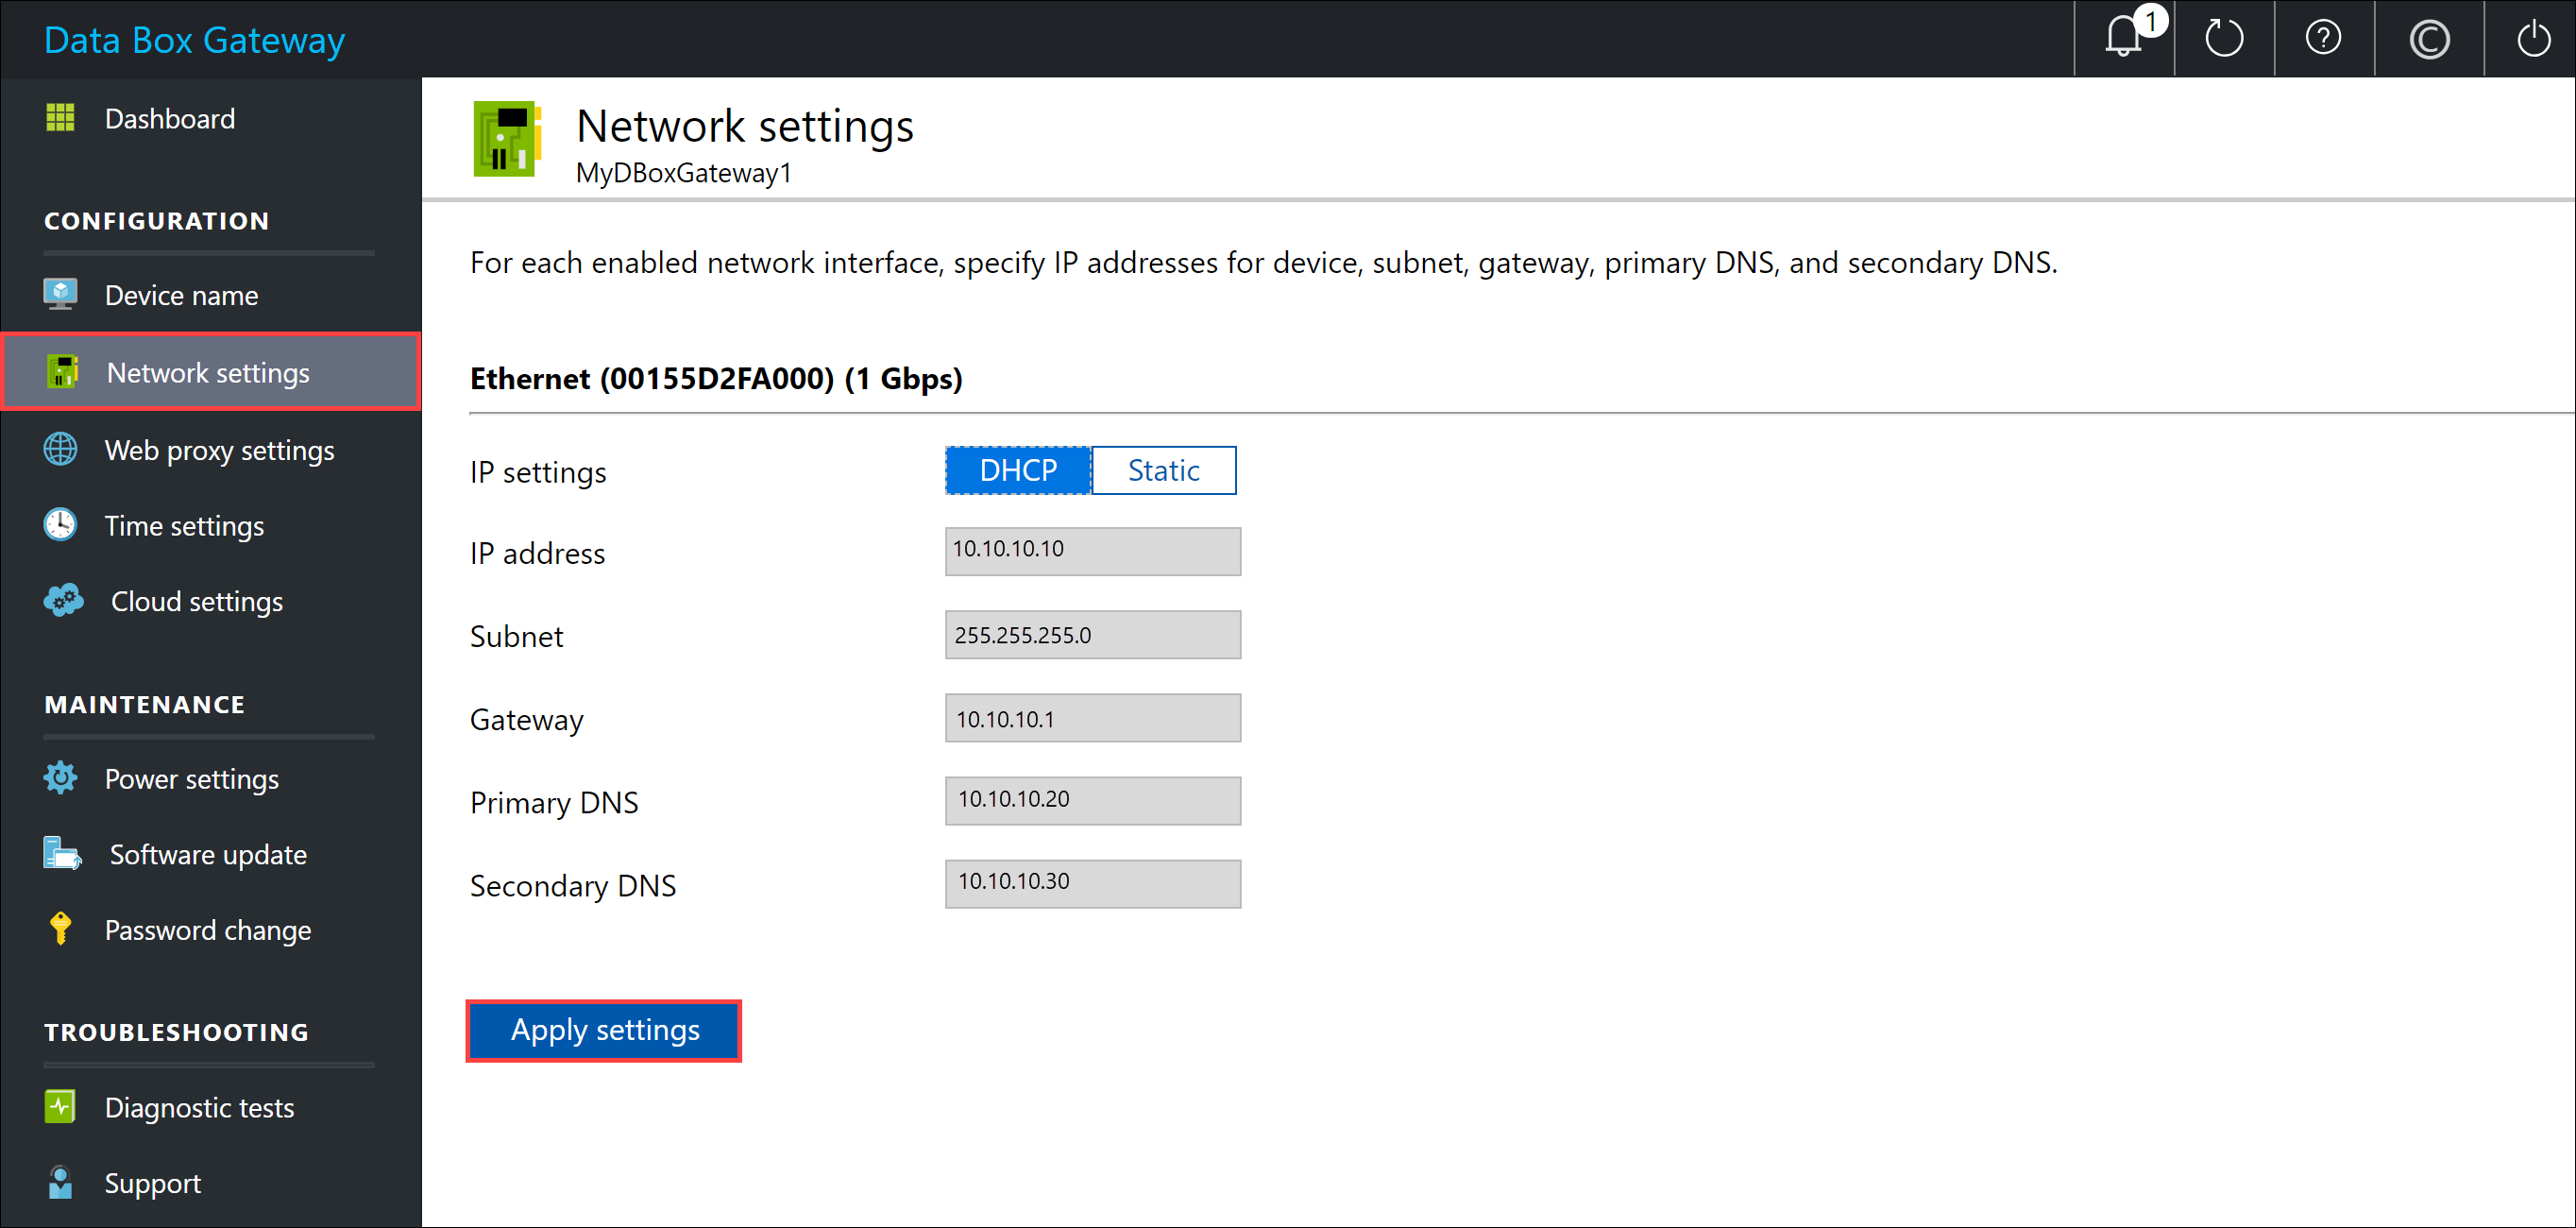
As you configure network settings, keep in mind:
- Если DHCP включен в вашей среде, сетевые интерфейсы автоматически настраиваются. IP-адрес, подсеть, шлюз и DNS автоматически назначаются.
- Если DHCP не включен, при необходимости можно назначить статические IP-адреса.
- Сетевой интерфейс можно настроить как IPv4.
Примечание.
Рекомендуется не переключать локальный IP-адрес сетевого интерфейса со статического на DHCP, если у вас нет другого IP-адреса для подключения к устройству. Если вы используете один сетевой интерфейс и переключитесь на DHCP, невозможно определить DHCP-адрес. Если вы хотите изменить DHCP-адрес, дождитесь, пока устройство не зарегистрировано в службе, а затем измените его. Затем можно просмотреть IP-адреса всех адаптеров в свойствах устройства на портале Azure для службы.
(Optional) configure your web proxy server. Although web proxy configuration is optional, if you use a web proxy, you can configure it only on this page.
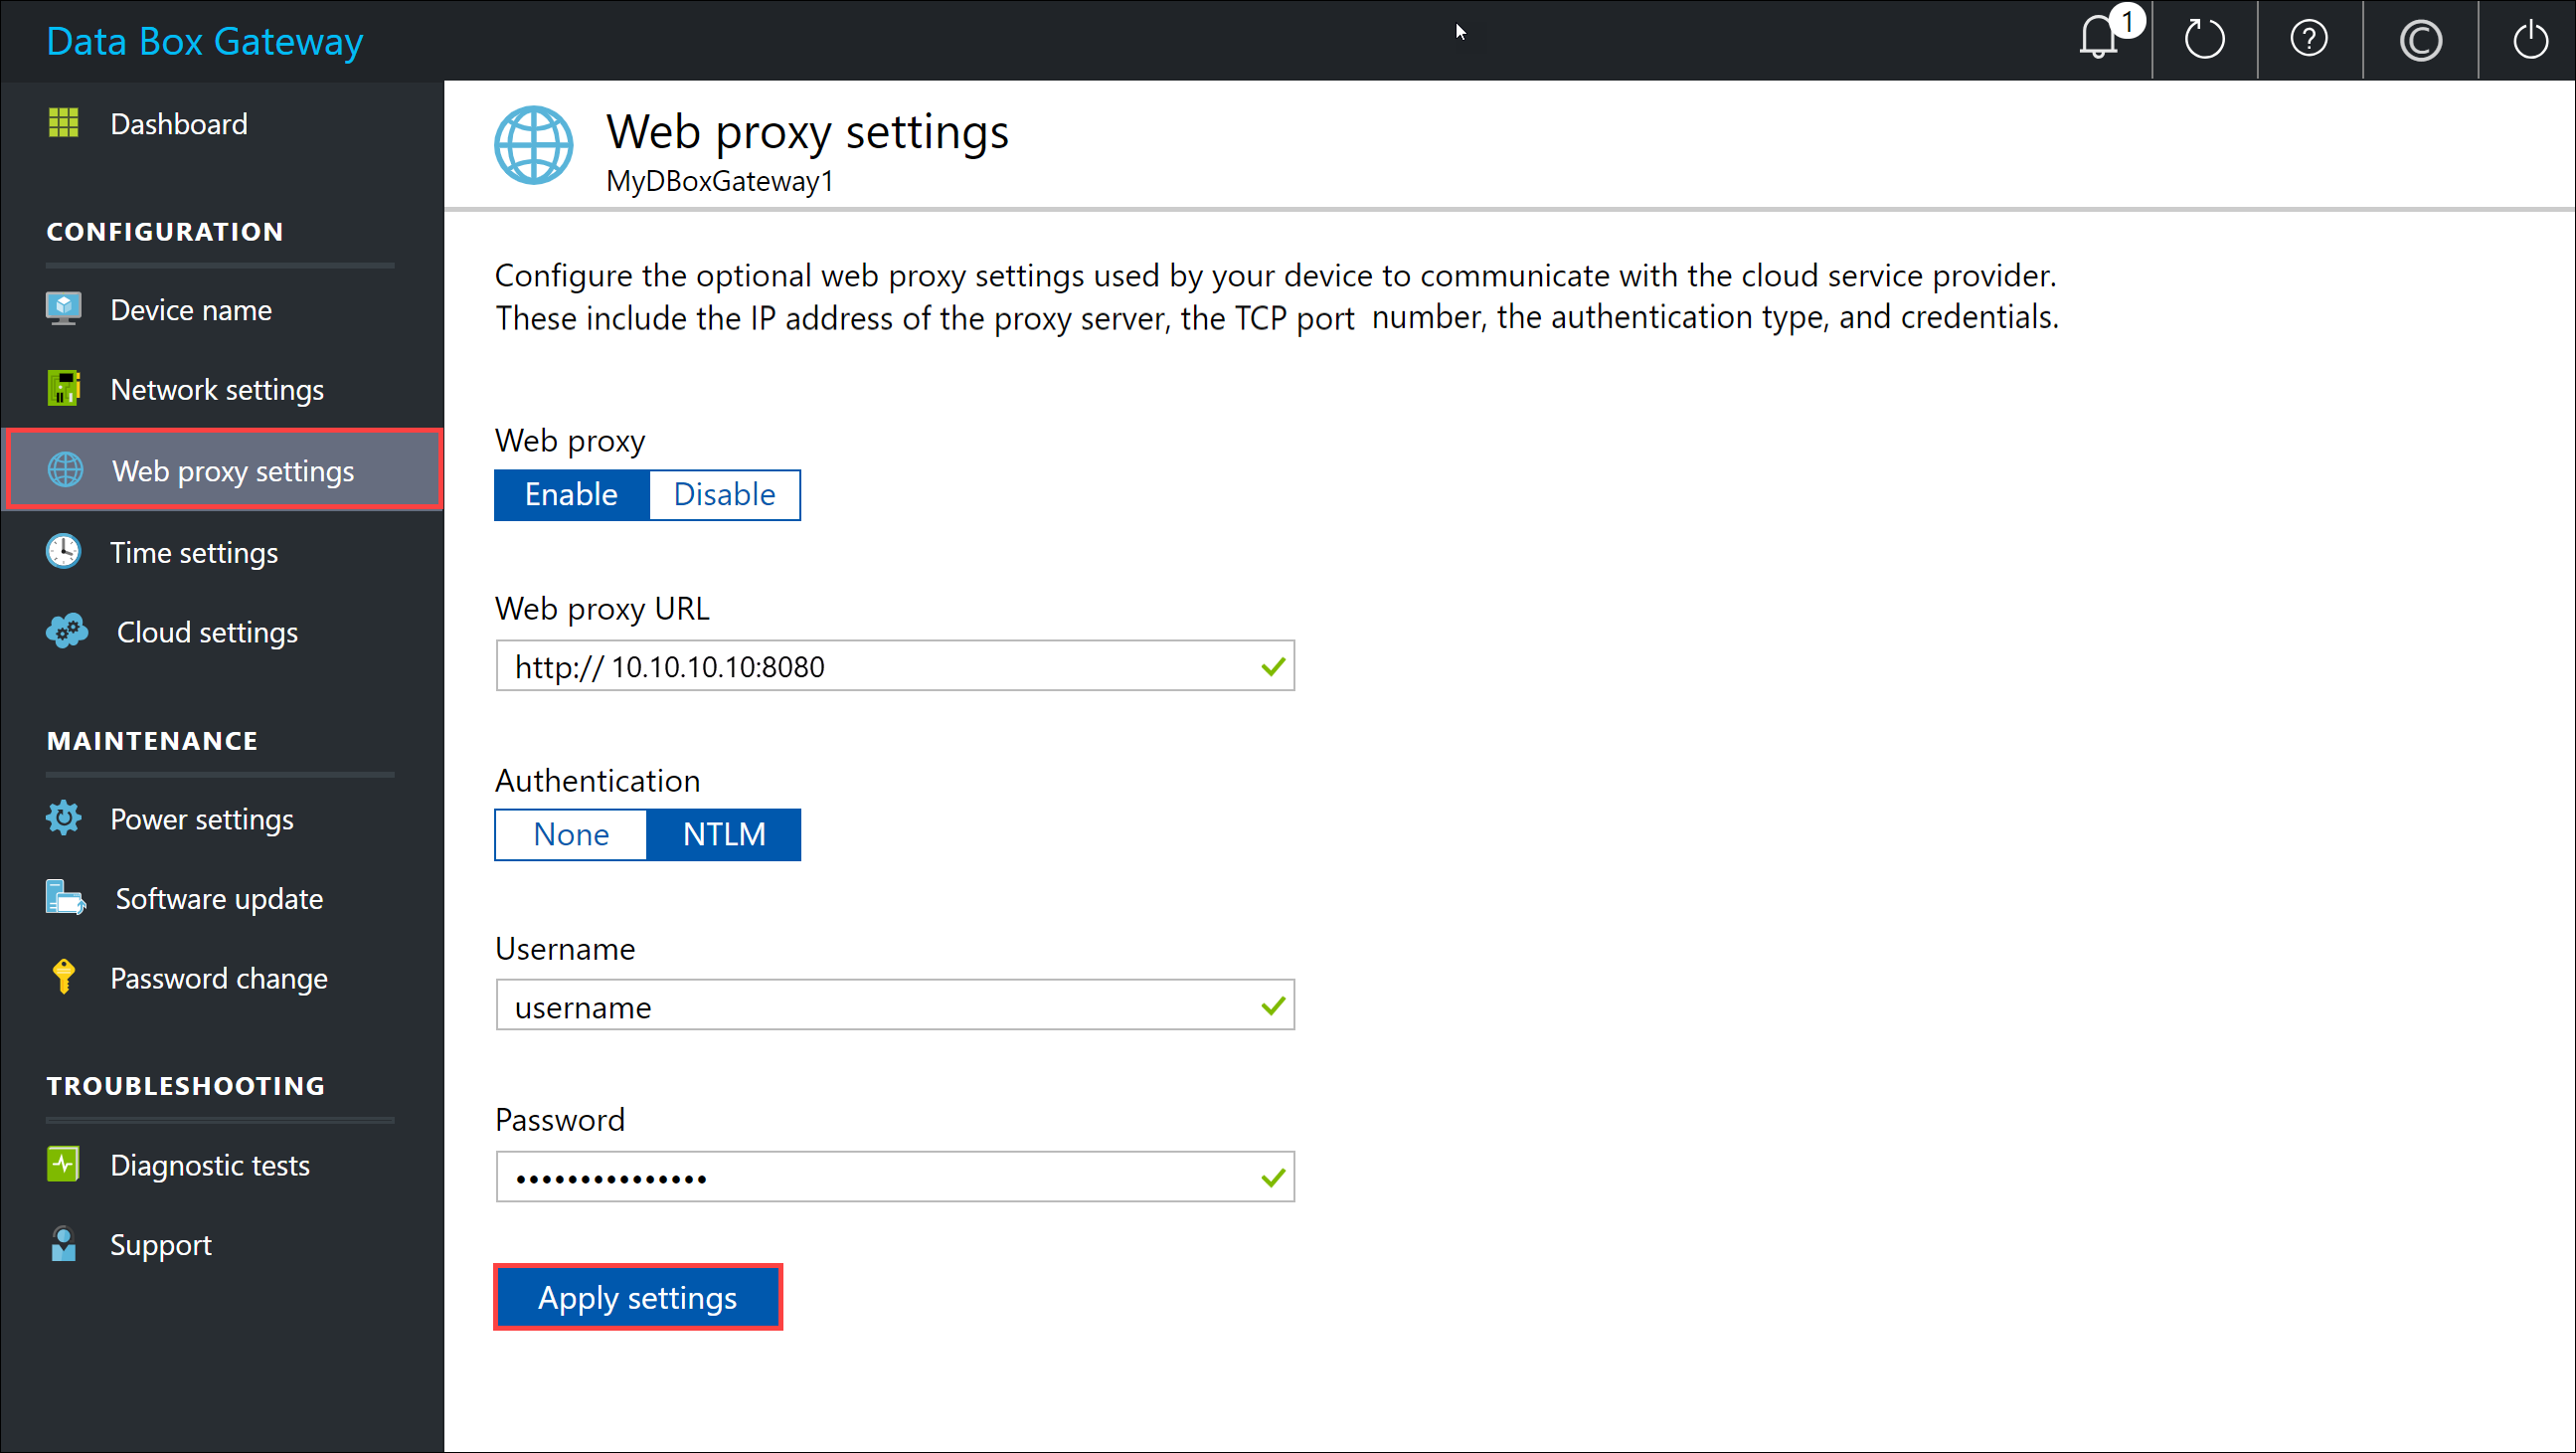
On the Web proxy page, do the following:
- In the Web proxy URL box, enter the URL in this format:
http://<host-IP address or FQDN>:Port number. URL-адреса HTTPS не поддерживаются. - Under Authentication, select None or NTLM.
- If you're using authentication, enter a Username and Password.
- To validate and apply the configured web proxy settings, select Apply.
Примечание.
Файлы автоконфигурации прокси (PAC) не поддерживаются. PaC-файл определяет, как веб-браузеры и другие агенты пользователей могут автоматически выбрать соответствующий прокси-сервер (метод доступа) для получения заданного URL-адреса. Прокси-серверы, которые пытаются перехватывать и считывать весь трафик (а затем повторно подписывать все с помощью собственной сертификации) несовместимы, так как сертификат прокси-сервера не является доверенным. Typically transparent proxies work well with Azure Data Box Gateway.
- In the Web proxy URL box, enter the URL in this format:
(Необязательно) В левой области выберите параметры времени, а затем настройте часовой пояс и первичный и вторичный NTP-серверы для устройства.
NTP-серверы необходимы, так как устройство должно синхронизировать время, чтобы оно удостоверялось с помощью поставщиков облачных служб.
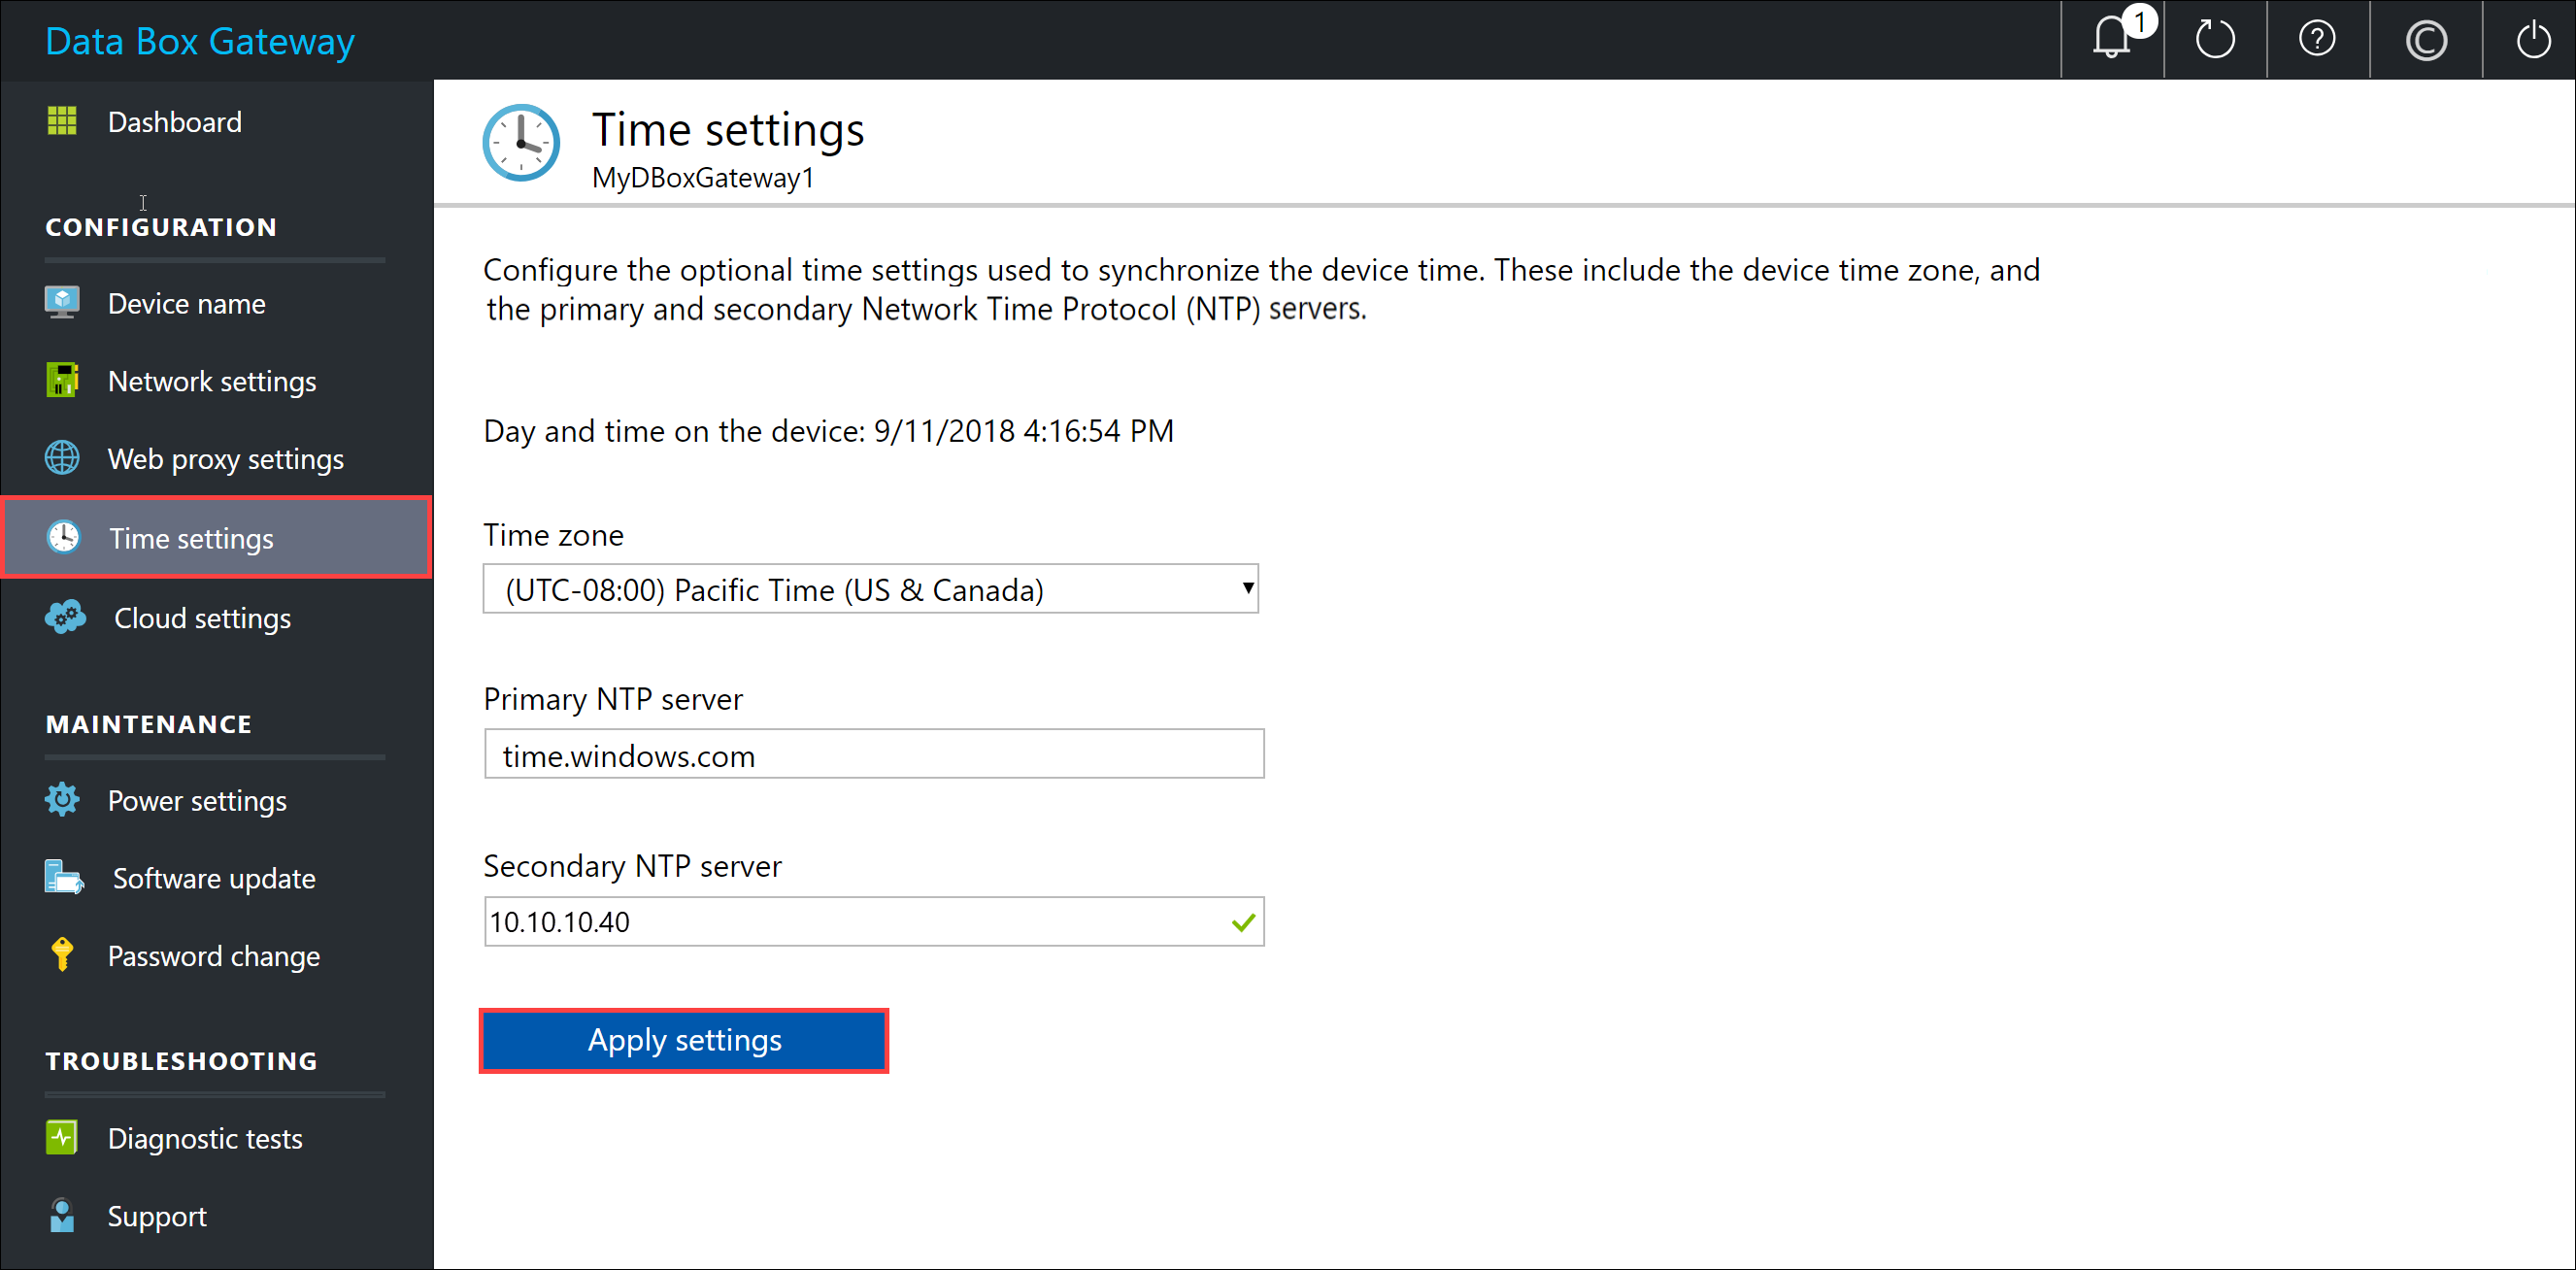
In the Time settings page, do the following:
In the Time zone drop-down list, select the time zone that corresponds to the geographic location in which the device is deployed. Часовой пояс по умолчанию для устройства — PST. Устройство будет использовать этот часовой пояс для всех запланированных операций.
Specify a Primary NTP server for your device or accept the default value of
time.windows.com.
Ensure that your network allows NTP traffic to pass from your datacenter to the Internet.При необходимости в поле вторичный NTP-сервер введите резервный сервер для устройства.
To validate and apply the configured time settings, select Apply.
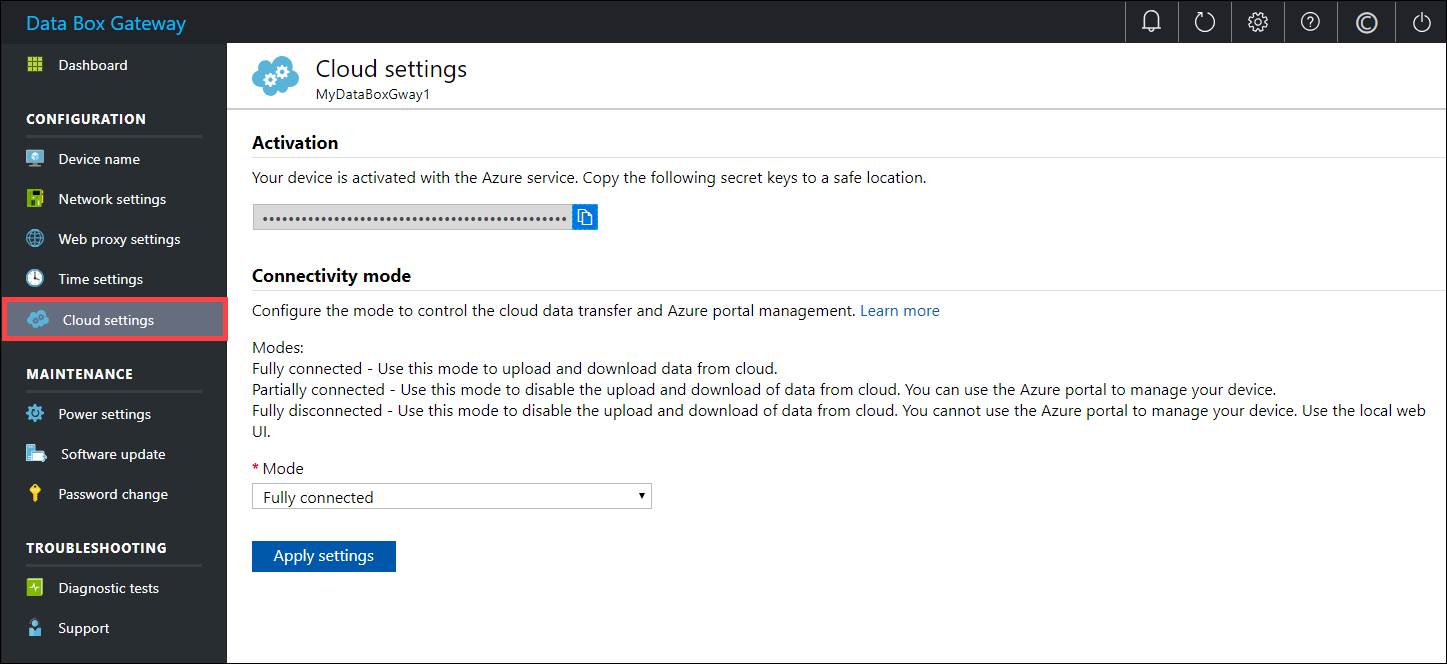
In the left pane, select Cloud settings, and then activate your device with the Data Box Gateway service in Azure portal.
In the Activation key box, enter the Activation key that you got in Get the activation key for Data Box Gateway.
Выберите Активировать.

The device is activated and critical updates, if available, are automatically applied. Вы увидите уведомление об этом. Monitor the update progress via the Azure portal.
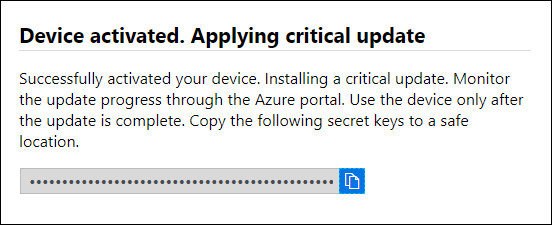
The dialog also has a recovery key that you should copy and save in a safe location. Этот ключ используется для восстановления данных в случае, если устройство не может загрузиться.
You may need to wait several minutes for the update to successfully complete. After the update is complete, sign in to the device. The Cloud settings page updates to indicate that the device is successfully activated.
Настройка устройства завершена. You can now add shares on your device.
Дальнейшие действия
Из этого руководства вы узнали, как:
- Connect to a virtual device
- Set up and activate the virtual device
To learn how to transfer data with your Data Box Gateway, see: