Tutorial 1 - Build a sales sequence
In this first tutorial, we walk you through the process of building a basic sequence to use for guiding a seller through facilitating an introduction with a potential new customer. The sequence includes the following flow:
Send an Introduction to a customer.
Wait for a day.
Facilitate an introduction phone call with the customer.
Important
To effectively complete the tutorials in this module, you will need either a trial environment or a sandbox environment with Sales Insights to complete these tutorials.
Task: Configure Sales accelerator workspace (Optional)
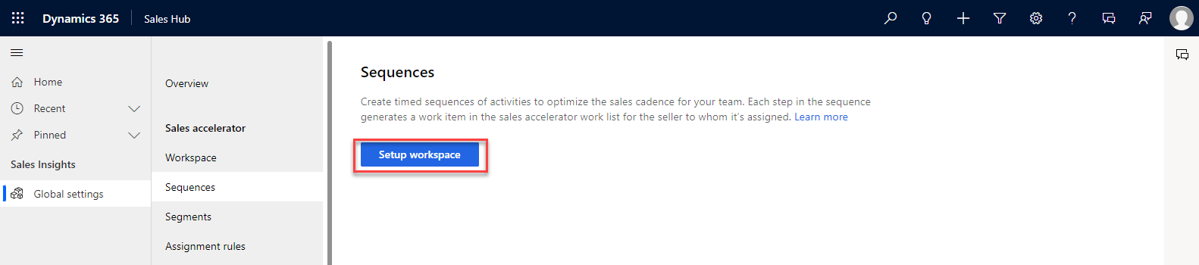
When you first go to set up a sequence, the Sales accelerator workspace might not be fully configured in your environment. This needs to be configured. You know that your environment isn't ready because you see a pink bar at the top of your screen as shown in the following image, and a button to set up the Sales accelerator workspace.

If your screen resembles the image above, follow these steps to configure your workspace. Otherwise, you can skip straight to Task: Create a new sequence.
If necessary, open the Dynamics 365 Sale Hub app, and switch to the Sales Insights settings area.
Under the Sales accelerator group, select Sequences.
If you see the message to enable workflow for the sequence to work properly, select the Enable button. (It can take a few minutes to complete.)
Once the workflow has been enabled, select the Setup workspace button.
On the Sales accelerator workspace screen, select the Quick setup button.
In the Sales accelerator quick setup screen, select All security roles.
Ensure that Leads is displayed under Record Type and form. (Don't change the default form.)
Select the Publish button.
Once completed, your Sales accelerator workspace screen resembles the following image. (You're now ready to build your first sequence.)


Task: Create a new sequence
Under the Sales accelerator group, select Sequences.
Select + New sequence.
On the Create a sequence screen, you can either build your sequence from an existing template, or you can build it from scratch. To build from scratch, select Start from blank.
On the Define sequence properties screen, configure as follows:
In the Sequence Name text box, type a sequence name such as Tutorial sequence.
In the Description text box, enter sequence description - who is it for, what is the use case this sequence is referring to etc. Example: This sequence is to guide a seller through the initial introduction process with a new customer.
Set the record type to the Lead.

Select Next.

Task: Choose the first activity for seller to take
Now that we've created the sequence, we're going to start to build out the steps. In our example, we're going to start with sending an email to the lead.
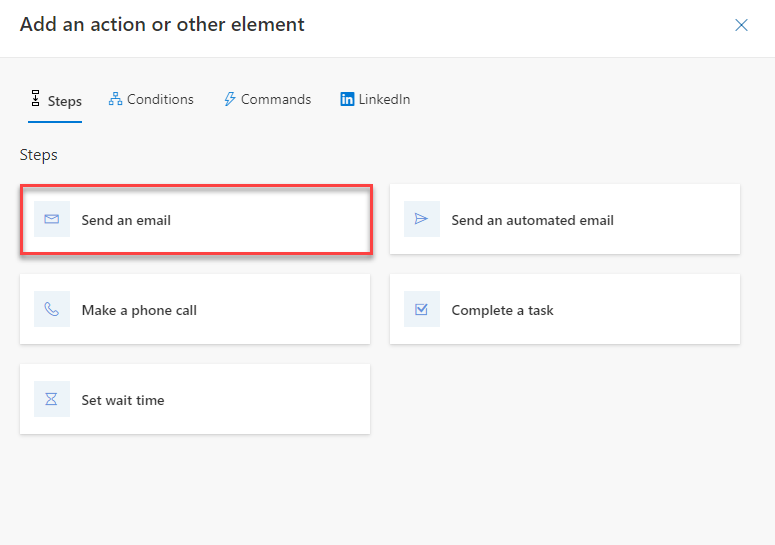
On the sequence designer, select the Add action button under the Sequence starts here step.
Under the steps tab, select Send an email.
Configure the email as follows:
In the Title field, enter Introduction email. In the Name text box, enter the name of the email.
In the Description text box, enter a description for the seller such as "Send customer an introduction email that introduces us as an organization as well as you".
If your organization has created different email templates to apply, you can select Add email template, and select the email template you want to use.
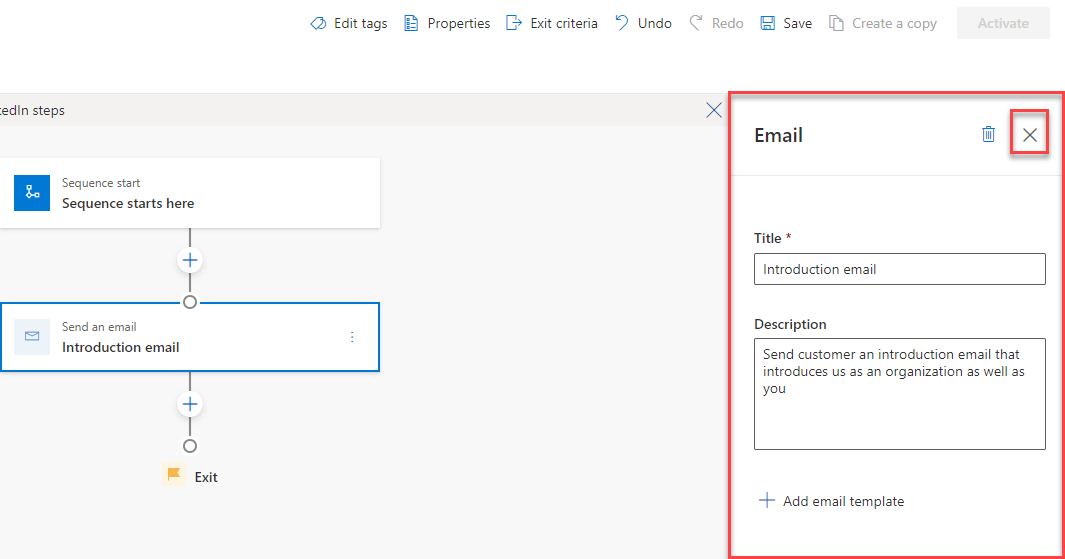
Select the X to close the email step properties.


Task: Add more activities for your seller to take
Now we can define other activities for sellers to take. In our example, we add a wait step, and then add a phone call step.
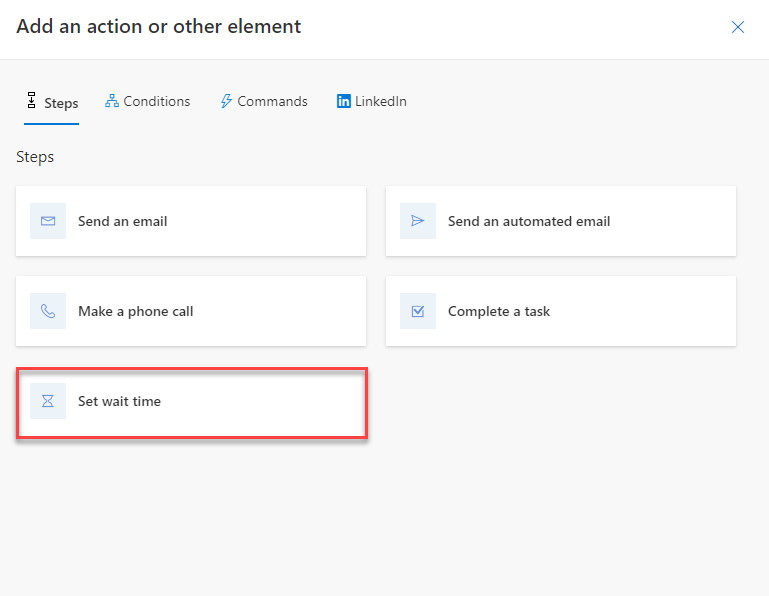
Select the + button below the email step.
Under the Steps tab, select the Set wait time step.
Configure the wait step as follows:
Days: 1
Hours: 0
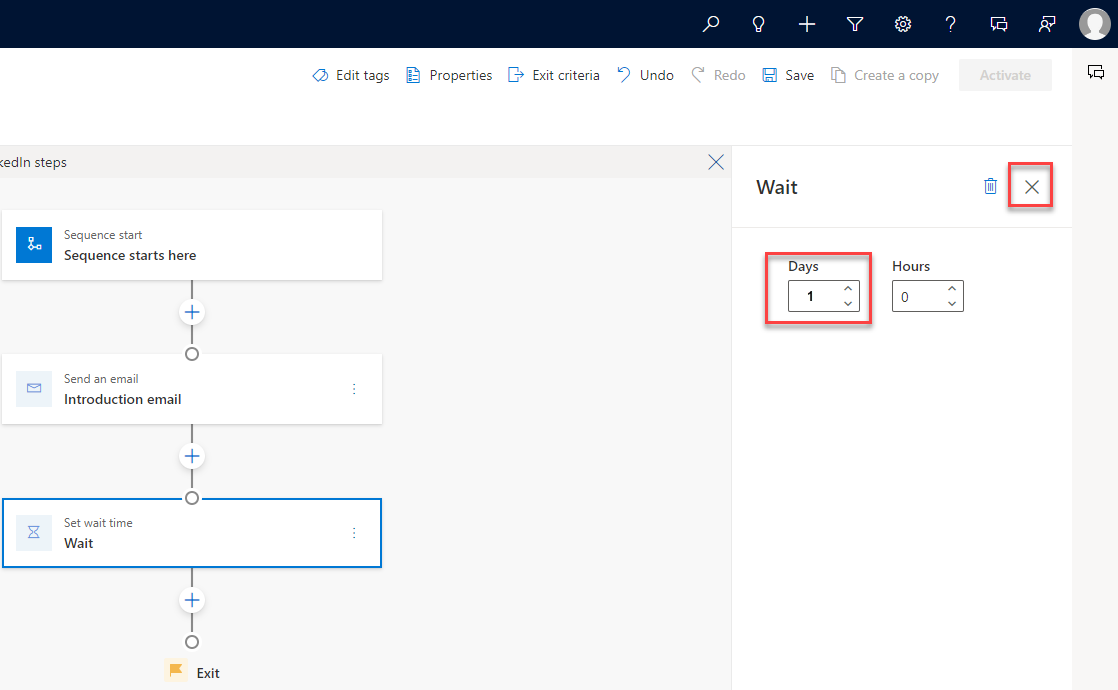
Select the X to close the wait step properties.
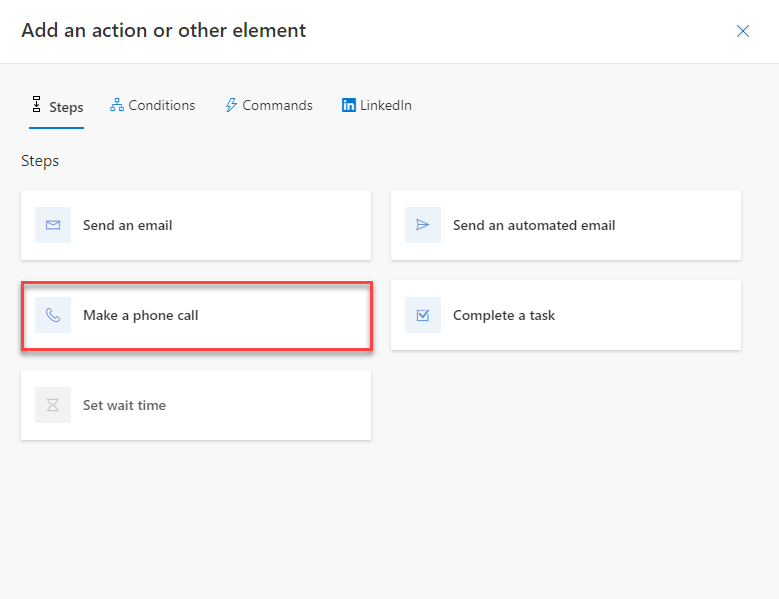
Next, we add the phone call activity.
Select the + button below the Wait for 1 day step.
Under the Steps tab, select the Make a phone call step.
Configure the steps as follows:
Title: Follow up call
Description: Validate email was received and if they have any further questions.
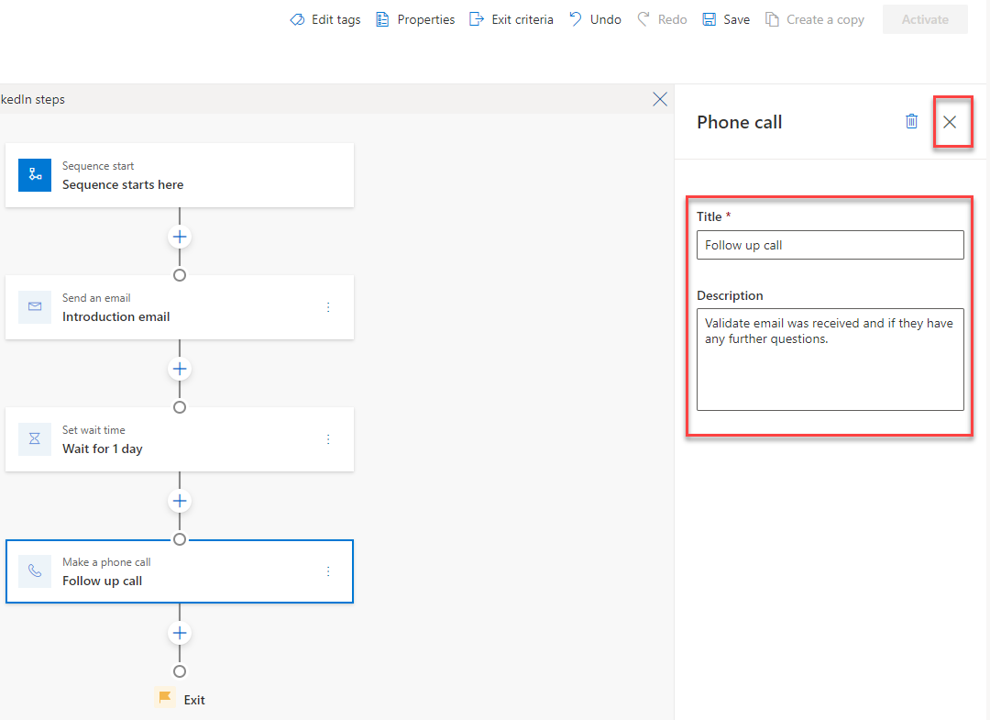
Select the X to close the Phone call step properties.


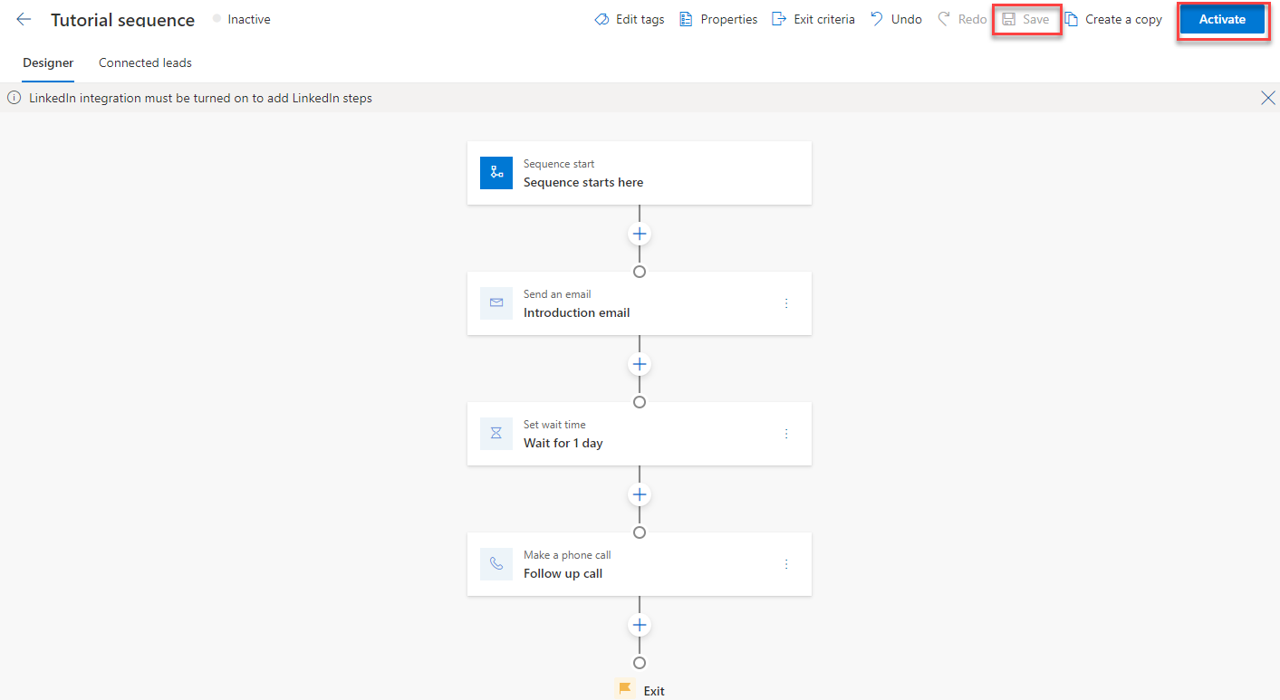
Task: Save and activate the sequence
Finally, we need to save and activate the sequence to make it available for your organization.
Select the Save button in the upper right area of the screen.
Once the save is completed, select the Activate button to activate the sequence.
Once the Activate sequence screen appears, select Activate.

Congratulations, you've created your first sequence. Next, you can start attaching the sequence to different lead records.