Tutorial 4 - Editing sales sequence
You may encounter times where you need to modify a sequence. This might include adding or removing a step, or something similar. Sequences can be modified at any point if you identify that you need to change something. The following tutorial walks through the process of editing a sales sequence.
Important
To effectively complete the tutorials in this module, you need either a trial environment or a sandbox environment with Sales Insights.
In our example, we're going to add a task to the sequence to qualify the lead.
If you aren't already there, in Dynamics 365 Sales, switch to the Sales Insights area.
Under the Sales Accelerator group, select Sequences.
We first want to deactivate the sequence so that it isn't able to be used.
Select Tutorial sequence you created earlier.
On the Command bar, select Deactivate.

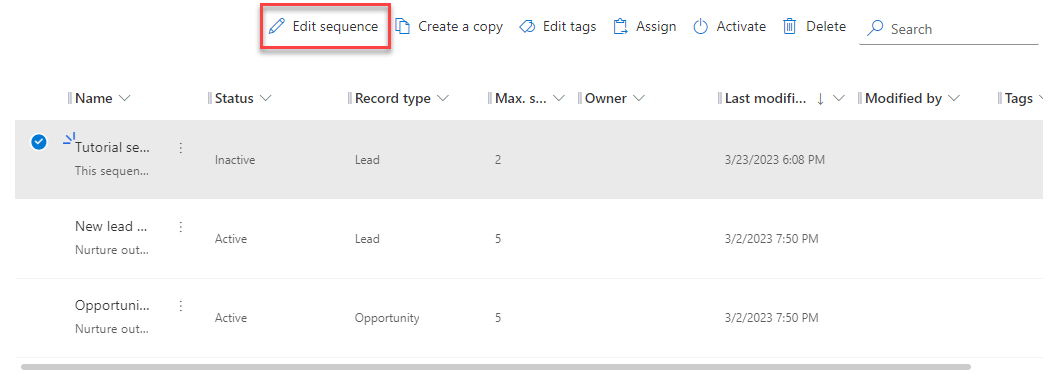
Once the sequence is deactivated, select the Tutorial sequence again, and select Edit sequence.
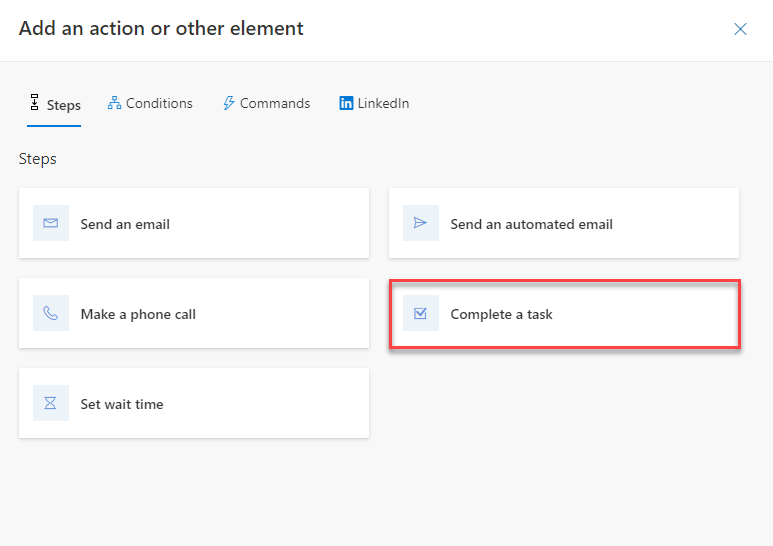
Under the Follow-up call task, select the + button.
On the Steps tab, select Complete a task.
Complete the Task as follows:
Title: Qualify lead
Description: Based on the follow-up, call qualify the lead.
Select the X to close the task properties.

You may encounter scenarios where you need to remove a step from a sequence for some reason. This could be because you want to replace the step with a different step, or you may no longer need the step. In our example, we remove the wait one day step.
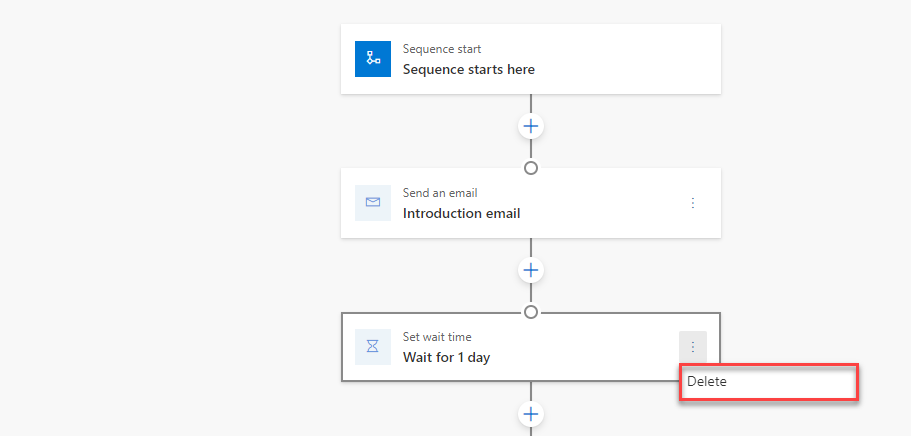
Select the vertical Ellipsis on the Wait for 1 day step.
Select Delete.
You may also encounter scenarios where you need to insert a step between two existing steps. For example, we're going to add an email activity between the Follow-up call and Qualify lead steps to email a call summary to the customer.
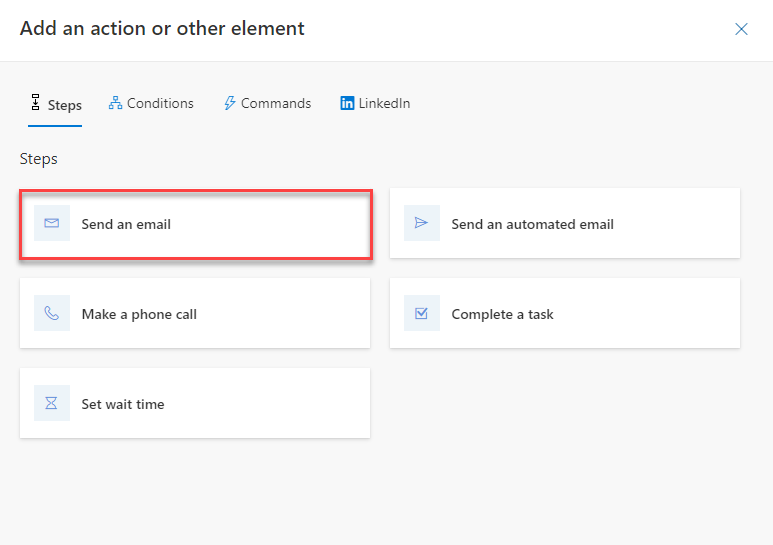
In between the Follow-up call and Qualify lead steps, select the + button.
On the Steps tab, select Send an email.
Configure the email step as follows:
Name: Send email with call summary.
Description: Thank the person for their time. Share notes and insights from the call.
Select the X to close the email properties.

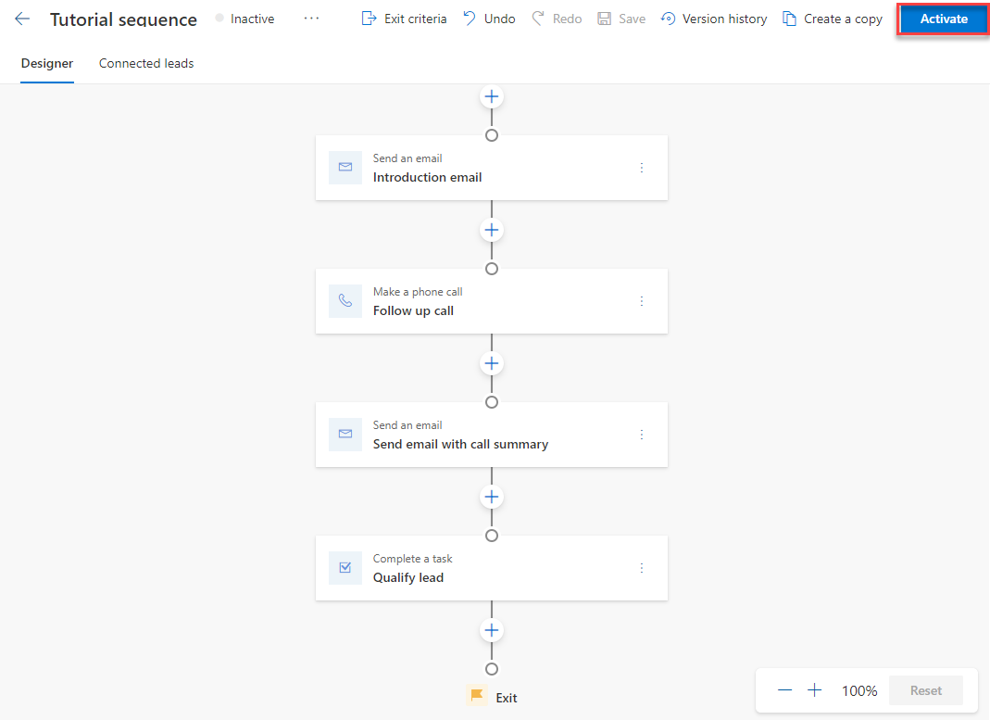
Finally, once you have made all the necessary changes, you need to save the updated sequence and Activate it.
On the Command bar, select Save.
Once the sequence is saved, select the Activate button.


Refer to Tutorial 2 to learn how to connect this sequence to records.