Tutorial: Ingest data into a Warehouse in Microsoft Fabric
Applies to: ✅ Warehouse in Microsoft Fabric
Now that you have created a Warehouse in Microsoft Fabric, you can ingest data into that warehouse.
Ingest data
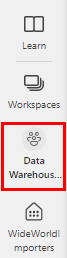
From the Build a warehouse landing page, select the Data Warehouse Tutorial workspace in the navigation menu to return to the workspace item list.
Select New > More options to display a full list of available items.
In the Data Factory section, select Data pipeline.
On the New pipeline dialog, enter
Load Customer Dataas the name.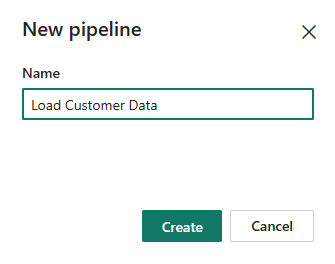
Select Create.
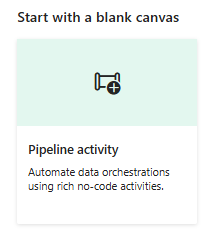
Select Pipeline activity.
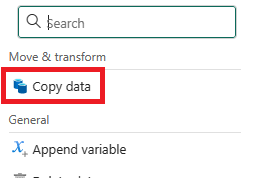
Select Copy data from the Move & transform section.
If necessary, select the newly created Copy data activity from the design canvas and follow the next steps to configure it.
On the General page, for Name, enter
CD Load dimension_customer.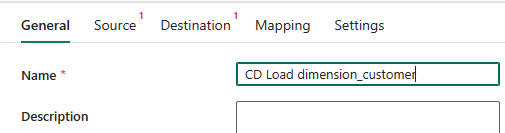
On the Source page, select the Connection dropdown. Select More to see all of the data sources you can choose from, including data sources in your local OneLake data hub.
Select New to create a new connection.
On the New connection page, select or type to select Azure Blobs from the list of connection options.
Select Continue.
On the Connection settings page, configure the settings as follows:
In the Account name or URL, enter
https://fabrictutorialdata.blob.core.windows.net/sampledata/.In the Connection credentials section, select Create new connection in the dropdown list for the Connection.
The Connection name field is automatically populated, but for clarity, type in
Wide World Importers Public Sample.Set the Authentication kind to Anonymous.
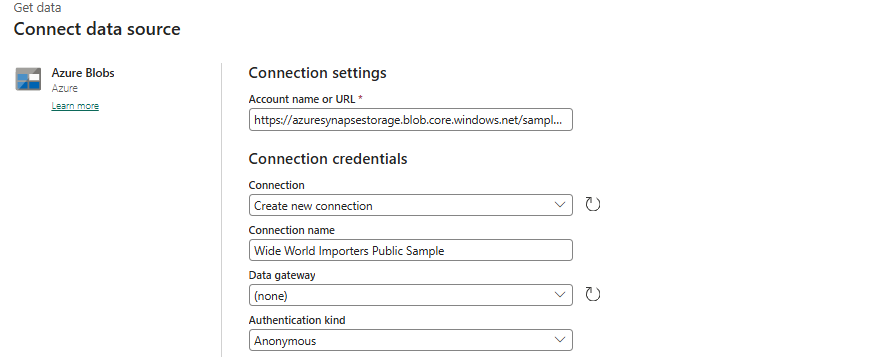
Select Connect.
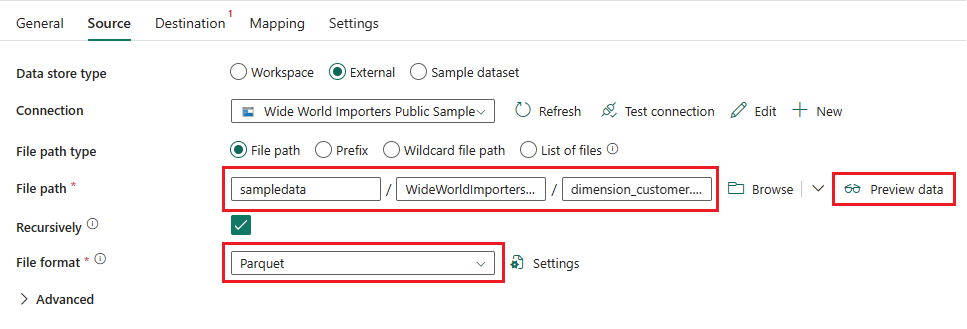
Change the remaining settings on the Source page of the copy activity as follows, to reach the .parquet files in
https://fabrictutorialdata.blob.core.windows.net/sampledata/WideWorldImportersDW/parquet/full/dimension_customer/*.parquet:In the File path text boxes, provide:
Container:
sampledataFile path - Directory:
WideWorldImportersDW/tablesFile path - File name:
dimension_customer.parquet
In the File format drop-down, choose Parquet.
Select Preview data next to the File path setting to ensure there are no errors.
Select the Destination page of the Copy data activity. For Connection, select the warehouse item WideWorldImporters from the list, or select More to search for the warehouse.
Next to the Table option configuration setting, select the Auto create table radio button.
The dropdown menu next to the Table configuration setting will automatically change to two text boxes.
In the first box next to the Table setting, enter
dbo.In the second box next to the Table setting, enter
dimension_customer.
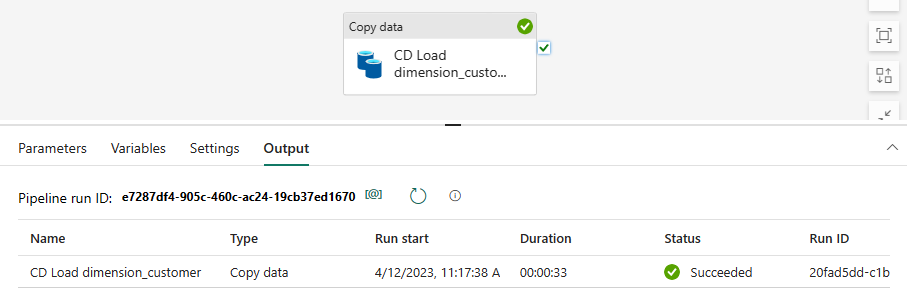
From the ribbon, select Run.
Select Save and run from the dialog box. The pipeline to load the
dimension_customertable with start.Monitor the copy activity's progress on the Output page and wait for it to complete.