Get events from Azure Event Hubs into Real-Time hub (preview)
This article describes how to get events from an Azure event hub into Real-Time hub.
Note
Real-Time hub is currently in preview.
Prerequisites
- Get access to the Fabric premium workspace with Contributor or above permissions.
- Create an Azure Event Hubs namespace and an event hub if you don't have one.
- You need to have appropriate permission to get access keys for the event hub. The event hub must be publicly accessible and not behind a firewall or secured in a virtual network.
Get events from an Azure event hub
You can get events from an Azure event hub into Real-Time hub in one of the ways:
- Using the Get events experience
- Using the Microsoft sources tab
Launch Get events experience
Switch to the Real-Time Intelligence experience in Microsoft Fabric. Select Microsoft Fabric on the left navigation bar, and select Real-Time Intelligence.
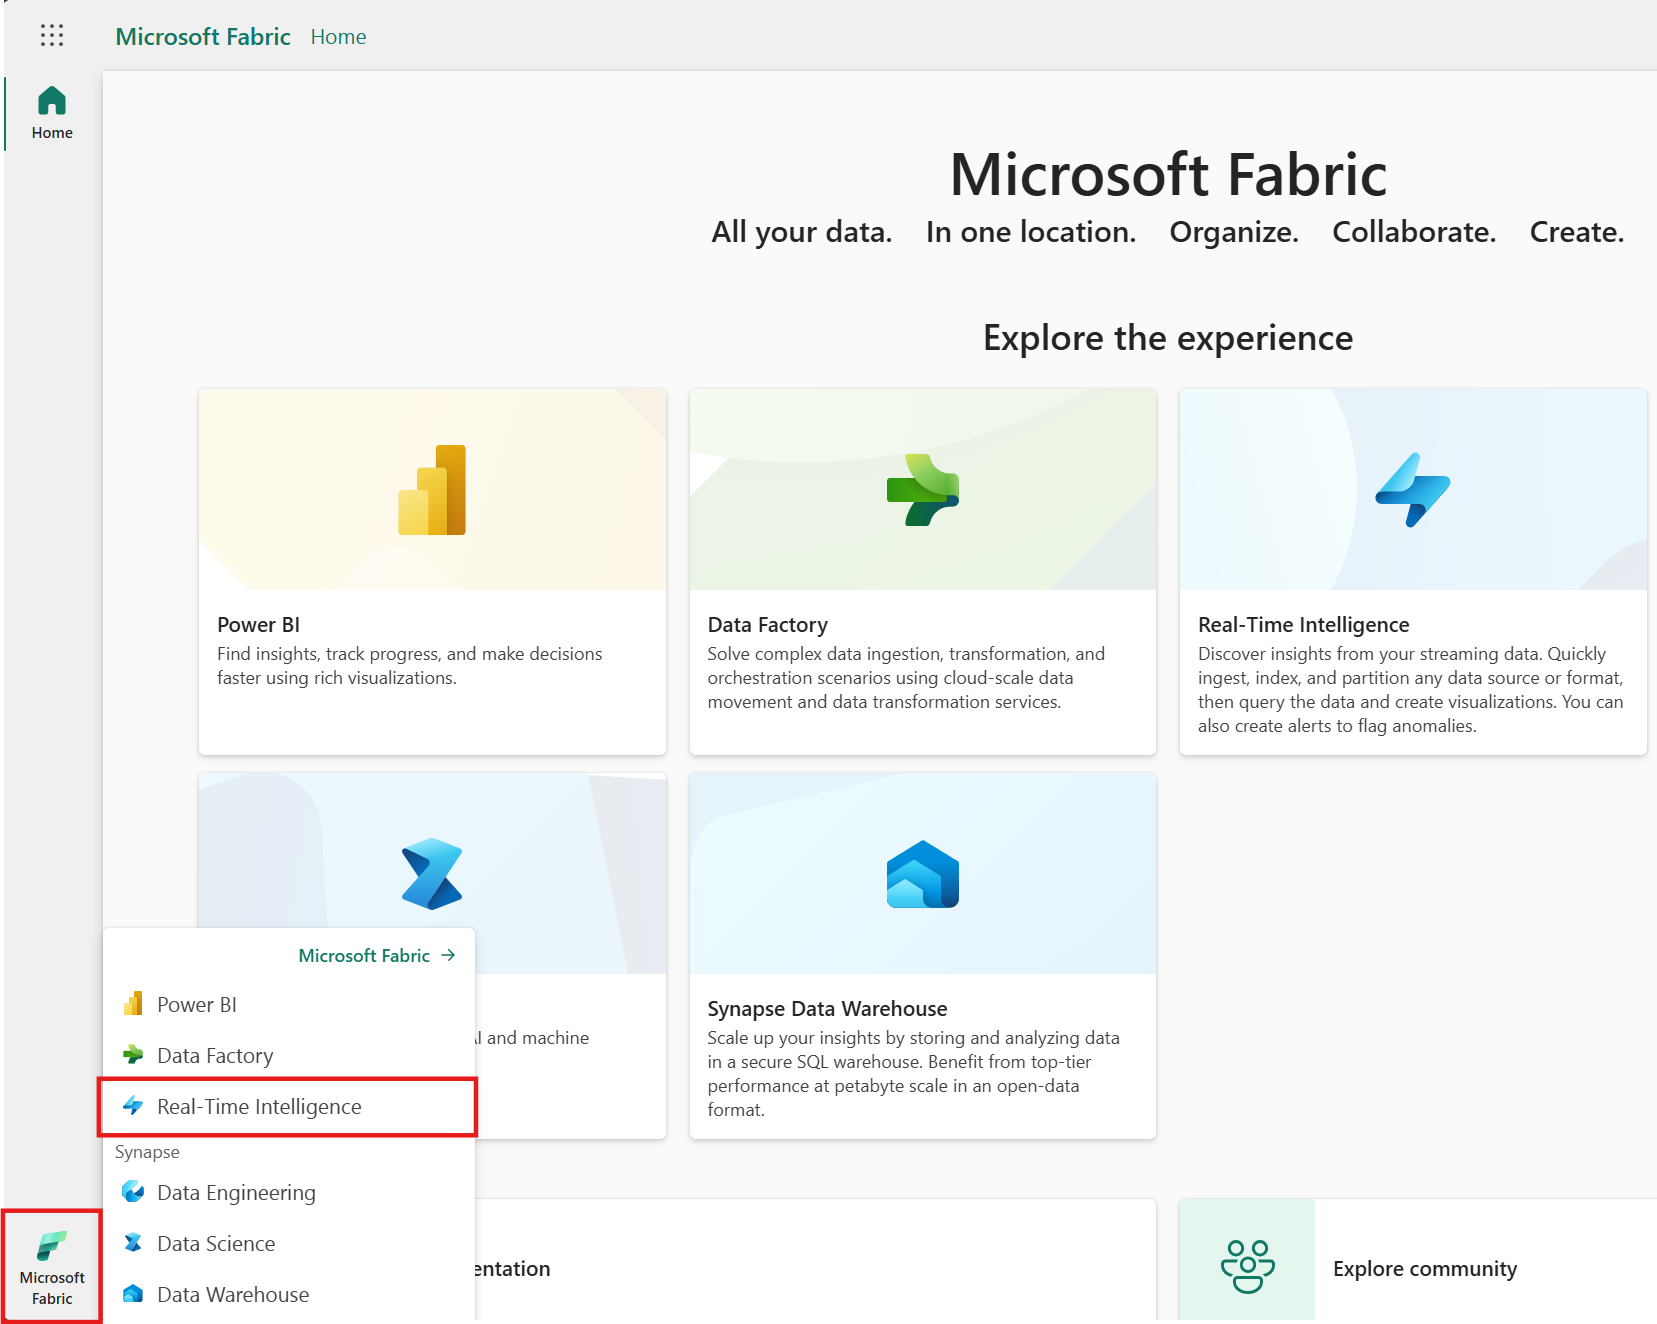
Select Real-Time hub on the left navigation bar.
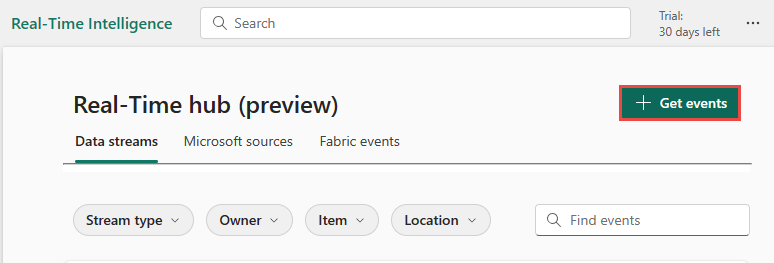
On the Real-Time hub page, select + Get events in the top-right corner of the page.


Use instructions from the Add an Azure event hub as a source section.
Microsoft sources tab
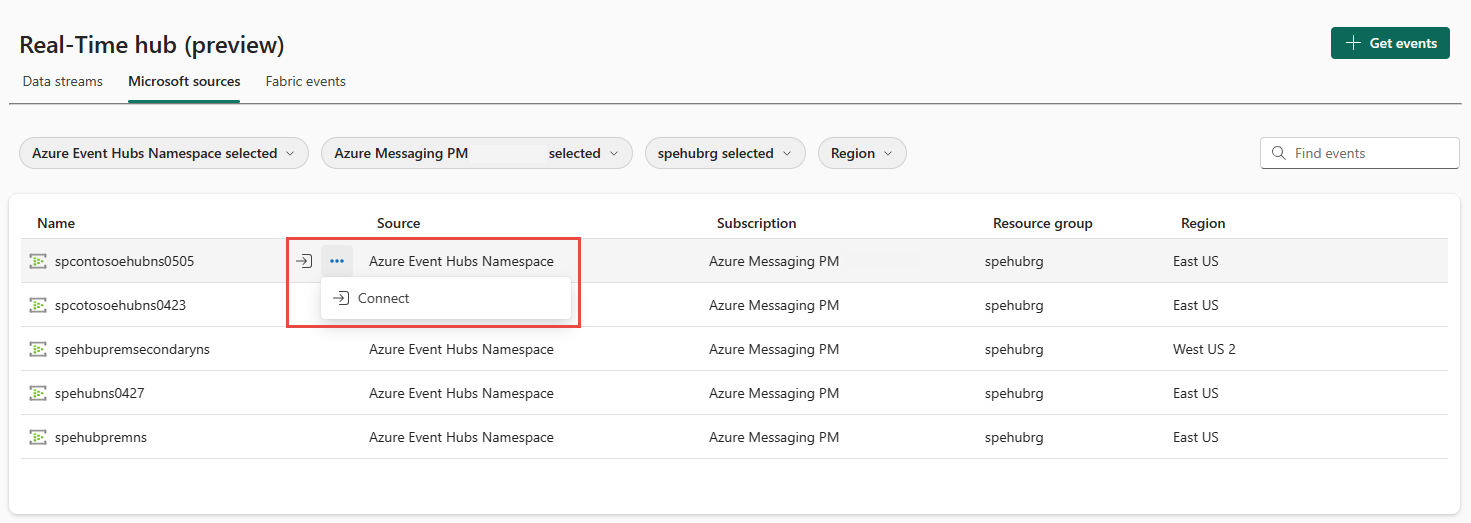
In Real-Time hub, switch to the Microsoft sources tab.
In the Source drop-down list, select Azure Event Hubs namespace.
For Subscription, select an Azure subscription that has the resource group with your event hub.
For Resource group, select a resource group that has your event hub.
For Region, select a location where your event hub is located.
Now, move the mouse over the name of the event hub that you want to connect to Real-Time hub in the list of event hubs, and select the Connect button, or select ... (ellipsis), and then select the Connect button.
To configure connection information, use steps from the Add an Azure event hub as a source section. Skip the first step of selecting Azure Event Hubs as a source type in the Get events wizard.
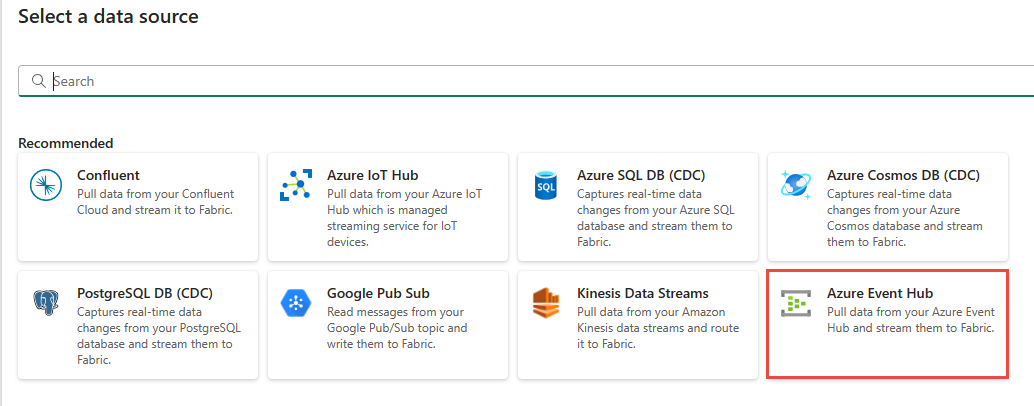
Add an Azure event hub as a source
On the Select a data source page, select Azure Event Hubs.
If there's an existing connection to your Azure event hub, you select that existing connection as shown in the following image, and then move on to the step to configure Data format in the following steps.

On the Connect page, select Go to resource to navigate to the Azure Event Hubs namespace. Take a note of the access key name and its value.

To get the access key name and value, follow these steps:
Navigate to your Azure Event Hubs namespace page in the Azure portal.
On the Event Hubs Namespace page, select Shared access policies on the left navigation menu.
Select the access key from the list. Note down the access key name.
Select the copy button next to the Primary key.

On the Connect page, select New connection.

In the Connection settings section, do these steps:
Enter the name of the Event Hubs namespace.
Enter the name of the event hub.

In the Connection credentials section, do these steps:
For Connection name, enter a name for the connection to the event hub.
For Authentication kind, confirm that Shared Access Key is selected.
For Shared Access Key Name, enter the name of the shared access key.
For Shared Access Key, enter the value of the shared access key.
Select Connect at the bottom of the page.

Now, on the Connect page of wizard, for Consumer group, enter the name of the consumer group. By default,
$Defaultis selected, which is the default consumer group for the event hub.For Data format, select a data format of the incoming real-time events that you want to get from your Azure event hub. You can select from JSON, Avro, and CSV (with header) data formats.
In the Stream details section to the right, select the Fabric workspace where you want to save the eventstream that the Wizard is going to create.
For eventstream name, enter a name for the eventstream. The wizard creates an eventstream with the selected event hub as a source.
The Stream name is automatically generated for you by appending -stream to the name of the eventstream. You see this stream on the Data streams tab of Real-Time hub when the wizard finishes.
Select Next at the bottom of the page.

On the Review and create page, review settings, and select Create source.


View data stream details
On the Review and create page, if you select Open eventstream, the wizard opens the eventstream that it created for you with the selected event hub as a source. To close the wizard, select Close at the bottom of the page.

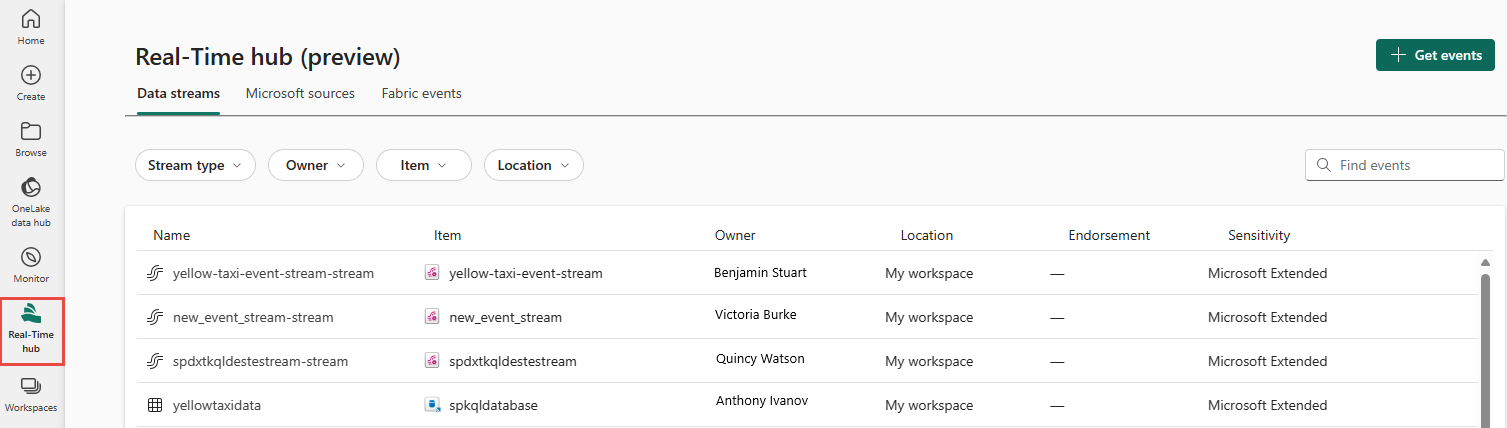
In Real-Time hub, switch to the Data streams tab of Real-Time hub. Refresh the page. You should see the data stream created for you as shown in the following image.

For detailed steps, see View details of data streams in Fabric Real-Time hub.


Related content
To learn about consuming data streams, see the following articles:
Povratne informacije
Stiže uskoro: Tokom 2024. godine postepeno ćemo ukidati probleme sa uslugom GitHub kao mehanizam povratnih informacija za sadržaj i zameniti ga novim sistemom povratnih informacija. Dodatne informacije potražite u članku: https://aka.ms/ContentUserFeedback.
Prosledite i prikažite povratne informacije za