Kommentar
Åtkomst till den här sidan kräver auktorisering. Du kan prova att logga in eller ändra kataloger.
Åtkomst till den här sidan kräver auktorisering. Du kan prova att ändra kataloger.
Med Azure Backup skapas återställningspunkter som lagras i geo-redundanta återställningsvalv. När du återställer från en återställningspunkt kan du återställa hela den virtuella datorn eller enskilda filer. This article details how to restore individual files. I den här handledningen lär du dig att:
- lista och välja återställningspunkter
- Connect a recovery point to a VM
- Restore files from a recovery point
Förutsättningar
För den här självstudiekursen måste du ha en virtuell Linux-dator som har skyddats med Azure Backup. To simulate an accidental file deletion and recovery process, you delete a page from a web server. If you need a Linux VM that runs a webserver and has been protected with Azure Backup, see Back up a virtual machine in Azure with the CLI.
Prepare your environment:
Använd Bash-miljön i Azure Cloud Shell. Mer information finns i Snabbstart för Bash i Azure Cloud Shell.

Om du föredrar att köra CLI-referenskommandon lokalt installerar du Azure CLI. Om du kör i Windows eller macOS kan du överväga att köra Azure CLI i en Docker-container. Mer information finns i Så här kör du Azure CLI i en Docker-container.
Om du använder en lokal installation loggar du in på Azure CLI med hjälp av kommandot az login. Slutför autentiseringsprocessen genom att följa stegen som visas i terminalen. Andra inloggningsalternativ finns i Logga in med Azure CLI.
När du uppmanas att installera Azure CLI-tillägget vid första användningen. Mer information om tillägg finns i Använda tillägg med Azure CLI.
Kör az version för att hitta versionen och de beroende bibliotek som är installerade. Om du vill uppgradera till den senaste versionen kör du az upgrade.
- This article requires version 2.0.18 or later of the Azure CLI. Om du använder Azure Cloud Shell är den senaste versionen redan installerad.
Översikt över Backup
När Azure initierar en säkerhetskopiering tar tillägget på den virtuella datorn en ögonblicksbild. Säkerhetskopieringstillägget installeras på den virtuella datorn när den första säkerhetskopieringen begärs. Azure Backup kan också ta en ögonblicksbild av den underliggande lagringen om den virtuella datorn inte körs när säkerhetskopieringen sker.
Som standard skapar Azure Backup en filsystemkonsekvent säkerhetskopia. När Azure Backup har tagit ögonblicksbilden överförs data till Recovery Services-valvet. För att maximera effektiviteten identifierar och överför Azure Backup endast de datablock som har ändrats sedan föregående säkerhetskopia.
När dataöverföringen har slutförts tas ögonblicksbilden bort och en återställningspunkt skapas.
Delete a file from a VM
If you accidentally delete or make changes to a file, you can restore individual files from a recovery point. This process allows you to browse the files backed up in a recovery point and restore only the files you need. In this example, we delete a file from a web server to demonstrate the file-level recovery process.
To connect to your VM, obtain the IP address of your VM with az vm show:
az vm show --resource-group myResourceGroup --name myVM -d --query [publicIps] --o tsvTo confirm that your web site currently works, open a web browser to the public IP address of your VM. Leave the web browser window open.

Connect to your VM with SSH. Replace publicIpAddress with the public IP address that you obtained in a previous command:
ssh publicIpAddressDelete the default page from the web server at /var/www/html/index.nginx-debian.html as follows:
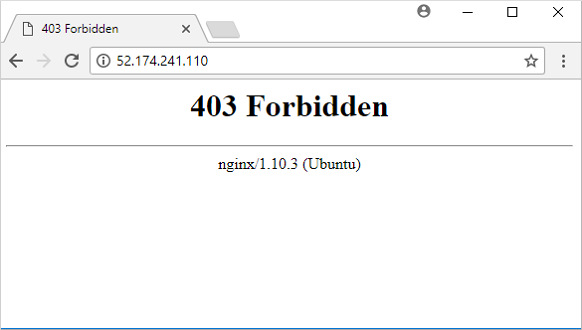
sudo rm /var/www/html/index.nginx-debian.htmlIn your web browser, refresh the web page. The web site no longer loads the page, as shown in the following example:
Close the SSH session to your VM as follows:
exit
Generate file recovery script
To restore your files, Azure Backup provides a script to run on your VM that connects your recovery point as a local drive. You can browse this local drive, restore files to the VM itself, then disconnect the recovery point. Azure Backup continues to back up your data based on the assigned policy for schedule and retention.
To list recovery points for your VM, use az backup recoverypoint list. In this example, we select the most recent recovery point for the VM named myVM that's protected in myRecoveryServicesVault:
az backup recoverypoint list \
    --resource-group myResourceGroup \
    --vault-name myRecoveryServicesVault \
    --container-name myVM \
    --item-name myVM \
    --query [0].name \
    --output tsv
To obtain the script that connects, or mounts, the recovery point to your VM, use az backup restore files mount-rp. The following example obtains the script for the VM named myVM that's protected in myRecoveryServicesVault.
Replace myRecoveryPointName with the name of the recovery point that you obtained in the preceding command:
az backup restore files mount-rp \
    --resource-group myResourceGroup \
    --vault-name myRecoveryServicesVault \
    --container-name myVM \
    --item-name myVM \
    --rp-name myRecoveryPointName
The script is downloaded and a password is displayed, as in the following example:
File downloaded: myVM_we_1571974050985163527.sh. Use password c068a041ce12465To transfer the script to your VM, use Secure Copy (SCP). Provide the name of your downloaded script, and replace publicIpAddress with the public IP address of your VM. Make sure you include the trailing
:at the end of the SCP command as follows:scp myVM_we_1571974050985163527.sh 52.174.241.110:
Restore file to your VM
With the recovery script copied to your VM, you can now connect the recovery point and restore files.
Anmärkning
Check here to see if you can run the script on your VM before continuing.
Connect to your VM with SSH. Replace publicIpAddress with the public IP address of your VM as follows:
ssh publicIpAddressTo allow your script to run correctly, add execute permissions with chmod. Enter the name of your own script:
chmod +x myVM_we_1571974050985163527.shTo mount the recovery point, run the script. Enter the name of your own script:
./myVM_we_1571974050985163527.shAs the script runs, you're prompted to enter a password to access the recovery point. Enter the password shown in the output from the previous az backup restore files mount-rp command that generated the recovery script.
The output from the script gives you the path for the recovery point. The following example output shows that the recovery point is mounted at /home/azureuser/myVM-20170919213536/Volume1:
Microsoft Azure VM Backup - File Recovery
______________________________________________
Please enter the password as shown on the portal to securely connect to the recovery point. : c068a041ce12465

Connecting to recovery point using ISCSI service...

Connection succeeded!

Please wait while we attach volumes of the recovery point to this machine...

************ Volumes of the recovery point and their mount paths on this machine ************

Sr.No.  |  Disk  |  Volume  |  MountPath

1)  | /dev/sdc  |  /dev/sdc1  |  /home/azureuser/myVM-20170919213536/Volume1

************ Open File Explorer to browse for files. ************
Use cp to copy the NGINX default web page from the mounted recovery point back to the original file location. Replace the /home/azureuser/myVM-20170919213536/Volume1 mount point with your own location:
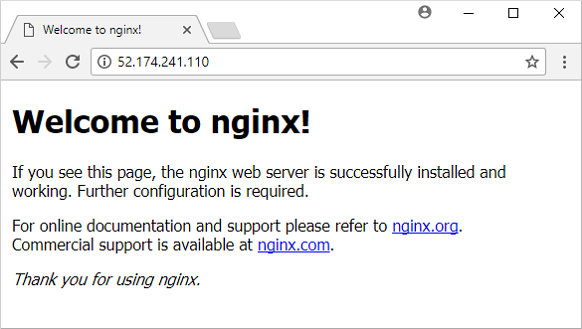
sudo cp /home/azureuser/myVM-20170919213536/Volume1/var/www/html/index.nginx-debian.html /var/www/html/In your web browser, refresh the web page. The web site now loads correctly again, as shown in the following example:
Close the SSH session to your VM as follows:
exitUnmount the recovery point from your VM with az backup restore files unmount-rp. The following example unmounts the recovery point from the VM named myVM in myRecoveryServicesVault.
Replace myRecoveryPointName with the name of your recovery point that you obtained in the previous commands:
az backup restore files unmount-rp \
    --resource-group myResourceGroup \
    --vault-name myRecoveryServicesVault \
    --container-name myVM \
    --item-name myVM \
    --rp-name myRecoveryPointName
Nästa steg
In this tutorial, you connected a recovery point to a VM and restored files for a web server. Du har lärt dig att:
- lista och välja återställningspunkter
- Connect a recovery point to a VM
- Restore files from a recovery point
Advance to the next tutorial to learn about how to back up Windows Server to Azure.