Set up warehouses for assembly
If internal operation areas for production or assembly exist in basic warehouse configurations where locations use the Bin Mandatory setup field and possibly the Require Pick and Require Put-away setup fields, then you can use the following basic warehouse documents to record your warehouse activities for internal operation areas:
Inventory Movement page
Inventory Pick page
Inventory Put-away page
To use these pages with internal operations, such as to pick and move components to production, you must perform some or all of the following setup steps, depending on how much control you need:
Enable the inventory pick, move, and put-away documents.
Define default bin structures for components and end items flowing to and from operation resources.
Make "to" bins and "from" bins that are dedicated to specific operation resources to prevent items from being picked for outbound documents.
Bin codes that are set up on location cards define a default warehouse flow for activities such as components in an assembly department. Additional functionality exists to make sure that when items are placed in a certain bin, they can't be moved or picked to other activities.
Allow inventory documents in assembly activities
Select Search for Page icon in the top-right corner of the page, enter "Locations", and then choose the related link.
Select New, and then create a new location.
Expand the General FastTab, enter 'WHS-ASSMB' in the Code field and 'Warehouse Assembly Location' in the Description field.
On the Warehouse FastTab, select the Require Put-away option to indicate that, when an inbound or internal source document with a bin code is released, an inventory put-away or an inventory movement document can be created.
Select the Require Pick option to indicate that when an outbound or internal source document with a bin code is created, an inventory pick or an inventory movement document also must be created.
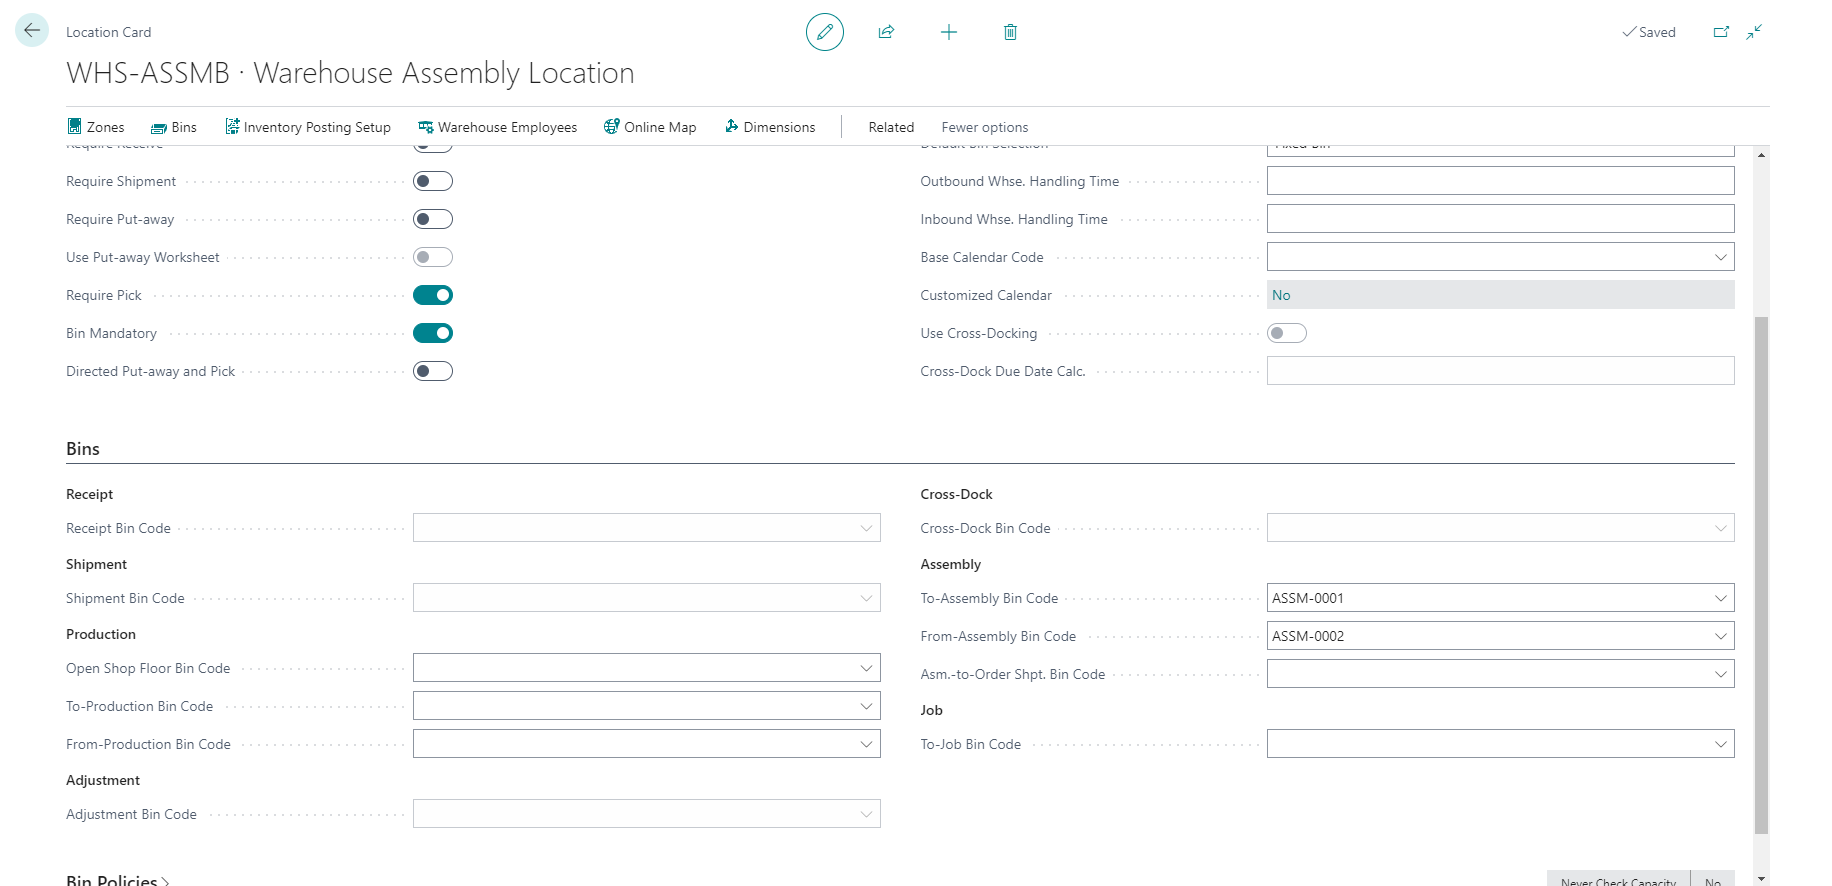
Set up the bin
On the location card in the assembly area where components are placed by default, select the Bin Mandatory field on the Warehouse FastTab.
Fill in the To-Assembly Bin Code field on the Bins FastTab.
If you don't have bins but want to add them to this field, select the search for page icon in the top-right corner of the page, enter "Bins," and then choose the related link.
Create new bin adding a Code and Description.
Next, set up the bin in the assembly area where finished assembly items are first posted, and then assembled to stock.
Fill in the From-Assembly Bin Code field on the Bins FastTab.
If you don't have bins but want to add them to this field, select the Search for Page icon in the top-right corner of the page, enter Bins, and then choose the related link.
Create a new bin, adding a Code and Description.
Finally, set up the bin where finished assembly items are posted, and then are assembled to a linked sales order.
Fill in the Asm.-to-Order Shpt. Bin Code field on the Bins FastTab.
If you don't have bins and you want to add them to this field, repeat steps 7 and 8.