Exercise - Import water data
This exercise goes through the steps that Reed takes to ingest the spreadsheets that Alex provided. Data import is a vital task for bringing large volumes of data into Microsoft Sustainability Manager. This exercise uses Excel; however, many prebuilt connectors are available, and partners can build custom connectors to integrate with more data sources.
Important
To download the sample Excel files to ingest into Microsoft Sustainability Manager, go to waste sample data. In the GitHub page that appears, select the download button. Extract the two Excel files to a folder on your local computer for use in this exercise.
Sign in to Microsoft Sustainability Manager
To open Sustainability Manager, follow these steps:
Open a browser in an InPrivate or Incognito window and then go to Microsoft Power Apps.
Select the environment from the Environment dropdown menu in the upper-right corner.
In the Power Apps portal, under Apps on the left navigation pane, open the Sustainability Manager application by selecting the play button.
You're directed to the Home page for Microsoft Sustainability Manager.

Import water quality data
Follow these steps to import water quality data:
In the left navigation pane, select Data > Imports.
Select New.
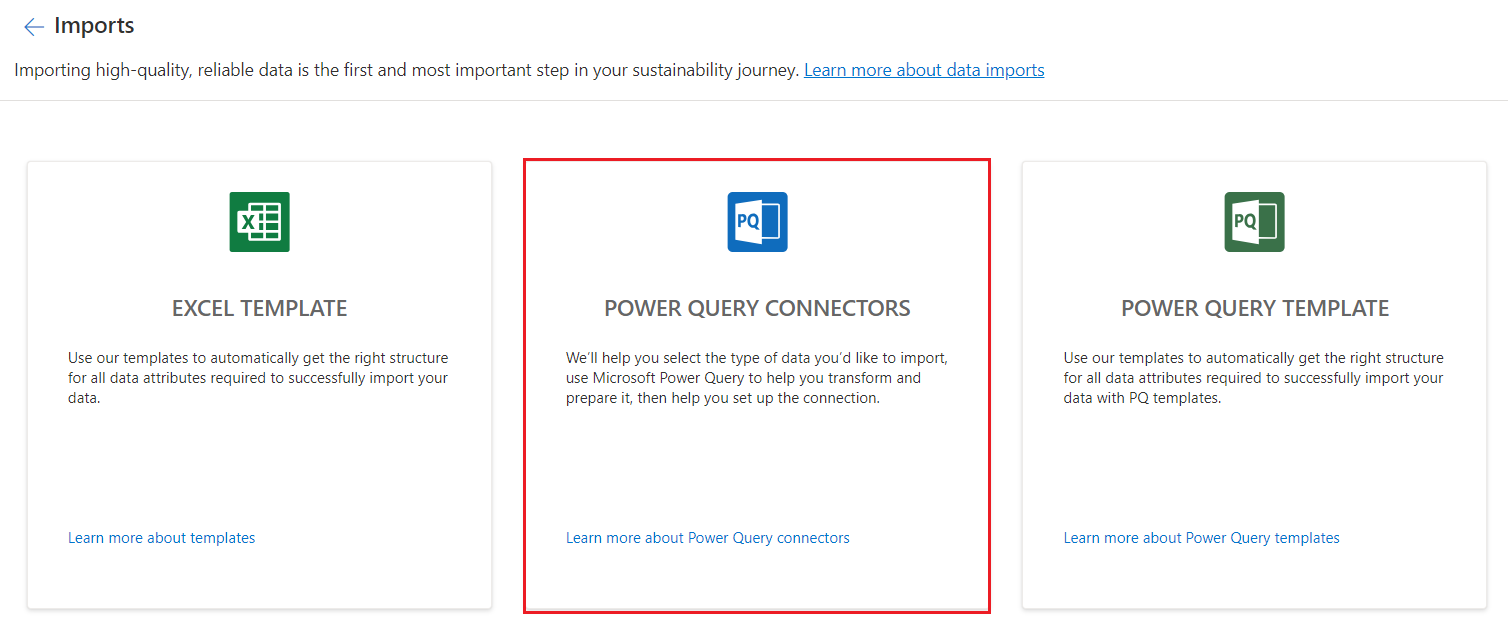
Select POWER QUERY CONNECTORS.
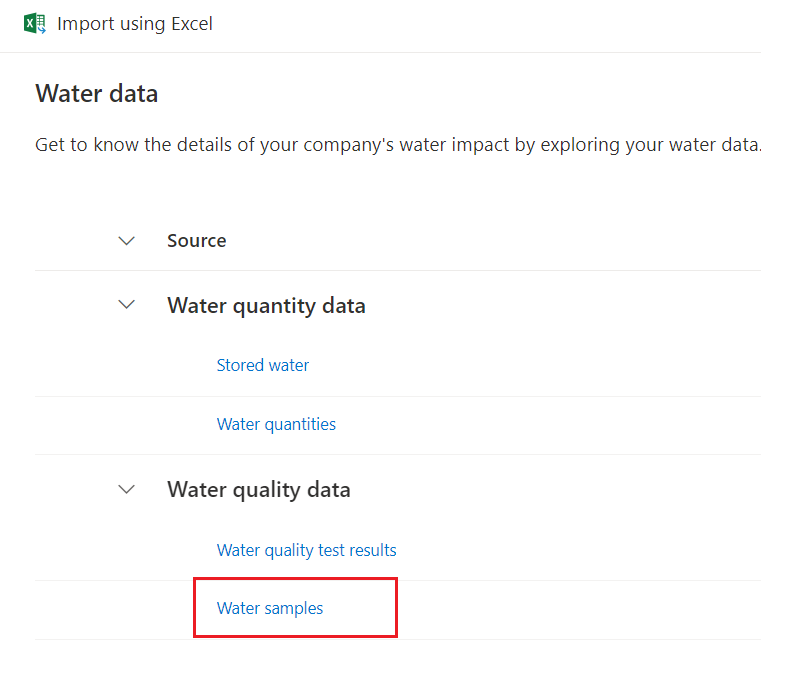
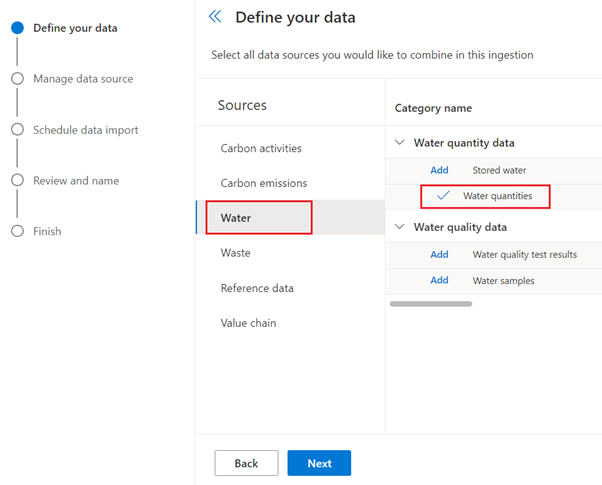
Select Sources > Water. Select Add next to Water samples.

Select Next after you add the data.
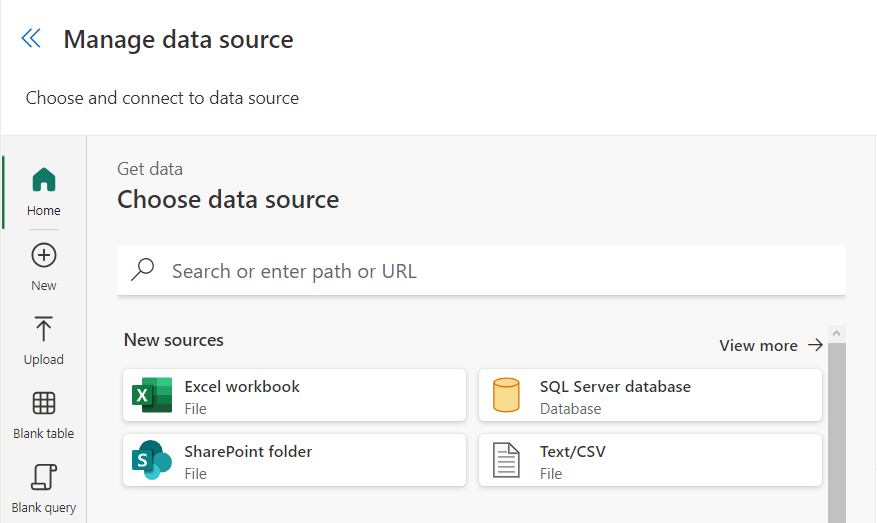
Select Excel workbook.
Select Upload file. Browse to the Water Sample Data Wide World Importers 2022.xlsx file saved on your system. Select Open.
Select Sign in to sign in with your admin credentials.
After you upload the file and the connection is complete, select Next.
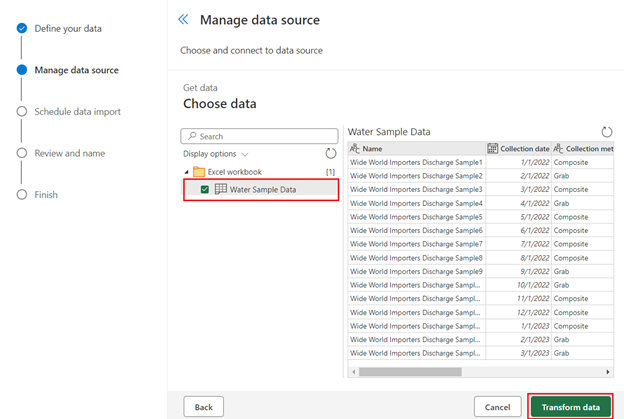
Select the Water Sample Data sheet and then select Transform data.
You can complete various data and column transformations on the Transform data page of the Power Query wizard. As a result, you can adjust data types, update column mappings, and perform advanced transformations that you're familiar with in Microsoft Power Platform dataflows or Microsoft Power BI datasets. Because you don't apply transformations in this exercise, select Create.

Go to the New data connection wizard on the Schedule data import page, where you complete the following actions:
Turn on the Import data automatically toggle to allow the option for you to set a schedule for the data to be imported automatically. Selecting this option is beneficial if you use the connector in a scenario where the data changes frequently, such as a web API or FTP server.
Turn on the Replace previously imported data toggle to remove all previously imported data and bring in the full dataset that was retrieved. Selecting this option is beneficial if the data source isn't providing data from only the last import or if it always includes a full set of data. For this scenario of importing historical data, leave both options turned off.
Select Next.

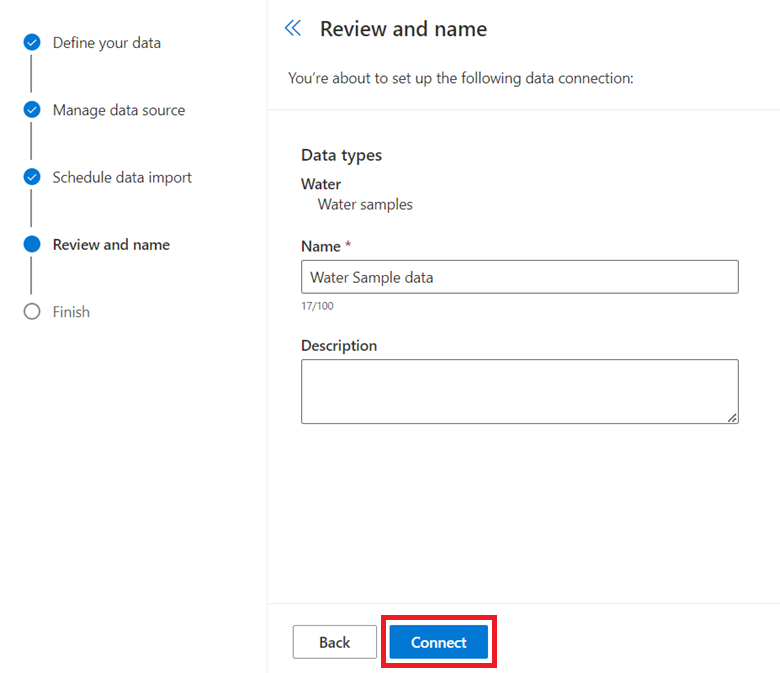
On the Review and name page, complete the following tasks:
Enter a name for the new connection, such as Water Sample data.
Select Connect.
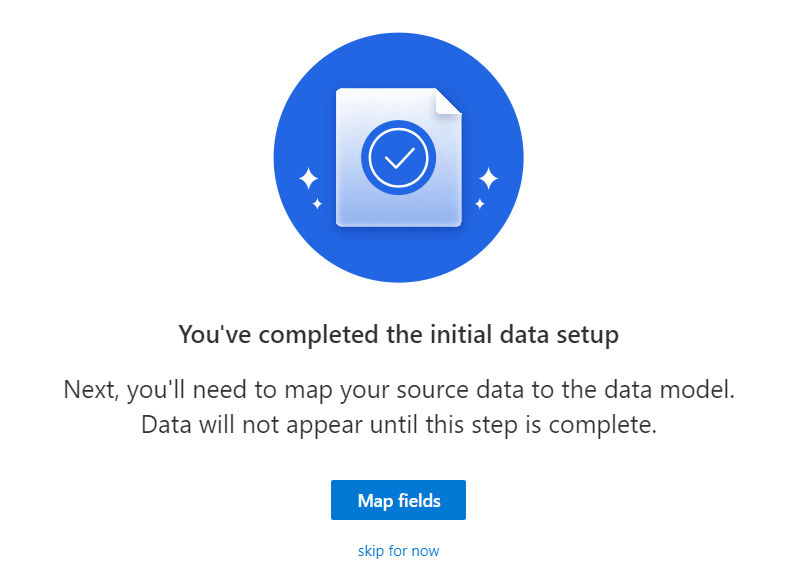
Map your source data to the data model. Data doesn't appear until this step is complete. Select Map fields.
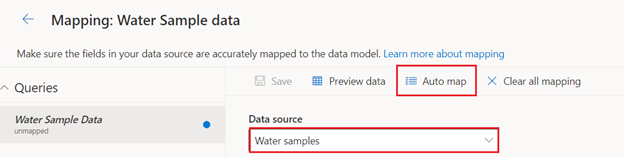
Select Water samples in the Data source field. Select Auto map.
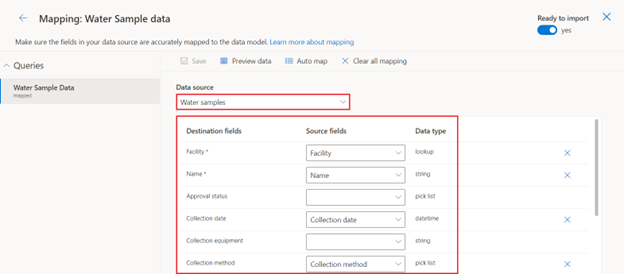
Verify that the Destination and Source fields are mapped correctly. After reviewing your field mappings, switch the Ready to import toggle to yes. Select Save, select the back arrow, and then select Done.
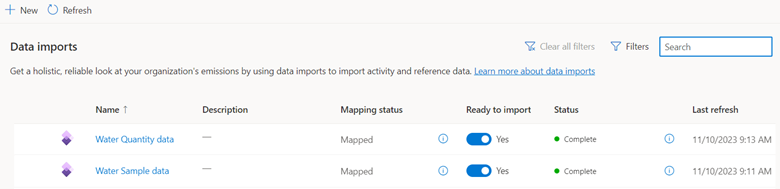
On the Data imports screen, view the import that you created.
The Data import job runs, and the status displays as Scheduled. In a moment, the status switches to Processing. You might need to refresh your page to view the change.
After a minute or two, select Refresh to view the updated status, which should be Complete.

Select Data > Water data on the left navigation pane.
Select Water samples under Water quality data.
Under Organization unit, filter by Wide World Importers. After a few moments, the view refreshes and the activity data records that were imported during this exercise are displayed.


Import water quantity data
This exercise goes through the steps that Reed takes to ingest the water quantity data for 2022 that Alex provided. This exercise uses Excel; however, many prebuilt connectors are available, and partners can build custom connectors to integrate with more data sources.
Select Data > Data imports from the left navigation pane.
Select New.
Select POWER QUERY CONNECTORS.
Select Add next to Water quantities.
After you select Add, select Next.
Select Excel workbook.
Select Upload file. Browse to the Water Quantity Data Wide World Importers 2022.xlsx file saved on your system. Select Open.
Select Sign in, and you're signed in with your admin credentials.
After the file is uploaded and the connection is complete, select Next.
Select the Water Quantity Data sheet and then select Transform data.

You can complete various data and column transformations on the Transform data page of the Power Query wizard. As a result, you can adjust data types, update column mappings, and perform advanced transformations that you're familiar with in Microsoft Power Platform dataflows or Microsoft Power BI datasets. Because you don't apply transformations in this exercise, select Create.

Go to the New data connection wizard on the Schedule data import page, where you complete the following actions:
Turn on the Import data automatically toggle to allow the option for you to set a schedule for the data to be imported automatically. Selecting this option is beneficial if you use the connector in a scenario where the data changes frequently, such as a web API or FTP server.
Turn on the Replace previously imported data toggle to remove all previously imported data and bring in the full dataset that was retrieved. Selecting this option is beneficial if the data source isn't providing data from only the last import or if it always includes a full set of data. For this scenario of importing historical data, leave both options turned off.
Select Next.
On the Review and name page, complete the following tasks:
Enter a name for the new connection, such as Water Quantity data.
Select Connect.

Map your source data to the data model. Data doesn't appear until this step is complete. Select Map fields.
Select the Data source to map. For this exercise, select Water quantities. Select Auto map.

Verify that the Destination and Source fields are mapped correctly. Select Save.
Select the Ready to import toggle and then select the back arrow.
Select Done.
On the Data imports page, view the import that you created.
The Data import job runs, and the status displays as Scheduled. In a moment, the status switches to Processing. You might need to refresh your page to view the change.
After a minute or two, select Refresh above the list to view the updated status, which should be Complete.
Select Data > Water data from the left navigation pane.
Select Water quantities under Water quantity data.

Under Organization, filter by Wide World Importers.


After a few moments, the view refreshes and the activity data records that were imported during this exercise are displayed.
