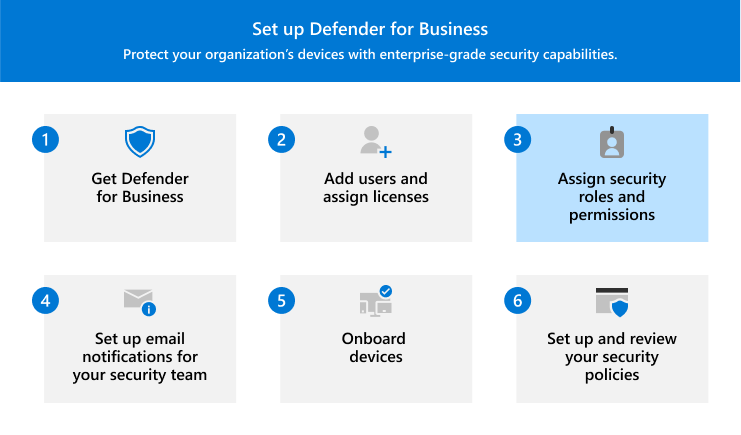
Assign security roles and permissions in Microsoft Defender for Business
This article describes how to assign security roles and permissions in Defender for Business.

Your organization's security team needs certain permissions to perform tasks, such as
- Configuring Defender for Business
- Onboarding (or removing) devices
- Viewing reports about devices and threat detections
- Viewing incidents and alerts
- Taking response actions on detected threats
Permissions are granted through certain roles in the Microsoft Entra ID. These roles can be assigned in the Microsoft 365 admin center or in the Microsoft Entra admin center.
What to do
- Learn about roles in Defender for Business.
- View or edit role assignments for your security team.
- Proceed to your next steps.
Roles in Defender for Business
The following table describes the main roles that are assigned in Defender for Business.
| Permission level | Description |
|---|---|
| Security Administrator | Security Administrators can perform the following tasks: - View and manage security policies - View, respond to, and manage alerts - Take response actions on devices with detected threats - View security information and reports In general, security admins use the Microsoft Defender portal (https://security.microsoft.com) to perform security tasks. |
| Security Reader | Security Readers can perform the following tasks: - View a list of onboarded devices - View security policies - View alerts and detected threats - View security information and reports Security readers can't add or edit security policies, nor can they onboard devices. |
For more information about roles, see the following articles:
View and edit role assignments
Important
Microsoft recommends that you grant people access to only what they need to perform their tasks. We call this concept least privilege for permissions. To learn more, see Best practices for least-privileged access for applications.
You can use the Microsoft 365 admin center or the Microsoft Entra admin center to view and edit role assignments.
Go to the Microsoft 365 admin center (https://admin.microsoft.com) and sign in.
In the navigation pane, go to Users > Active users.
Select a user account to open their flyout pane.
On the Account tab, under Roles, select Manage roles.
To add or remove a role, use one of the following procedures:
Task Procedure Add a role to a user account 1. Select Admin center access, scroll down, and then expand Show all by category.
2. Select one of the following roles:
- Security Administrator (listed under Security & Compliance)
- Security Reader (listed under Read-only)
3. Select Save changes.Remove a role from a user account 1. Either select User (no admin center access) to remove all admin roles, or clear the checkbox next to one or more of the assigned roles.
2. Select Save changes.