Manage files in Teams
Teams makes it easy to share files with learners and colleagues. Every channel in a team has its own file folder to share files with team members.
The Files tab
The Files tab lets team members:
- Create, upload, edit, and access files
- Share links
Files can be for reference or collaboration. Once added, the files and links are searchable under the Files tab.
Add files to Teams
Educators can upload existing files or create new files directly in the file folder.
To upload existing files:
- Go to the Files tab in a chosen channel.
- Select the Upload button.
- Select the file (or files), folder, or template in the File Explorer window.
- Select Open.

This method uploads a copy of the file to the team. Any team member can access uploaded files.
Note
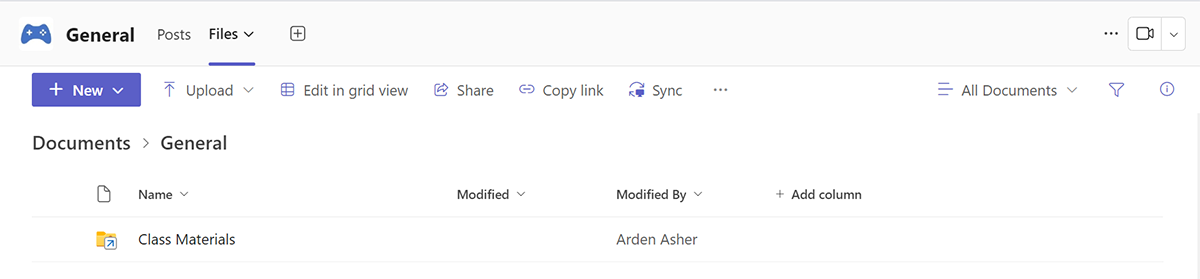
In the General channel of a class team, the Files tab includes a Class materials folder. Anything added to the Class materials folder is read-only for learners. A document added to files—but not to the class materials folder—is editable by any member of the team.
Create a new document in a team
To create a new document, template, or link:
- Select the New button.
- Select the type of file (Word, PowerPoint, Excel, Forms, OneNote, link, or template) you want to create.
- Name the file.
- Select Create.

The new file opens in Teams where members can edit it. If a team member prefers to work in the desktop version of the app:
- Select the Editing button on the ribbon.
- Select Open in Desktop app.

Team members can now view and edit the new file.