Set up a lab with GPU virtual machines in Azure Lab Services
Important
Azure Lab Services will be retired on June 28, 2027. For more information, see the retirement guide.
Note
This article references features available in lab plans, which replaced lab accounts.
In this article, you learn how to choose between the different GPU-based virtual machines sizes when creating a lab in Azure Lab Services. Learn how to install the necessary drivers in the lab to take advantage of the GPUs.
Choose between visualization and compute GPU sizes
When you create a lab in Azure Lab Services, you have to select a virtual machine size. Choose the right virtual machine size, based on the usage scenario or class type.
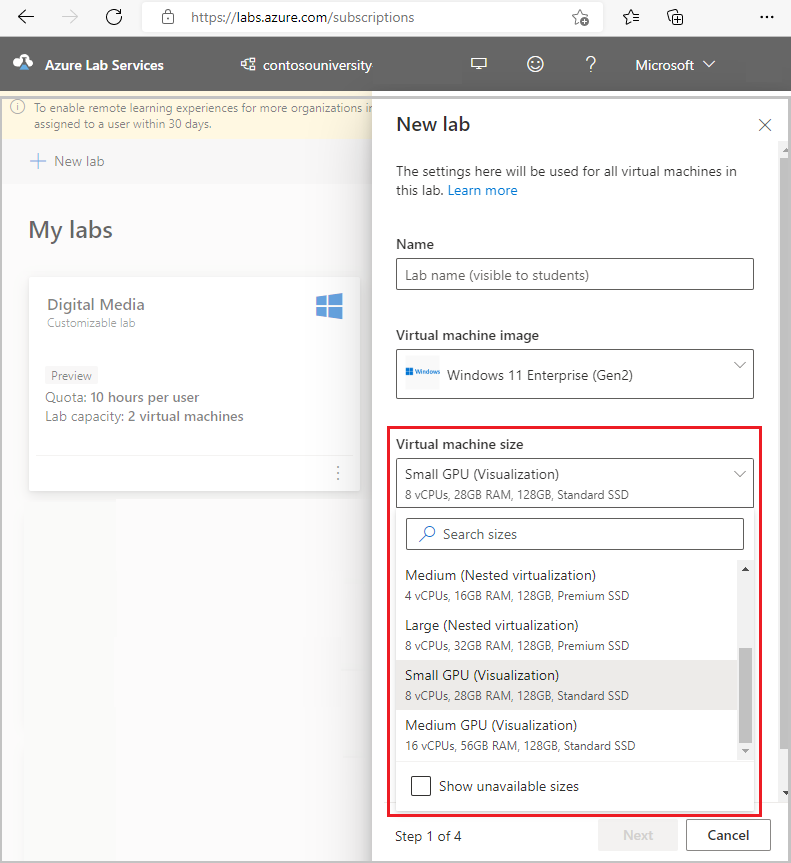
Azure Lab Services has two GPU-based virtual machines size categories:
- Compute GPUs
- Visualization GPUs
Note
You may not see some of these VM sizes in the list when you create a lab. The list of VM sizes is based on the capacity assigned to your Microsoft-managed Azure subscription. For more information about capacity, see Capacity limits in Azure Lab Services. For availability of VM sizes, see Products available by region.
Compute GPU sizes
The compute GPU size is intended for compute-intensive applications. For example, the Deep Learning in Natural Language Processing class type uses the Small GPU (Compute) size. The compute GPU is suitable for this type of class, because lab users apply deep learning frameworks and tools that are provided by the Data Science Virtual Machine image to train deep learning models with large sets of data.
| Size | vCPUs | RAM | Description |
|---|---|---|---|
| Small GPU (Compute) | 6 vCPUs | 112 GB RAM | Standard_NC6s_v3. This size supports both Windows and Linux and is best suited for compute-intensive applications such as artificial intelligence (AI) and deep learning. |
Visualization GPU sizes
The visualization GPU sizes are intended for graphics-intensive applications. For example, the SOLIDWORKS engineering class type shows using the Small GPU (Visualization) size. The visualization GPU is suitable for this type of class, because lab users interact with the SOLIDWORKS 3D computer-aided design (CAD) environment for modeling and visualizing solid objects.
| Size | vCPUs | RAM | Description |
|---|---|---|---|
| Small GPU (Visualization) | 8 vCPUs | 28 GB RAM | Standard_NV8as_v4. This size is best suited for remote visualization, streaming, gaming, and encoding that use frameworks such as OpenGL and DirectX. Currently, this size supports Windows only. |
| Medium GPU (Visualization) | 12 vCPUs | 112 GB RAM | Standard_NV12s_v3. This size supports both Windows and Linux. It's best suited for remote visualization, streaming, gaming, and encoding that use frameworks such as OpenGL and DirectX. |
Ensure that the appropriate GPU drivers are installed
To take advantage of the GPU capabilities of your lab VMs, ensure that the appropriate GPU drivers are installed. In the lab creation wizard, when you select a GPU VM size, you can select the Install GPU drivers option. This option is enabled by default.
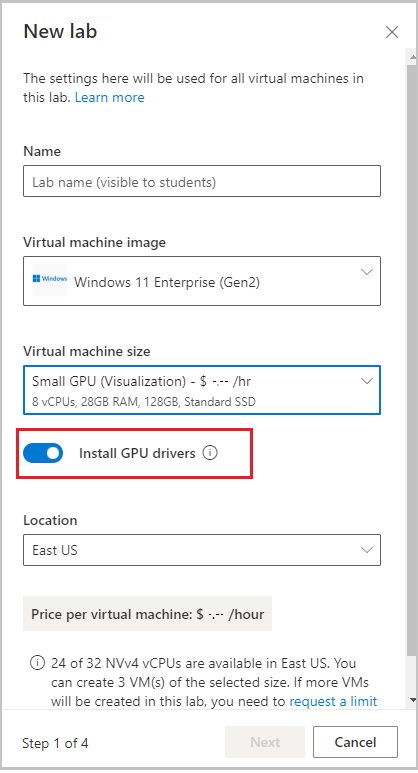
When you select Install GPU drivers, it ensures that recently released drivers are installed for the type of GPU and image that you selected.
- When you select the Small GPU (Compute) size, your lab VMs are powered by the NVIDIA Tesla V100 GPU GPU. In this case, recent Compute Unified Device Architecture (CUDA) drivers are installed, which enables high-performance computing.
- When you select the Small GPU (Visualization) size, your lab VMs are powered by the AMD Radeon Instinct MI25 Accelerator GPU. In this case, recent AMD GPU drivers are installed, which enables the use of graphics-intensive applications.
- When you select the Medium GPU (Visualization) size, your lab VMs are powered by the NVIDIA Tesla M60 GPU and GRID technology. In this case, recent GRID drivers are installed, which enables the use of graphics-intensive applications.
Important
The Install GPU drivers option only installs the drivers when they aren't present on your lab's image. For example, NVIDIA GPU drivers are already installed on the Azure marketplace's Data Science Virtual Machine image. If you create a Small GPU (Compute) lab using the Data Science image and choose to Install GPU drivers, the drivers won't be updated to a more recent version. To update the drivers, you will need to manually install the drivers.
Install GPU drivers manually
You might need to install a different version of the drivers than the version that Azure Lab Services installs for you. This section shows how to manually install the appropriate drivers.
Install the Small GPU (Compute) drivers
To manually install drivers for the Small GPU (Compute) size, follow these steps:
In the lab creation wizard, when you create your lab, disable the Install GPU drivers setting.
After your lab is created, connect to the template VM to install the appropriate drivers.
Follow the detailed installation steps in NVIDIA Tesla (CUDA) drivers for more information about specific driver versions that are recommended depending on the Windows OS version being used.
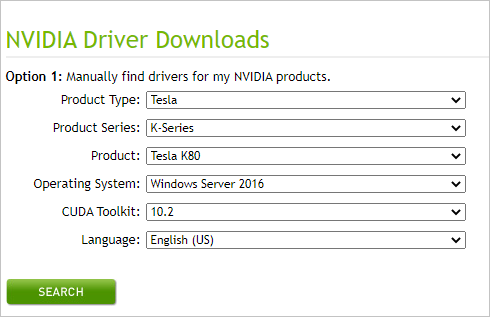
Alternately, follow these steps to install the latest NVIDIA drivers:
- Go to the NVIDIA Driver Downloads page.
- Set the Product Type to Tesla.
- Set the Product Series to V-Series.
- Set the Operating System according to the type of base image you selected when you created your lab.
- Set the CUDA Toolkit to the version of CUDA driver that you need.
- Select Search to look for your drivers.
- Select Download to download the installer.
- Run the installer so that the drivers are installed on the template VM.
Validate that the drivers are installed correctly by following instructions in the Validate the installed drivers section.
After you've installed the drivers and other software that is required for your class, select Publish to create the lab virtual machines.
Note
If you're using a Linux image, after you've downloaded the installer, install the drivers by following the instructions in Install CUDA drivers on Linux.
Install the Small GPU (Visualization) drivers
To manually install drivers for the Small GPU (visualization) size, follow these steps:
In the lab creation wizard, when you create your lab, disable the Install GPU drivers setting.
After your lab is created, connect to the template VM to install the appropriate drivers.
Install the AMD drivers template VM by following the instructions in Install AMD GPU drivers on N-series VMs running Windows.
Restart the template VM.
Validate that the drivers are installed correctly by following the instructions in the Validate the installed drivers section.
After you've installed the drivers and other software that are required for your class, select Publish to create your lab virtual machines.
Install the Medium GPU (Visualization) drivers
To manually install drivers for the Medium GPU (visualization) size, follow these steps:
In the lab creation wizard, when you create your lab, disable the Install GPU drivers setting.
After your lab is created, connect to the template VM to install the appropriate drivers.
Install the GRID drivers that are provided by Microsoft on the template VM by following the instructions for your operating system:
Restart the template VM.
Validate that the drivers are installed correctly by following the instructions in the Validate the installed drivers section.
After you've installed the drivers and other software that are required for your class, select Publish to create your lab virtual machines.
Validate the installed drivers
This section describes how to validate that your GPU drivers are properly installed.
Small GPU (Visualization) Windows images
To verify driver installation for Small GPU (Visualization) size, see validate the AMD GPU drivers on N-series VMs running Windows.
Small GPU (Compute) and Medium GPU (Visualization) Windows images
To verify driver installation for Small GPU (Visualization) size, see validate the NVIDIA GPU drivers on N-series VMs running Windows.
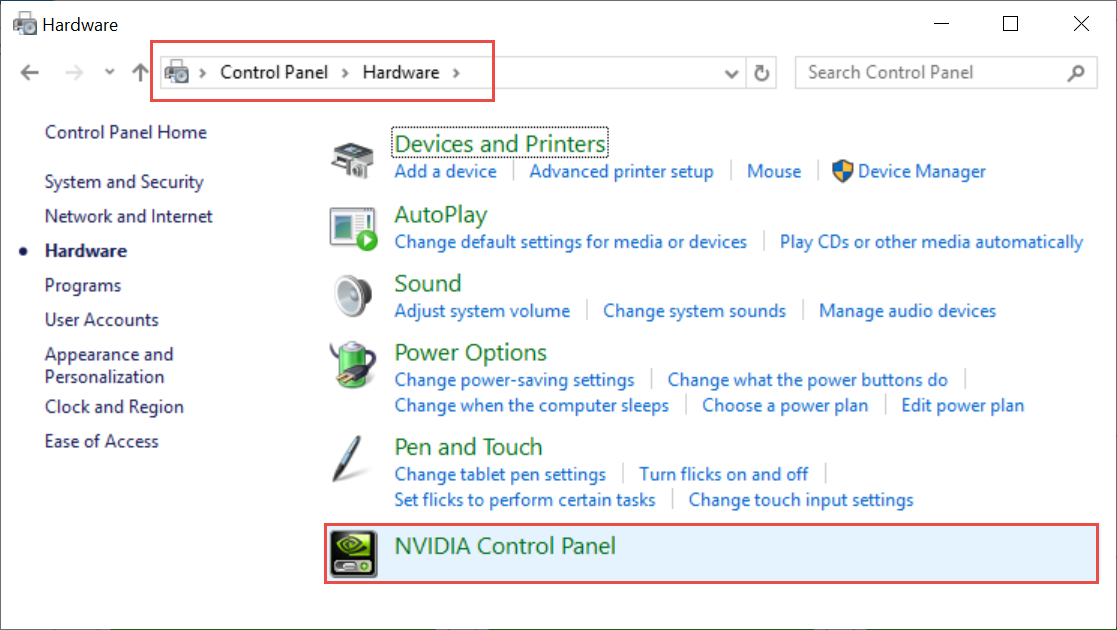
You can also validate the NVIDIA control panel settings, which only apply to the Medium GPU (visualization) VM size:
View and adjust your GPU settings in the NVIDIA Control Panel. To do so, in Windows Control Panel, select Hardware, and then select NVIDIA Control Panel.
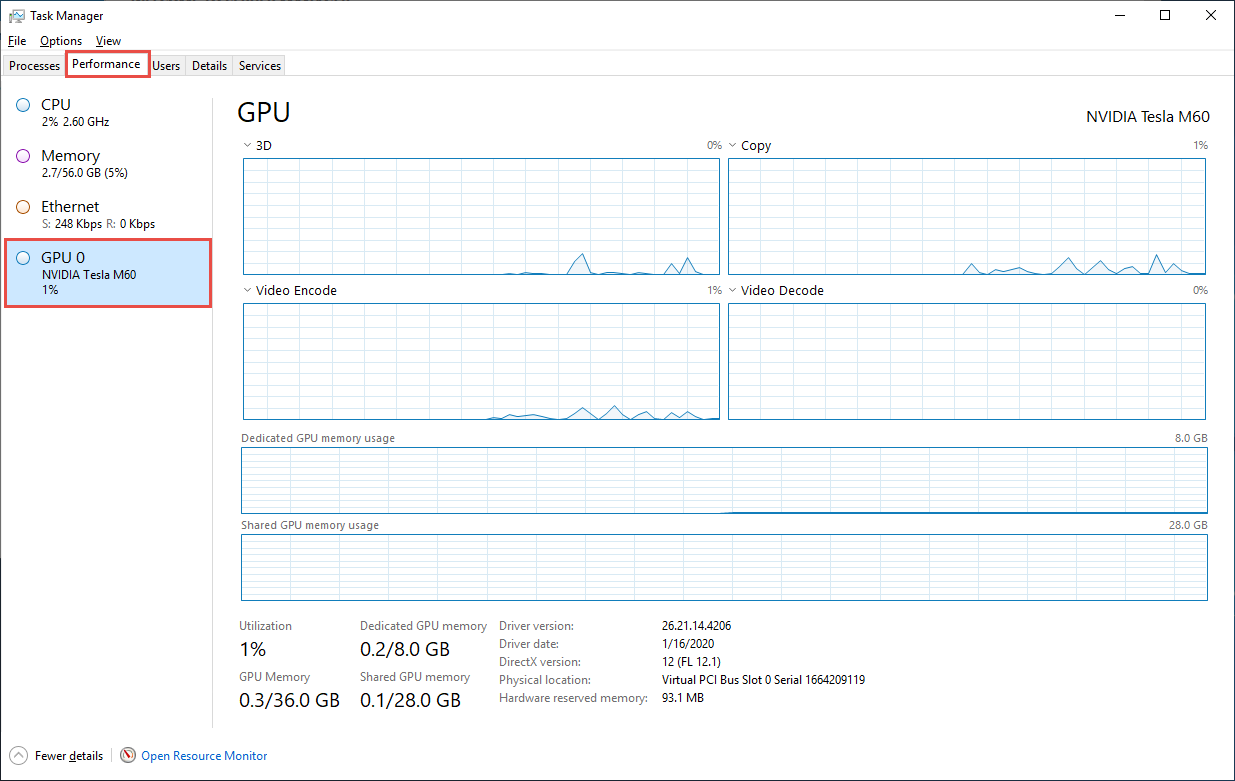
View your GPU performance by using Task Manager. To do so, select the Performance tab, and then select the GPU option.
Important
The NVIDIA Control Panel settings can be accessed only for the Medium GPU (visualization) VM size. If you attempt to open the NVIDIA Control Panel for a compute GPU, you'll get the error: "NVIDIA Display settings are not available. You are not currently using a display attached to an NVIDIA GPU." Similarly, the GPU performance information in Task Manager is provided only for visualization GPUs.
Depending on your scenario, you may also need to do more validation to ensure the GPU is properly configured. Read the class type about Python and Jupyter Notebooks that explains an example where specific versions of drivers are needed.
Small GPU (Compute) and Medium GPU (Visualization) Linux images
To verify driver installation for Linux images, see verify driver installation for NVIDIA GPU drivers on N-series VMs running Linux.
Next steps
- Learn how to create and manage labs.
- Create a lab with the SOLIDWORKS computer-aided design (CAD) software.
- Create a lab with the MATLAB (matrix laboratory) software.