Create and configure the Field Service portal
The following sections guide you through the setup process and provide helpful information to configure the portal template.
Create the Field Service customer experiences portal
Go to the Power Pages portal and choose the environment that has Dynamics 365 Field Service installed.
You can navigate directly to the Power Pages portal for your environment. Determine the environment ID where you have Field Service installed and insert it in the following URL:
https://make.powerpages.microsoft.com/environments/<EnvironmentID>/portals/home.In the left navigation, select Templates.
Search for the Field Service and select Choose this template on the Field Service template card.

Enter the name of the portal, the desired subdomain, choose a display language, and select Create.
The Power Pages portal site gets created in the background. This process can take a few minutes. You get an email when it's ready or you can check the notification area for updates.
Configure the customer portal settings
Admins can configure most customer portal settings directly in Field Service.
In Field Service, open the Settings area. Under Customer Portal, select Customer Portal and open the settings record.

Configuration tab
Portal Name: A label referenced by website code to retrieve the appropriate setting. The name should be unique for the associated website, because the code retrieving the setting takes the first record found with the matching name.
Field Service Website: The associated website. Opening the associated website record takes you to the Portal Management app.
Track My Technician: Enables the options to configure the Track a technician feature.
Self Scheduling (Preview): Enables the self-scheduling experience in the portal.
Send self-scheduling experience to Account Contacts: Enables automated notifications with access information for the portal. The information is sent to every contact that isn't part of an excluded account. When enabling this feature, choose if you want to send invites to all contacts or only to new contacts moving forward.
Messages: Messages are sent at specific points of the work order lifecycle. These messages can be enabled or disabled independently. For details on each message, go to Set up notifications for the Field Service portal (preview).
Communication Type: Define whether you want the system to send your customer email, SMS, or both message types.
Send Messages To: By default, the system sends messages to the contact that created the service request through the portal. If no such contact exists, messages go to the contact type noted in this setting.
Exclusion lists: These lists allow you to exclude specific service accounts or service types from all messaging.
Include Survey (Preview): Embed a Customer Voice survey in the portal. When adding a survey embed code, the survey automatically shows when the booking is complete.
Configure SMS and Email Connector: Direct links to the Power Automate flows where you configure the email and SMS connectors.
Excluded Work Order Types: List work order types that you don't want to expose as an option in the portal.
Excluded Accounts: List customer accounts for which you don't want to enable the portal. Contacts related to excluded accounts don't receive invites to the portal either.
Display tab
Use this tab to set basic design values for the portal. The Advanced Display Configuration field contains the direct link to open the Power Pages designer. Use the Portal Management app to configure all the details for your portal.
Track my technician tab
For more information, see Configure track my technician settings.
Self Scheduling (Preview) tab
If you enabled the Self Scheduling (Preview) option, this tab lets you configure scheduling parameters.

Minimum lead time for new bookings (days): Sets the minimum time, in days from today, during which the customer can schedule their booking.
Maximum lead time for new bookings (days): Sets the maximum time, in days from today, during which the customer can schedule their booking.
Enable Asset Selection: When this option is enabled, the customer can select a specific asset to associate with their account while they schedule their booking.
Enable Additional Details: Enables the options to submit extra text while scheduling the booking. The system saves the text as a note on the booking timeline.
Default Radius Unit: Sets the radius unit to miles or kilometers.
Include Resource with maximum travel radius: The maximum radius from the scheduled location in which a resource can be scheduled.
Note
The travel radius settings are shared with the schedule board in Field Service. Changing the value on one will change the value for the other.
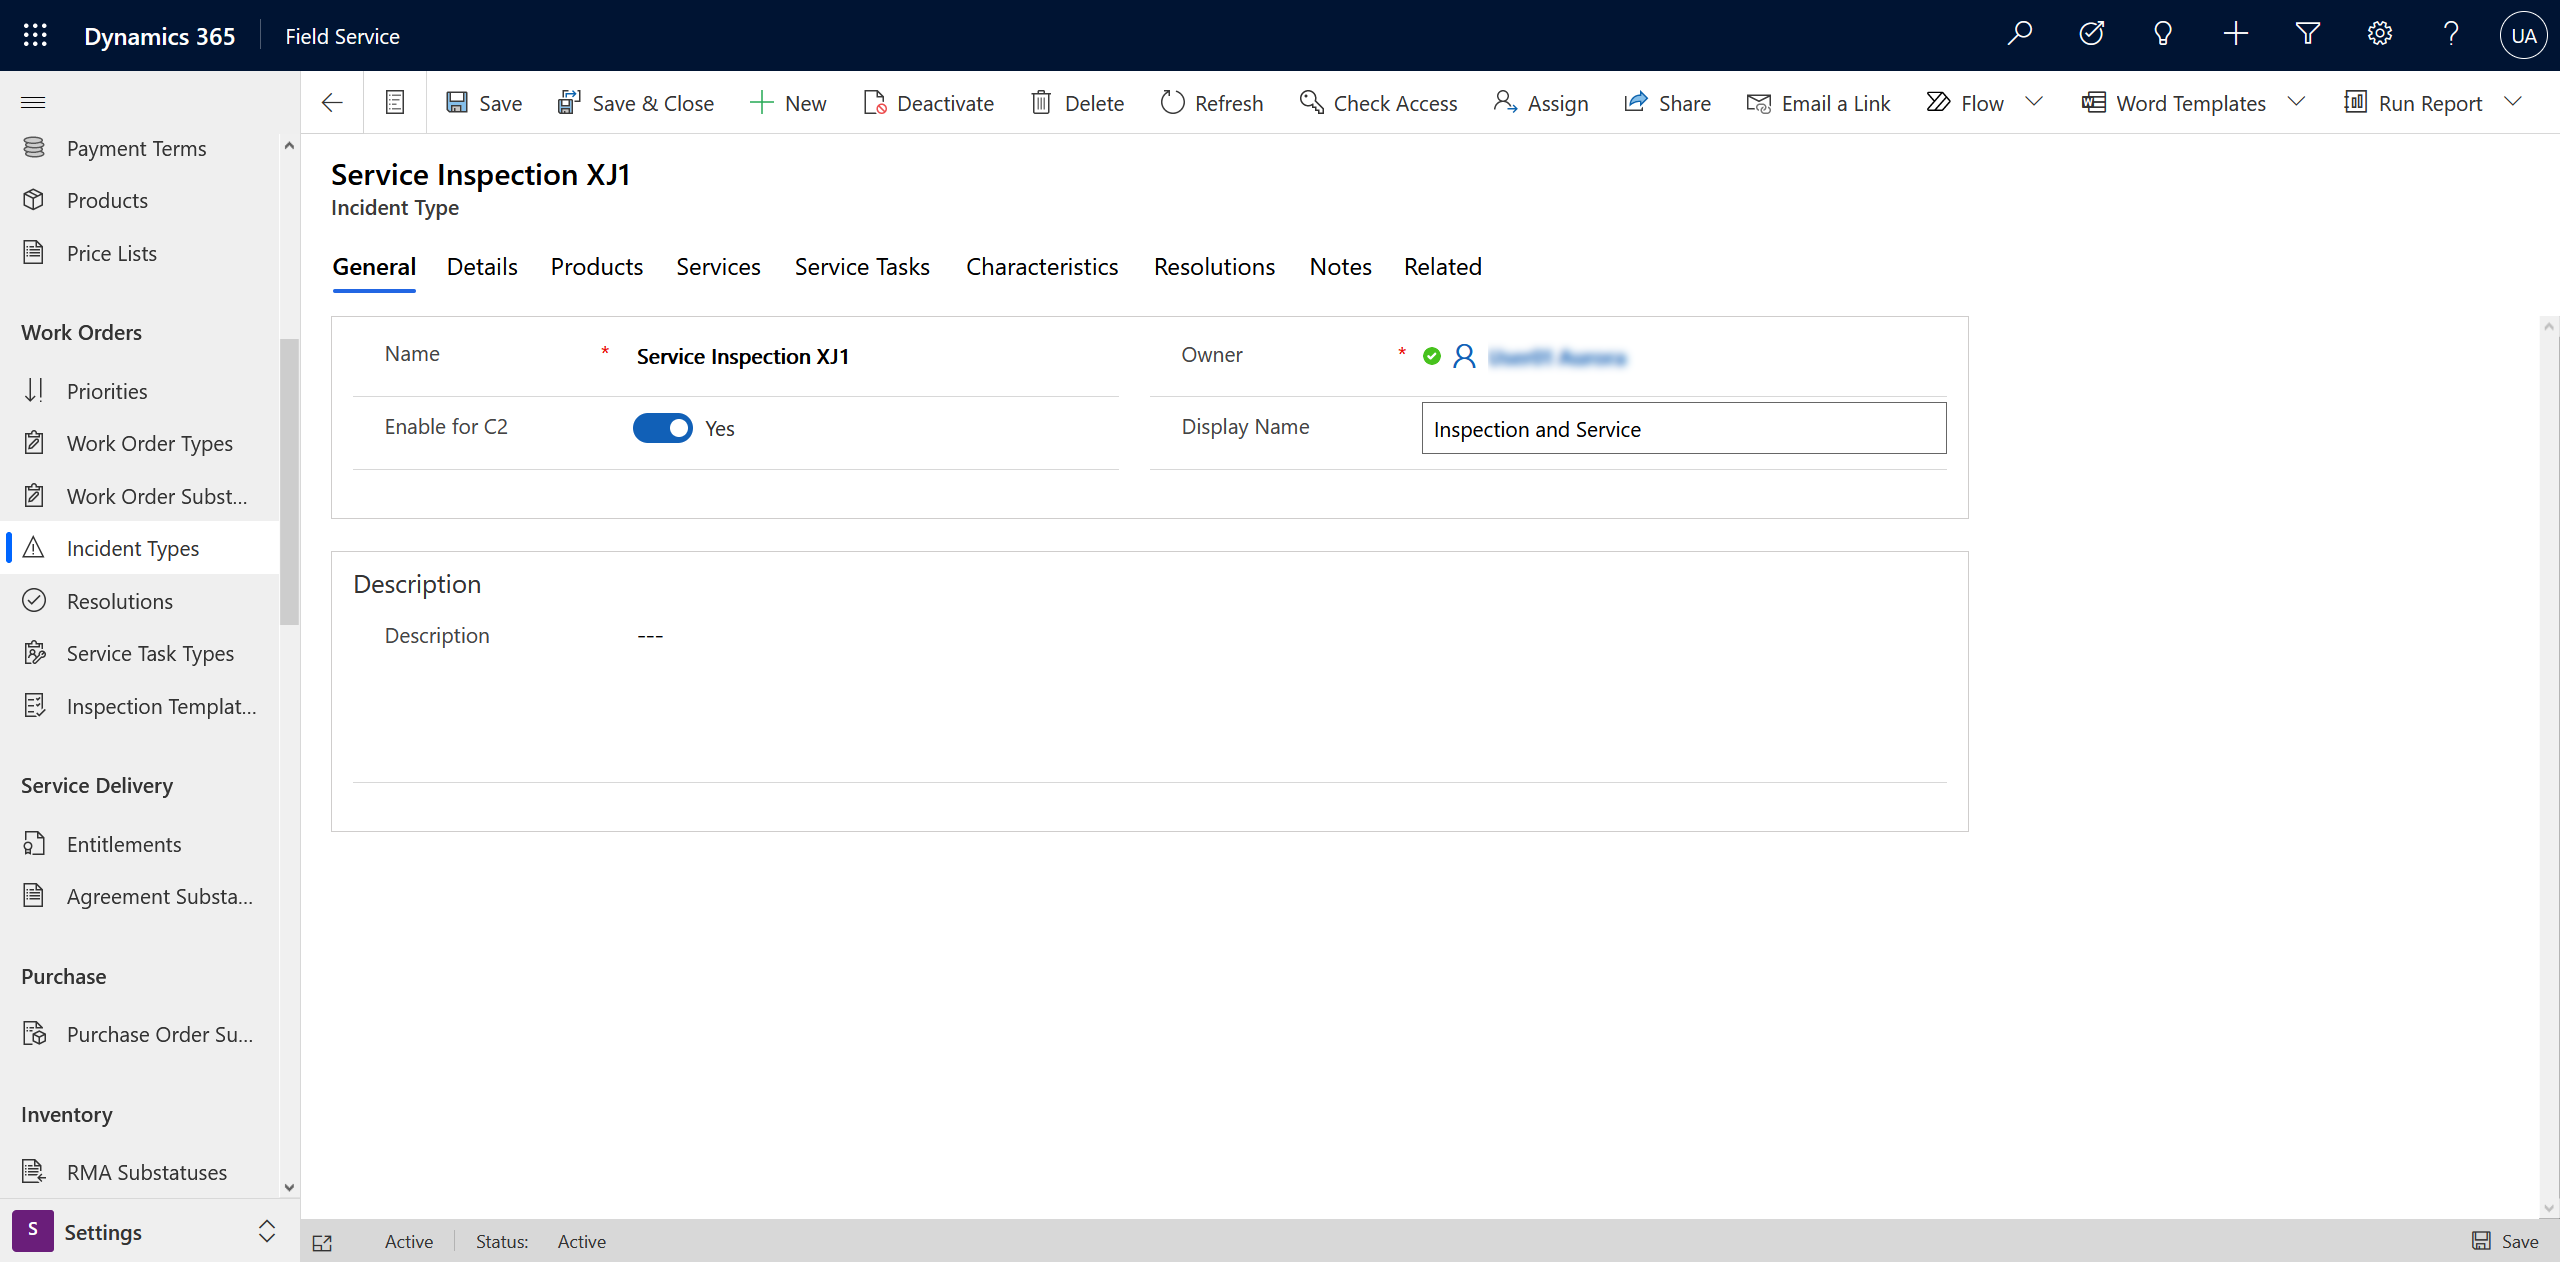
Configure incident types for the portal
As part of the self-scheduling experience, the customer can select the incident type (shown as Service Type) that represents the work needed. As a Field Service administrator, you can make specific incident types available to your customers and set a user-friendly display name for the incident type shown on the self-scheduling portal.
- Open an existing incident type and set the Enable for C2 setting to Yes.
- Provide a Display Name for the portal.
- Set a Default Work Order type, which is associated with a price list for the incident type.
- Set an estimated duration for the incident type. This value is the work duration shown in the portal.
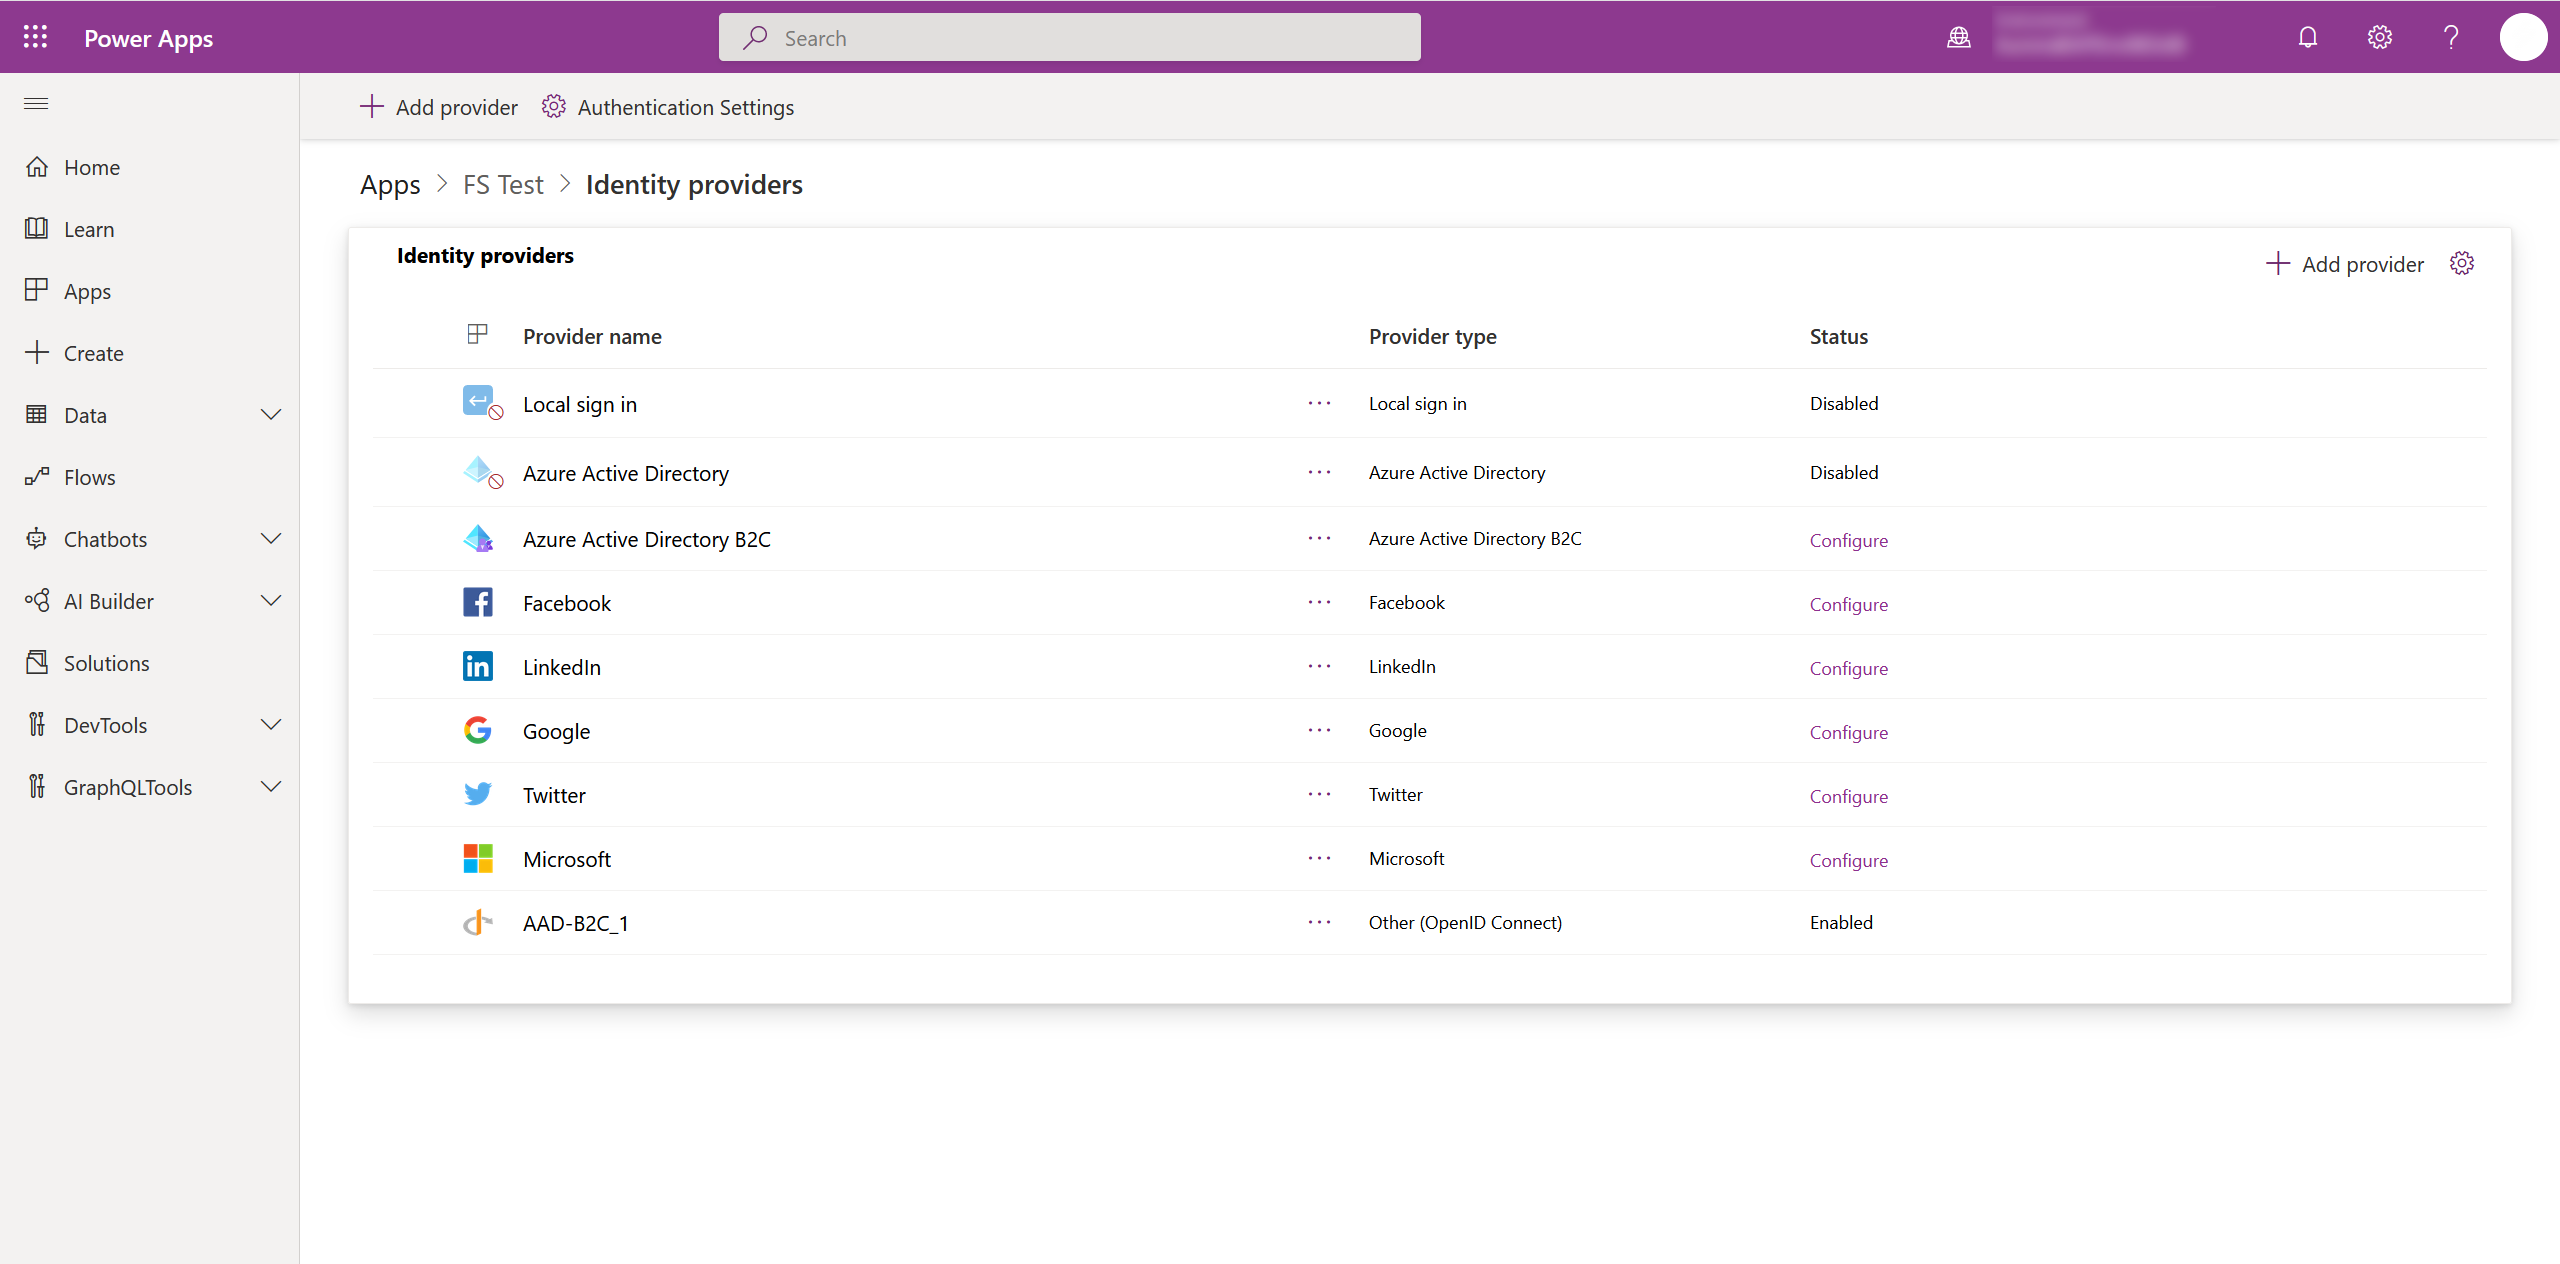
Configure identity providers for the portal
The portal requires customers to authenticate before they can open service requests. By default, the portal uses local authentication. Administrators can add and change authentication options.
More information: Overview of authentication in Power Apps portals
Customize the portal design
Makers can update the design and styling of your portal to meet your branding requirements. Use the Power Pages design studio or the legacy Power Apps portals Studio to customize the portal site.
You can only edit elements in the header and footer, and content snippets. Updating content snippets in the portal also updates notifications if they're enabled.
Update the Field Service portal
When we release new features, we don't update your portal automatically. An administrator must apply them to your environment. For more information, see Update a website package.
Next steps
Feedback
Coming soon: Throughout 2024 we will be phasing out GitHub Issues as the feedback mechanism for content and replacing it with a new feedback system. For more information see: https://aka.ms/ContentUserFeedback.
Submit and view feedback for