Note
Access to this page requires authorization. You can try signing in or changing directories.
Access to this page requires authorization. You can try changing directories.
APPLIES TO: All API Management tiers
This article shows how to import a SOAP API as a WSDL specification and then convert it to a REST API. It also shows how to test the API in Azure API Management.
In this article, you learn how to:
- Import a SOAP API and convert it to REST
- Test the API in the Azure portal
Note
WSDL import to API Management is subject to certain limitations. WSDL files with wsdl:import, xsd:import, and xsd:include directives aren't supported. For an open-source tool to resolve and merge these dependencies in a WSDL file, see this GitHub repo.
Prerequisites
- Create an Azure API Management instance.
Go to your API Management instance
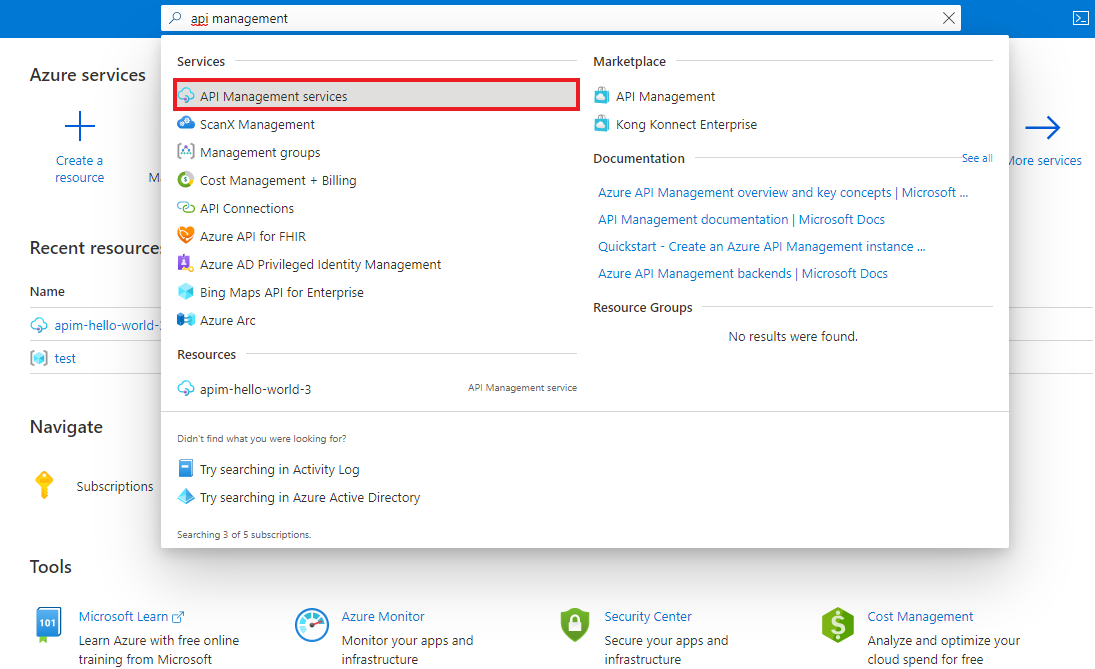
In the Azure portal, search for and select API Management services:
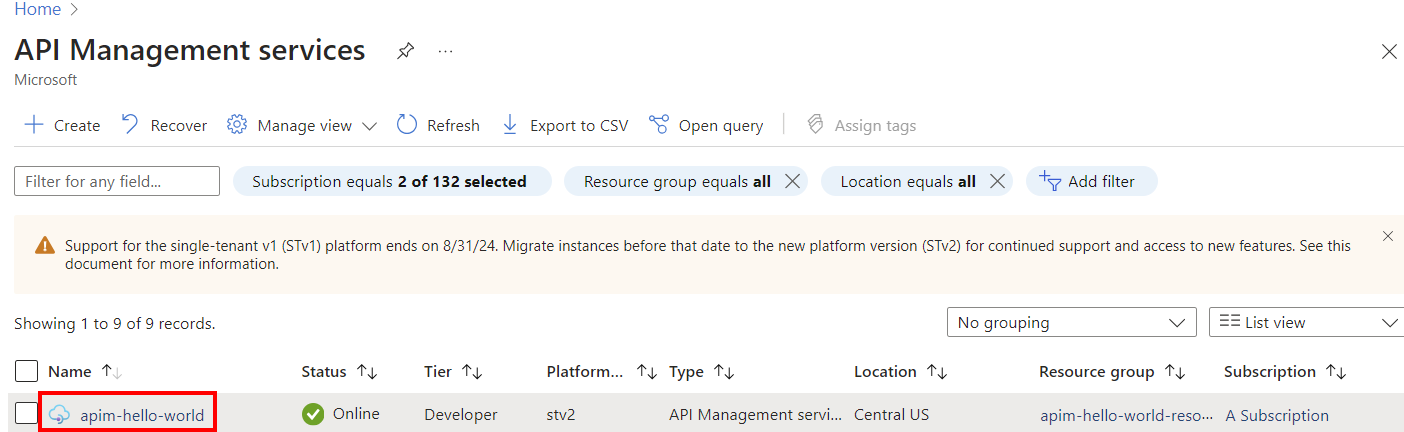
On the API Management services page, select your API Management instance:


Import and publish a backend API
In the sidebar menu, in the APIs section, select APIs.
On the APIs page, select + Add API.
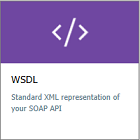
Under Create from definition, select the WSDL tile:
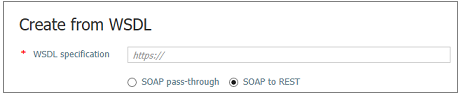
In WSDL specification, enter the URL to your SOAP API, or choose Select a file to select a local WSDL file.
Under Import method, select SOAP to REST.
When this option is selected, API Management attempts to make an automatic transformation between XML and JSON. In this case, consumers should call the API as a RESTful API, which returns JSON. API Management converts each request to a SOAP call.
The Display name and Name boxes are filled automatically with information from the SOAP API.
Enter other API settings, and then select Create. You can also configure these values later by going to the Settings tab.
For more information about API settings, see Import and publish a backend API.

Test the new API in the Azure portal
You can call operations directly from the Azure portal. This method provides a convenient way to view and test the operations of an API.
Select the API you created in the previous step.
Select the Test tab.
Select an operation.
The page shows fields for query parameters and fields for the headers. One of the headers is Ocp-Apim-Subscription-Key. This header is for the subscription key of the product that's associated with this API. If you created the API Management instance, you're an admin already, so the key is filled in automatically.
Select Send.
When the test is successful, the backend responds with 200 OK and some data.
Append other APIs
You can compose an API out of APIs that are exposed by different services, including:
- An OpenAPI specification
- A SOAP API
- A GraphQL API
- A Web App that's hosted in Azure App Service
- Azure Functions
- Azure Logic Apps
- Azure Service Fabric
Note
When you import an API, the operations are appended to your current API.
To append an API to an existing API:
Go to your Azure API Management instance in the Azure portal:

Select APIs on the Overview page, or select APIs > APIs in the sidebar menu.

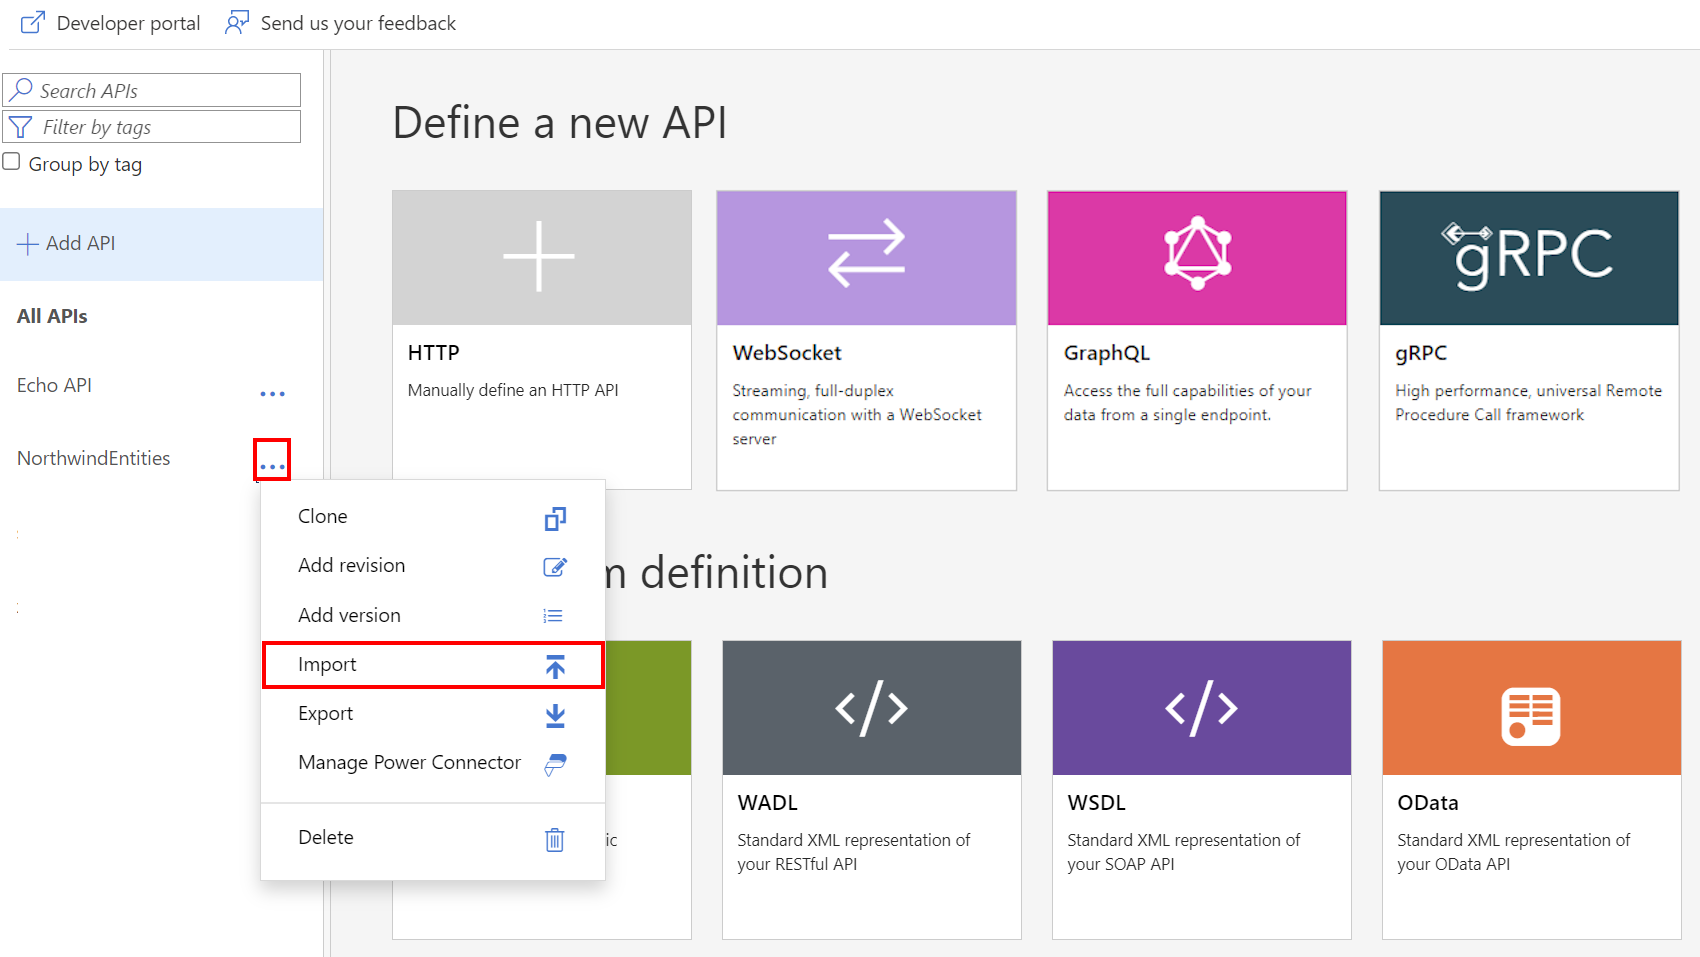
Select the ellipsis (...) next to the API that you want to append another API to.
Select Import from the context menu:
Select a service from which to import an API.


Related content
- API import limitations
- Import an OpenAPI specification
- Import a SOAP API
- Import a SOAP API and convert it to REST
- Import an App Service API
- Import a container app API
- Import a WebSocket API
- Import a GraphQL API
- Import a GraphQL schema and set up field resolvers
- Import a function app API
- Import a logic app API
- Import a Service Fabric service
- Import a Microsoft Foundry API
- Import an Azure OpenAI API
- Import an LLM API
- Import an OData API
- Export a REST API as an MCP server
- Expose an existing MCP server
- Import an A2A agent API
- Import SAP OData metadata
- Import a gRPC API
- Edit an API