Manage disaster recovery using Azure NetApp Files
An ongoing replication (with cross-zone or cross-region replication) between the source and the destination volumes prepares you for a disaster recovery event.
When such an event occurs, you can fail over to the destination volume, enabling the client to read and write to the destination volume.
After disaster recovery, you can perform a resync operation to fail back to the source volume. You then reestablish the source-to-destination replication and remount the source volume for the client to access.
Fail over to destination volume
Failover is a manual process. When you need to activate the destination volume (for example, when you want to fail over to the destination region), you need to break replication peering then mount the destination volume.
To break replication peering, select the destination volume. Select Replication under Storage Service.
Check the following fields before continuing:
- Ensure that Mirror State shows Mirrored.
Do not attempt to break replication peering if Mirror State shows Uninitialized. - Ensure that Relationship Status shows Idle.
Do not attempt to break replication peering if Relationship Status shows Transferring.
- Ensure that Mirror State shows Mirrored.
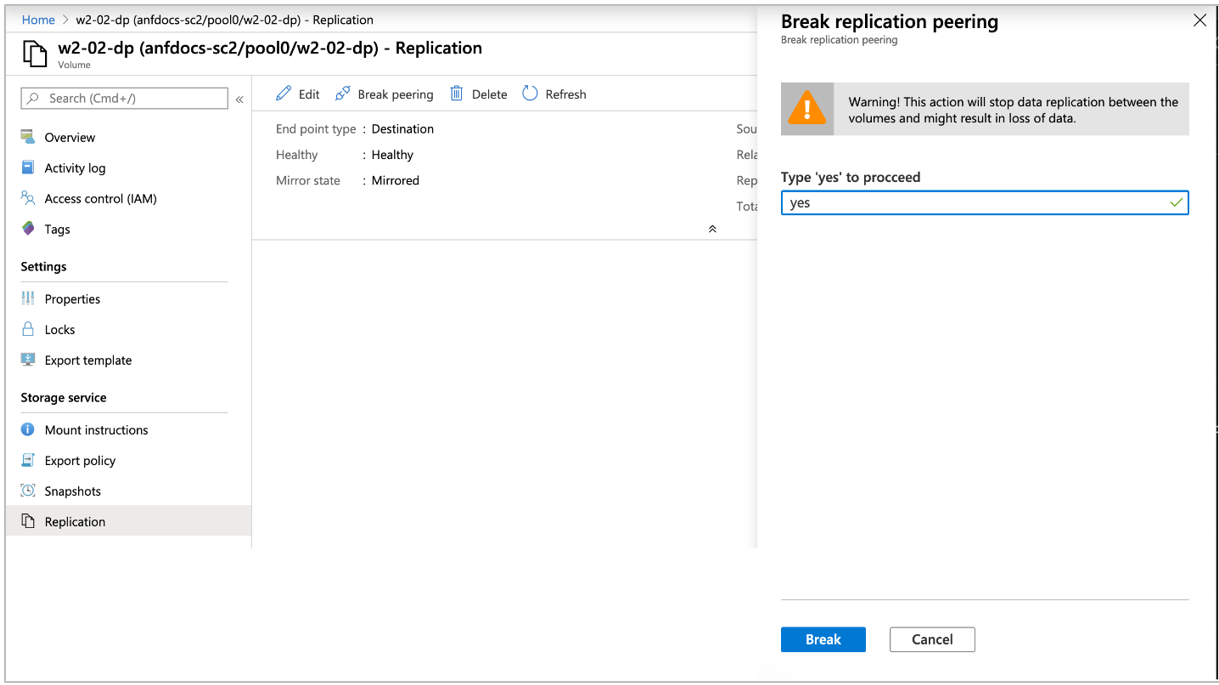
Select Break Peering.
Type Yes when prompted and then select Break.
Mount the destination volume by following the steps in Mount or unmount a volume for Windows or Linux virtual machines.
This step enables a client to access the destination volume.
Resync volumes after disaster recovery
After disaster recovery, you can reactivate the source volume by performing a reverse resync operation. The reverse resync operation reverses the replication process and synchronizes data from the destination volume to the source volume.
Important
The reverse resync operation synchronizes the source and destination volumes by incrementally updating the source volume with the latest updates from the destination volume, based on the last available common snapshots. This operation avoids the need to synchronize the entire volume in most cases because only changes to the destination volume after the most recent common snapshot will have to be replicated to the source volume.
The reverse resync operation overwrites any newer data (than the most common snapshot) in the source volume with the updated destination volume data. The UI warns you about the potential for data loss. You will be prompted to confirm the resync action before the operation starts.
In case the source volume did not survive the disaster and therefore no common snapshot exists, all data in the destination will be resynchronized to a newly created source volume.
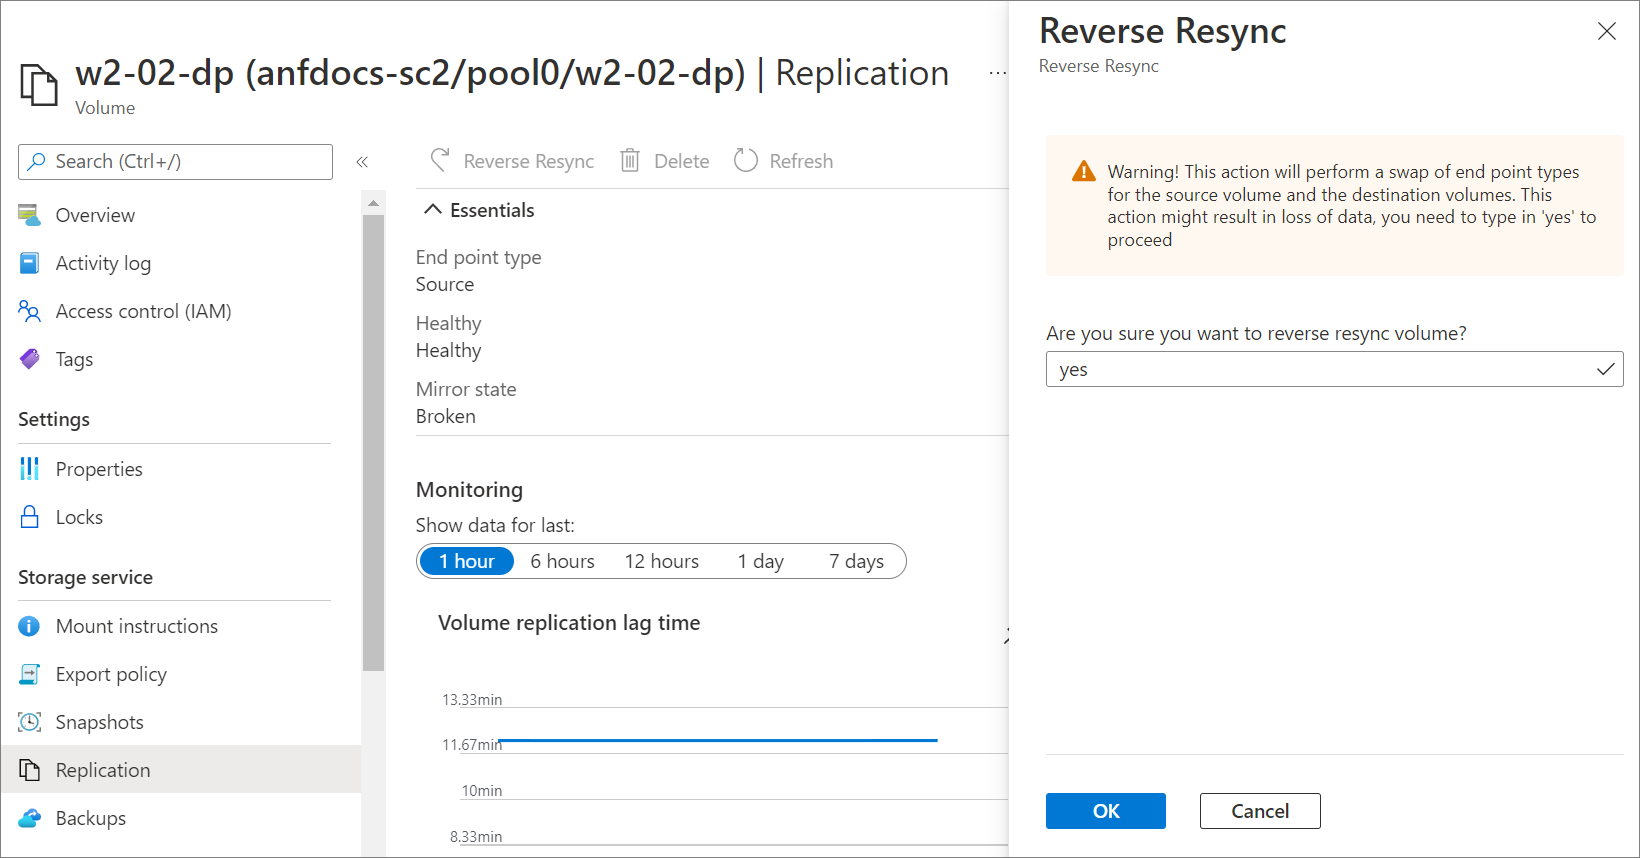
To reverse resync replication, select the source volume. Select Replication under Storage Service. Then select Reverse Resync.
Type Yes when prompted then select OK.
Monitor the source volume health status by following steps in Display health status of replication relationship.
When the source volume health status shows the following values, the reverse resync operation is complete, and changes made at the destination volume are now captured on the source volume:- Mirrored State: Mirrored
- Transfer State: Idle
Reestablish source-to-destination replication
After the resync operation from destination to source is complete, you need to break replication peering again to reestablish source-to-destination replication. You should also remount the source volume so that the client can access it.
Break the replication peering:
a. Select the destination volume. Select Replication under Storage Service.
b. Check the following fields before continuing:Ensure that Mirror State shows Mirrored.
Do not attempt to break replication peering if Mirror State shows uninitialized.Ensure that Relationship Status shows Idle.
Do not attempt to break replication peering if Relationship Status shows transferring.
c. Select Break Peering.
d. Type Yes when prompted then select Break.Resync the source volume with the destination volume:
a. Select the destination volume. Select Replication under Storage Service. Then select Reverse Resync.
b. Type Yes when prompted then select OK.Remount the source volume by following the steps in Mount a volume for Windows or Linux virtual machines.
This step enables a client to access the source volume.
Next steps
Feedback
Coming soon: Throughout 2024 we will be phasing out GitHub Issues as the feedback mechanism for content and replacing it with a new feedback system. For more information see: https://aka.ms/ContentUserFeedback.
Submit and view feedback for