Quickstart: Integrate Bicep with Azure Pipelines
This quickstart shows you how to integrate Bicep files with Azure Pipelines for continuous integration and continuous deployment (CI/CD).
It provides a short introduction to the pipeline task you need for deploying a Bicep file. If you want more detailed steps on setting up the pipeline and project, see Deploy Azure resources by using Bicep and Azure Pipelines.
Prerequisites
If you don't have an Azure subscription, create a free account before you begin.
You need an Azure DevOps organization. If you don't have one, create one for free. If your team already has an Azure DevOps organization, make sure you're an administrator of the Azure DevOps project that you want to use.
You need to have configured a service connection to your Azure subscription. The tasks in the pipeline execute under the identity of the service principal. For steps to create the connection, see Create a DevOps project.
You need a Bicep file that defines the infrastructure for your project. This file is in a repository.
You need a bicepparam file that defines the parameters used by your bicep file. This file is in a repository.
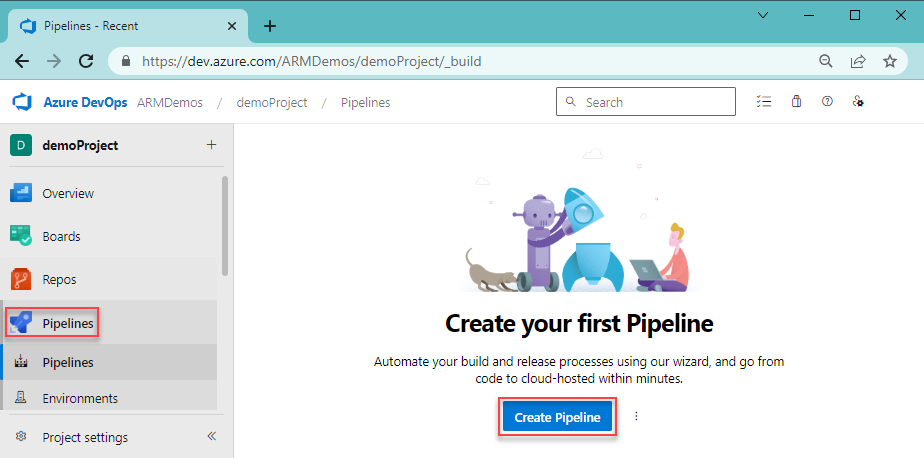
Create pipeline
From your Azure DevOps organization, select Pipelines and Create pipeline.
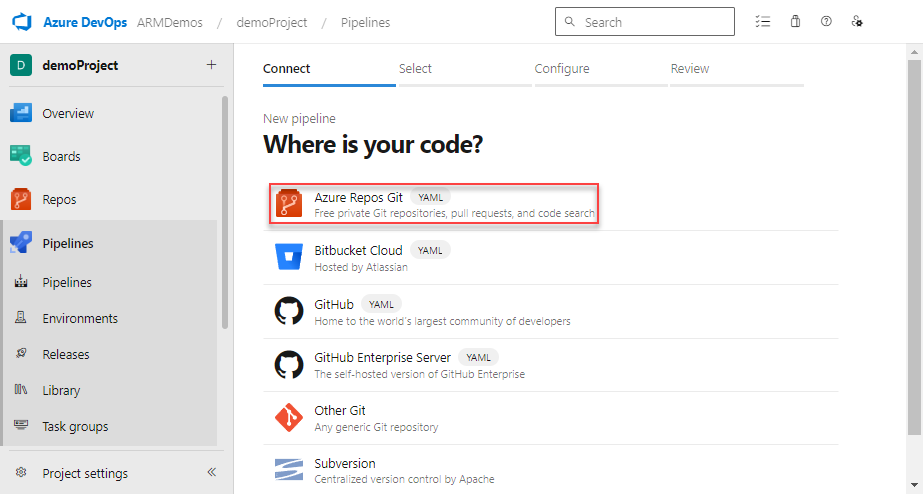
Specify where your code is stored. This quickstart uses Azure Repos Git.
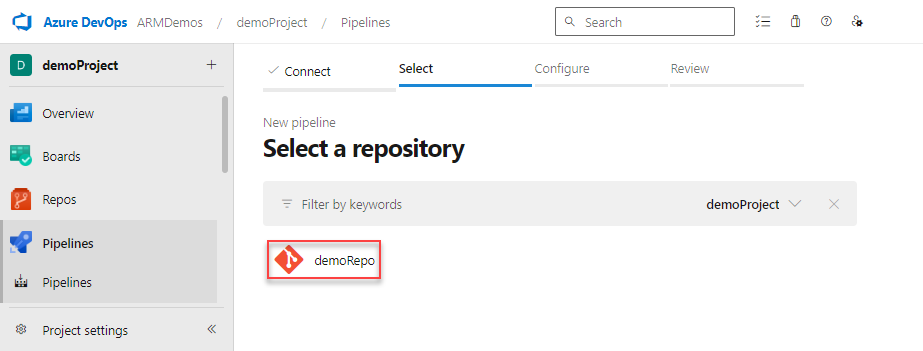
Select the repository that has the code for your project.
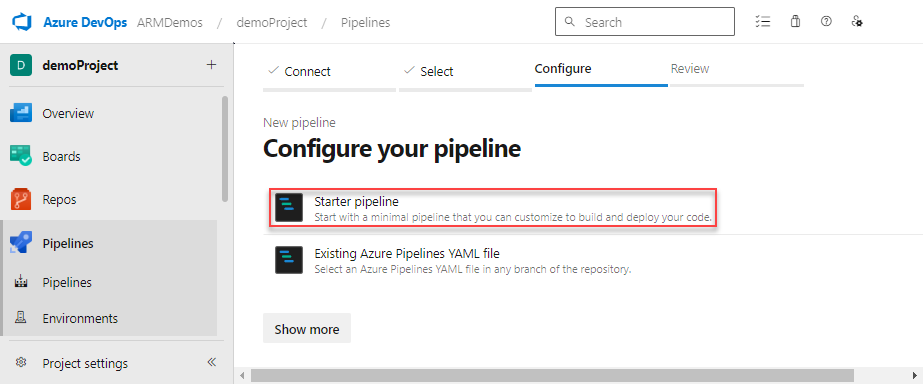
Select Starter pipeline for the type of pipeline to create.
Deploy Bicep files
You can use Azure Resource Group Deployment task or Azure CLI task to deploy a Bicep file.
Use Azure Resource Manager Template Deployment task
Note
As of version 3.235.0 of the Azure Resource Manager Template Deployment task, usage of bicepparam files is supported.
Note
The AzureResourceManagerTemplateDeployment@3 task requires both Bicep and bicepparam files be provided when using bicepparam. The Bicep file can reference all supported locations for module references. The bicepparam file must reference the local Bicep file in the using statement.
Replace your starter pipeline with the following YAML. It creates a resource group and deploys a Bicep and bicepparam file by using the Azure Resource Manager Template Deployment task.
trigger:
- main

name: Deploy Bicep files

parameters:
- name: azureServiceConnection
  type: string
  default: '<your-connection-name>'

variables:
  vmImageName: 'ubuntu-latest'
  resourceGroupName: 'exampleRG'
  location: '<your-resource-group-location>'
  templateFile: './main.bicep'
  csmParametersFile: './main.bicepparam'

pool:
  vmImage: $(vmImageName)

steps:
- task: AzureResourceManagerTemplateDeployment@3
  inputs:
    deploymentScope: 'Resource Group'
    azureSubscription: '${{ parameters.azureServiceConnection }}'
    action: 'Create Or Update Resource Group'
    resourceGroupName: '$(resourceGroupName)'
    location: '$(location)'
    templateLocation: 'Linked artifact'
    csmFile: '$(templateFile)'
    csmParametersFile: '$(csmParametersFile)'
    overrideParameters: '-storageAccountType Standard_LRS'
    deploymentMode: 'Incremental'
    deploymentName: 'DeployPipelineTemplate'
Update the values of
azureServiceConnectionandlocation.Verify you have a valid
main.bicepfile in your repo.Verify you have a valid
main.bicepparamfile in your repo that contains a using statement.Select Save. The build pipeline automatically runs. Go back to the summary for your build pipeline, and watch the status.
Use Azure CLI task
Note
The az deployment group create command requires only a bicepparam file. The using statement in the bicepparam file can target any supported location to reference the Bicep file. A Bicep file is only required in your repository when using from a local disk path with Azure CLI.
Note
When you use a bicepparam file with the az deployment group create command, you can't override parameters.
Replace your starter pipeline with the following YAML. It creates a resource group and deploys a bicepparam file by using an Azure CLI task:
trigger:
- main

name: Deploy Bicep files

parameters:
  azureServiceConnection: '<your-connection-name>'

variables:
  vmImageName: 'ubuntu-latest'
  resourceGroupName: 'exampleRG'
  location: '<your-resource-group-location>'
  bicepParamFile: './main.bicepparam'

pool:
  vmImage: $(vmImageName)

steps:
- task: AzureCLI@2
  inputs:
    azureSubscription: '${{ parameters.azureServiceConnection }}'
    scriptType: bash
    scriptLocation: inlineScript
    useGlobalConfig: false
    inlineScript: |
      az --version
      az group create --name $(resourceGroupName) --location $(location)
      az deployment group create `
        --resource-group $(resourceGroupName) `
        --parameters $(bicepParamFile) `
        --name DeployPipelineTemplate
For the descriptions of the task inputs, see Azure CLI task. When using the task on air-gapped cloud, you must set the
useGlobalConfigproperty of the task totrue. The default value isfalse.Update the values of
azureServiceConnectionandlocation.Verify you have a valid
main.bicepparamfile in your repo that contains a using statement.Select Save. The build pipeline automatically runs. Go back to the summary for your build pipeline, and watch the status.
Clean up resources
When the Azure resources are no longer needed, use the Azure CLI or Azure PowerShell to delete the quickstart resource group.
az group delete --name exampleRG
Next steps
Feedback
Coming soon: Throughout 2024 we will be phasing out GitHub Issues as the feedback mechanism for content and replacing it with a new feedback system. For more information see: https://aka.ms/ContentUserFeedback.
Submit and view feedback for