Tutorial: Migrate Azure Database for MySQL - Single Server to Flexible Server offline using DMS via the Azure portal
You can migrate an instance of Azure Database for MySQL – Single Server to Azure Database for MySQL – Flexible Server by using Azure Database Migration Service (DMS), a fully managed service designed to enable seamless migrations from multiple database sources to Azure data platforms. In this tutorial, we perform an offline migration of a sample database from an Azure Database for MySQL single server to a MySQL flexible server (both running version 5.7) using a DMS migration activity.
DMS supports migrating from lower version MySQL servers (v5.6 and above) to higher versions. In addition, DMS supports cross-region, cross-resource group, and cross-subscription migrations, so you can select a region, resource group, and subscription for the target server that is different than what is specified for your source server.
Important
For online migrations, you can use the Enable Transactional Consistency feature supported by DMS together with Data-in replication or replicate changes. Additionally, you can use the online migration scenario to migrate by following the tutorial here.
In this tutorial, you'll learn how to:
- Implement best practices for creating a flexible server for faster data loads using DMS.
- Create and configure a target flexible server.
- Create a DMS instance.
- Create a MySQL migration project in DMS.
- Migrate a MySQL schema using DMS.
- Run the migration.
- Monitor the migration.
- Perform post-migration steps.
- Implement best practices for performing a migration.
Prerequisites
To complete this tutorial, you need to:
Create or use an existing instance of Azure Database for MySQL – Single Server (the source server).
To complete a schema migration successfully, on the source server, the user performing the migration requires the following privileges:
- "SELECT" privilege at the server level on the source.
- If migrating views, user must have the "SHOW VIEW" privilege on the source server and the "CREATE VIEW" privilege on the target server.
- If migrating triggers, user must have the "TRIGGER" privilege on the source and target server.
- If migrating routines (procedures and/or functions), the user must have the "CREATE ROUTINE" and "ALTER ROUTINE" privileges granted at the server level on the target.
- If migrating events, the user must have the "EVENT" privilege on the source and target server.
- If migrating users/logins, the user must have the "CREATE USER" privilege on the target server.
- "DROP" privilege at the server level on the target, in order to drop tables that might already exist. For example, when retrying a migration.
- "REFERENCES" privilege at the server level on the target, in order to create tables with foreign keys.
- If migrating to MySQL 8.0, the user must have the "SESSION_VARIABLES_ADMIN" privilege on the target server.
- "CREATE" privilege at the server level on the target.
- "INSERT" privilege at the server level on the target.
- "UPDATE" privilege at the server level on the target.
- "DELETE" privilege at the server level on the target.
Limitations
As you prepare for the migration, be sure to consider the following limitations.
When migrating non-table objects, DMS doesn't support renaming databases.
When migrating to a target server with bin_log enabled, be sure to enable log_bin_trust_function_creators to allow for creation of routines and triggers.
When migrating the schema, DMS doesn't support creating a database on the target server.
Currently, DMS doesn't support migrating the DEFINER clause for objects. All object types with definers on the source are dropped and after the migration the default definer for tables will be set to the login used to run the migration.
Currently, DMS only supports migrating a schema as part of data movement. If nothing is selected for data movement, the schema migration won't occur. Selecting a table for schema migration also selects it for data movement.
Best practices for creating a flexible server for faster data loads using DMS
DMS supports cross-region, cross-resource group, and cross-subscription migrations, so you're free to select appropriate region, resource group and subscription for your target flexible server. Before you create your target flexible server, consider the following configuration guidance to help ensure faster data loads using DMS.
Select the compute size and compute tier for the target flexible server based on the source single server's pricing tier and VCores based on the detail in the following table.
Single Server Pricing Tier Single Server VCores Flexible Server Compute Size Flexible Server Compute Tier Basic 1 1 General Purpose Standard_D16ds_v4 Basic 1 2 General Purpose Standard_D16ds_v4 General Purpose 1 4 General Purpose Standard_D16ds_v4 General Purpose 1 8 General Purpose Standard_D16ds_v4 General Purpose 16 General Purpose Standard_D16ds_v4 General Purpose 32 General Purpose Standard_D32ds_v4 General Purpose 64 General Purpose Standard_D64ds_v4 Memory Optimized 4 Business Critical Standard_E4ds_v4 Memory Optimized 8 Business Critical Standard_E8ds_v4 Memory Optimized 16 Business Critical Standard_E16ds_v4 Memory Optimized 32 Business Critical Standard_E32ds_v4 1 For the migration, select General Purpose 16 VCores compute for the target flexible server for faster migrations. Scale back to the desired compute size for the target server after migration is complete by following the compute size recommendation in the Performing post-migration activities section later in this article.
The MySQL version for the target flexible server must be greater than or equal to that of the source single server.
Unless you need to deploy the target flexible server in a specific zone, set the value of the Availability Zone parameter to 'No preference'.
For network connectivity, on the Networking tab, if the source single server has private endpoints or private links configured, select Private Access; otherwise, select Public Access.
Copy all firewall rules from the source single server to the target flexible server.
Copy all the name/value tags from the single to flex server during creation itself.
Create and configure the target flexible server
With these best practices in mind, create your target flexible server and then configure it.
Create the target flexible server. For guided steps, see the quickstart Quickstart: Create an instance of Azure Database for MySQL with the Azure portal.
Next to configure the newly created target flexible server, proceed as follows:
- The user performing the migration requires the following permissions:
- To create tables on the target, the user must have the "CREATE" privilege.
- If migrating to a table with a "UNION" option, the user must have the "SELECT," "UPDATE," and "DELETE" privileges for the tables you map to a MERGE table.
- If migrating views, you must have the "CREATE VIEW" privilege. Keep in mind that some privileges might be necessary depending on the contents of the views. Refer to the MySQL docs specific to your version for "CREATE VIEW STATEMENT" for details
- If migrating events, the user must have the "EVENT" privilege.
- If migrating triggers, the user must have the "TRIGGER" privilege.
- If migrating routines, the user must have the "CREATE ROUTINE" privilege.
- Create a target database, though it need not be populated with tables/views, etc.
- Set the appropriate character, collations, and any other applicable schema settings prior to starting the migration, as this might affect the DEFAULT set in some of the object definitions.
- Additionally, if migrating non-table objects, be sure to use the same name for the target schema as is used on the source.
- Configure the server parameters on the target flexible server as follows:
- Set the TLS version and require_secure_transport server parameter to match the values on the source server.
- Set the sql_mode server parameter to match the values on the source server.
- Configure server parameters on the target server to match any non-default values used on the source server.
- To ensure faster data loads when using DMS, configure the following server parameters as described.
- max_allowed_packet – set to 1073741824 (i.e., 1 GB) to prevent any connection issues due to large rows.
- slow_query_log – set to OFF to turn off the slow query log. This will eliminate the overhead caused by slow query logging during data loads.
- innodb_buffer_pool_size – can only be increased by scaling up compute for Azure Database for MySQL server. Scale up the server to 64 vCore General Purpose SKU from the Pricing tier of the portal during migration to increase the innodb_buffer_pool_size.
- innodb_io_capacity & innodb_io_capacity_max - Change to 9000 from the Server parameters in Azure portal to improve the IO utilization to optimize for migration speed.
- innodb_write_io_threads - Change to 4 from the Server parameters in Azure portal to improve the speed of migration.
- Configure the replicas on the target server to match those on the source server.
- Replicate the following server management features from the source single server to the target flexible server:
- Role assignments, Roles, Deny Assignments, classic administrators, Access Control (IAM)
- Locks (read-only and delete)
- Alerts
- Tasks
- Resource Health Alerts
- The user performing the migration requires the following permissions:
Set up DMS
With your target flexible server deployed and configured, you next need to set up DMS to migrate your single server to a flexible server.
Register the resource provider
To register the Microsoft.DataMigration resource provider, perform the following steps.
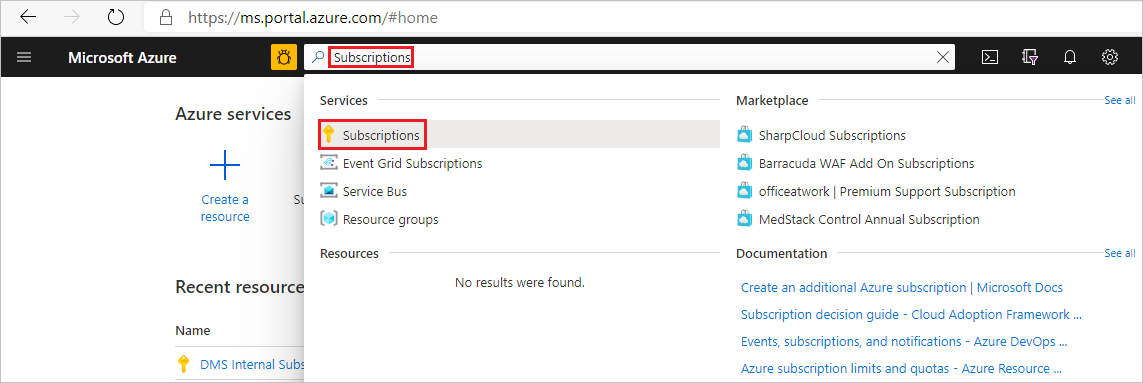
Before creating your first DMS instance, sign in to the Azure portal, and then search for and select Subscriptions.
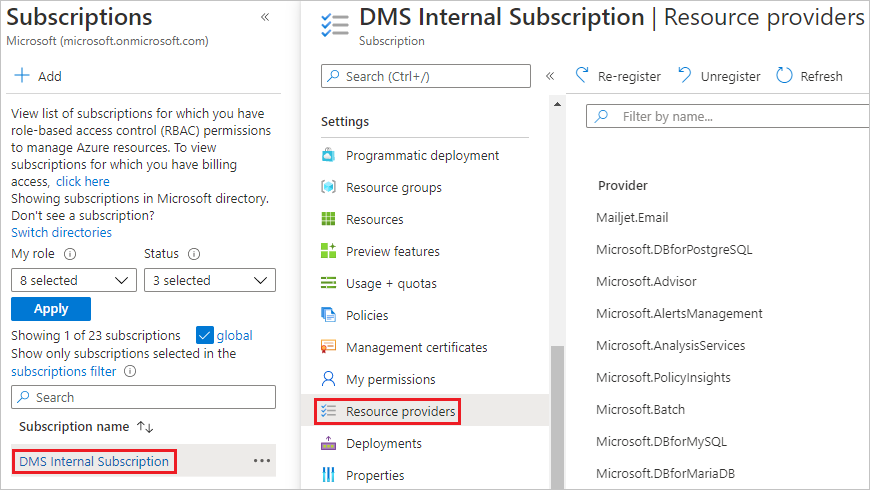
Select the subscription that you want to use to create the DMS instance, and then select Resource providers.
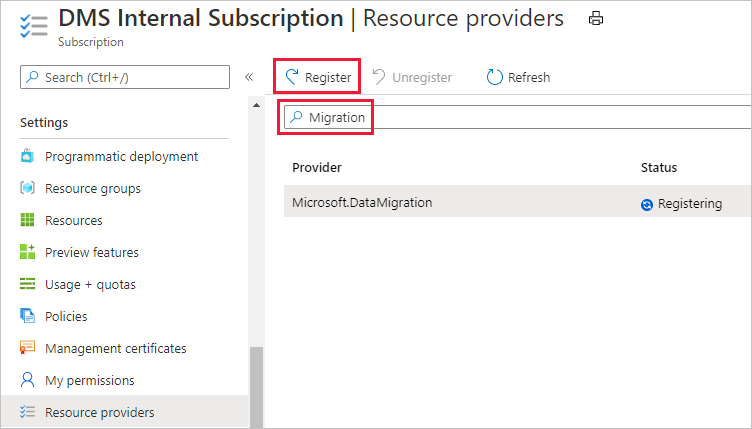
Search for the term "Migration", and then, for Microsoft.DataMigration, select Register.


Create a Database Migration Service (DMS) instance
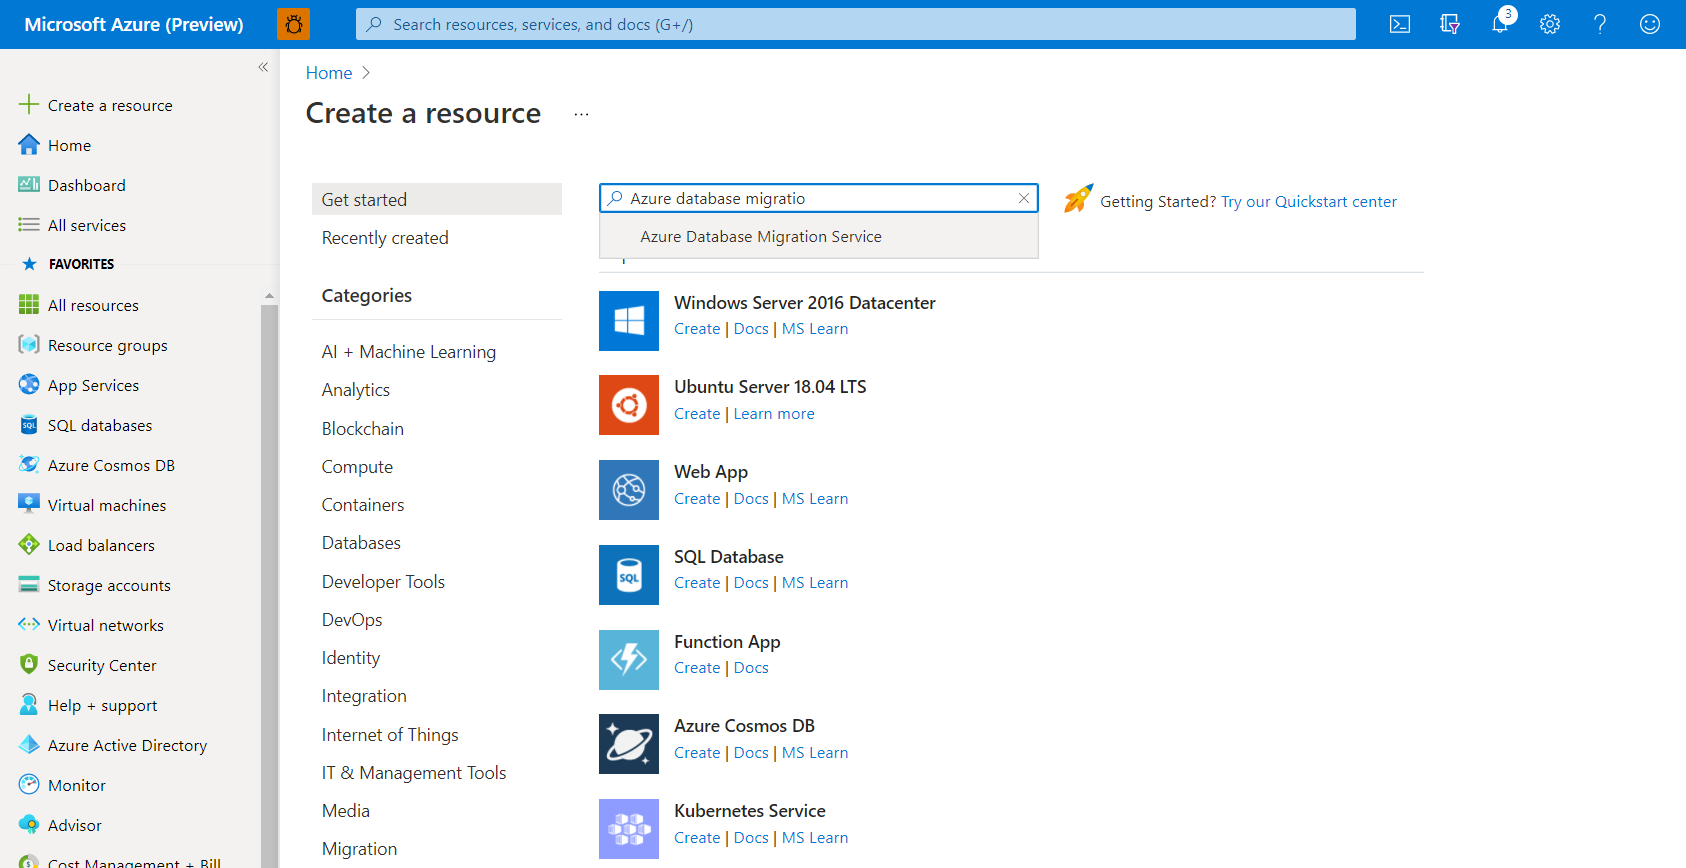
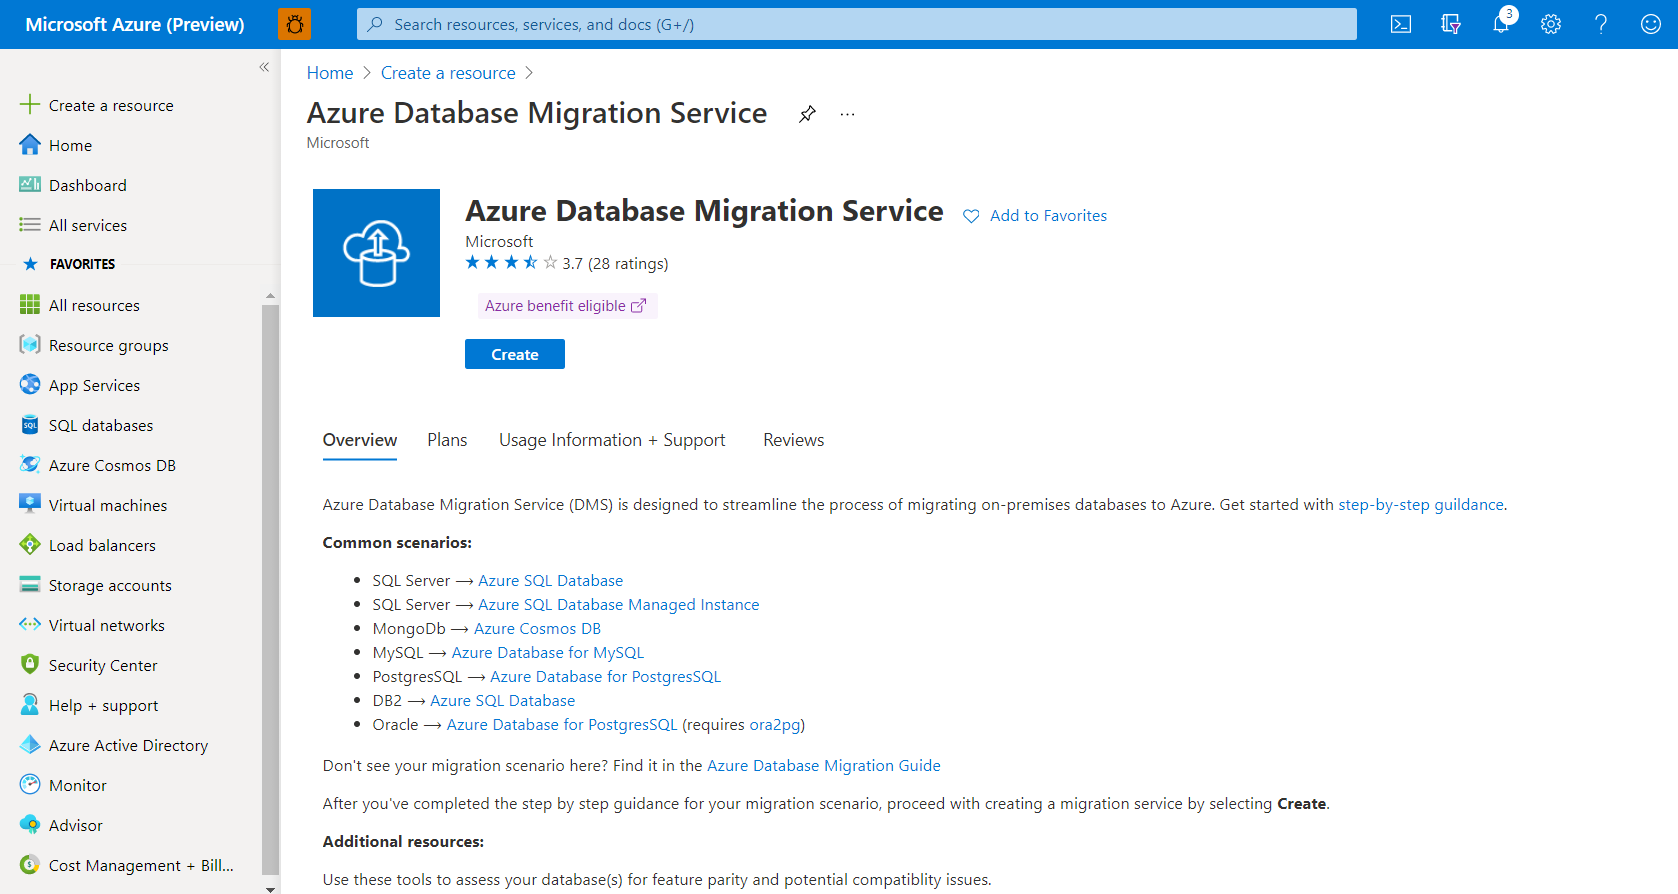
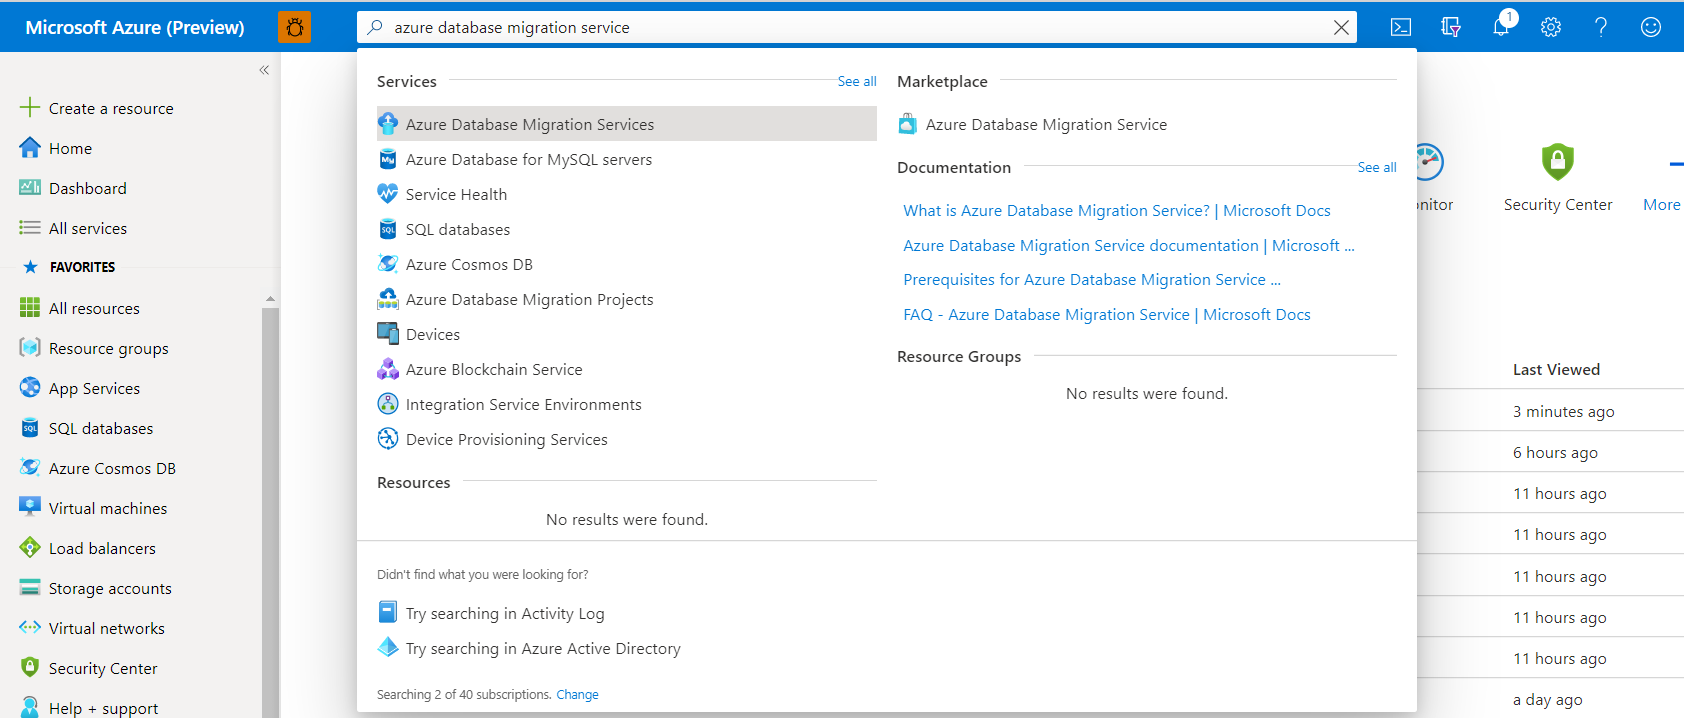
In the Azure portal, select + Create a resource, search for the term "Azure Database Migration Service", and then select Azure Database Migration Service from the dropdown list.
On the Azure Database Migration Service screen, select Create.
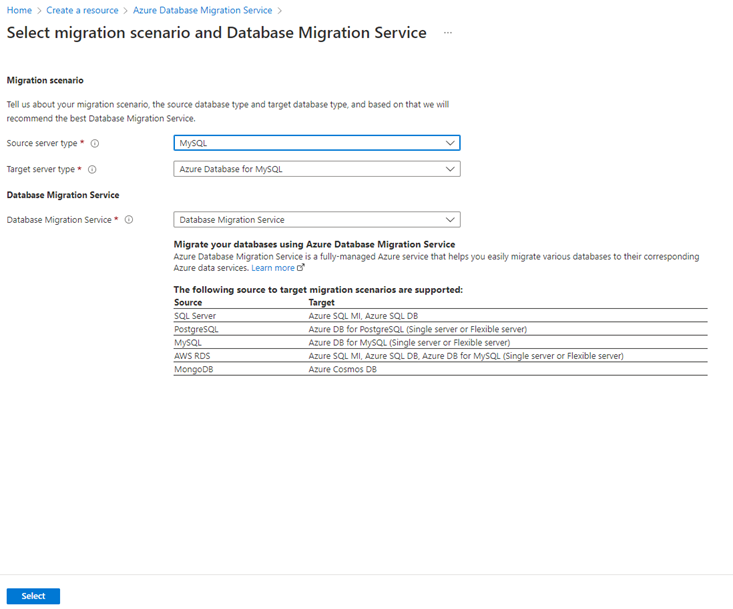
On the Select migration scenario and Database Migration Service page, under Migration scenario, select Azure Database for MySQL-Single Server as the source server type, and then select Azure Database for MySQL as target server type, and then select Select.
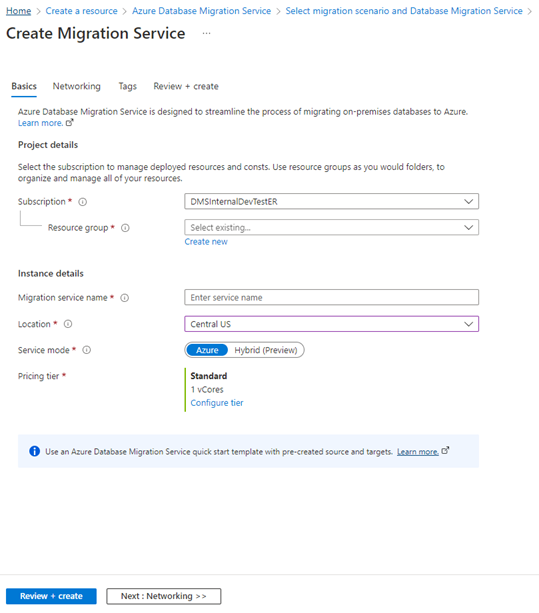
On the Create Migration Service page, on the Basics tab, under Project details, select the appropriate subscription, and then select an existing resource group or create a new one.
Under Instance details, specify a name for the service, select a region, and then verify that Azure is selected as the service mode.
To the right of Pricing tier, select Configure tier.
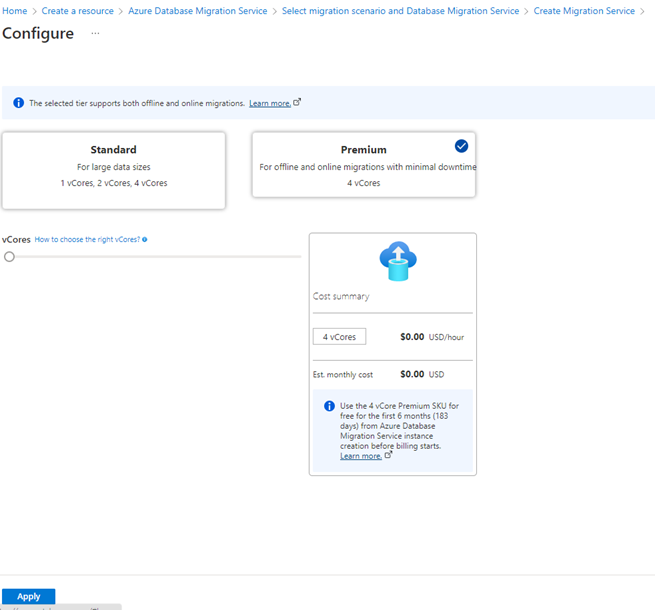
On the Configure page, select the Premium pricing tier with 4 vCores for your DMS instance, and then select Apply.
DMS Premium 4-vCore is free for 6 months (183 days) from the DMS service creation date before incurring any charges. For more information on DMS costs and pricing tiers, see the pricing page.
Next, we need to specify the VNet that will provide the DMS instance with access to the source single server and the target flexible server.
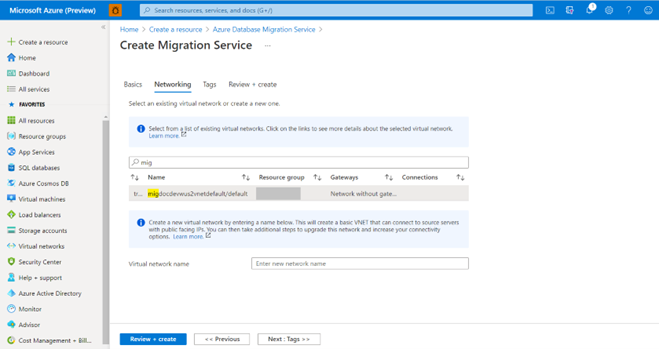
On the Create Migration Service page, select Next : Networking >>.
On the Networking tab, select an existing VNet from the list or provide the name of new VNet to create, and then select Review + Create.
For more information, see the article Create a virtual network using the Azure portal.
Your VNet must be configured with access to both the source single server and the target flexible server, so be sure to:
Create a server-level firewall rule or configure VNET service endpoints for both the source and target Azure Database for MySQL servers to allow the VNet for Azure Database Migration Service access to the source and target databases.
Ensure that your VNet Network Security Group (NSG) rules don't block the outbound port 443 of ServiceTag for ServiceBus, Storage, and Azure Monitor. For more Information about VNet NSG traffic filtering, see Filter network traffic with network security groups.
If you want to add tags to the service, first select Next : Tags to advance to the Tags tab first. Adding tags to the service is optional.
Navigate to the Review + create tab, review the configurations, view the terms, and then select Create.

Deployment of your instance of DMS now begins. The message Deployment is in progress appears for a few minutes, and then the message changes to Your deployment is complete.
Select Go to resource.

Identify the IP address of the DMS instance from the resource overview page and create a firewall rule for your source single server and target flexible server allow-listing the IP address of the DMS instance.


Create a migration project
To create a migration project, perform the following steps.
In the Azure portal, select All services, search for Azure Database Migration Service, and then select Azure Database Migration Services.
In the search results, select the DMS instance that you created, and then select + New Migration Project.

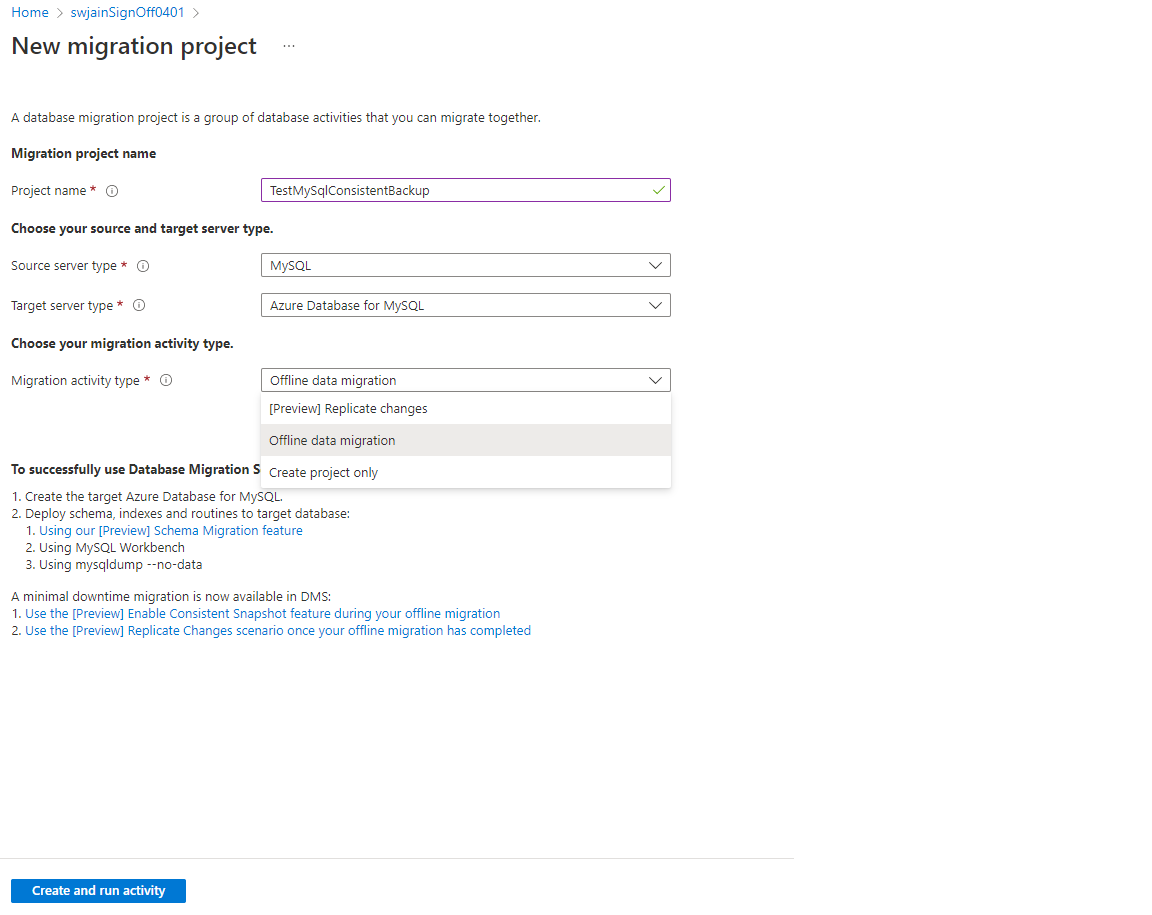
On the New migration project page, specify a name for the project, in the Source server type selection box, select Azure Database For MySQL – Single Server, in the Target server type selection box, select Azure Database For MySQL, in the Migration activity type selection box, select Offline migration, and then select Create and run activity.
Selecting Create project only as the migration activity type will only create the migration project; you can then run the migration project at a later time.


Configure the migration project
To configure your DMS migration project, perform the following steps.
To proceed with the offline migration, before you configure Select source on the screen, open a new window tab and navigate to your source server's overview page on Azure portal and proceed to the Server Parameters blade. Configure the value of read_only server parameter for the source server as ON .
Setting the source server to read only mode by updating the server parameter before starting the migration prevents Write/Delete operations on the source server during migration, which ensures the data integrity of the target database as the source is migrated.
Alternately, if you were performing an online migration, you would select the Enable Transactional Consistency check box on the Select source screen. For more information about consistent backup, see MySQL to Azure Database for MySQL Data Migration - MySQL Consistent Snapshot.
Navigate back to your migration project configuration screen and on the Select source screen, specify the connection details for the source MySQL instance.

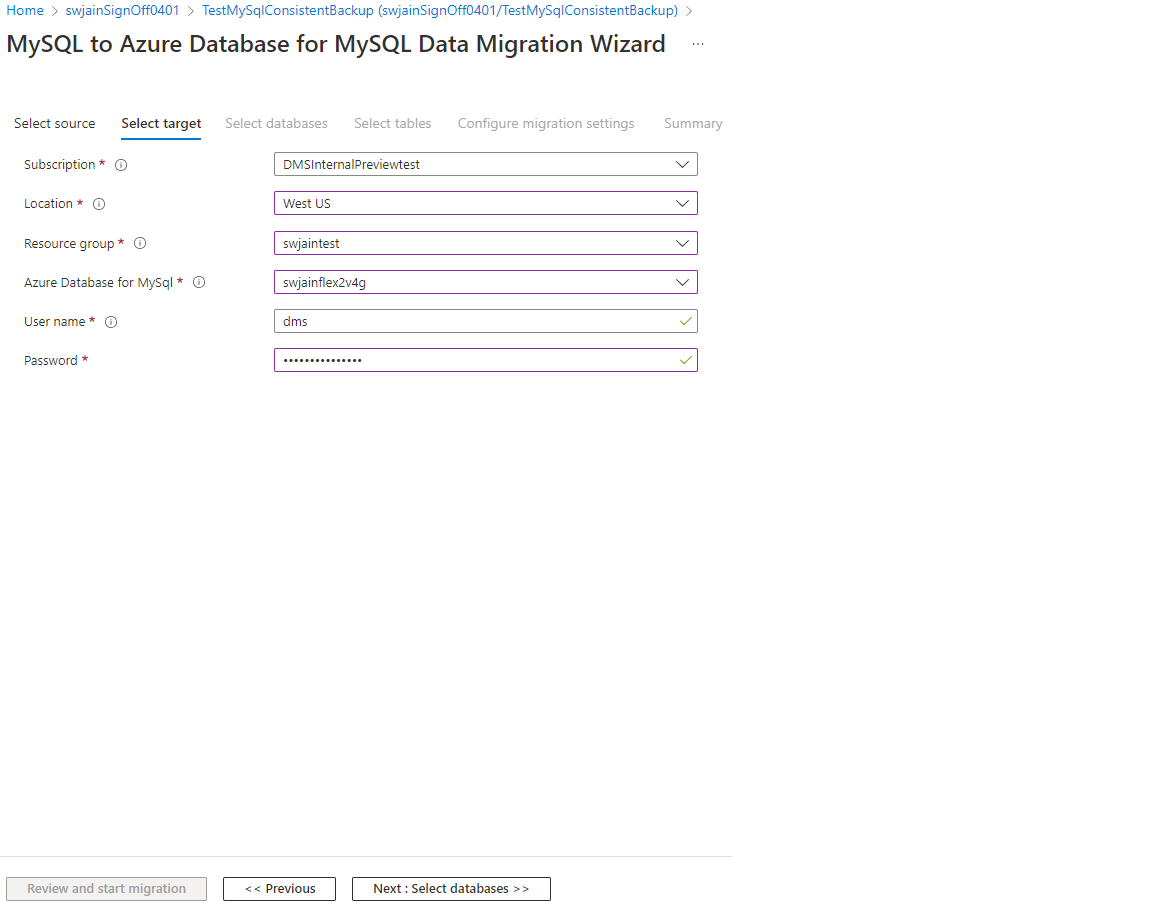
Select Next : Select target>>, and then, on the Select target screen, specify the connection details for the target flexible server.
Select Next : Select databases>>, and then, on the Select databases tab, under [Preview] Select server objects, select the server objects that you want to migrate.
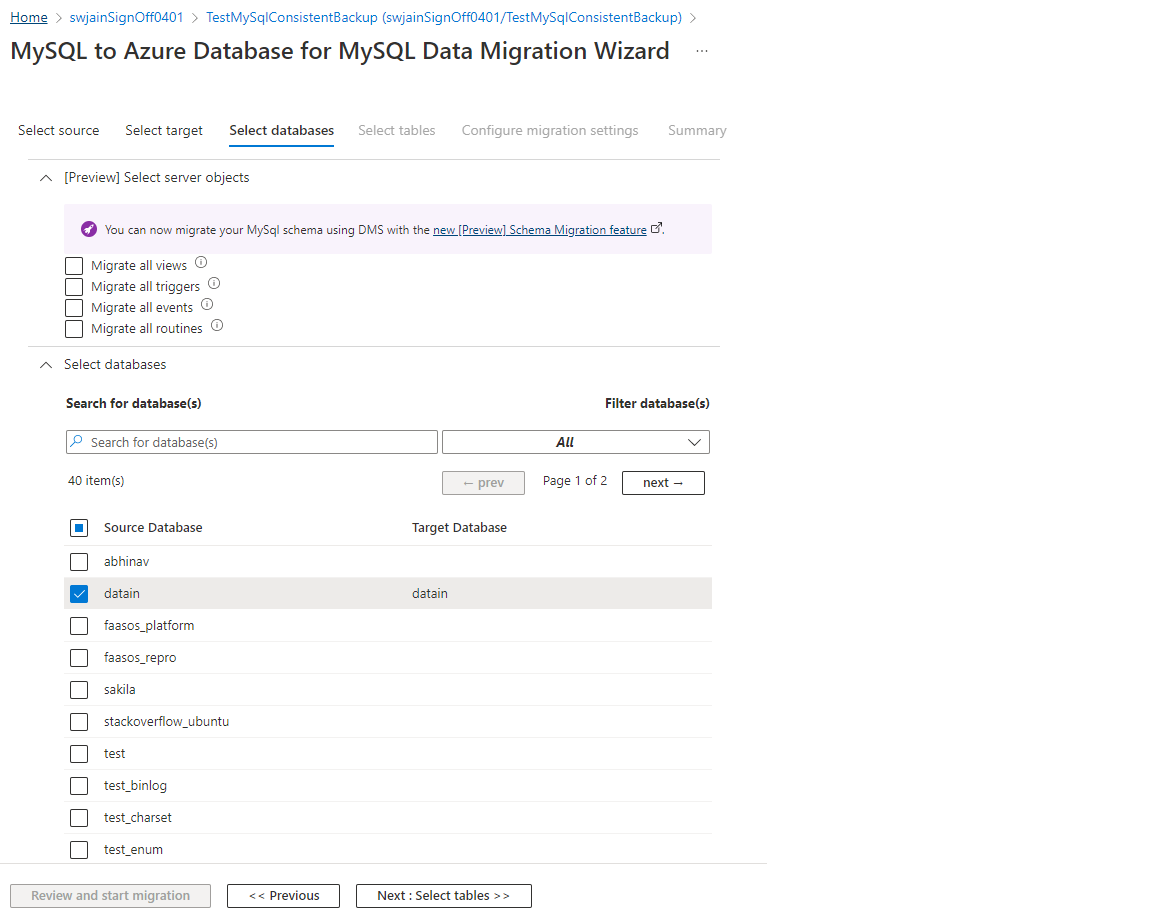
In the Select databases section, under Source Database, select the database(s) to migrate.
The non-table objects in the database(s) you specified will be migrated, while the items you didn't select will be skipped.
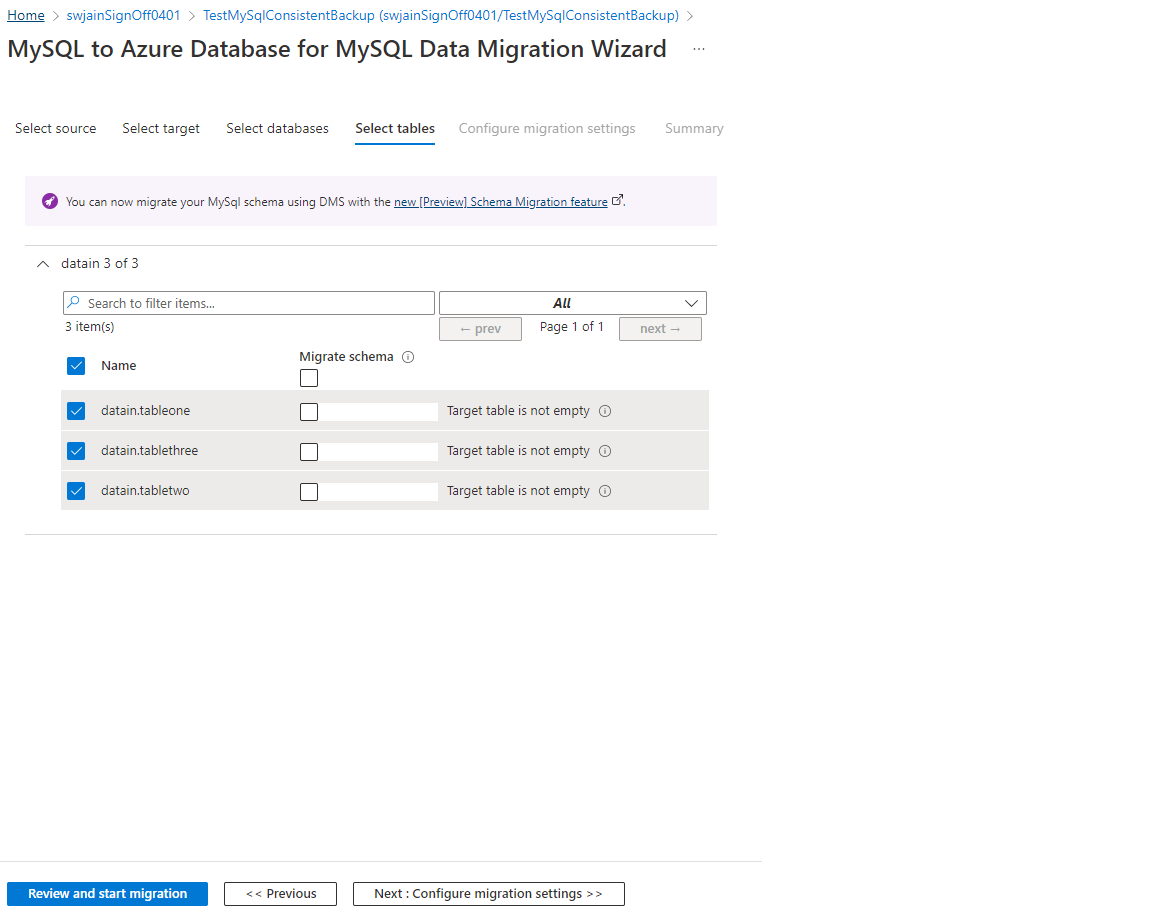
Select Next : Select databases>> to navigate to the Select tables tab.
Before the tab populates, DMS fetches the tables from the selected database(s) on the source and target and then determines whether the table exists and contains data.
Select the tables that you want to migrate.
If you select a table in the source database that doesn't exist on the target database, the box under Migrate schema is selected by default. For tables that do exist in the target database, a note indicates that the selected table already contains data and will be truncated. In addition, if the schema of a table on the target server doesn't match the schema on the source, the table will be dropped before the migration continues.
DMS validates your inputs, and if the validation passes, you'll be able to start the migration.
After configuring for schema migration, select Review and start migration.
Note
You only need to navigate to the Configure migration settings tab if you're trying to troubleshoot failing migrations.
On the Summary tab, in the Activity name text box, specify a name for the migration activity, and then review the summary to ensure that the source and target details match what you previously specified.
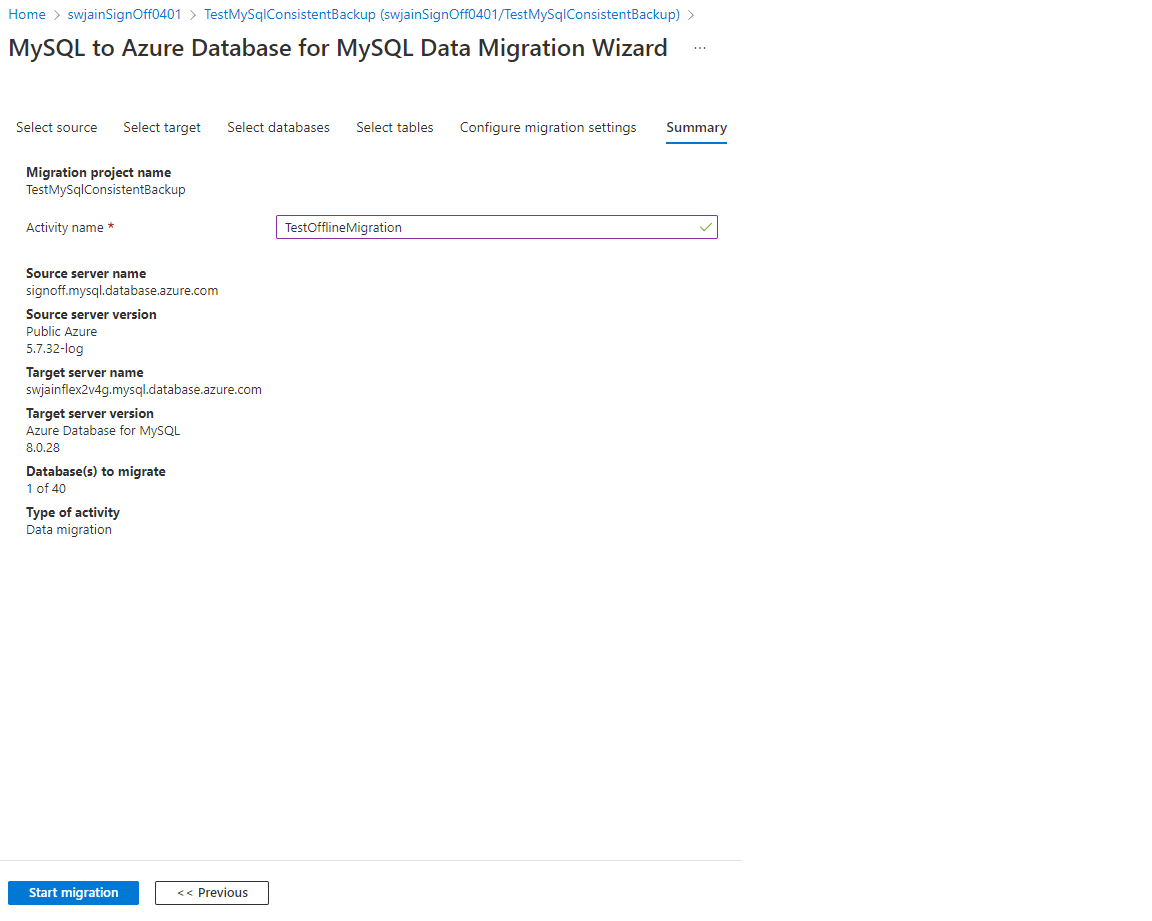
Select Start migration.
The migration activity window appears, and the Status of the activity is Initializing. The Status changes to Running when the table migrations start.


Monitor the migration
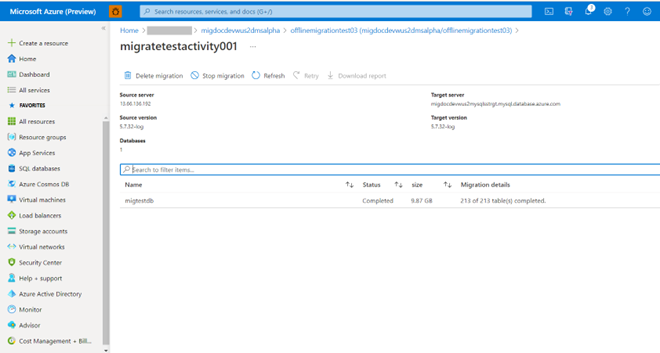
On the migration activity screen, select Refresh to update the display and view the progress and the number of tables completed.
To see the status of each table during the migration, select the database name and then select Refresh to update the display.
Select Refresh to update the display until the Status of the migration shows as Completed.
Perform post-migration activities
When the migration is complete, be sure to complete the following post-migration activities.
Perform sanity testing of the application against the target database to certify the migration.
Update the connection string to point to the new target flexible server.
Delete the source single server after you have ensured application continuity.
If you scaled-up the target flexible server for faster migration, scale it back by selecting the compute size and compute tier for the target flexible server based on the source single server's pricing tier and VCores based on the detail in the following table.
Single Server Pricing Tier Single Server VCores Flexible Server Compute Size Flexible Server Compute Tier Basic 1 Burstable Standard_B1s Basic 2 Burstable Standard_B2s General Purpose 4 General Purpose Standard_D4ds_v4 General Purpose 8 General Purpose Standard_D8ds_v4 Clean up Data Migration Service resources:
- In the Azure portal, select All services, search for Azure Database Migration Service, and then select Azure Database Migration Services.
- Select your migration service instance from the search results and select Delete service.
- On the confirmation dialog box, in the TYPE THE DATABASE MIGRATION SERVICE NAME textbox, specify the name of the service, and then select Delete.
Migration best practices
When performing a migration, be sure to keep the following best practices in mind.
As part of discovery and assessment, take the server SKU, CPU usage, storage, database sizes, and extensions usage as some of the critical data to help with migrations.
Plan the mode of migration for each database. For simpler migrations and smaller databases, consider offline mode.
Perform test migrations before migrating for production:
- Test migrations are an important for ensuring that you cover all aspects of the database migration, including application testing. If you're migrating to a higher MySQL version, test for application compatibility.
- After testing is completed, you can migrate the production databases. At this point, you need to finalize the day and time of production migration. Ideally, there's low application use at this time. All stakeholders who need to be involved should be available and ready. The production migration requires close monitoring.
Redirect all dependent applications to access the new primary database and open the applications for production usage.
After the application starts running on the target flexible server target, monitor the database performance closely to see if performance tuning is required.