Note
Access to this page requires authorization. You can try signing in or changing directories.
Access to this page requires authorization. You can try changing directories.
Azure Storage Mover supports agentless cloud-to-cloud migration from AWS FSx for Windows File Server (SMB) to Azure Files (SMB).
This article explains how to prepare prerequisites, configure endpoints, run migration jobs, validate data, and complete cutover.
Important
FSx SMB migrations require private connectivity between Azure and the AWS network that hosts your FSx file system.
Prerequisites
Before you begin, ensure that you have:
- An AWS account with access to the FSx for Windows File Server deployment that you want to migrate.
- A Storage Mover resource in your Azure subscription.
- An Azure Storage account and destination Azure file share.
- A private connection setup for cross-cloud migration. See Migrations requiring private connections and Plan private networking for cloud-to-cloud migrations.
- An Azure Key Vault that stores FSx credentials in two secrets: one for username and one for password.
- Permissions to create Storage Mover resources and assign required RBAC roles.
Migration limits and behavior
The FSx to Azure Files scenario is currently in preview. Review these limits and behaviors before production use:
- Each migration job supports up to 500 million objects. If your FSx share contains more objects, split migration scope across multiple jobs.
- Up to 10 migration jobs can run concurrently per subscription.
- During preview, run only one migration job at a time per target Azure file share to avoid conflicts.
- SMB 1.x sources aren't supported. Use SMB 2.x or SMB 3.x.
- Data is copied, not moved. Source data remains in FSx unless you decommission it.
For the latest limits and constraints, see Cloud migration basics and Release notes.
Create the source endpoint (AWS FSx SMB)
Create a source endpoint that points to your FSx SMB share.
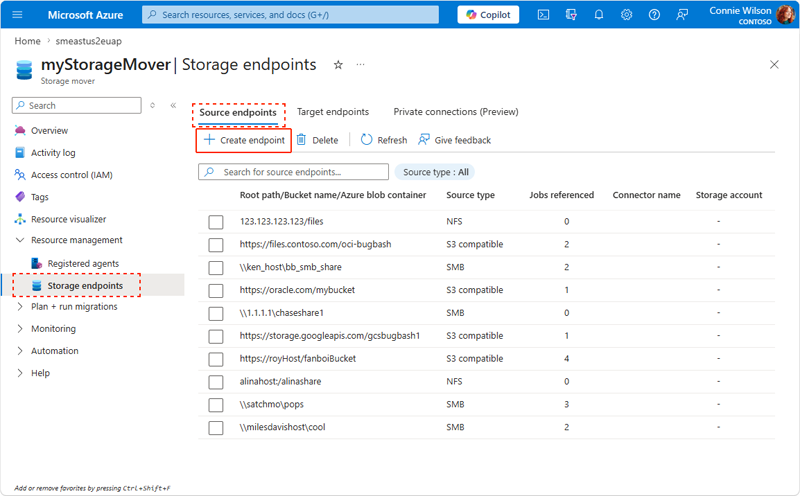
In your Storage Mover resource, expand the Resource Management item in the left navigation. Select Storage endpoints > Source endpoints > Create endpoint to open the Create source endpoint pane.
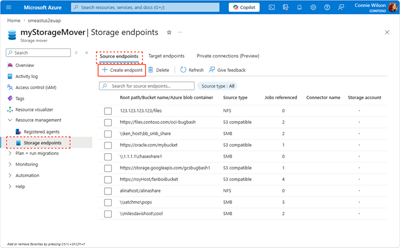
In the Create source endpoint pane, select the Migration type dropdown and choose the Multicloud migration option. Next, select the Source type dropdown and choose the AWS FSx - SMB option. Add values for the following fields:
Host name or IP address: The FSx DNS/FQDN name or private IP.
Share name: The share name only (for example,
Data). Don't include leading backslashes.Key vault: The name of your Azure Key Vault.
Username input method and Password input method: Select the option corresponding to your use case. This option can be either the name of the username and password secret or the username and password secret's URI.
Username secret or Username secret URI: Select or enter the username secret or the username secret's URI.
Password secret or Password secret URI: Select or enter the password secret or the password secret's URI.
Source description: An optional description for your new source endpoint resource.
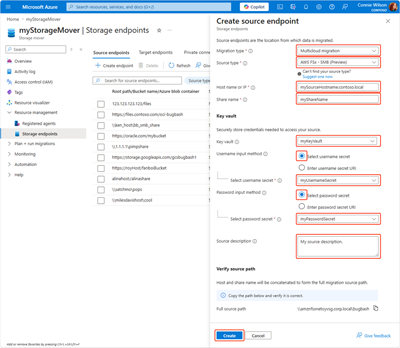
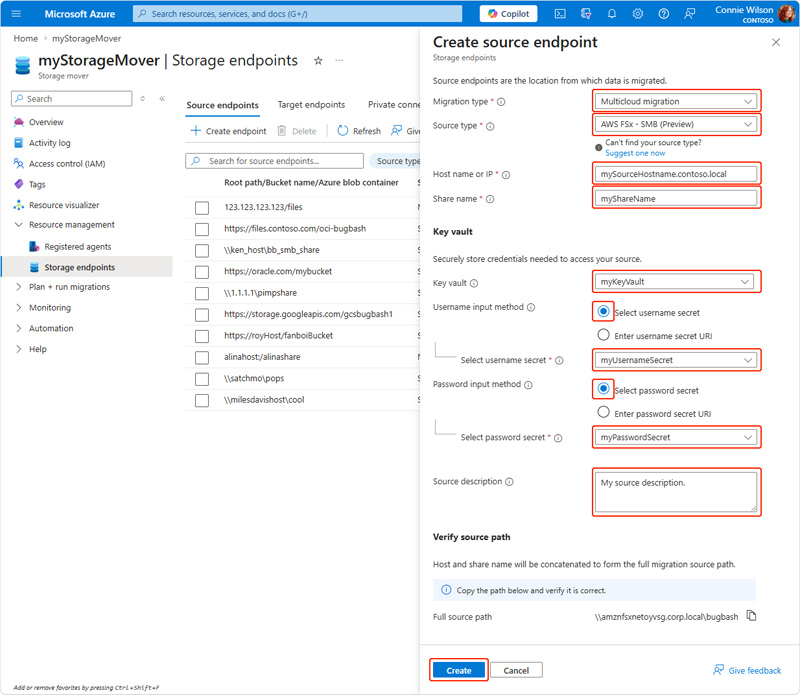
- After adding all required values, select Create to save your changes and create a new source endpoint resource.
Note
If role assignment doesn't happen automatically at runtime, assign Key Vault Secrets User to the source endpoint managed identity.
Create the target endpoint for Azure Files
Create an Azure file share target SMB endpoint.
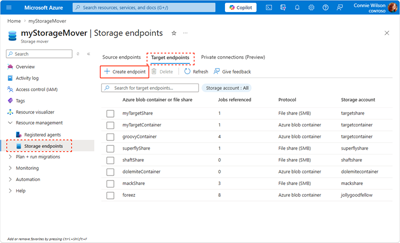
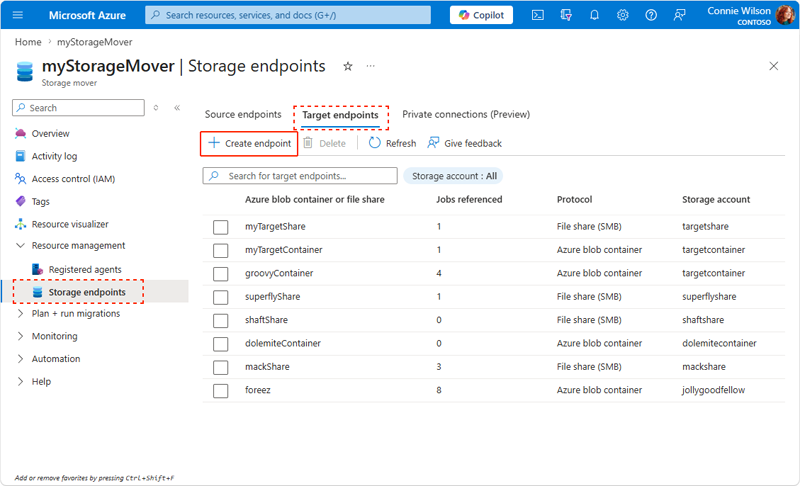
In your Storage Mover resource, expand the Resource Management item in the left navigation. Select Storage endpoints > Target endpoints > Add endpoint to open the Create target endpoint pane.
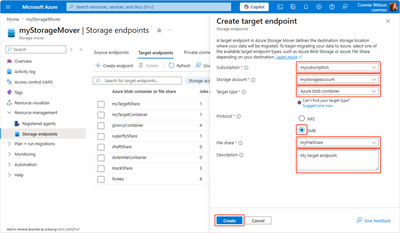
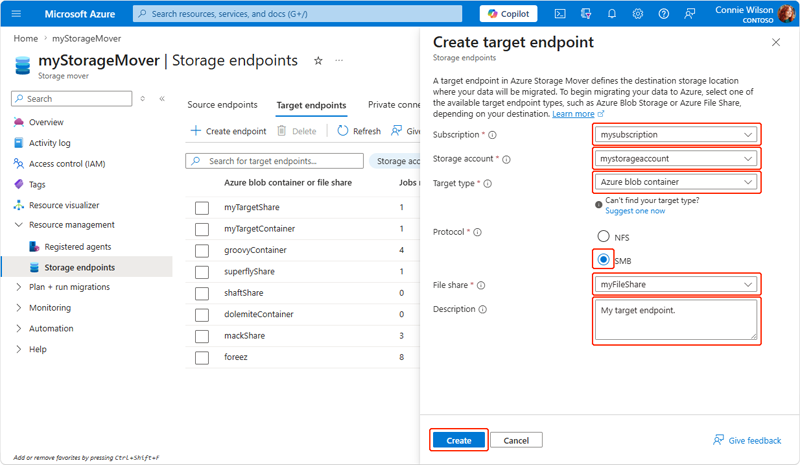
In the Create target endpoint pane, select the Subscription and Storage account dropdowns. Choose the values corresponding to the subscription and storage account containing your destination Azure file share.
Select the Target type dropdown and choose the File share option.
Select the corresponding protocol option in the Protocol field.
Select the File share dropdown and choose the name of the destination file share to contain your data.
Optionally, add a description for your target endpoint in the Description field.
Select Create to save your changes and create a new target endpoint resource.
Note
If role assignment doesn't happen automatically at runtime, assign Storage File Data Privileged Contributor to the target endpoint managed identity.
Create and run a migration job
After you create the endpoints, create a project and job definition. Then, after you create the project and job definition resources, run the first copy pass.
Create a project
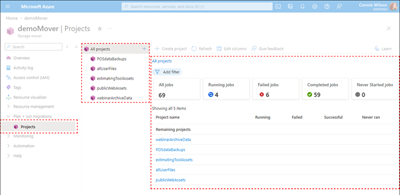
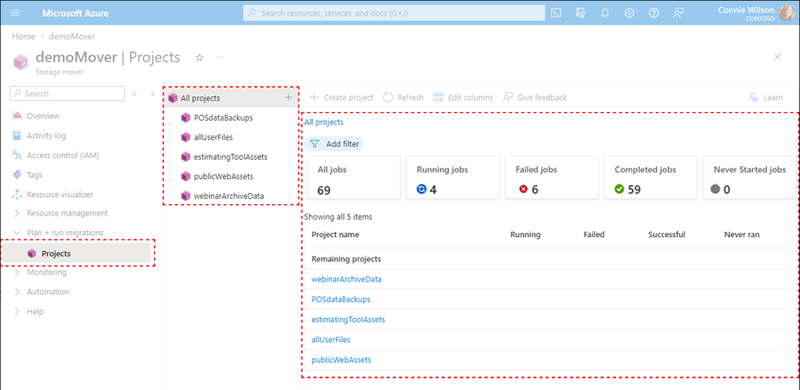
Navigate to the Projects page in the Azure portal to access your projects. The default All projects view displays the names of any provisioned projects and a summary of the jobs they contain.
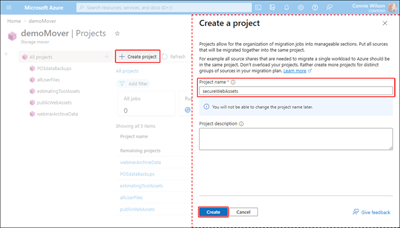
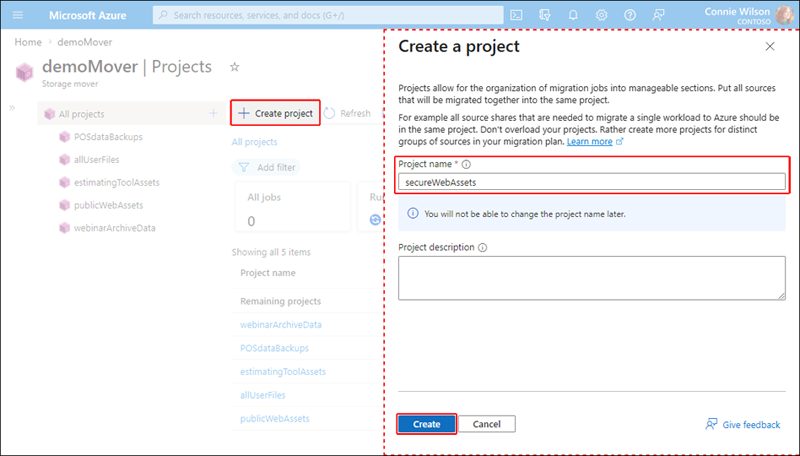
Select Create project to open the Create a Project pane. Enter a project name in the Project name field and an optional description in the Project description field. Finally, select Create to provision the project.
Create a job definition
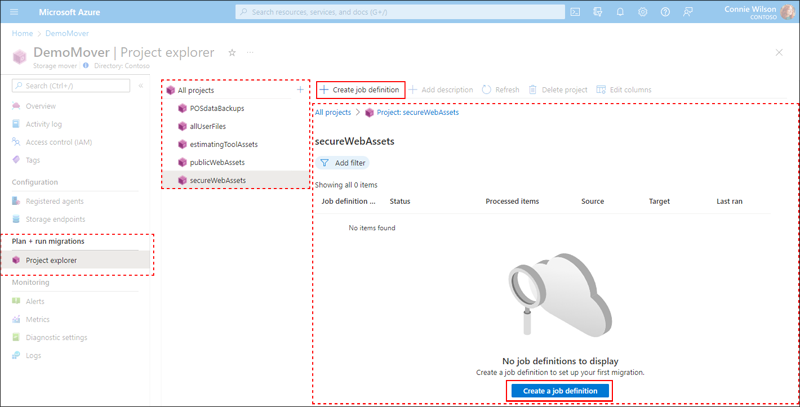
In Project explorer, select the project you created in the previous section. Next, select Create job definition within the All projects view.
In the Basics tab, configure the following settings:
- Migration type: Multicloud migration
- Source type: AWS FSx - SMB (Preview)
- Job name: For example,
FSxToAzureFilesJob - Description: Add an optional description.
In the Endpoints sections, configure the corresponding Source endpoint, Target endpoint, and Sub-path fields as necessary, and as indicated.
In the Private connections (Preview) section, select the Add private connections button and choose the relevant private connection resource.
In the Settings tab, set Copy mode to Mirror for initial migrations.
In the Review tab, verify values and select Create.
Tip
Use Additive for initial migrations. Use Mirror only when you want the destination to match the source exactly.
Start and monitor a migration job
- Go to Migration jobs, open your job definition, and select Start job.
- Select Start to begin the run.
- Monitor details such as transferred files, throughput, and errors.
Important
If job start fails due to permissions, assign required roles and retry:
- Key Vault Secrets User on the Key Vault for the source endpoint identity.
- Storage File Data Privileged Contributor on the target storage account for the target endpoint identity.
Validate migration and perform cutover
Use an incremental migration pattern to minimize downtime.
- Run an initial copy and validate folder structure, file counts, and sample file integrity on Azure Files.
- Run incremental passes to copy only changed data.
- For final cutover, stop writes to the FSx source.
- Run a final incremental pass.
- Redirect users and applications to Azure Files using UNC paths such as
\\<storage-account-name>.file.core.windows.net\<share-name>. - Keep FSx available in read-only mode for a short fallback period, then decommission when validated.
Troubleshooting
If migration jobs fail, check the following items first:
- Permissions: Validate Key Vault secret access for source endpoint identity and storage data access for target endpoint identity.
- Network: Verify private connection status and supporting network path configuration, including TCP 445 reachability across VPN, ExpressRoute, NSG, and firewall controls.
- Source path values: Confirm FSx host and share name are correct.
- Run status: Review the latest job definition output and portal error details before retrying.
For more troubleshooting guidance, see: